You are using an out of date browser. It may not display this or other websites correctly.
You should upgrade or use an alternative browser.
You should upgrade or use an alternative browser.
What was done to your rig this week?
- Thread starter 10frank9
- Start date
10frank9
Web Wheeler
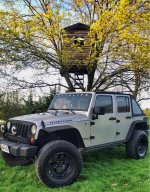
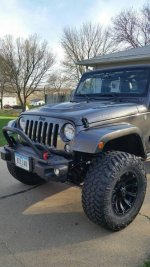
Added OEM soft uppers to my half doors, also added power door locks to the half doors. View attachment 137172
Wow that looks good. Have you posted any other pics of your Jeep? Seems like its the first time i've noticed that beast.
jelliott076
New member
I finally saved up enough coin for the EVO Tire Carrier, skins and three light. They're installing it on May 4th-8th. Pictures of course to follow
jbaskin28
New member
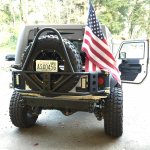
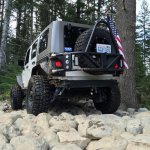
Installed my teraflex speed bumps in the rear (replaced the solid rubber block), and installed my EVO rear fascia and D-Ring kit.
Going to go back one weekend and trim down the frame for a flush look, and adjust my TF mudflaps a bit for better fitment on the fascia.

And had some fun out in the woods.


Going to go back one weekend and trim down the frame for a flush look, and adjust my TF mudflaps a bit for better fitment on the fascia.

And had some fun out in the woods.


Sessoms14X
Member
07JKSahara
New member
Installed a Maximus 3 stinger on the jeep last night. It's pretty sturdy, put all my weight on it and tried to wiggle it and it stayed solid :thumbup:
View attachment 137345
I really dig your jeep. Color, trim, all of it.
Sessoms14X
Member
I really dig your jeep. Color, trim, all of it.
Thanks man, I appreciate it. I just gotta black out the lights so that I can get rid of the chrome that's left. And maybe paint the tow hooks black?? Not sure if I will or not...
Rccrwlr
New member
Looking good
J_KaBoB417
New member
M_Savage
Caught the Bug
Installed rear Ten Factory axle shafts using the write-up. The squeaking noise I was chasing must have been from a bent flange, cause its gone now!
View attachment 136742
View attachment 136738
oh this is a fun day right here! i haven't replaced mine (yet). but i have pulled my shafts in search of the squeak and boy is it a good time....:grayno:
tyscty
New member
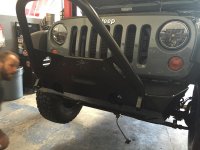
Just installed the JK Rock Brawler this weekend. Ok... First of when people say reading is fundamental, I thought it was just one of those sayings. You know like "if your going to be dumb, your going to be strong."
Well this bumper, although worth the extra time I spent, was a pain in the ass. Just like with a lot of PSC items, there was a lot of put on and take off only to drill a hole and put back on again.
If you purchase this, please read the instructions. You have to notch out frame and once you install the main bumper you have to mark the bottom holes, remove the bumper and drill out the lower subframe. If you don't, then your nuts will fit in until they bottom out and break off. Only two broke but FML... Haha. Sorry for the rant.
Anyways next is the wench. Thankfully there is enough room to put your bolts in without having to remove the entire bumper.


DA RUNT
New member
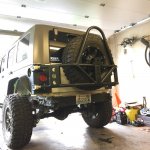
I got the EVO tire carrier and skins installed and I couldn't be more happy. A little more adjustment and it'll be golden.
View attachment 137429
With the new obnoxious reverse lights.
View attachment 137430
And a little bashed up. I need to powder coat it.
View attachment 137431
Looks great, nice job on the install. Where'd you go wheeling?

