DIY Removable Mud Guards

MattAlpha

Caught the Bug
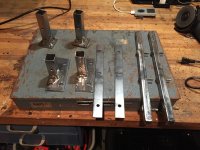
Got some time tonight to clean up the beakers and the rails as best I could with a bench grinder and my grinding wheel. Would be nicer if I used the mini grinding wheel on the dremel, but I don't have that much time.

ImageUploadedByWAYALIFE1423193761.060635.jpg

Everything fits together as they should and they're ready for paint tomorrow.

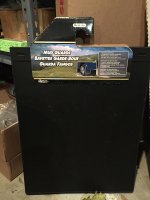
Here are the mud flaps I'm going to mount on the rails.
ImageUploadedByWAYALIFE1423193844.679869.jpg

I hope to finish this project next week after the painting is done.
 

MattAlpha

Caught the Bug
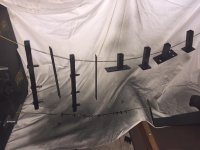
Got the brackets, rails and associated hardware painted.
ImageUploadedByWAYALIFE1423445759.077601.jpg

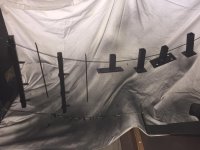
Here they are with the topcoat. I decided to use the "Hammered" look paint that I thought was black, but it seems more of a dark gray. We'll see how it comes out.
ImageUploadedByWAYALIFE1423445842.449924.jpg

Once everything cures I'll install everything. Almost done.

On a side note, I found out yesterday that Rhode Island requires mud flaps. Glad I'll have these on soon.
 

MattAlpha

Caught the Bug
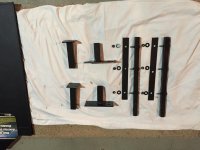
Had an hour to work on this today so I got the mud flaps mounted onto the rails. Here's everything now that the paint has cured.
ImageUploadedByWAYALIFE1423700793.209976.jpg

I double checked everything (measuring twice or three times then cut/drill).
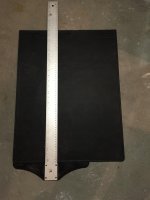
ImageUploadedByWAYALIFE1423700761.192477.jpg

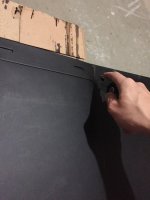
I cut them using a pair of gasket shears and also a box cutter with a new blade.
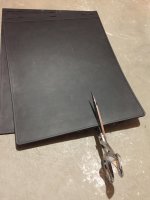
ImageUploadedByWAYALIFE1423700846.977498.jpg
ImageUploadedByWAYALIFE1423700858.524454.jpg

I used each rail and hammered with a rubber mallet to "mark" where each hole needed to be drilled after aligning everything the way I wanted it to be.
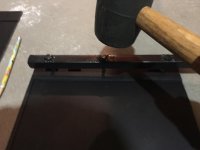
ImageUploadedByWAYALIFE1423700950.584309.jpg

I used my drill press with a 3/8" bit to drill the mounting holes in the mud guards.
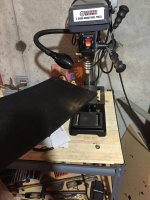
ImageUploadedByWAYALIFE1423700996.566302.jpg

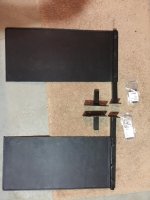
Here is everything assembled ready to mount onto the Jeep. I have the rails inserted into the forward tire mounts to show that everything fits.
ImageUploadedByWAYALIFE1423701048.075826.jpg

I hope to get the rear mounts on tomorrow but that is going to be weather dependent. Got to love the continuous freezing temperatures and the snow storms...that what I get for living in RI.

Just a note, the mud guards I choose are reinforced with fiberglass, which I didn't think would matter when I cut and drilled them. I used my shop vac after each cut/drilling but my hands were a bit itchy afterward. Good times.
 

Kalums

New member
So when are you going to start mass production? I want a set but am lacking in tools and am a little lazy 😊
 

MattAlpha

Caught the Bug
So when are you going to start mass production? I want a set but am lacking in tools and am a little lazy 😊

Thanks guys.

We'll see how they work out when I have them mounted...they may not work and/or fall-off. I'm certainly not to person to mass produce anything.

I haven't fabricated the second set of rails yet because I want to see how these work out. There's always something to improve in someway.
 

MattAlpha

Caught the Bug
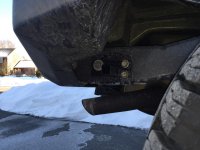
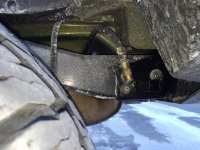
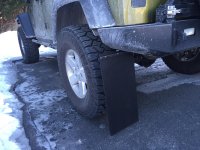
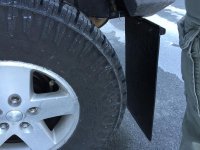
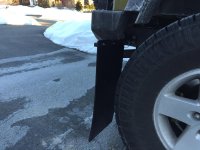
I finally got some free time to finished the rear set. I bolted the brackets on using the hardware for my rear bumpers, certainly overkill but they'll work just fine.

Here's a few pics:
ImageUploadedByWAYALIFE1425160328.799503.jpg

ImageUploadedByWAYALIFE1425160357.041161.jpg

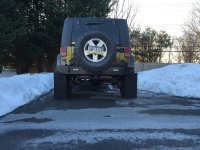
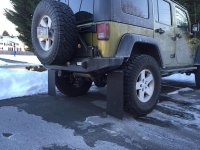
With the mud flaps installed:
ImageUploadedByWAYALIFE1425160386.561798.jpg

ImageUploadedByWAYALIFE1425160402.303706.jpg

ImageUploadedByWAYALIFE1425160424.733858.jpg

ImageUploadedByWAYALIFE1425160436.078521.jpg

ImageUploadedByWAYALIFE1425160450.641509.jpg

Seemed to have come out alright. I'm going to run them for a while and see if I need to change the rail design before I fab up the front set.

I still need to install the forward brackets, but I'm going to need to drill and its 25 degrees outside, not fun to work in with the wind...
 
Top Bottom