Granite Rubicon Build

Havoc40

New member
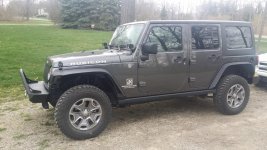
As I was cleaning up the photo folder for my Jeep, I decided it's time to start a build thread. Like many on here, this will be updated slowly :sigh:. I don't have a name for my Jeep yet, maybe y'all can help me with that as the build progresses!


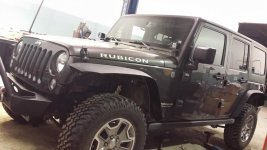
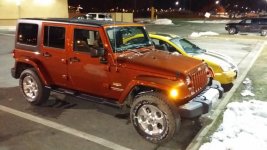
Pulling out of the dealership, day 1
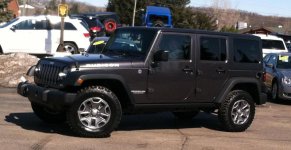
IMG953822.jpg


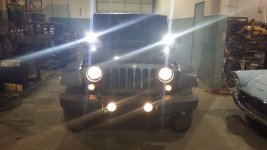
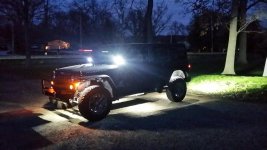
After a few trips, I decided I needed something better than the stock headlights for night wheeling. So, my 1st mod was Rigid windshield lights
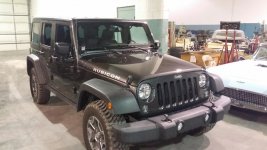
20141230_194124.jpg
20141230_194210.jpg


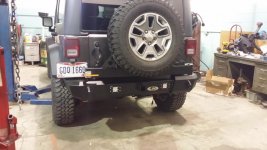
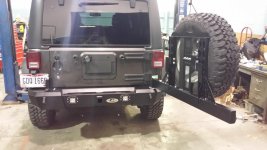
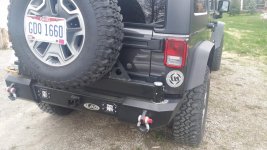
Next on the chopping block was the stock front and rear bumpers. I went with a PSC Brawler Lite front, and LoD Gen4 Shorty rear
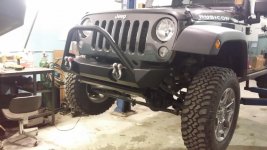
20150402_195146.jpg
20150403_195041.jpg
20150403_195142.jpg


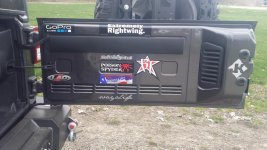
Now my license plate was being blocked by the swing gate...so I had to relocate it
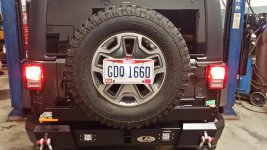
20150418_141435.jpg


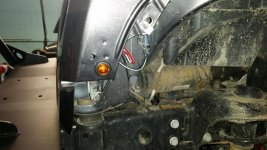
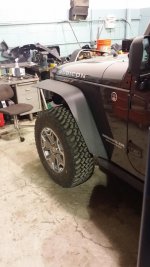
After a few days staring at the factory fenders with shorty bumpers, I made the decision to chop them. Went with the "Cali Cut" :)
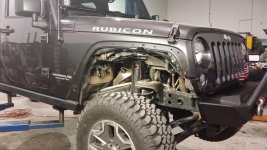
20150418_183936.jpg
20150418_153352.jpg
20150419_161140.jpg
20150419_103139.jpg


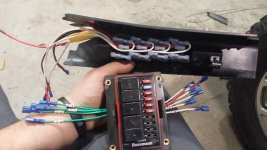
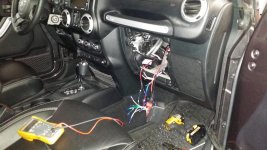
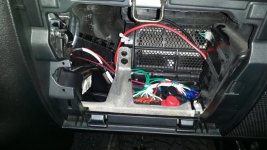
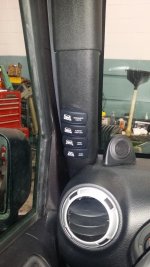
With the new lighting, I had to make a decision on how/where to install all the switches and wiring. Once I read the great DIY sPod thread, I went that route.
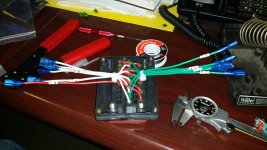
20150313_182957.jpg
20150404_161510.jpg
20150405_111517.jpg
20150405_141020.jpg
20150404_165328.jpg

Sticker time!!!
wayalife_driveway.jpg
20150427_165924.jpg
20150427_165842.jpg
20150427_165956.jpg
 
Last edited:

Havoc40

New member
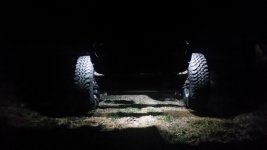
A few weeks went by with a non-functioning rock light switch that just HAD to become functional!
20150429_142928.jpg
20150501_001632.jpg
20150430_231821.jpg
20150510_221420.jpg


That pretty much brings this up to date. I'm in the process of moving the shop, so the next phase of things has to be pushed back. Because of our wonderful winters and dealing with salt, I'm still undecided on going with either EVO coil overs or Double D long arm with King 2.5's. From what I've seen, the coilovers just don't stand up to the weather that well.

I have front and rear JE Reel 1350 drive shafts, front and rear Ten Factory axle shafts, EVO C-Gussets, Pro Steer ball joints, and a stack of 37" Nitto's sitting in the garage waiting :mad:
 
Last edited:

USMC Wrangler

New member
Lookin' good! I like your DIY spod/switch setup. :yup: The fender chop looks so much better with the factory wheel/tire combo and stubby bumpers. :thumb: Subscribed because I am formally addicted to build threads! :blush:
 

Havoc40

New member
Lookin' good! I like your DIY spod/switch setup. :yup: The fender chop looks so much better with the factory wheel/tire combo and stubby bumpers. :thumb: Subscribed because I am formally addicted to build threads! :blush:

Thank you sir :thumb:. The fender chop really changed things up.

I just can't wait to install the next round of parts! Walking past those 37's everyday is pure torture.
 

MR.Ty

Token East Coast Guy
Wooohooo! Another Granite. :thumbup:
Great color and a great build so far. :yup:
 

Havoc40

New member
You're build is looking real good! Nice work :thumb:

Thank you! I've been saving for this thing since '07, after watching some of your 1st vids.

Wooohooo! Another Granite. :thumbup:
Great color and a great build so far. :yup:

Thanks! How I ended up with this color is kind of funny. My plan was to go into the dealership and order a Copperhead Pearl JKUR. I talked my Mom into tagging along, as she desperately needed to get a new vehicle (thinking she'd want a Grand Cherokee or something). Sure enough, she wants to test drive a Copperhead Sahara...which she ended up taking home that night!!! It was a tough decision between the Copperhead and Granite anyway, so it wasn't a big deal getting the Granite.

Now she's getting jealous watching mine slowly grow up...wants me to chop her fenders and pick her out some bumpers LOL!
20140317_222803.jpg
 

wayoflife

Administrator
Staff member
Thank you! I've been saving for this thing since '07, after watching some of your 1st vids.

LOL!! Really?? Well, we're gonna have to get you out on a run with us so that we can get you in one of our videos :yup:
 

Havoc40

New member
LOL!! Really?? Well, we're gonna have to get you out on a run with us so that we can get you in one of our videos :yup:

Yup, it's been a long time coming!! Between the Jeep, my Vette, and the house...I'm one broke bastard. Everything is paid for in full, so that helps.

Getting out on a run with you guys is definitely the game plan! I'm hoping to get out to Rausch Creek with the East Coast guys in October. That time of the year is insane for me, as our company prepares for SEMA and PRI. So I don't know if I can make that quite yet.

I'm definitely making it out West for one of the big WAL runs. It's been on the bucket list forever! 2016 is booking up FAST. I'll probably have to stick to some local events next year. As of right now the 1st available long vacation slots for me is going to be Moab EJS in 2017 (already put in for it LOL!). Maybe try to get on the Rubicon run that year as well.
 

Havoc40

New member
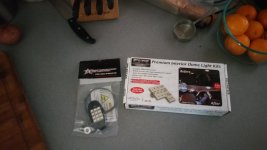
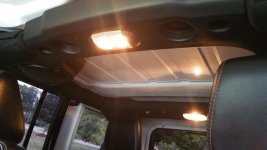
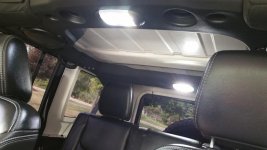
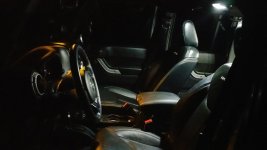
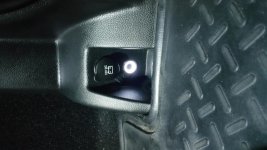
While I'm slamming out projects trying to clear the hoist for my build...I decided to upgrade a few small things. The interior lighting was aggrivating the hell out of me. I ordered the Putco LED dome lights and a Rigid LED for the cargo area. Still waiting on the plasmaglow switch for the Rigid. I'm going to tap into the rear 12v plug and mount the switch on top of the sub enclosure. Can't believe Jeep didn't put something back there :thinking:

I'm really impressed with the Putco upgrade!!
20150819_170936.jpg
20150819_173229.jpg
20150819_174216.jpg
20150819_212154.jpg
 

ITLL GO

New member
While I'm slamming out projects trying to clear the hoist for my build...I decided to upgrade a few small things. The interior lighting was aggrivating the hell out of me. I ordered the Putco LED dome lights and a Rigid LED for the cargo area. Still waiting on the plasmaglow switch for the Rigid. I'm going to tap into the rear 12v plug and mount the switch on top of the sub enclosure. Can't believe Jeep didn't put something back there :thinking:

I'm really impressed with the Putco upgrade!!
View attachment 160830
View attachment 160832
View attachment 160831
View attachment 160833

What an upgrade! I love light inside. I will have to look Into this.
 

Havoc40

New member
What an upgrade! I love light inside. I will have to look Into this.

The pics don't do the light output justice. Wouldn't want anything brighter either. For about $50 the Putco's were well worth it IMO.

I'm more excited for the other light. Being that I'm always in the cargo area, I can't believe they don't have any light back there. To make things worse you can't click on the back seat dome light without the ignition being on. Pumped to be fixing that!! Ordered both of these from Northridge.

Funny how the cheapest and quickest mods make such a big difference :)
 

Havoc40

New member
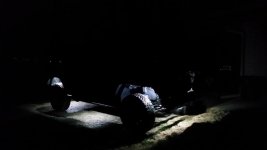
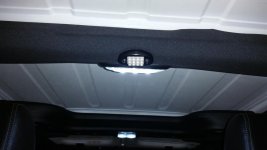
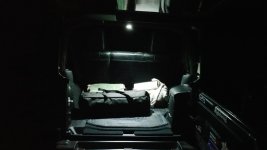
Finally had a chance to install the rear cargo light. Turned out great! Went out fishing after the install and it was super useful. Also picked up a brand new 6 person tent for $50 :)

20150829_231922.jpg

20150829_232749.jpg

Can't get this pic to rotate correctly on my phone
20150829_232003.jpg
 

Havoc40

New member
Awesome idea!! Can you detail how you did the install of the interior lights? This is genius!!!!

Lol I don't know about genius...but I like how it turned out. Install was pretty straight forward. I just tapped into the positive and negative wire coming from the 12v outlet. You could use scotchlock connectors for this, but I soldered the connection. The plasmaglow switch I used has 3 wires. A positive, a ground, and the switched positive going to the LED. Connect the positive to the positive wire from the 12v outlet. Next, make a 6" ground lead for the LED and connect that along with the ground from the switch to the ground on the 12v socket. Last is the switched positive that you'll connect to the positive wire from the LED.

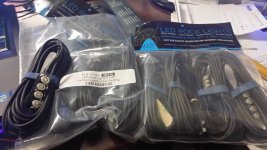
I had a red and black wire harness I made up from my rear bumper light install, so I used that for the leads to the switch. Just soldered them to the Rigid leads and zip tied it to the factory dome light wiring running down the roll bar. Routed the wire to the 2 switch leads and used quick disconnects for the remaining connection. I used disconnects so I could remove the sub enclosure in the future if needed.

The tricky part was removing 2 ribs on the plastic structural piece the factory dome light mounts to. The bolt spacing on the Rigid light was perfectly blocked by the ribs. Had to break out the Dremel.

That was a crude explanation. If you decide to do this and need help, just PM me.
 
Last edited:
Top Bottom