You are using an out of date browser. It may not display this or other websites correctly.
You should upgrade or use an alternative browser.
You should upgrade or use an alternative browser.
EMMA : 1969 Kaiser Jeepster Commando C101
- Thread starter wayoflife
- Start date
Bullwinckle
Hooked
It's coming together nicely!
You sure aren't wasting any time! Were those parts fairly easy to come by?
It's been a while since I've worked on a project Jeep like this and forgot how much fun it is. Fortunately, there is strong support amongst Jeepster enthusiasts and so, in spite of it being so rare, a lot of parts are surprisingly pretty easy to come by.
That's one of those rare gem you come across in life. I wish I get to see it in person.
Well, if you ever make it out to the Rubicon with us, you can stop by Camp WAYALIFE and see it.

Wow you're getting it cleaned up really nice, looks great :thumb:
It's coming together nicely!
Thanks! Working on an old Jeep like this is so gratifying because anything you do to it is an improvement. You can literally take a rag and wipe a door handle and it looks better
HighwayTrout
Hooked
Drove by this earlier. Hardly ever see one with a soft top.
 .
.
.Finally got Emma's new plates in and so Cindy and I decided to celebrate by going on a short drive. Here are some shots that we took after we got back and as the sun was going down behind the smoke from all the forest fires going on. The lighting it gave was surreal.
As you can see in this shot, we got some new hub caps for Emma.


We also got a new grill medallion.


Couple of shots of Emma's new plates.


As you can see in this shot, we got some new hub caps for Emma.
We also got a new grill medallion.
Couple of shots of Emma's new plates.
Bullwinckle
Hooked
She's looking real nice and clean! It looks like it was a nice day for a ride.
Back Country
New member
Nice Find!
robertoloco
Member
Sweet! That's gotta be fun driving that around.

Man that is super sweet! It would be an extremely tough decision for me to keep it stock or go with something like an EVO EBay Jeepster makeover. I do like the clean survivors though [emoji12]
View attachment 164562
Oh yeah, that thing was SWEET!! In fact, doing something like the EVO eBay Jeepster was kind of what we were wanting to do being that the only ones we could find were beat up, modified all wrong or just shells needing a motor, tranny or what have you. But, after we found ours and saw how original it was and 100% driveable, we decided to keep it stock and have already started on restoring it.
nmwranglerx
Caught the Bug
Congrats on the new jeep. What a great find.
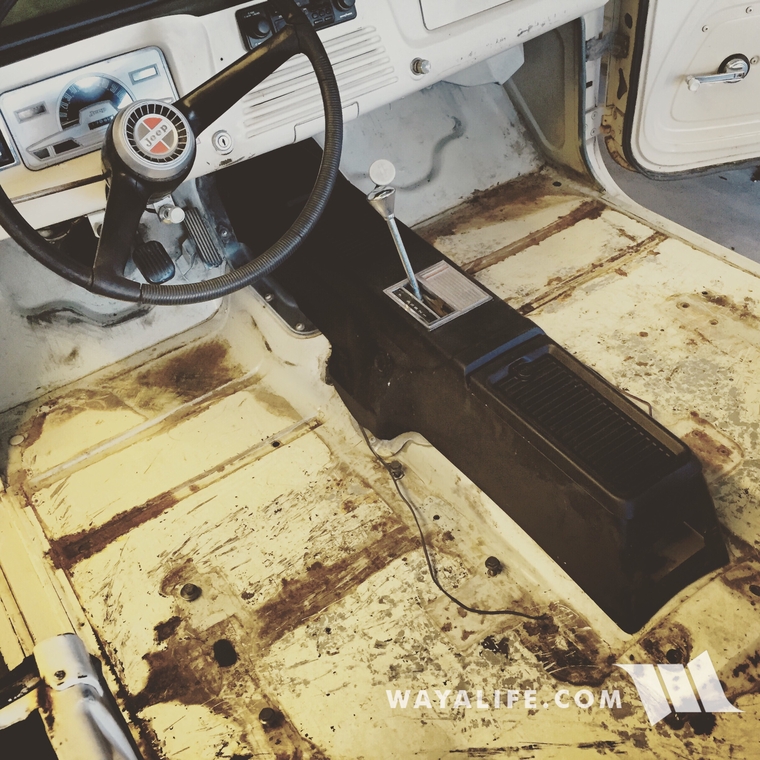
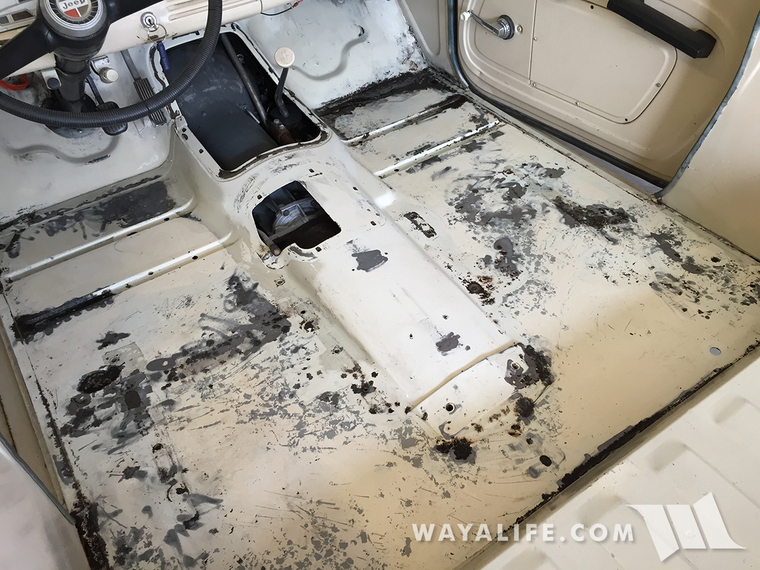
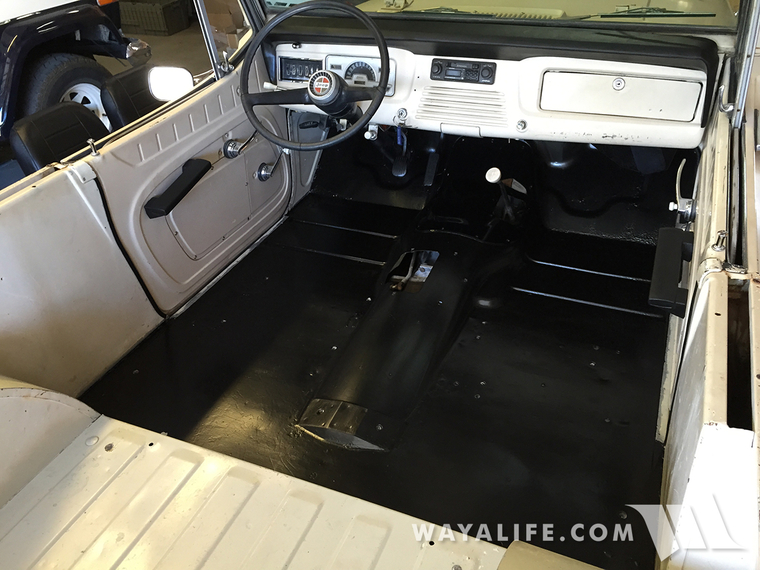
Okay, it's been a while since I've updated this thread and thought I should bring ya'll up to speed on what we've been doing with Emma. As some of you may recall, the floor of this Jeepster Commando C101 was cover with a dynamat like material and we were concerned that it might be hiding some rust or worse. Needless to say, we decided to pull up the matting to see what was going on underneath it.
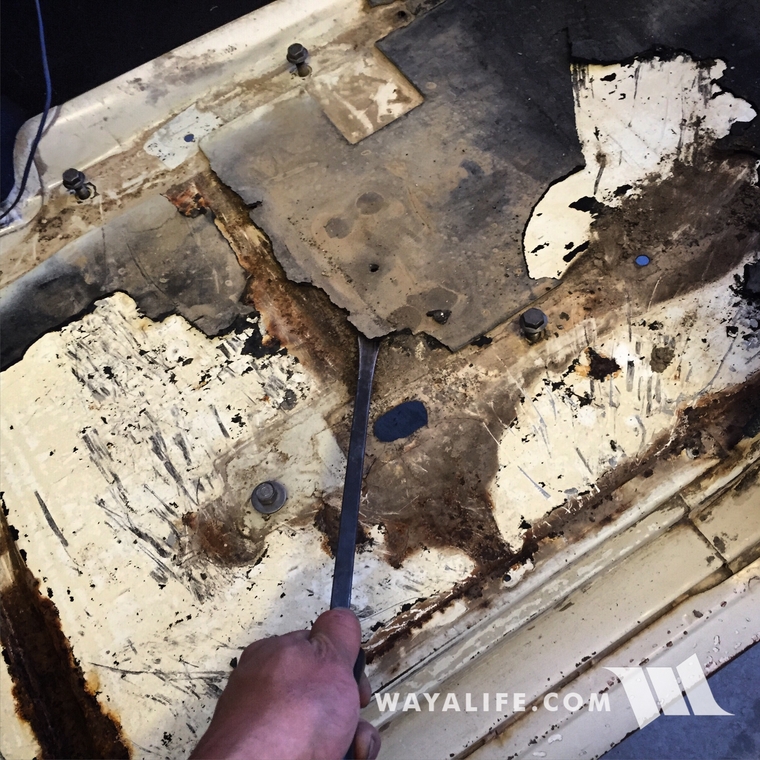
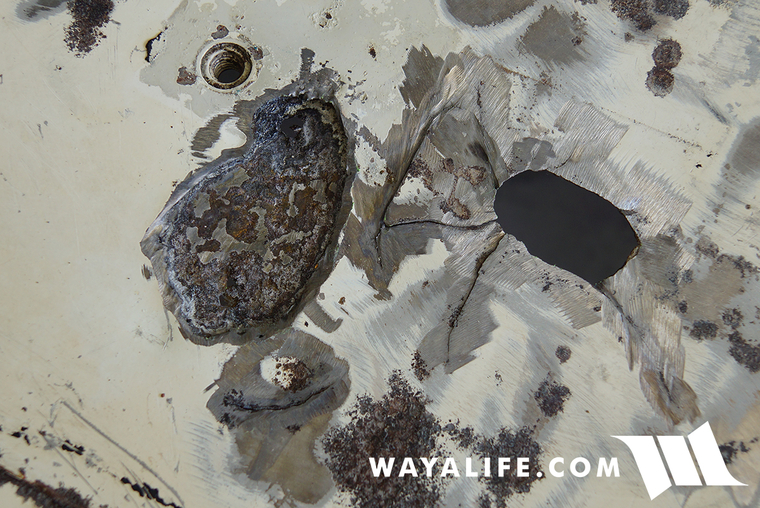
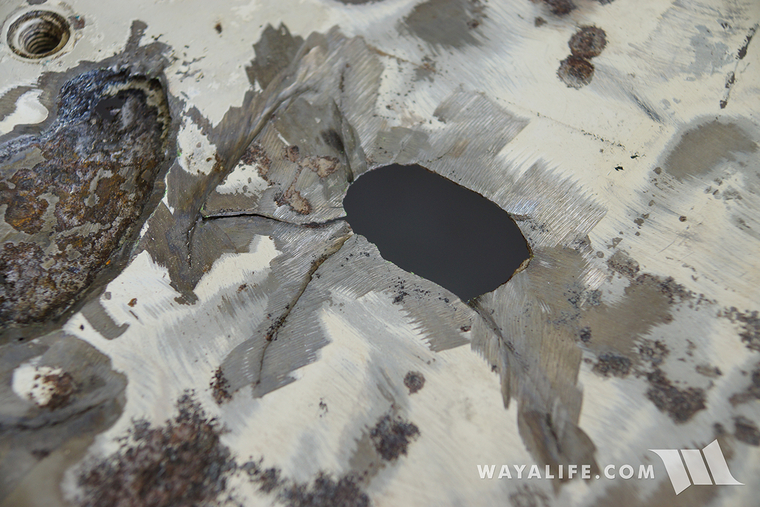
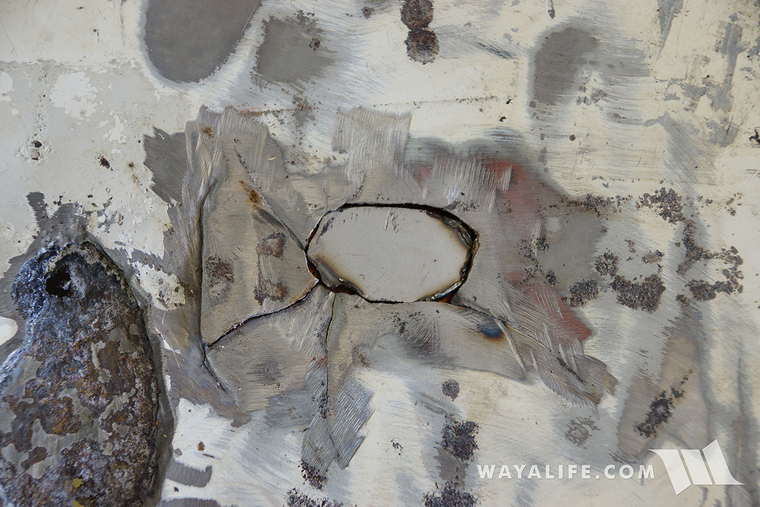
Unfortunately, our suspicions were right as we found several rust spots that needed to be dealt with, multiple holes that needed to be plugged and even a large hole with cracks radiating from it that needed to be fixed.
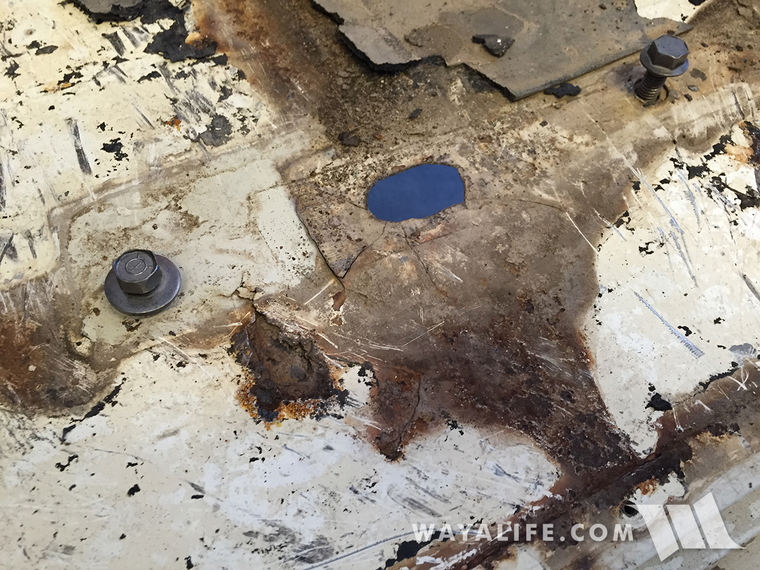
This is the large hole with the cracks around it. Looks like it once was the location of an improperly made seat mount.
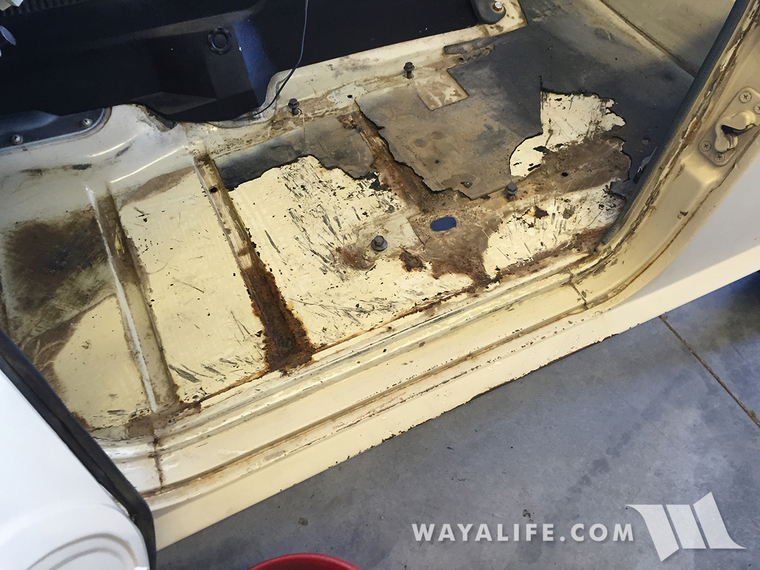
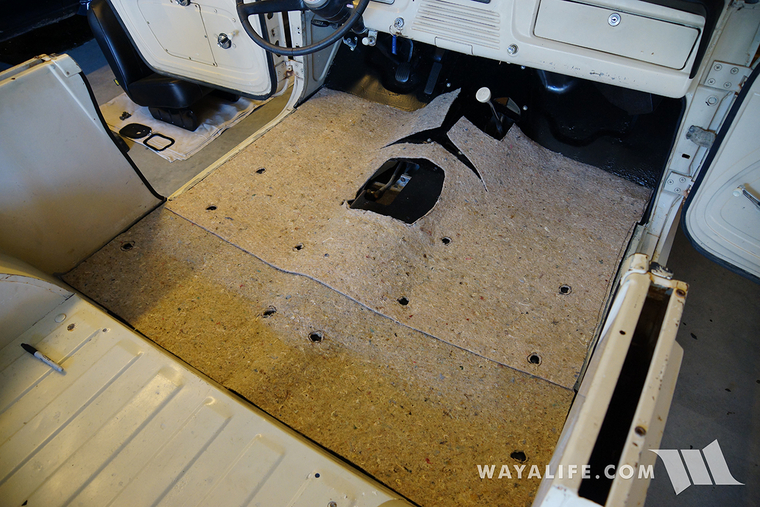
Here's a shot of what the floor looked like after removing all the matting.
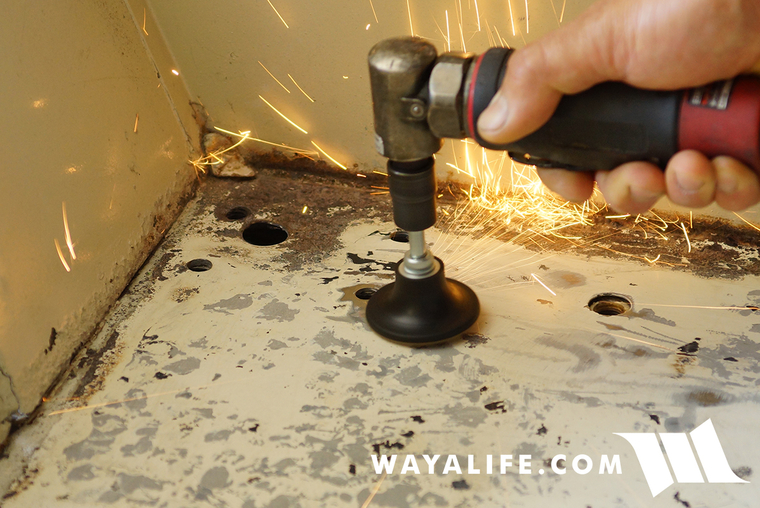
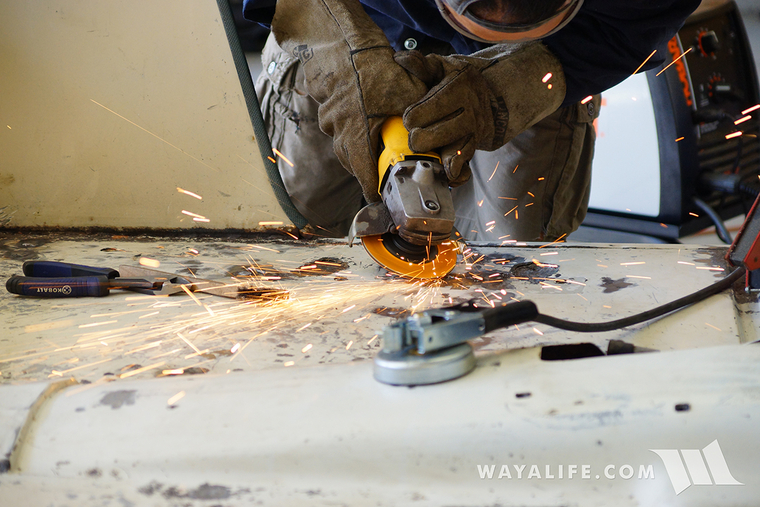
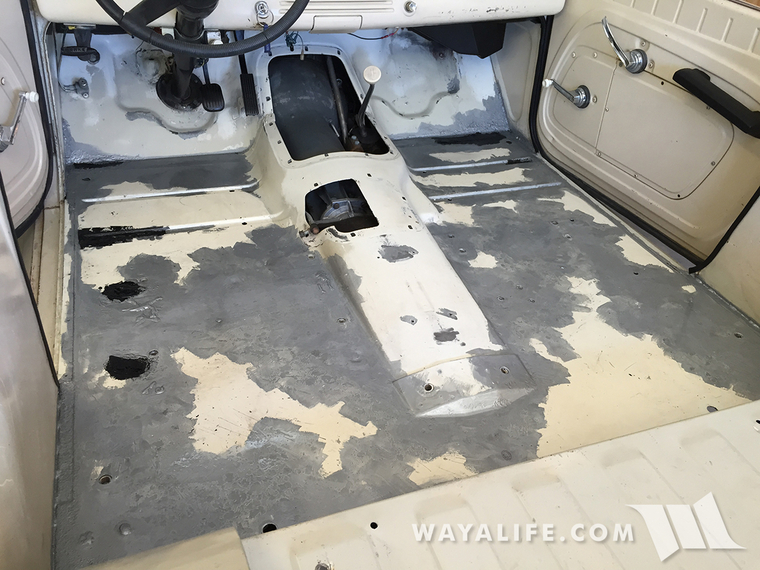
Time to clean up the loose rust and prepare the holes and cracks areas to be welded up.
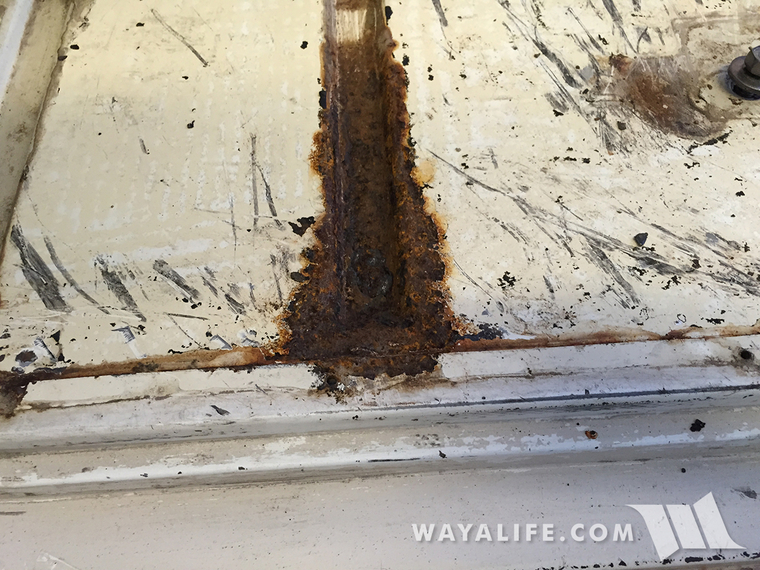
With most of the loose rust removed, there were a few spots that broke all the way through and would need to be patched or cut out.
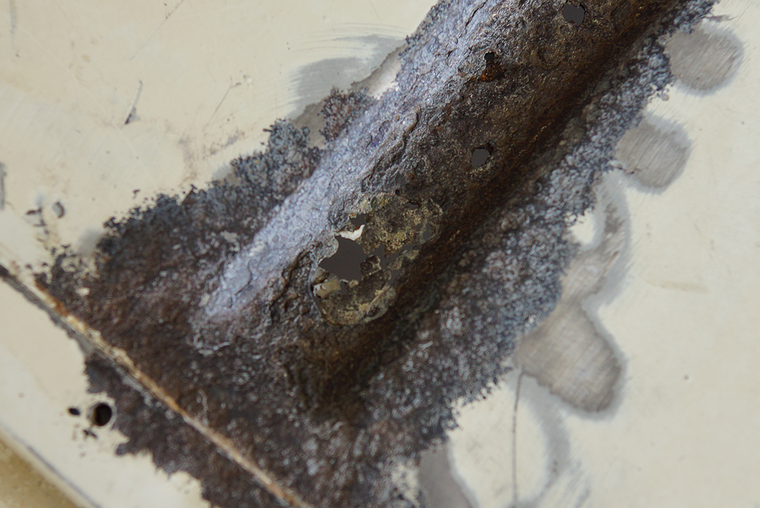
As you can see here, I was able to clear enough rust to open up a pretty good depression but, enough metal was still present that I decided to just patch it. The gaping hole to the right would need to be repaired.
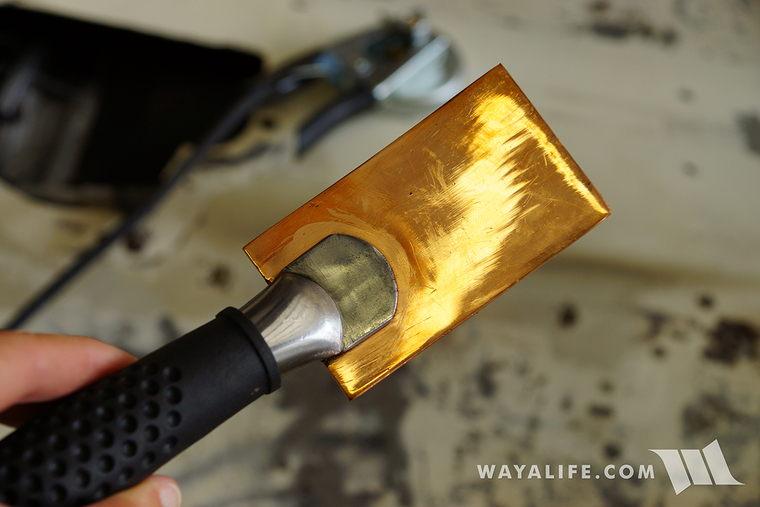
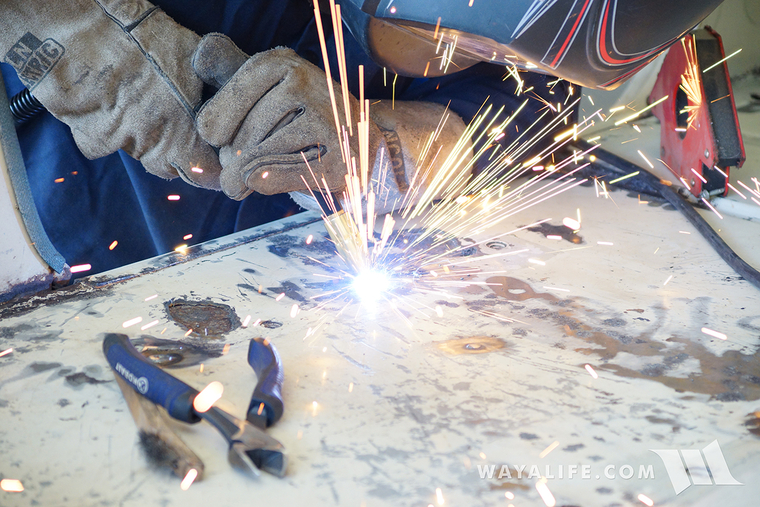
Time to weld up some of the excess holes.
Having a copper spoon is real helpful to with this especially being that the steel on the floor pan is so thin.
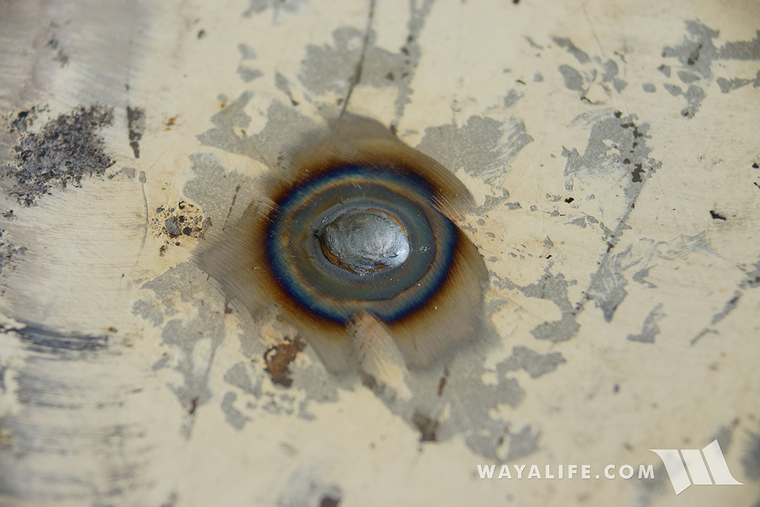
One down and about a dozen more to go.
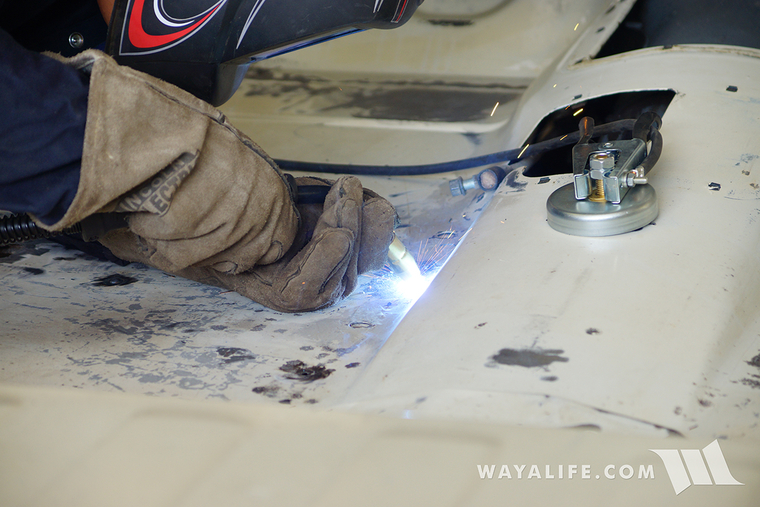
Using a sheet of stock steel of the same gauge that I bought from the local hardware store, I cut out a piece and fashioned it to match the hole in the floor pan. I used a magnet to help hold it in place until I could tack weld it on.
Taking my time, I was able to get it welded on and get all the radiating cracks stitched up as well.
Cleaning up welds a bit to make sure they don't interfere with the installation of the seat mounts.
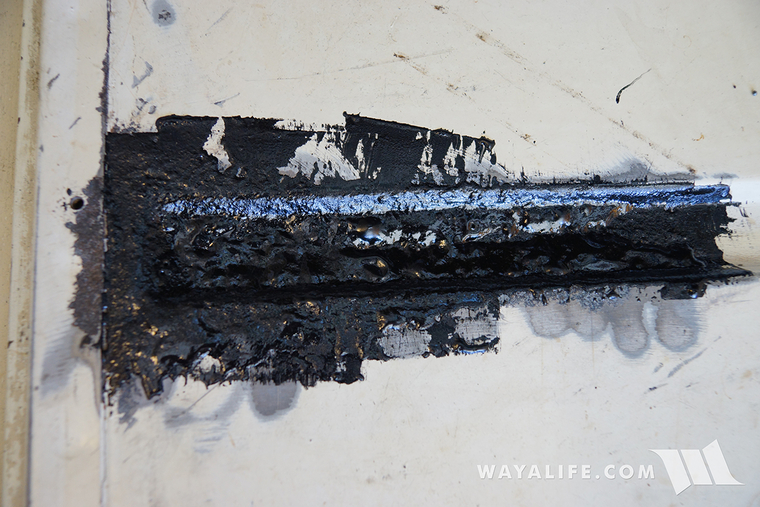
I know it's not the best solution but short of replacing the entire floor pans, I felt that some POR 15 putty would do well enough to patch up some of the rougher spots.
After sanding, cleaning and treating the floor, I applied POR 15 Silver on the remaining lightly rusted areas.
Finally, after sanding, cleaning and prepping the floor again, I painted the entire floor pan with POR Top Coat to give it a nice finish.
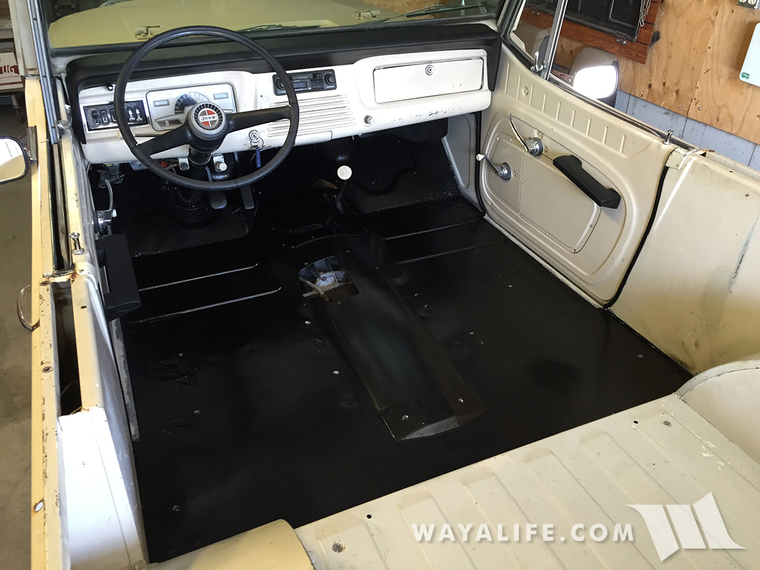
Next up will be installing a new carpet kit and new seats - stay tuned.
Unfortunately, our suspicions were right as we found several rust spots that needed to be dealt with, multiple holes that needed to be plugged and even a large hole with cracks radiating from it that needed to be fixed.
This is the large hole with the cracks around it. Looks like it once was the location of an improperly made seat mount.
Here's a shot of what the floor looked like after removing all the matting.
Time to clean up the loose rust and prepare the holes and cracks areas to be welded up.
With most of the loose rust removed, there were a few spots that broke all the way through and would need to be patched or cut out.
As you can see here, I was able to clear enough rust to open up a pretty good depression but, enough metal was still present that I decided to just patch it. The gaping hole to the right would need to be repaired.
Time to weld up some of the excess holes.
Having a copper spoon is real helpful to with this especially being that the steel on the floor pan is so thin.
One down and about a dozen more to go.
Using a sheet of stock steel of the same gauge that I bought from the local hardware store, I cut out a piece and fashioned it to match the hole in the floor pan. I used a magnet to help hold it in place until I could tack weld it on.
Taking my time, I was able to get it welded on and get all the radiating cracks stitched up as well.
Cleaning up welds a bit to make sure they don't interfere with the installation of the seat mounts.
I know it's not the best solution but short of replacing the entire floor pans, I felt that some POR 15 putty would do well enough to patch up some of the rougher spots.
After sanding, cleaning and treating the floor, I applied POR 15 Silver on the remaining lightly rusted areas.
Finally, after sanding, cleaning and prepping the floor again, I painted the entire floor pan with POR Top Coat to give it a nice finish.
Next up will be installing a new carpet kit and new seats - stay tuned.
RoughRider
New member
Nice! Always fun to see an update!
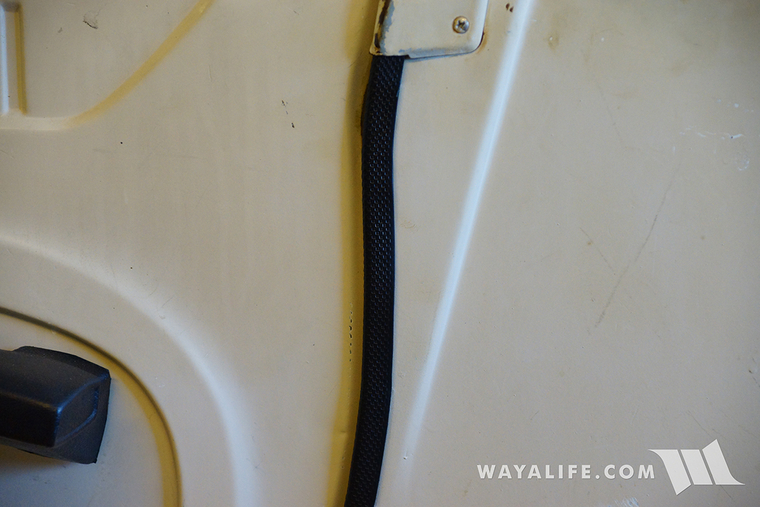
There was some factory weather stripping that was in the blue color that came standard on this Jeepster and I spent some time getting them painted black.
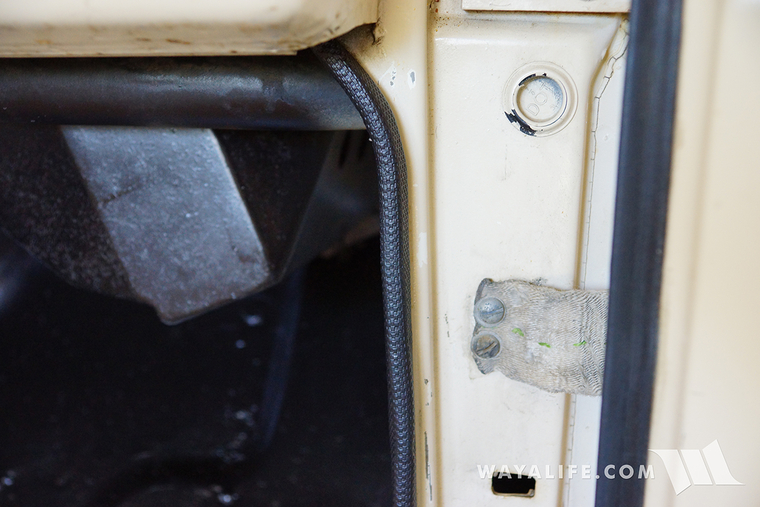
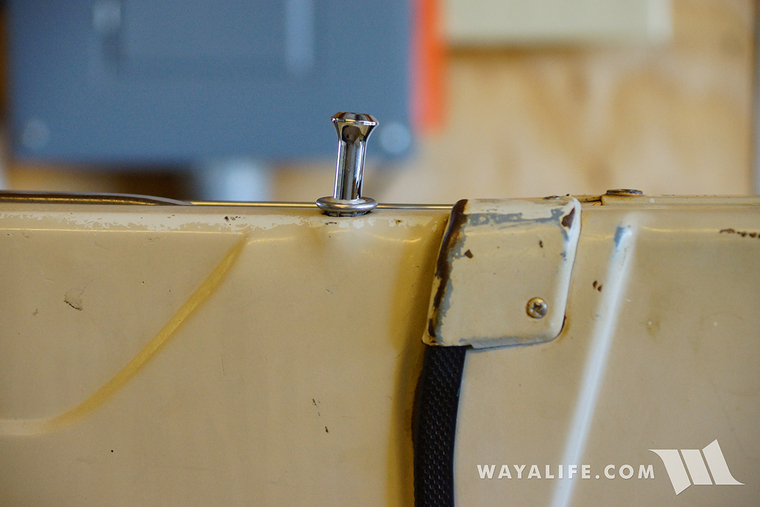
I also picked up some new door lock buttons to cap off the thread-all that was sticking up out of the holes.
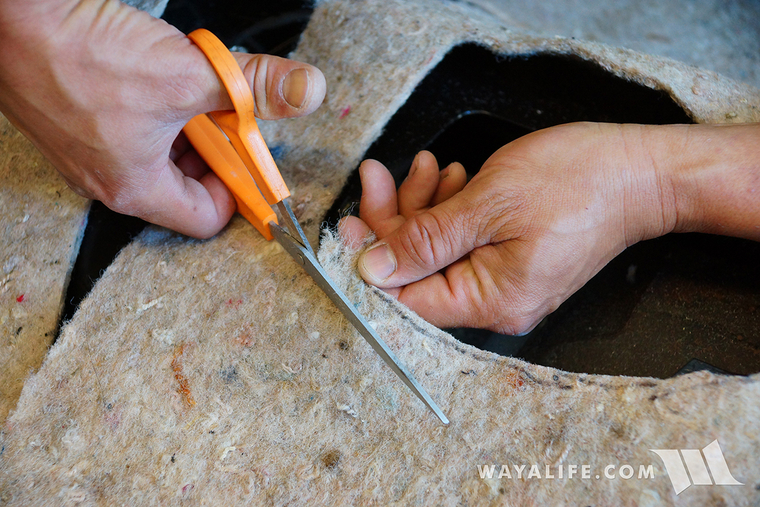
The carpet kit I got came with an insulating pad but, much like the carpet itself, it needed to be trimmed and have holes cut out of it to make it work.
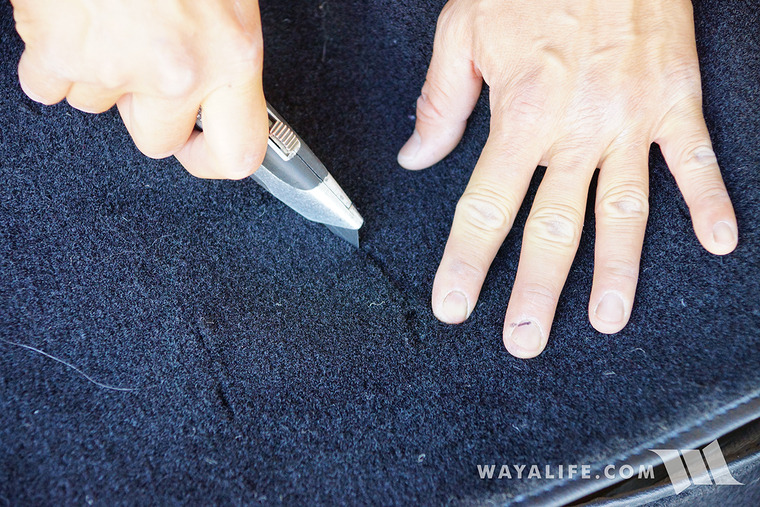
Time to repeat the process on the carpet.
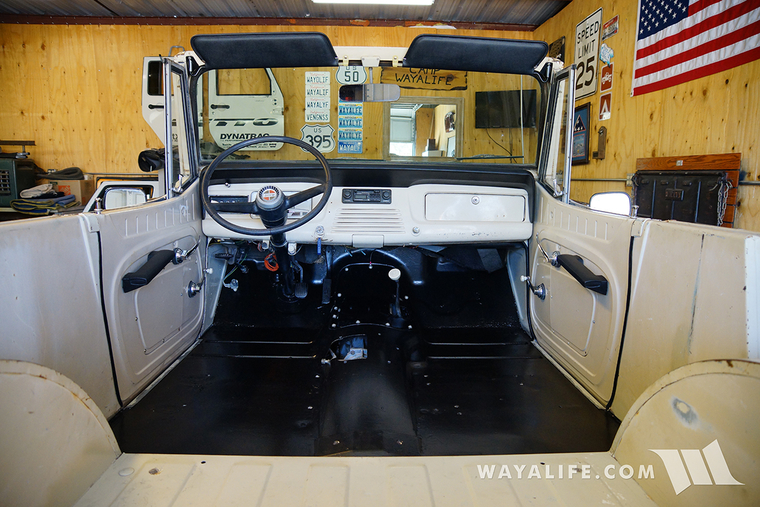
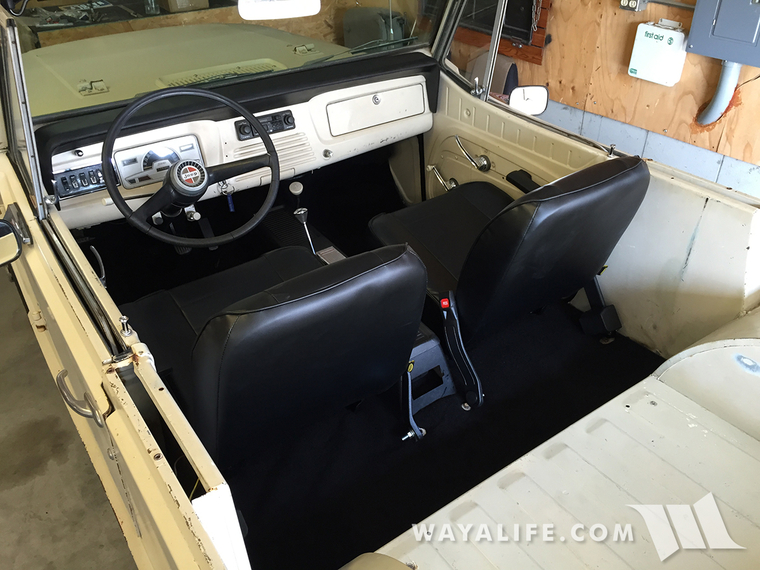
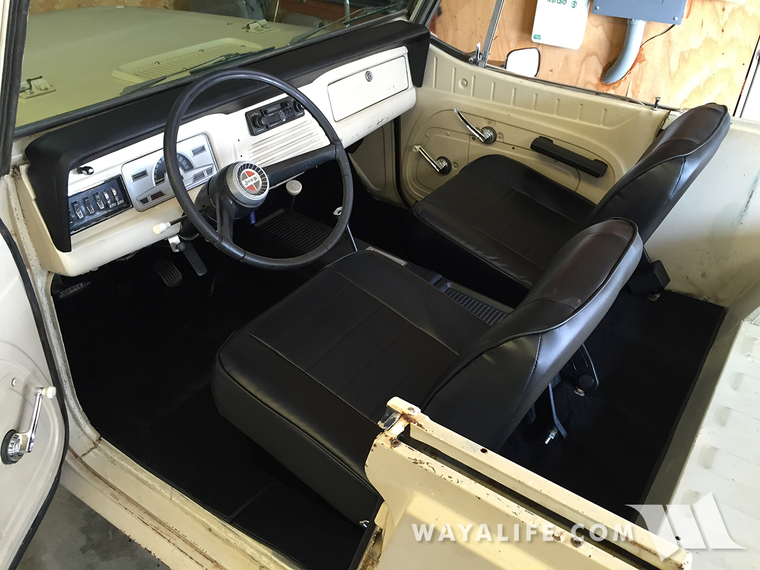
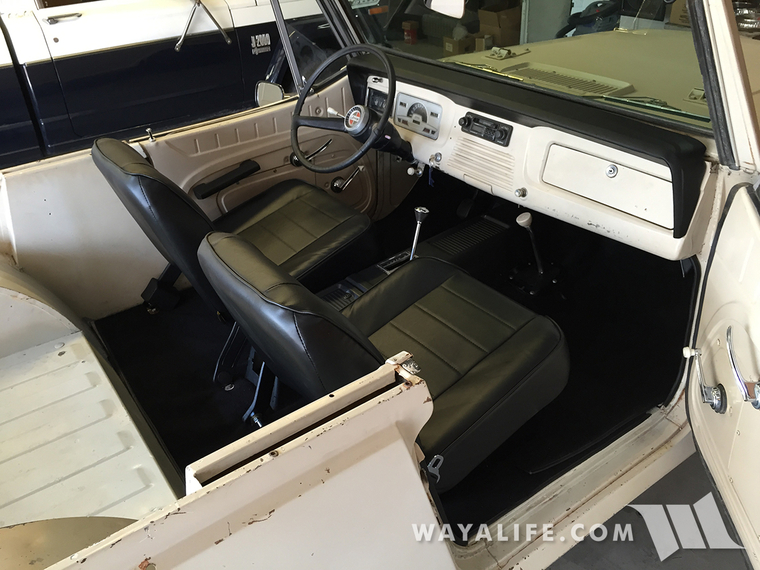
It took a lot of effort but, I was finally able to get the carpeting installed as well as our new seats and seat belts and here are a few initial shots of what it looked like when all was said and done.
I also picked up some new door lock buttons to cap off the thread-all that was sticking up out of the holes.
The carpet kit I got came with an insulating pad but, much like the carpet itself, it needed to be trimmed and have holes cut out of it to make it work.
Time to repeat the process on the carpet.
It took a lot of effort but, I was finally able to get the carpeting installed as well as our new seats and seat belts and here are a few initial shots of what it looked like when all was said and done.