EVO 1/4 Pounder install and Swaybar Relocation

Rusty

New member
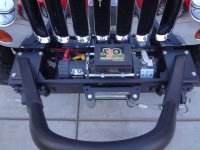
To anyone who has ran this, or other, bumpers that eliminate the fog lights....what did you do with the wiring? Chop it off and electrical tape? Reuse it for some other lighting?

I drilled two small holes in the front lip of the bumper to install to Vision X LED lights.

front lights.jpg

The options are infinite when playing with metal...
 

JK's JK

Banned
I noticed that you cut the lower shroud right at the lower part of the brace and not at the tope of the frame. The instructions that EVO provided didnt clarify that process. Does it really matter if you cut it at the location you did or cut it at the frame?

I'm still a little confused about re-using the bolt. I'll have to remove the bolt today and see what your talking about.
 

cozdude

Guy with a Red 2-Door
Thanks Again for this write up chris! i dont have the 1/4 pounder but i am still going to utilize your write-up on the rubi sway bar flip for when i install mine. hopefully i get to it this weekend.
 

JK's JK

Banned
Thanks Again for this write up chris! i dont have the 1/4 pounder but i am still going to utilize your write-up on the rubi sway bar flip for when i install mine. hopefully i get to it this weekend.

You brought up a good reminder when you posted up Cozdude.

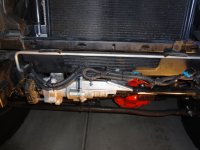
Here are some pictures I took of a different way to flip the swaybar. I personally think it's safer in this direction. I had to bend the bracket that holds the bumper and the swaybar, cut away some plastic trimming but over all it came out great.

DSC01705.JPG
 

BlueCopper

New member
I really like my rugged ridge xhd bumper but that evo bumper sure is sexy. Nicely done sir.

Sent from my DROID RAZR using WAYALIFE mobile app
 

hydrohut

New member
You brought up a good reminder when you posted up Cozdude.

Here are some pictures I took of a different way to flip the swaybar. I personally think it's safer in this direction. I had to bend the bracket that holds the bumper and the swaybar, cut away some plastic trimming but over all it came out great.

View attachment 71005
Hi, would love to know, did you do this in a similar way to Chris? In other words did you use the original bolt and just shift it to another bolt hole and drill out as he did? Or replace with an aftermarket bolt? I'm going to do this mod soon and just looking for the best way to go (there seem to be many variations on this) I do like that electrical plug ending up on top and really out of harms way. The factory placement of this and the evap canister would have to be the two dumbest things I have ever seen on any 4x4. Ive relocated the evap and now the Edisco must rotate!
 

StrizzyChris

New member
Hi, would love to know, did you do this in a similar way to Chris? In other words did you use the original bolt and just shift it to another bolt hole and drill out as he did? Or replace with an aftermarket bolt? I'm going to do this mod soon and just looking for the best way to go (there seem to be many variations on this) I do like that electrical plug ending up on top and really out of harms way.

Its the stock bolt. If you look at the last 10 pics of the original post/write-up you read and see that you keep the original motor mount bolt in the rubber mount/isolator and place. Youll place that stock bolt into the new hole that you tap to clear that bolts shoulder and you wont have to buy any parts or bolts to do the flip. Im sure you can flip it any direction you want to...but it would take a wildly and perfectly placed rock to damage the motor after its flipped like I have it. But if you can get it up higher and feel safer about it, I dont see why not do it that way.

The factory placement of this and the evap canister would have to be the two dumbest things I have ever seen on any 4x4. Ive relocated the evap and now the Edisco must rotate!

If you're creative, you can come up with some cheap and easy place to relocate the vacuum. I did a write-up on my hillbilly homemade relocation here---> DIY 4.23 Vacuum Relocation
 

JK's JK

Banned
Hi, would love to know, did you do this in a similar way to Chris? In other words did you use the original bolt and just shift it to another bolt hole and drill out as he did? Or replace with an aftermarket bolt? I'm going to do this mod soon and just looking for the best way to go (there seem to be many variations on this) I do like that electrical plug ending up on top and really out of harms way. The factory placement of this and the evap canister would have to be the two dumbest things I have ever seen on any 4x4. Ive relocated the evap and now the Edisco must rotate!

To be honest I looked at this write up, up and down to make sure I was accomplishing the flip properly. However I did not re-use the factory bolt as said on the write up on Chris's write up. I ended up going over to Lowes and buying a bolt 10M-1.50 x 100 ($1.66 at Lowes) which worked perfectly. I also used this Youtube video.

http://www.youtube.com/watch?v=zB056ZbhOG0

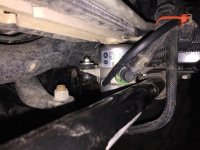
Which prompted me to flip the sway bar the other direction and cut away the plastic. I truly appreciate Chris's write-up and truly appreciate him taking the time to write this up but I think this is safer personally. The connector is no facing the ground, which bring the connector facing up with no way of harm. And from connector down, compared to up, it was a couple inches difference in clearance. With my setup the sway bar hangs down from the EVO front bumper a good 1". However it's harder to get to if you need to get to the connector.

DSC01717.JPG
 

hydrohut

New member
Thank's both of you for that advice and wisdom. No drama involved either way it's done I guess. This will be the next job on my list. Thank's again.
 

hydrohut

New member
To be honest I looked at this write up, up and down to make sure I was accomplishing the flip properly. However I did not re-use the factory bolt as said on the write up on Chris's write up. I ended up going over to Lowes and buying a bolt 10M-1.50 x 100 ($1.66 at Lowes) which worked perfectly. I also used this Youtube video.

http://www.youtube.com/watch?v=zB056ZbhOG0

Which prompted me to flip the sway bar the other direction and cut away the plastic. I truly appreciate Chris's write-up and truly appreciate him taking the time to write this up but I think this is safer personally. The connector is no facing the ground, which bring the connector facing up with no way of harm. And from connector down, compared to up, it was a couple inches difference in clearance. With my setup the sway bar hangs down from the EVO front bumper a good 1". However it's harder to get to if you need to get to the connector.

View attachment 71126
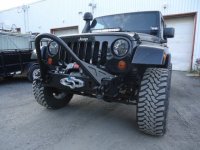
I did this flip today. Very happy that it's all well out of harms way. Cost $2 for the new 10mm bolt and I added a steel sleeve to the bolt 10mm ID and 12mm OD for a snug fit in the rubber mount. Also had to bend the mount bar down slightly as when finished the electrical connector was too close to the radiator for my likeing (just a couple of mm in my case) Bending the bar down just a little gave the connector good clearance that I'm happy with.
 

AlStew

New member
Bumping this thread as well to say thanks for all the detailed pictures which was much more helpful than the black & white instructions.

ImageUploadedByWAYALIFE1419543641.592128.jpg

I tried to flip my sway bar both ways just get to try it out. With sway bar plug flipped up it made contact with the radiator line so I didn't like that. So flipped the motor backwards which I like better.

ImageUploadedByWAYALIFE1419543722.221607.jpg

Went with the MBRP vacuum pump bracket and I just wanted the most simple relocation. It's real similar to the Evo one. If I had to do it again I would just get the Evo one. I had to file the bracket a little so the pump didn't make contact and had to add washers to rubber isolators. With the amount of time I played with it, I would've just gone with Evo or made my own.
 

Srainesrubi

New member
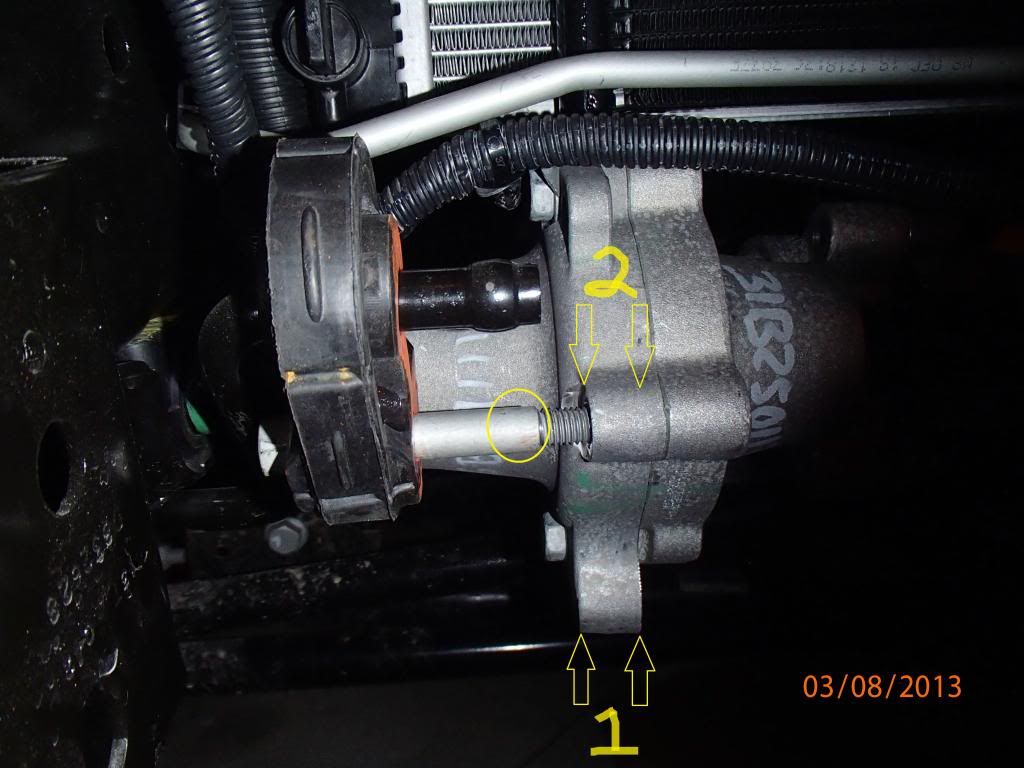
Does anyone remember what size drill bit to use when tapping the sway bar motor mount hole? Got a weekend off gonna be working on the jeep tomorrow and was needing some clarity.
 

KenB1010

New member
I used 31/64 to drill out the sway bar motor. If you don't have that just use 1/2" it will work fine. Thanks for the right up Chris
 

Right Rudder

New member
I can confirm that 1/2" works for the swaybar drillout, just did it today but it was significantly deeper than a half inch almost 3/4" for me. I just looked through the hole from the other side and when i got close to the point the threads started I stopped drilling and it fit fine.

When i sandwiched both spacer plates between the frame connection points and the bumper, then added the stinger on top the bolts would hardly even let the nuts get a bite, so I removed one of the two spacer plates. It was still a pretty tight fit as far as primary bolt length was concerned, has anyone else had this issue or did I possibly get the wrong length bolts with my kit? I saw a note on the instruction after the fact that there are 2" and 2.5" options but they were all installed at that point and I didn't want to worry about pulling one out just to measure as everything seemed solidly connected and secure.
 
Last edited:

StrizzyChris

New member
I can confirm that 1/2" works for the swaybar drillout, just did it today but it was significantly deeper than a half inch almost 3/4" for me.

Just so that it is clear, you are only needing to do 1/2" so that the shoulder of the original bolt can recess into the boldy of the swaybar motor. you are not doing this to clear out the entire first half of the sway bar body to the other half. (hope that makes sense)

swaybarrelocation.jpg
 

BitBucket

Member
Can anybody recommend a fog light replacement that uses the oem fog light wiring harness and plug since the 1/4 can't use the original fogs?
 

mackey

Member
Can anybody recommend a fog light replacement that uses the oem fog light wiring harness and plug since the 1/4 can't use the original fogs?

I bought the EVO winch / light attachment for the 1/4 bumper. I then bought 2 cubes from Inspired Engineering. They are a plug n play with the OEM wiring harness. Very simple. Plugs right in. Controlled by the OEM fog light switch. Easy project.
 
Top Bottom