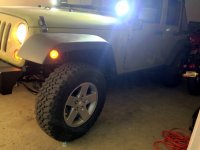
Joshua's lil piece of this WAYALIFE

IBeHeWhoIsJoshua

New member
So I have finally got some good parts installed and somewhat good stories to share.
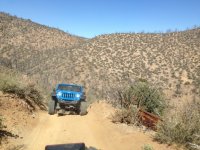
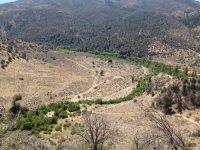
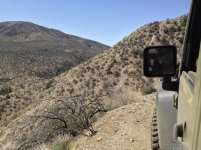
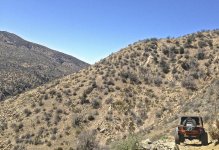
With that...Here is my budget build thread and my thoughts along the way. Why a budget build? I want to go on trails now but can't afford some of the more allowing equipment to get me to some of the places. So, I am getting things to get me by for awhile. I also don't know if I will be keeping this Jeep or trading it in in the near future for a Rubicon or maybe the next gen when they come out. All I do know is, I am having a blast with this one until that day comes, if it ever does. After one really good run up Miller Trail in Lockwood Valley I learned a lot about my Jeep and what I will need. I won't go in to it here, I will add posts and pictures of things along with my descriptions for why or how and maybe a review or two. Some pictures will be on the forum in one place or another as I don't take enough pictures of the Jeep so I am sorry for that, I will be recycling some of the pictures for this thread and maybe vice versa. Thanks for looking in and always feel free to share your thoughts or opinions or invite me somewhere!
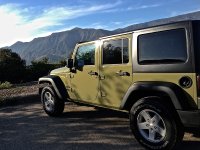
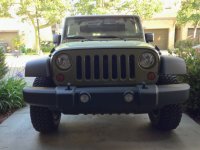
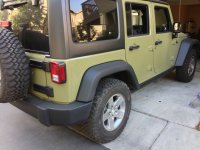
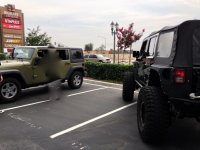
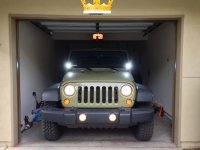
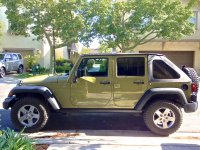
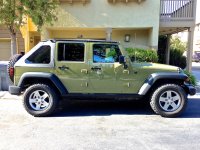
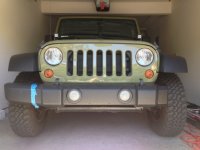
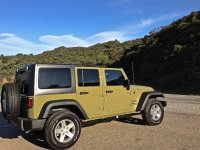
Here are a couple pictures when I first brought her home
IMG_4549.jpg f1b4d4a2-3fed-43ce-b0b3-b0738e5710b4.jpg
 

IBeHeWhoIsJoshua

New member
Rubicon Tires and Rock Rails

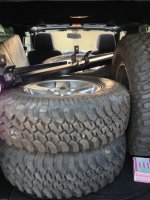
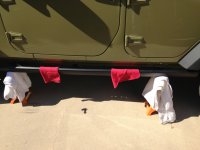
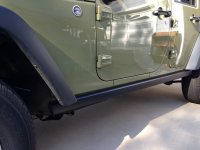
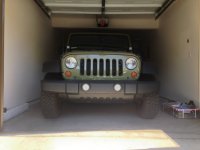
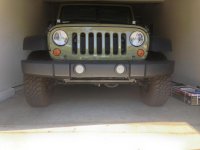
First upgrades besides debadging was to get some Rubicon take-offs. I missed a run over Miller because the lack of protection and mall crawler tires that came on my Sport. After some digging around I found a fellow WAYALIFE'er that his sale thread got buried. I lucked out and berry2k was nice enough to let me come over and gave me a really good deal on his old rock rails. After chatting a bit and drooling over his rig, he persuaded me with another good deal on his wheels/tires! Thank you berry2k they have treated me great!
IMG_4849.jpg IMG_4860.jpg IMG_4861.jpg IMG_5050.jpg IMG_5048-2.jpg
 

IBeHeWhoIsJoshua

New member
First outing: Ballinger Canyon OHV

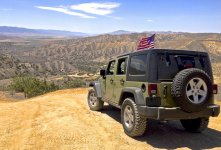
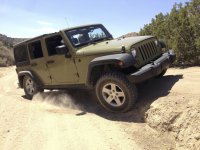
After my buddy got a new Hero3 Black Edition and wanting to learn how to use it I decided to scratch the itch of poppin my Jeeps cherry. Not a lot of pictures and really only two good ones. We were just out having fun and got more video that I honestly need to edit and get on YouTube. Didn't disconnect this time.
IMG_5110-1.jpg photo3.jpg
 
Last edited:

IBeHeWhoIsJoshua

New member
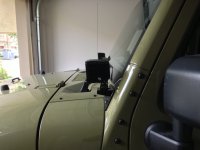
Spidertrax & Rigid Duallys/Rugged Ridge Windshield Bracket

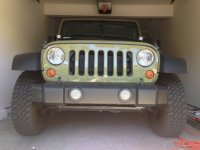
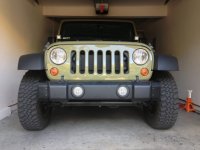
Sniffin around on the sale thread I came across what I thought was a good deal on some used wheel spacers and lights. Thank you again Bigblock! I would like to add that I wasn't happy with the diffused lens, researched and couldn't find lens replacements for sale. I called up Rigid Industries and they are now on their way to them to have the lens swapped out. They actually answer their phones and provide great customer service. $35 each to replace the lens and they will keep honoring their great warranty and ship them back to me free of charge.
So my brother and I made the trip down to meet Bigblock and I edited him out of the picture as I don't have his consent...his rig is a beast!
IMG_5205-1.jpg
Before spacers
IMG_5206.jpg
After spacers
IMG_5208.jpg
Lights off front view
IMG_5213.jpg
Lights on front view
IMG_5215.jpg
Side view
IMG_5217.jpg
I didn't mount the switch...it kinda jimmy rigged as I am not sure where I want switches just yet. So no photo or info on that.
 

IBeHeWhoIsJoshua

New member
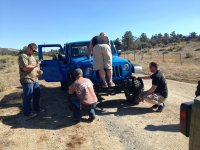
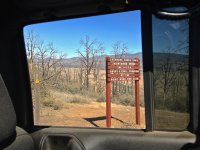
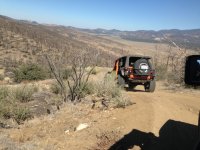
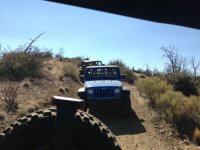
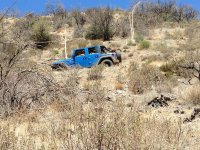
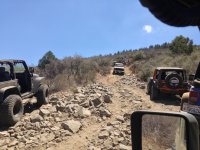
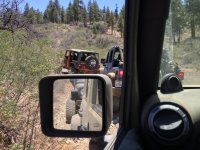
Fist run over Miller Jeep Trail

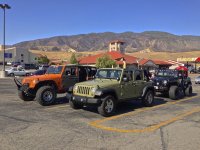
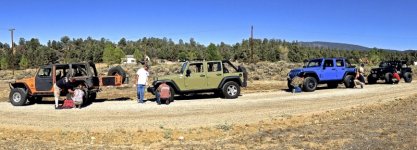
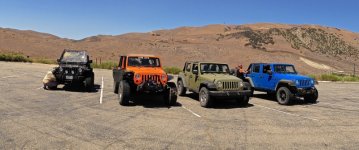
Met a few guys from here and had a great time! ShinDiggity, RockyJk, Chris@OffroadEvolution Thank you for the help and your patience. I hope I get to wheel with you all again!

The meet up
IMG_5271.jpg

Airing down
IMG_1909.jpg

Removing ShinDiggity's anti-sway bar on uneven ground
IMG_1921.jpg
IMG_1930.jpg

Chris@OffroadEvolution
IMG_1933-1.jpg

ShinDiggity followed up by RockyJk
IMG_1939.jpg

First stop
IMG_5272.jpg
IMG_1973.jpg
IMG_1985.jpg
IMG_1987-1.jpg
IMG_1990.jpg
IMG_2001.jpg
IMG_2005-1.jpg

Stuck behind some creepy crawlers...aka drug traffickers is my assumption
IMG_5277.jpg
IMG_5279-1.jpg
IMG_2035-1.jpg

Airing back up and saying our goodbyes
IMG_5292.jpg
 
Last edited:

RockyJk

Active Member
Met a few guys from here and had a great time! ShinDiggity, RockyJk, Chris@OffroadEvolution Thank you for the help and your patience. I hope I get to wheel with you all again!

I will edit this from my phone and upload some photos as it is much easier. Edit...Cant add photos from app when you edit the post haha I will be back in a few

It was cool meetin you too! Pretty sure we'll go wheeling again :thumbup:

Looking forward to seeing your rig EVOlve
 

IBeHeWhoIsJoshua

New member
Bestop Trektop NX

Got a good deal on the top and using Google shopping to get to Quadratec's sale...I got free shipping also! Then I sold my hard top which funded the soft top and my suspension.

IMG_8267.jpg
IMG_5369.jpg
IMG_5367.jpg

Little update as I wanted to give due credit. After reading StrizzyChris' awesome story about his Trektop NX, I used his write-up and pictures to help me along and prepare me. Thank you for the posts and thread StrizzyChris!
http://wayalife.com/showthread.php?6825-Scorpicon-Build-Thread/page11&highlight=Scorpion+Build
 
Last edited:

IBeHeWhoIsJoshua

New member
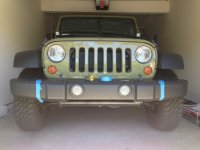
Rough Country Steel End Caps - Stubby Bumper Mod

Ordered these through Amazon and they were packaged horribly. They were chipped and scratched but, oh well. Came with a sticker!

Before I started
IMG_5474.jpg

Removed my aerodynamics
IMG_5476.jpg

Measured and taped off 3 1/2" per directions ( I recommend closer to 3" to have them fit better ) I also followed the line of that part that sticks out and that seemed to work better. I would also suggest using a grinder/cut off wheel for better control, versus the directions saying to use a reciprocating saw like I did.
IMG_5478.jpg

Cut off one side and test fitted
IMG_5480.jpg

Other side cut, decided some trimming need to take place ( Closer to the 3" I mentioned above ). Per the directions I used the caps in place and ran my 1/4" drill bit through the holes to drill through the plastic. Decided I didn't like the plastic push pins holding them on and drilled through the steel part of the bumper and will add bolts later on.
IMG_5482.jpg

All done with push pins in place. I love the look and glad I did it! Should also ease my mind when on the trail just a little.
IMG_5484.jpg
 

IBeHeWhoIsJoshua

New member
EVO Leveling Kit!!!

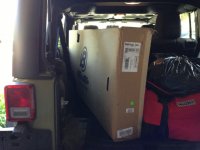
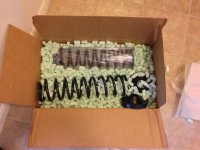
Not much information out there about this kit. Comes with 2" coils I believe giving 1.5" of lift and 3/4" spacers for the rear. No sticker(s) :gray no: I ordered through Epic Addictions as they were the only ones that had this kit for sale. Just my experience, 4 calls to EVO finally got someone to help me, it was Mel! I was pretty excited as he is like a celebrity to me along with some of you that might read this. EVO was really busy and it showed with how I was treated. Mel didn't know pricing and sent me to their website, I said the kit isn't on your site and he said he would have to call me back and I asked for shipping quote as well. I really wanted to order directly. Never got a call back. I was bummed about the experience but it's ok. I used to work at a shop and know how it can get. Plus, I am asking about a $250 kit while guys have these awesome DTD builds haha. Anyways, Epic Addictions had amazing customer service, I definitely recommend them. After my terrible grammar I will have to edit later, here is what the kit looks like.

IMG_5490.jpg

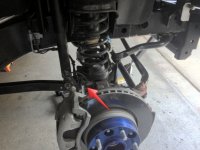
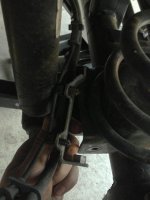
Getting started, I jacked up the rig and removed the wheels. The red arrow is where I decided to "un-mount" my brake lines to get more down travel of the axle (going to need all you can get).
b88c99f4-fec8-4a51-806a-efe61955bc64.jpg

The brake line bracket removed
IMG_5488.jpg

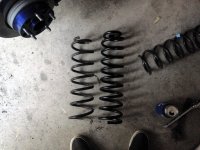
Less pictures from here on out. But, I removed the lower bolts from the shock absorbers, the axle side bolt from the track bar, and the axle side anti-sway bar links. Lowered axle and pulled out the springs. Here is a comparison shot of the stock springs and the EVO leveling springs.
IMG_5498.jpg

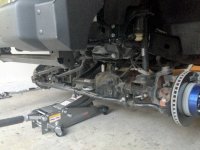
Here is one with everything disconnected, springs removed and axle lowered
IMG_5496.jpg

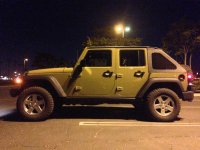
That is pretty much it, finagle the new springs in, jack axle up to compress springs, reconnect anti-sway bar links, shock absorbers, track bar (torque this important guy down!! I believe 125 ft. lbs.) and your brake line bracket. Put your wheels/tires back on, stand back with your beer and enjoy! Here is a couple of crappy night shots and I will try to come back later today with some day shots.
IMG_5502.jpg
IMG_5506.jpg

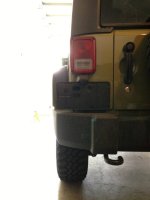
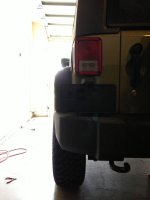
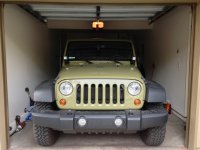
You will notice I didn't install the rear spacers yet. I am going to see how the springs settle. When I started my measurements from center of hub to bottom of fender were 19.5" front 21" in rear 1/2" lower passenger side with 3/4 of a tank of fuel. The front is now about 21 3/4" - 22". I will commute to work this week and see what happens, I have next weekend off and will install spacers if I need to. These springs are quite a bit stiffer, even with the stock shock absorbers, the ride has improved tremendously and the Jeep feels a lot more balanced and stable. Handles our crappy So-Cal roads better. I can probably use an alignment but, I am not in a rush...it didn't change much. I am very happy with how this turned out.
 

silverbackjk

New member
Met a few guys from here and had a great time! ShinDiggity, RockyJk, Chris@OffroadEvolution Thank you for the help and your patience. I hope I get to wheel with you all again!

The meet up
View attachment 45725

Airing down
View attachment 45726

Removing ShinDiggity's anti-sway bar on uneven ground
View attachment 45727
View attachment 45728

Chris@OffroadEvolution
View attachment 45729

ShinDiggity followed up by RockyJk
View attachment 45730

First stop
View attachment 45731
View attachment 45732
View attachment 45733
View attachment 45734
View attachment 45735
View attachment 45736
View attachment 45750

Stuck behind some creepy crawlers...aka drug traffickers is my assumption
View attachment 45751
View attachment 45752
View attachment 45753

Airing back up and saying our goodbyes
View attachment 45754
reat pics looks like a fun trip.
 
Top Bottom