IceKnight
New member
I'm not 100% sure where to begin with my build. Seeing as how I build it once and now have completely torn it down and rebuilt it.
I guess I'll do a short sum up of my Jeeps life and detail the actual build over the past two years or so to get everyone up to speed.
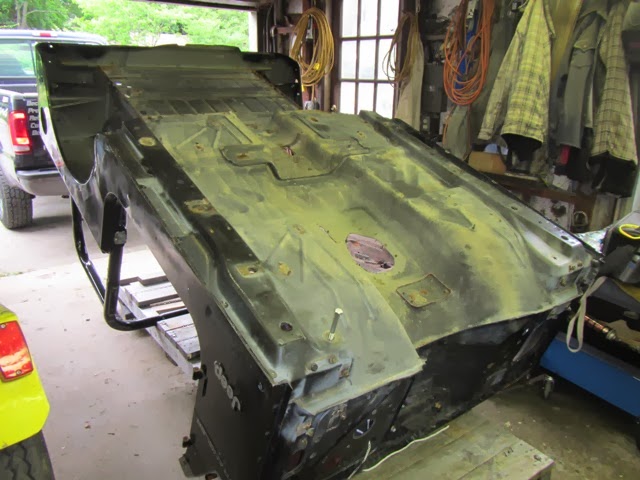
My Jeep started life as a 98 Wrangler Sport with a no name 4 inch lift and 33'' Futura Dakota RVT

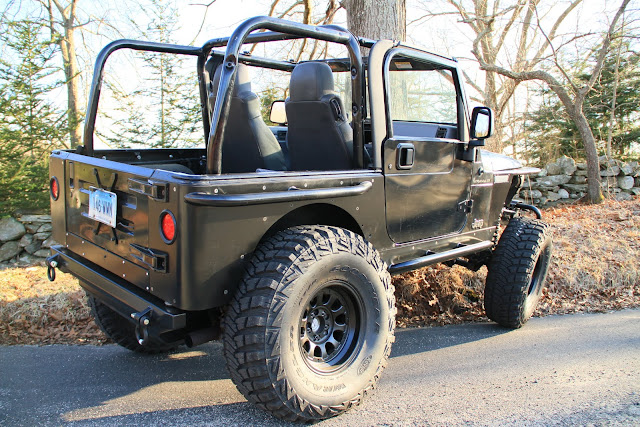
Over time I did the normal stuff we all do, front and rear bumpers, rocker guards, suspension, exhaust, tires etc... and it looked like this.

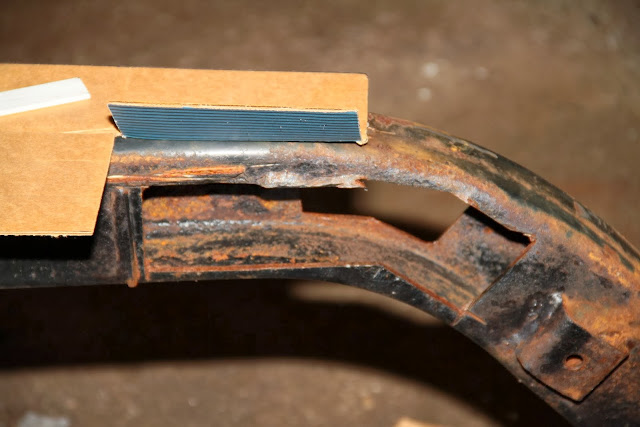
It was around this time that my weekly routine was to get to work early to weld my control arms back on my frame or axle...which ever one decided to rip out that day, gotta love New England and our wonderful rust. After doing this a few to many times my awesome wife gave me the green light to, as she put it "do what you do", and so the work began.
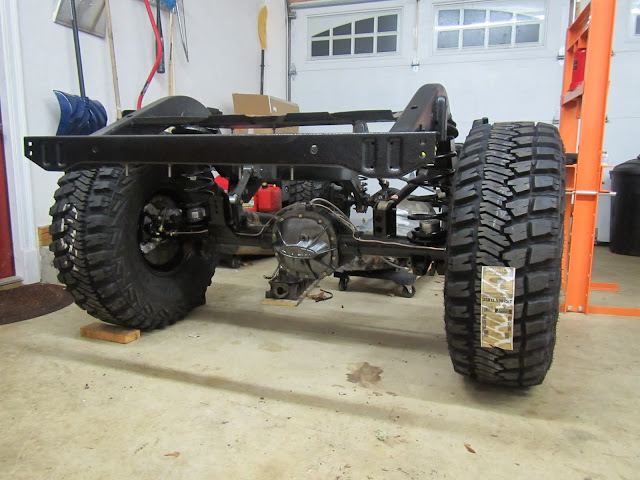
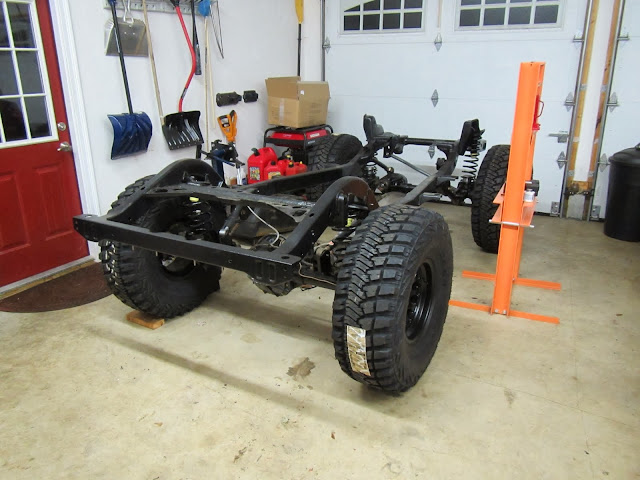
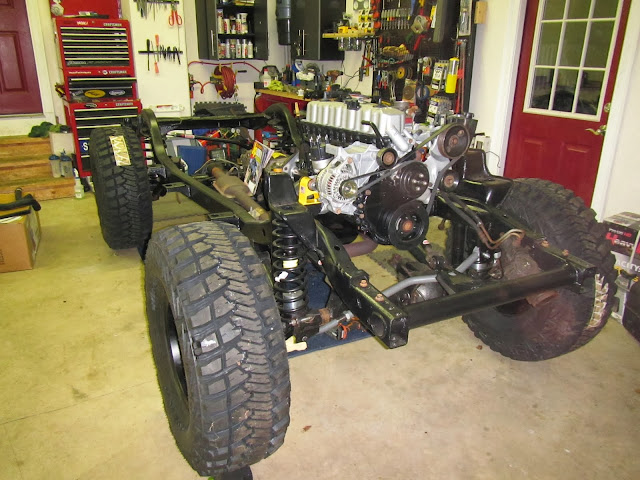
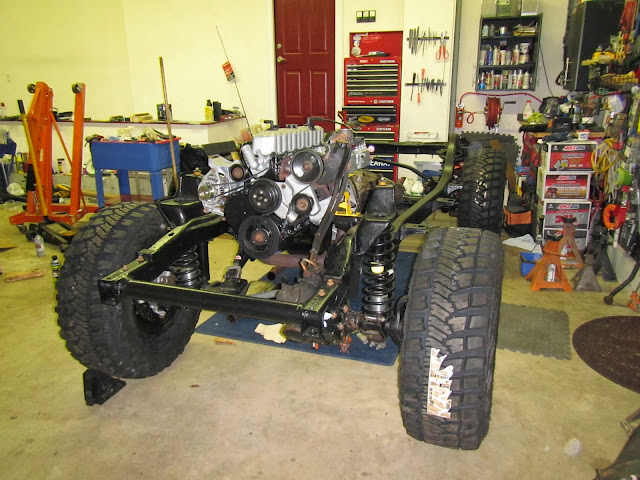
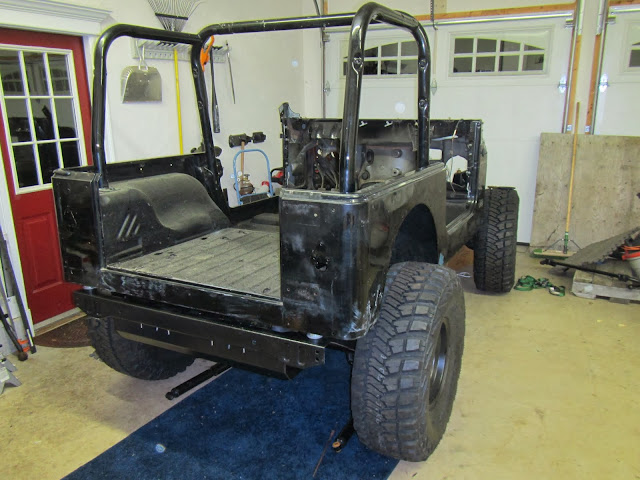
My build so far is looking like this...
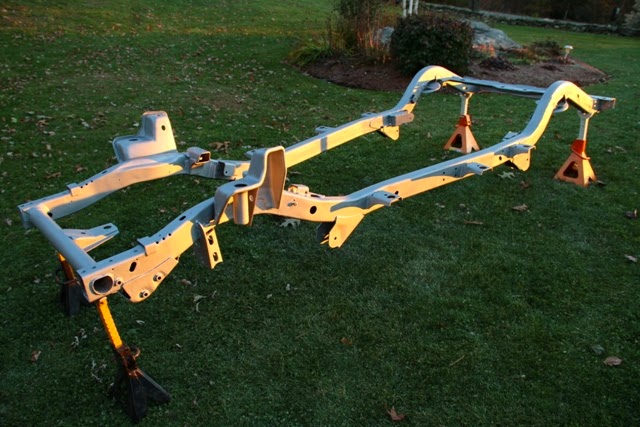
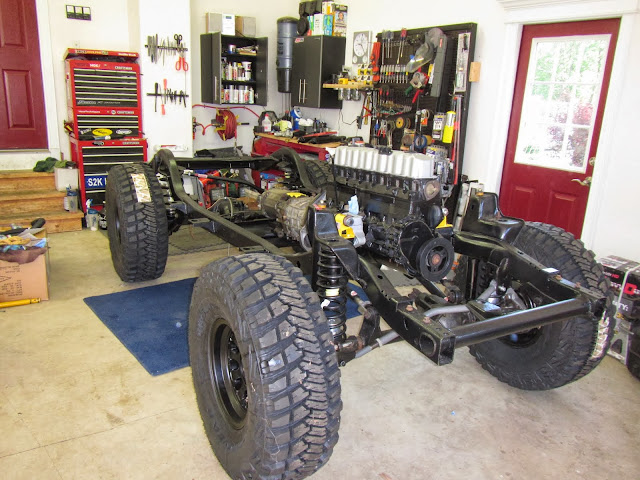
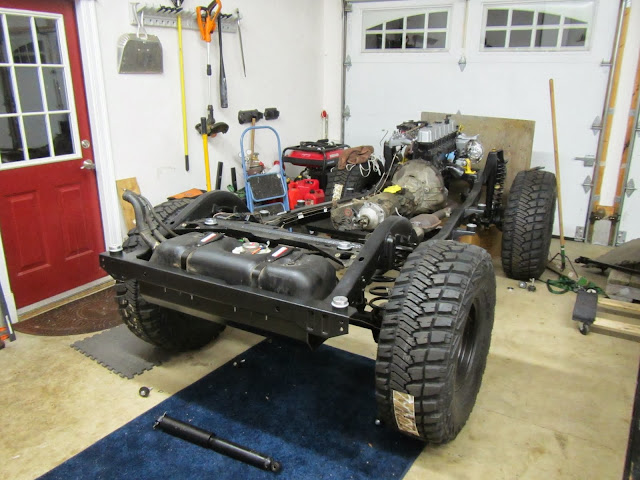
Frame
2000
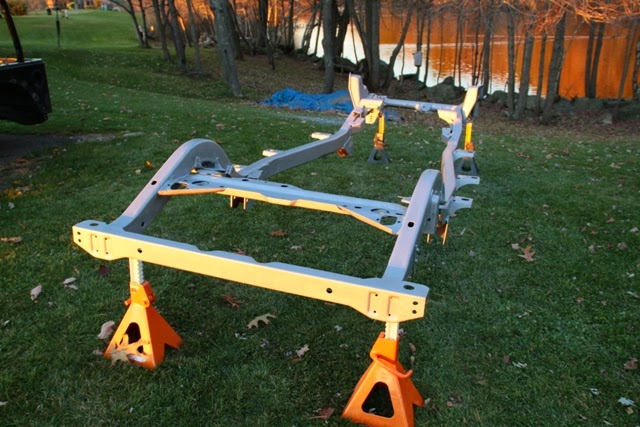
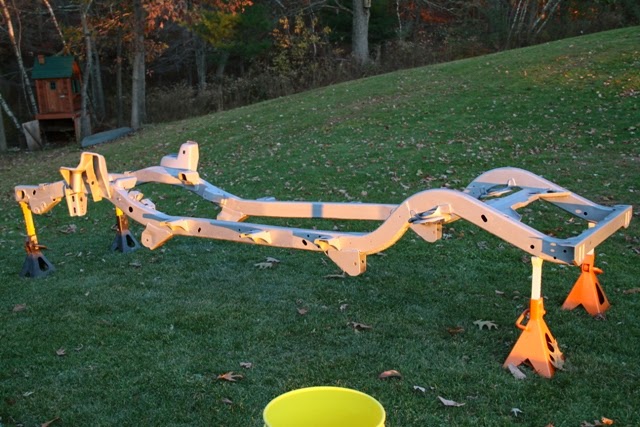
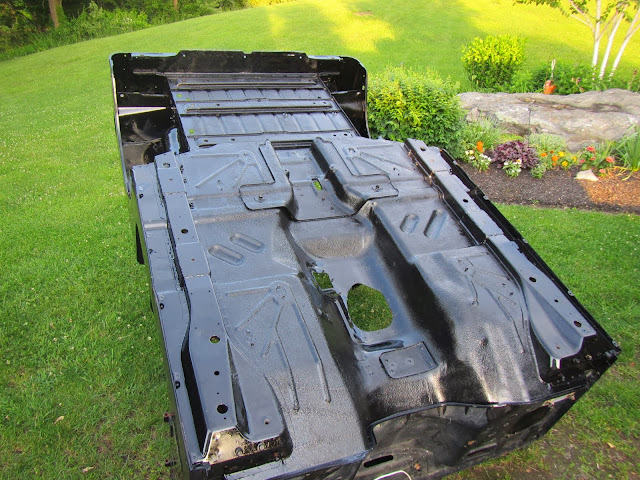
Completely stripped
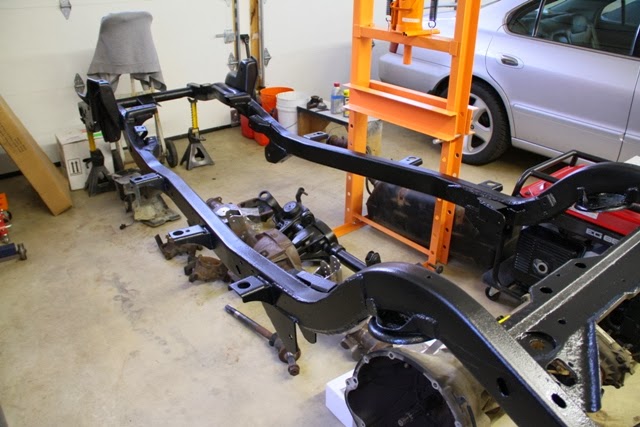
Coated inside and out with Rust Bullet
New motor mounts
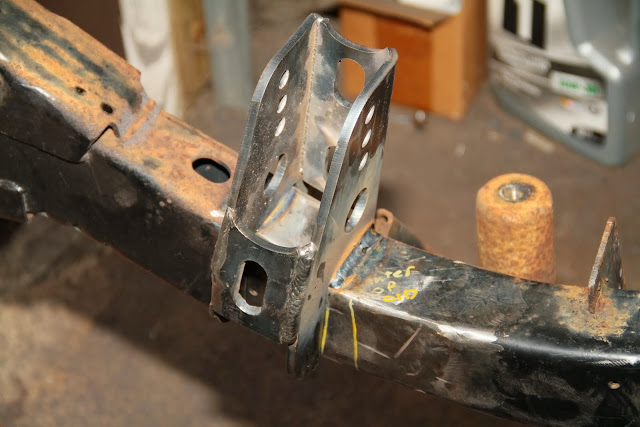
New front track bar mount
New steering linkage mount
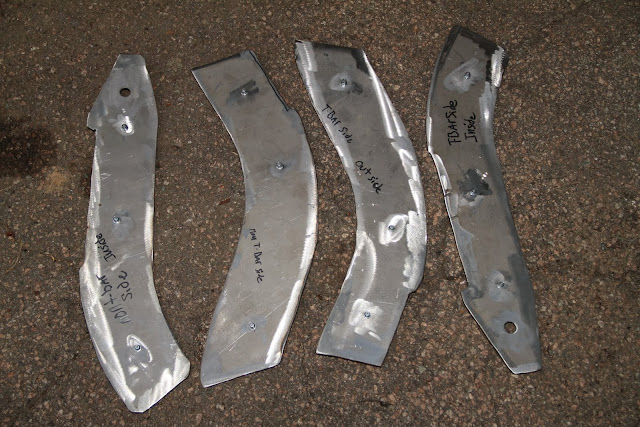
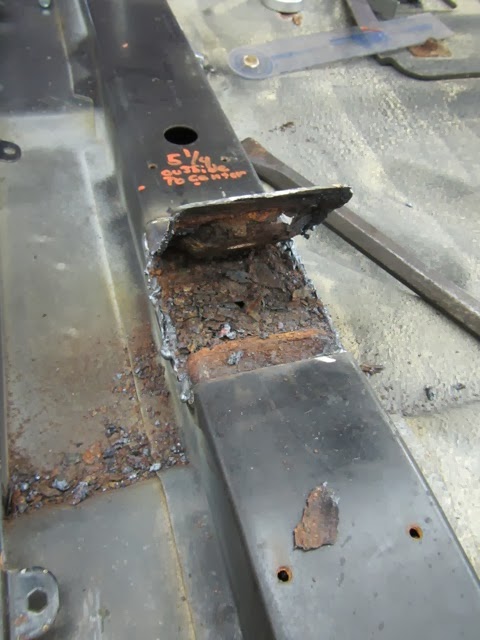
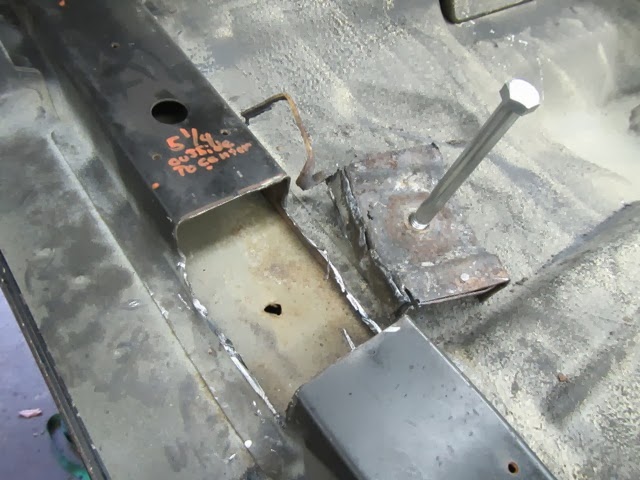
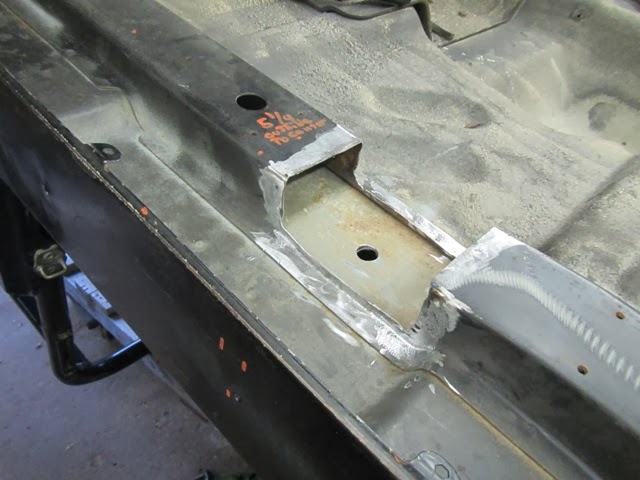
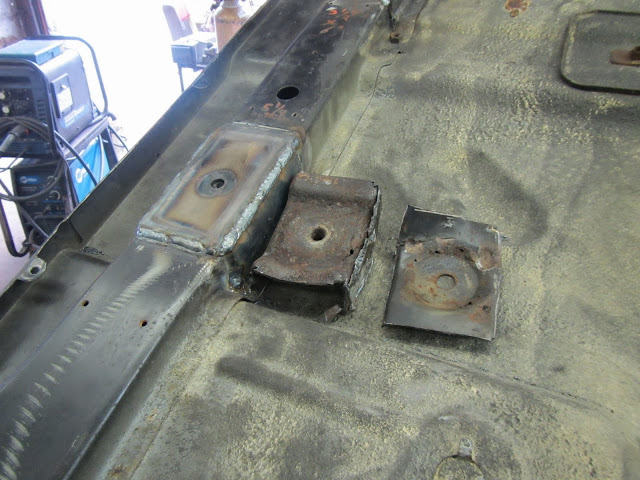
Newly fabed rear control arm mounts
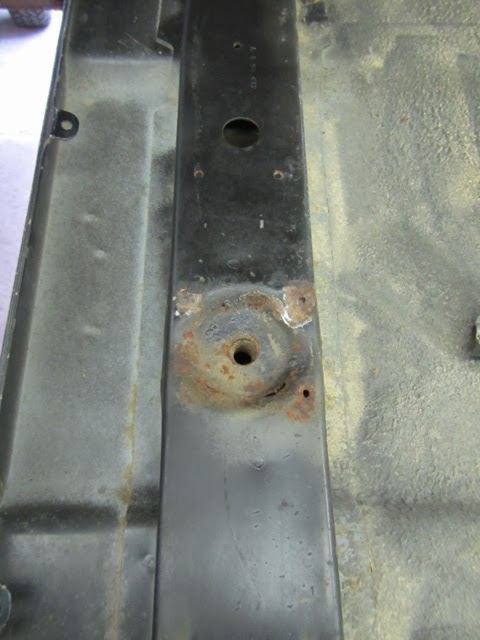
Reinforced rust prone areas of frame
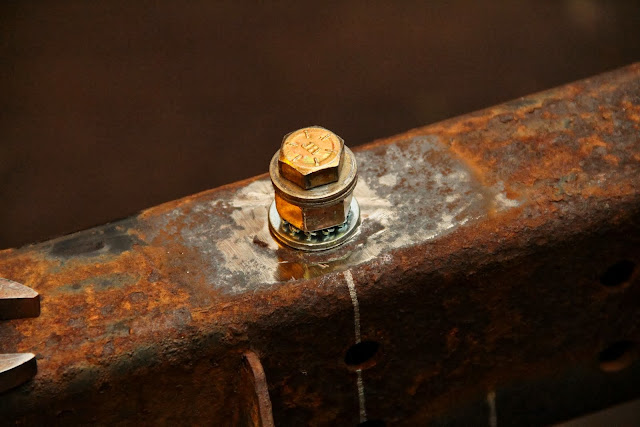
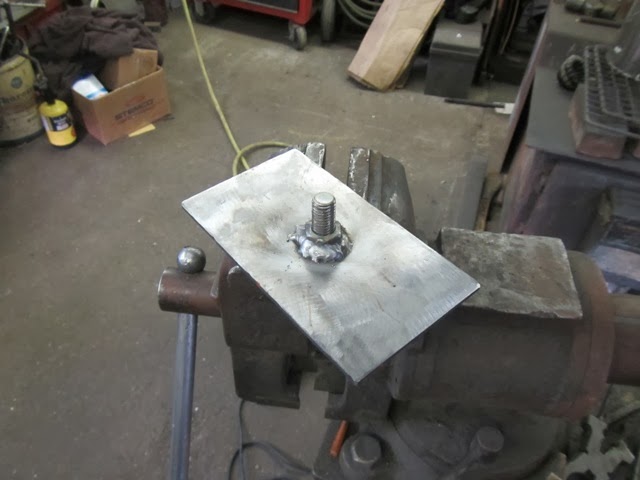
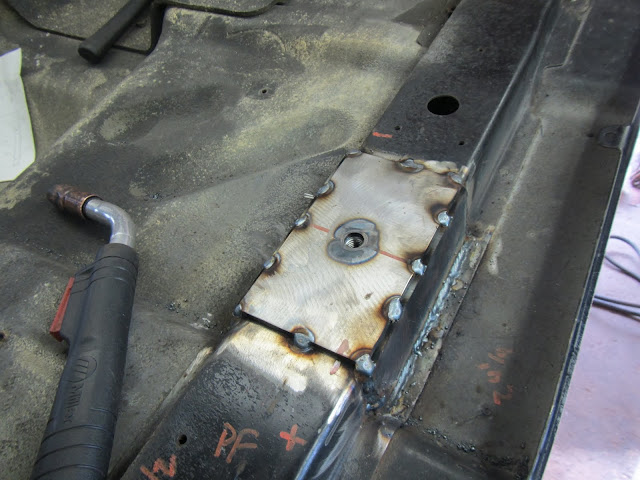
New transfer case nutserts
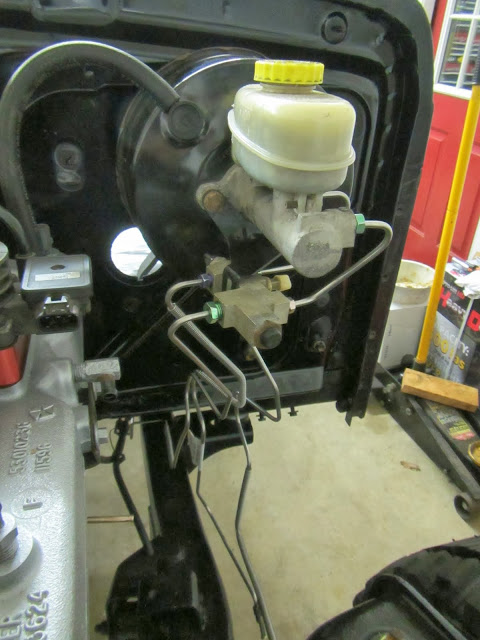
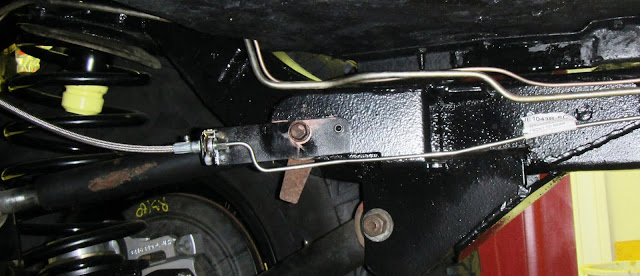
New Classic Tube SS brake lines
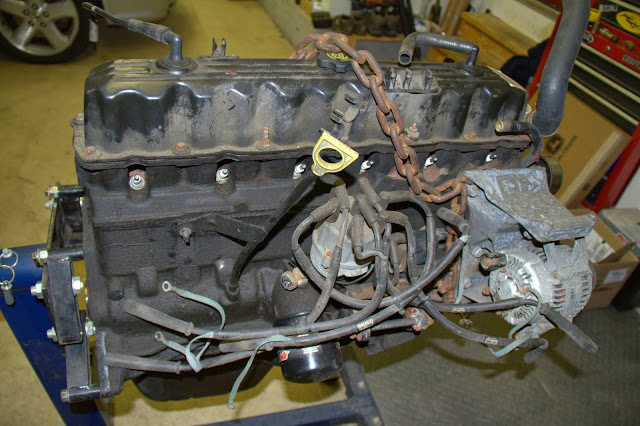
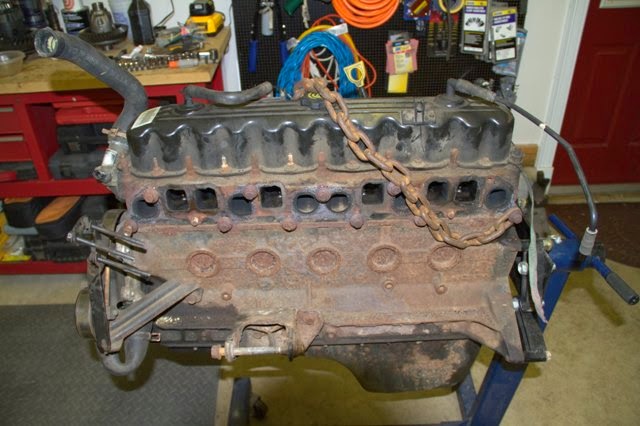
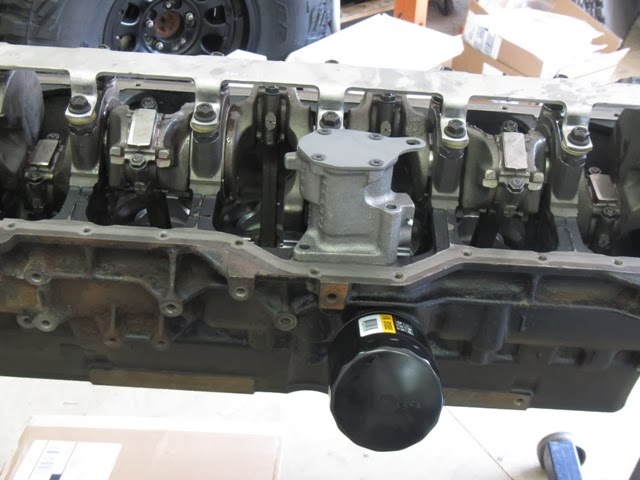
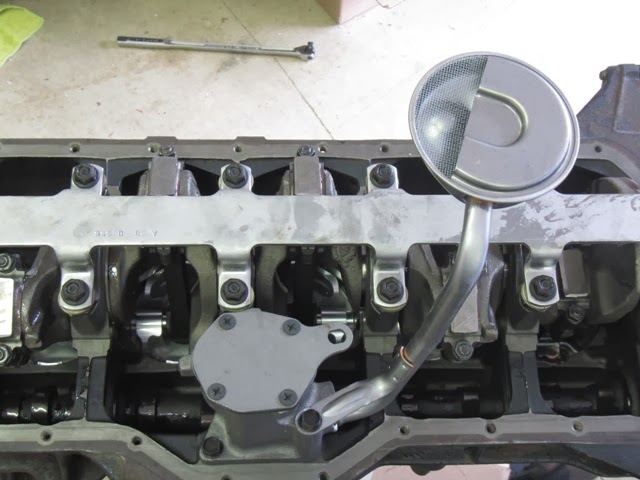
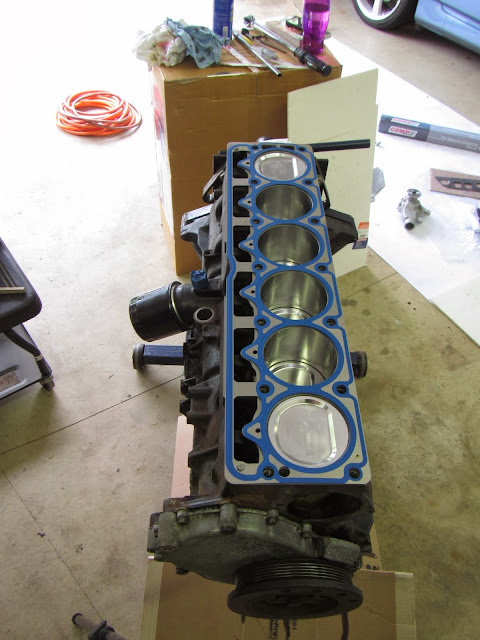
Motor
4.6L I-6
4.2 Crank
Brown Dog MML
Icon IC944 .30 pistons
Comp Cams 68-232-4
Mopar performance valve springs / Retainers - 5249464 / 4452032
Mopar performance head gasket - 4529242
Arp head studs
Melling oil pump
62mm TB
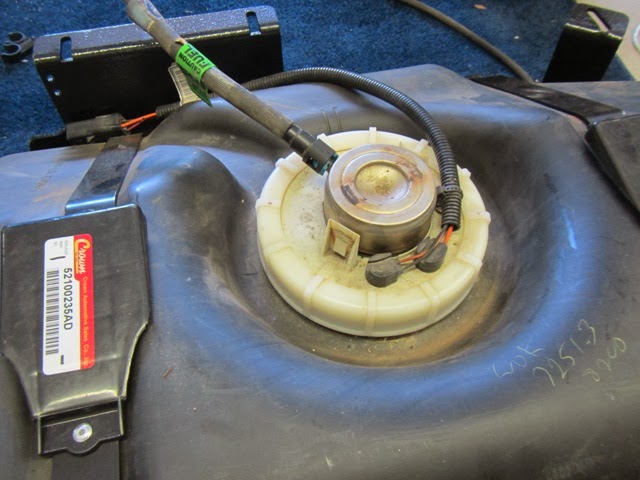
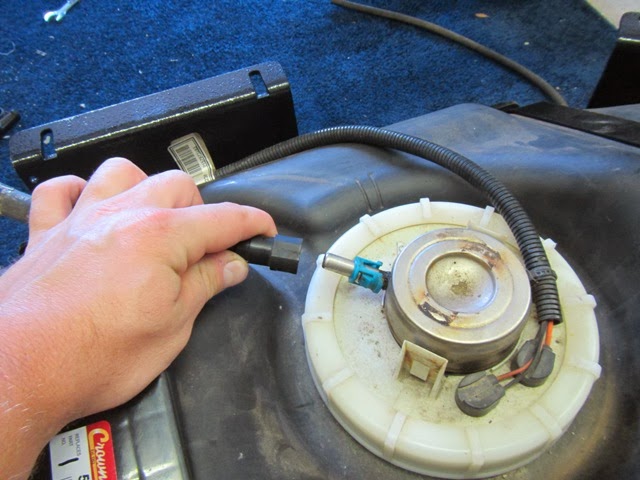
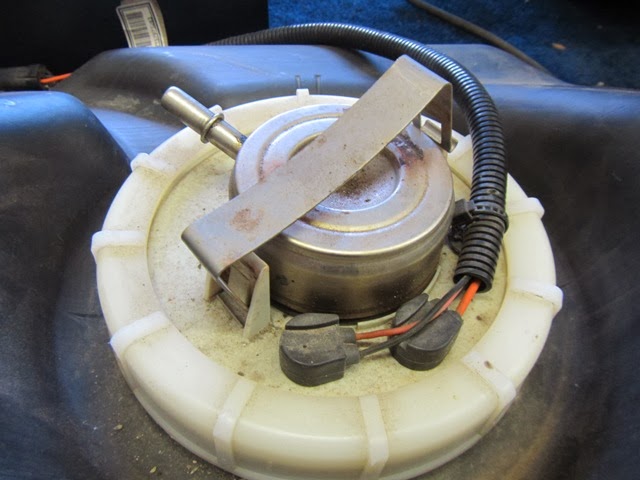
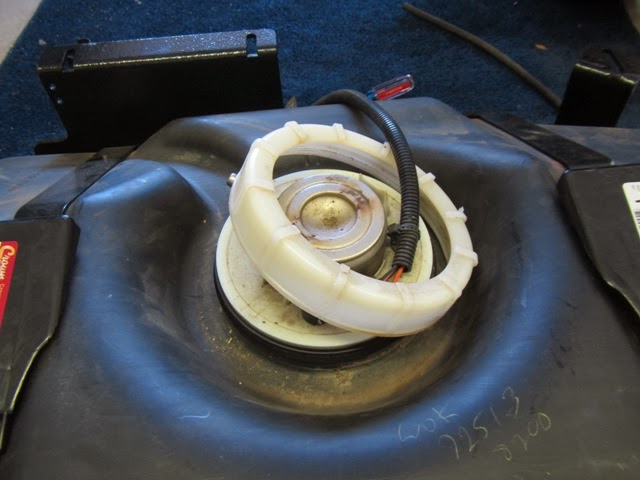
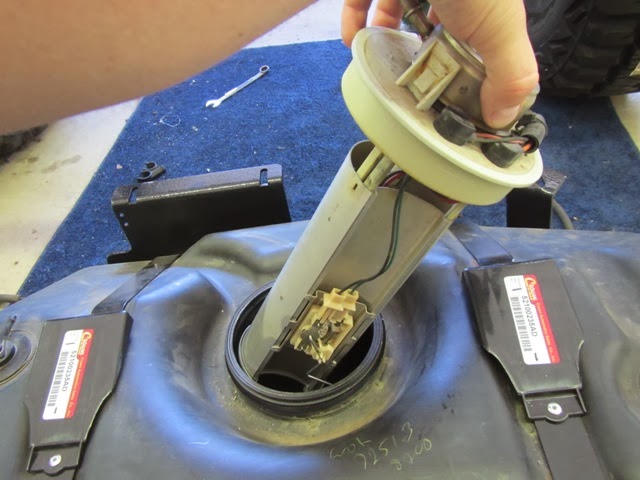
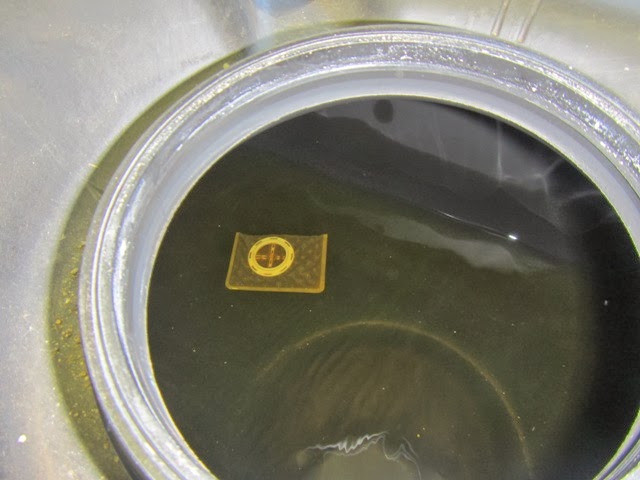
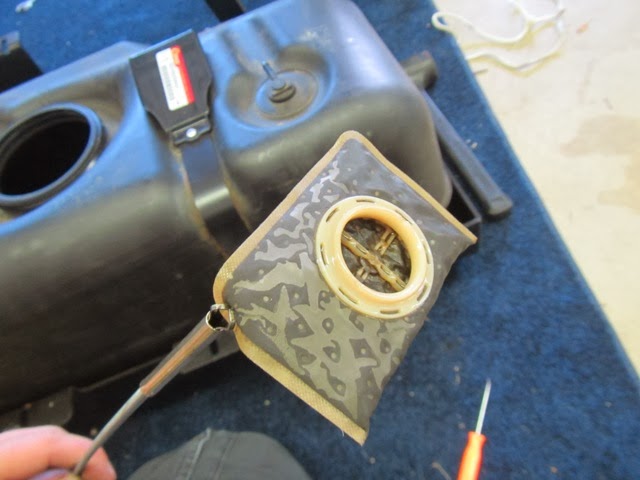
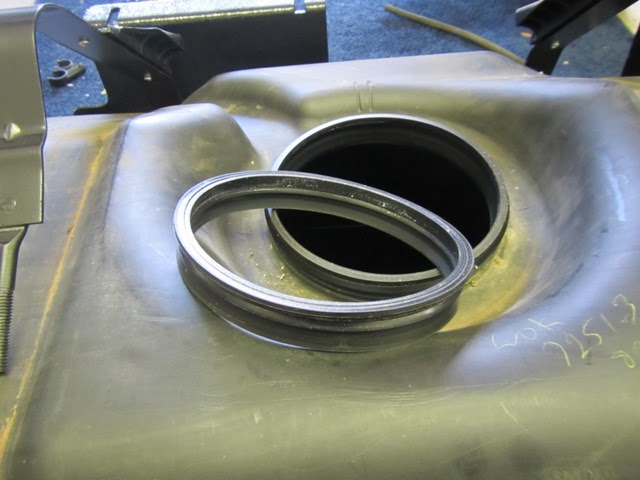
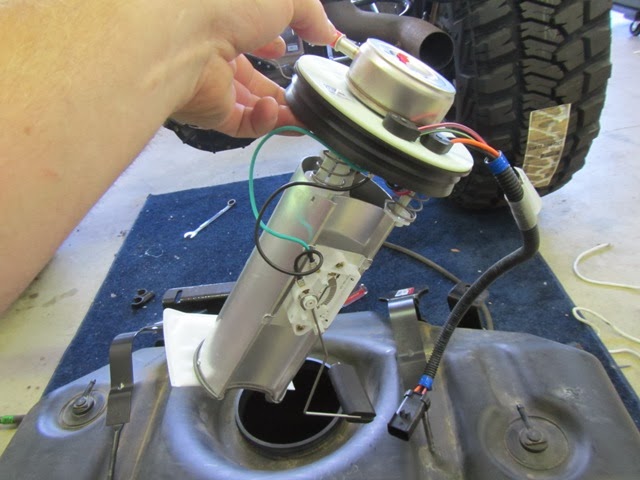
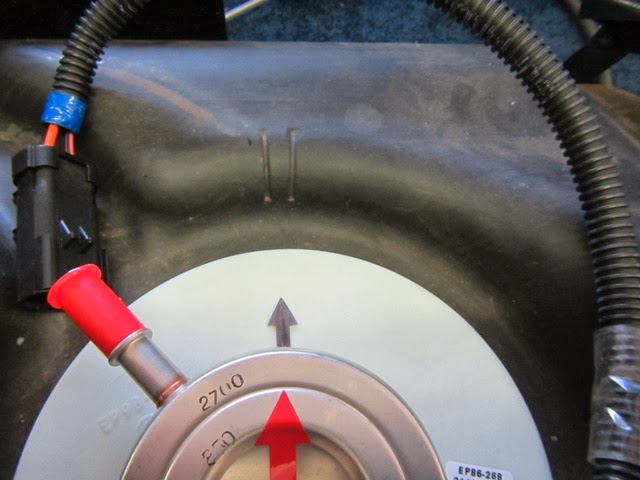
Fuel Pump, lines, Ford 24lb Injectors
FAL Fan
Aluminum Radiator
Header
Banks Exhaust
Hi Flow cat
New Gaskets
New Bearings
Custom mounted Amsoil cone filter w/pre-filter
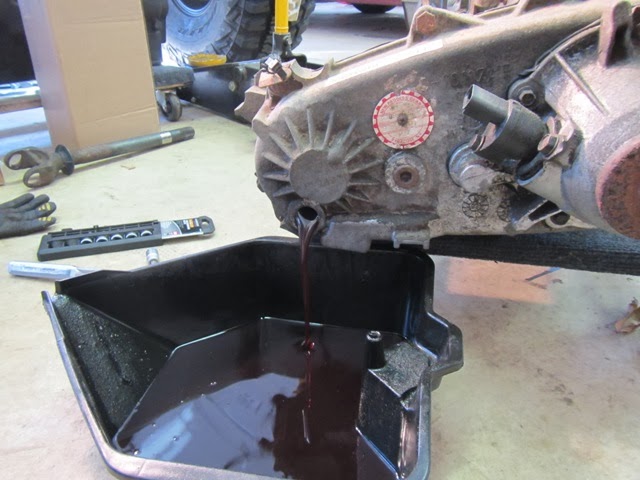
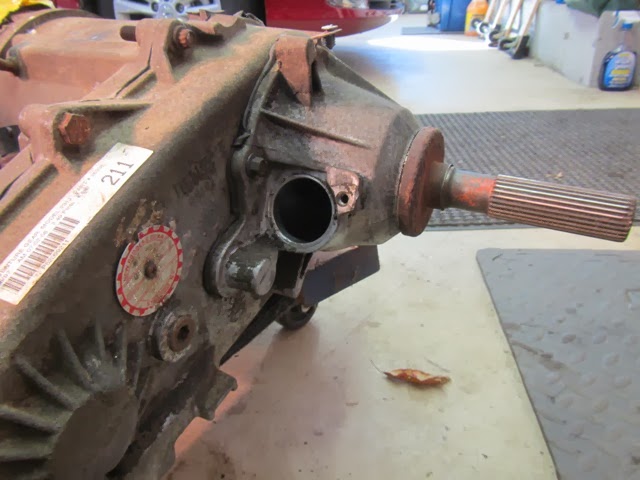
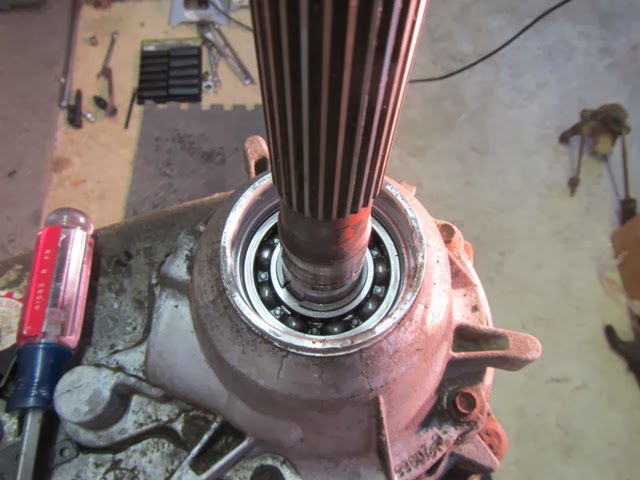
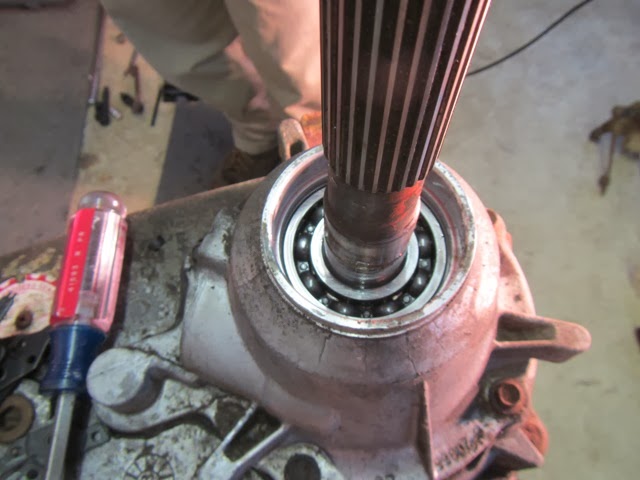
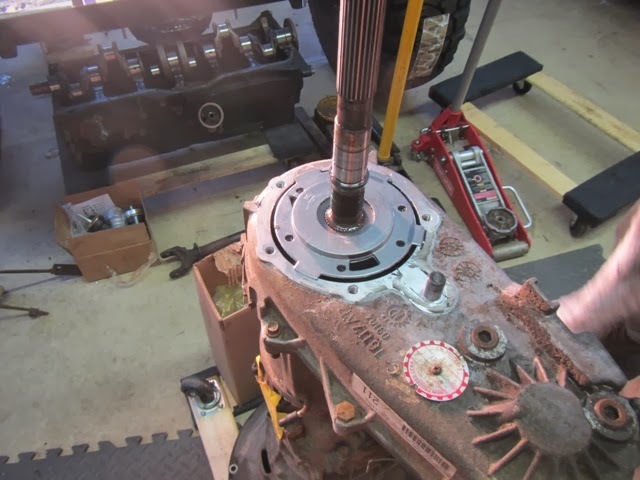
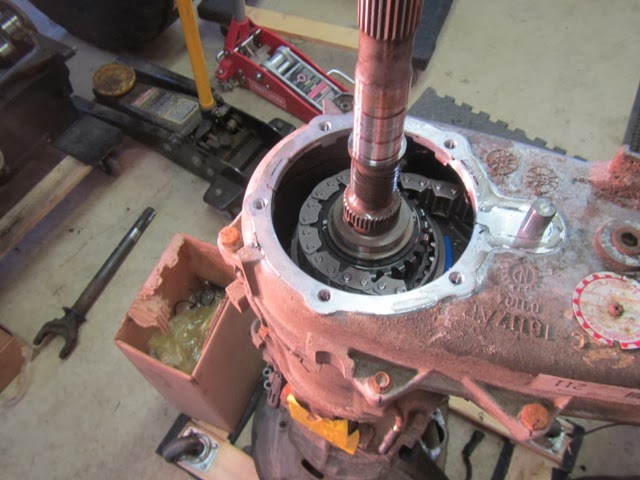
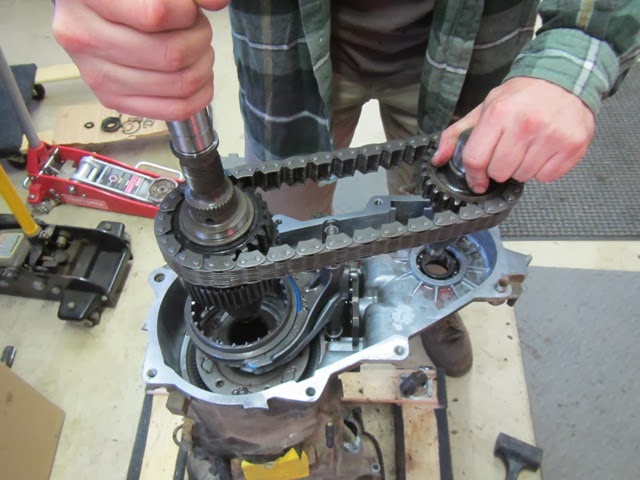
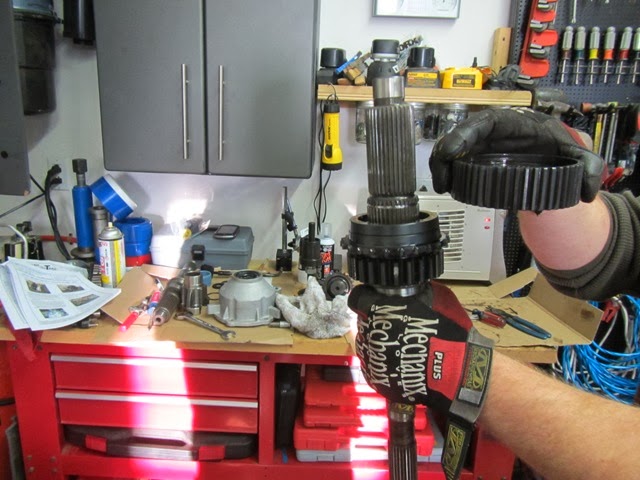
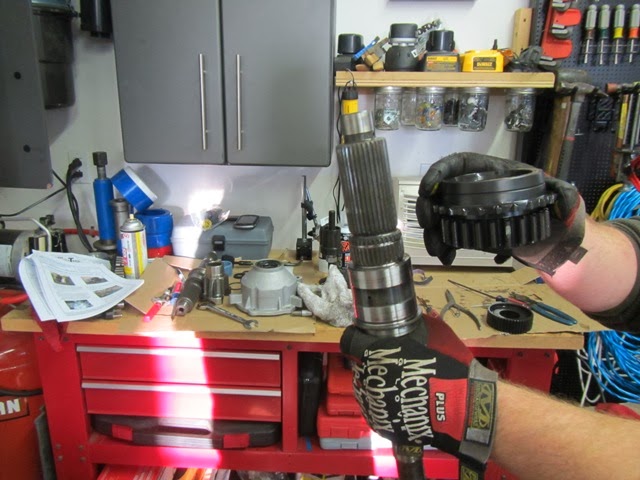
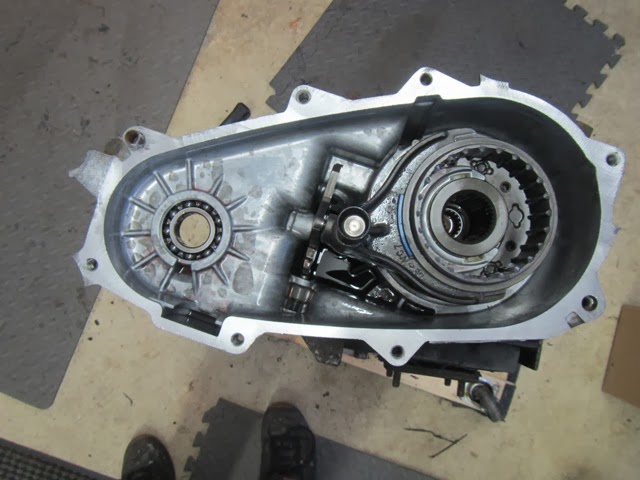
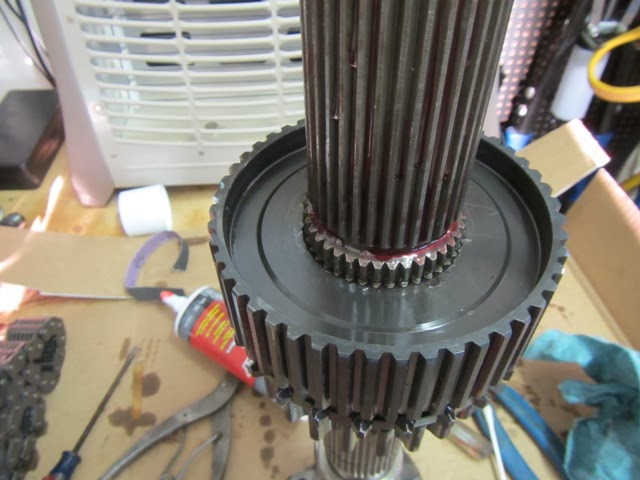
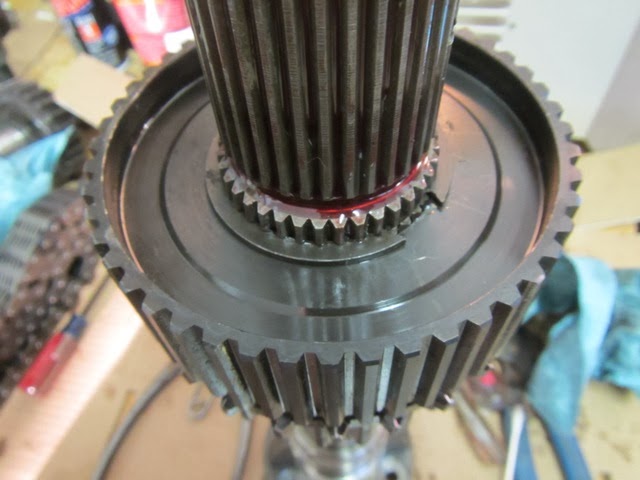
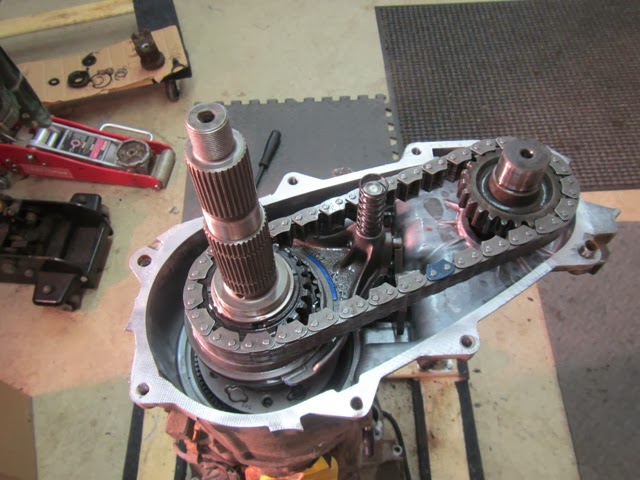
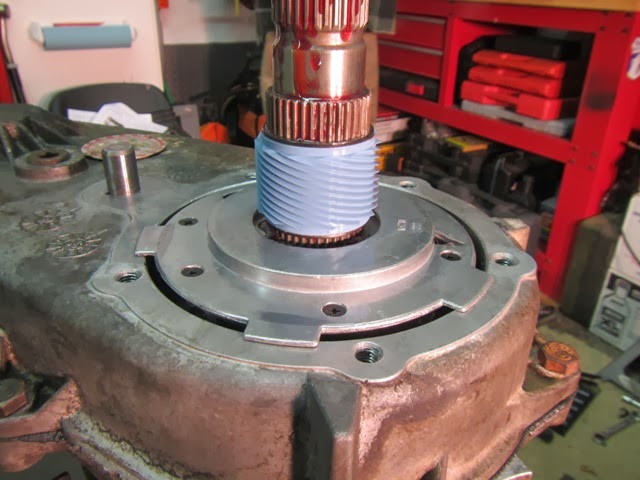
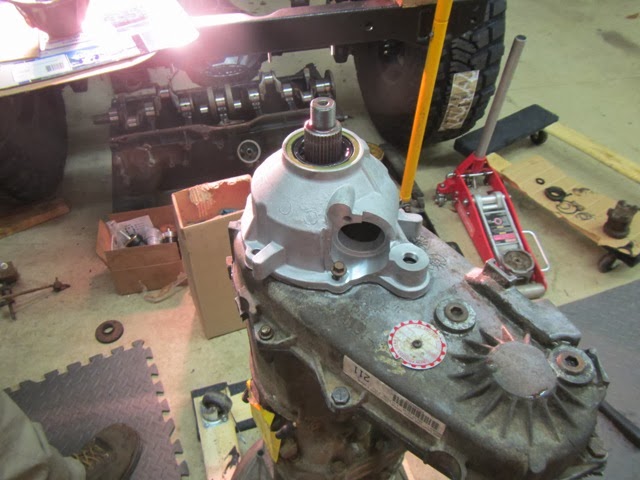
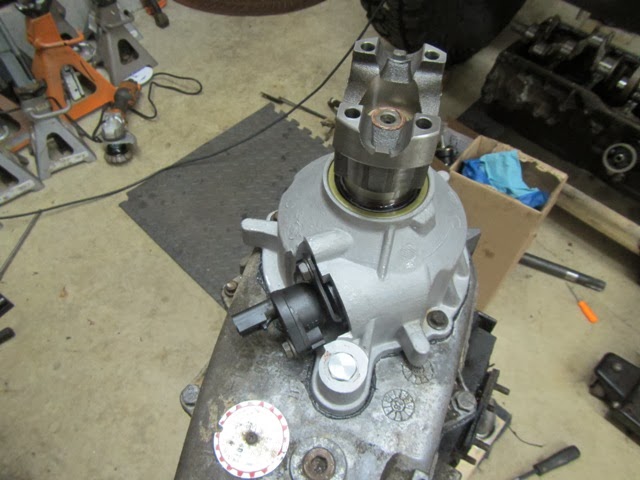
Transmission/Transfer Case
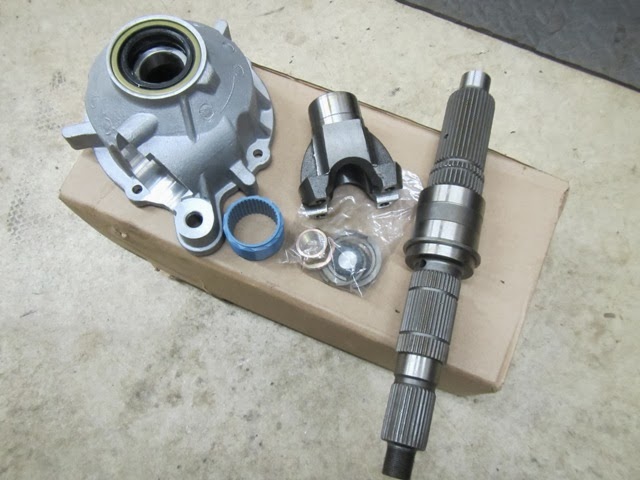
Advanced Adapters SYE
Advanced Adapters Braided Stainless Clutch Line
Novak Transfer Case Shifter
Tom Woods Rear Drive Shaft
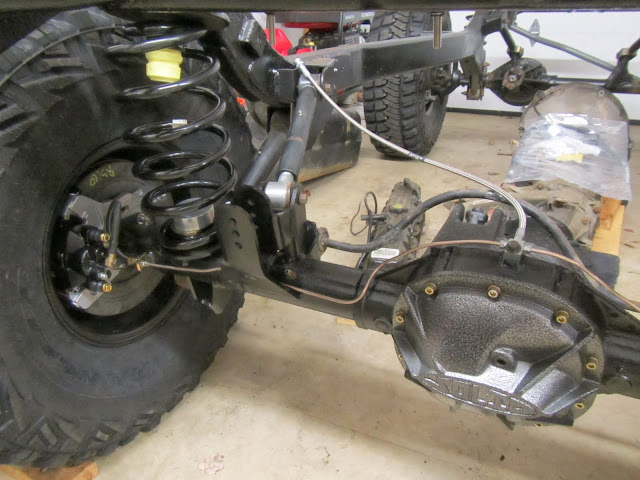
Suspension
OME 2.5 HD springs
OME L series shocks
JKS Control arms upper and Lower
JKS Quicker Discos
TNT Front track bar (with replacement frame bracket)
Rokmen .5 body lift
Rokmen bump stops extensions
Rokmen rear spring relocator kit
New bumper jounces
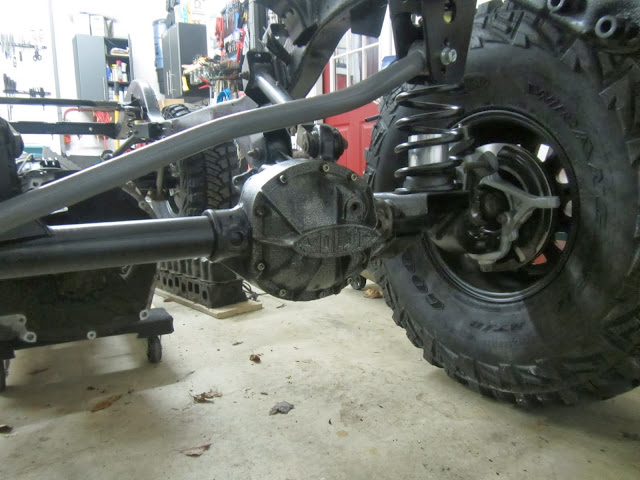
Axles
Front
2000 HP Dana 30
4.10
Solid differential cover
Lube locker
New upper control arm bushings
Gusseted lower control arm mounts and upper control arm mount
New Rotors and Pads
SS Brake Lines
- locker, RCV's, sleeves, Artec truss (ordered), C Gussets (ordered), Currie steering, Vanco BBK
Rear
1999 Ford 8.8
Ford Racing LSD Clutch Packs
4.10
Solid differential cover
Lube locker
New Rotors and Pads
Currie 8.8 brake line kit
Artec Truss
Yukon 8.8 Axles
- Locker
Armor
Rokmen HiLine Tube Fender
Rokmen Stryker Steel Corners
Rokmen Transfer Case Skid
Rokmen Gas Tank Skid
Rokmen Rocker Guards
Rokmen Power Steering Skid
Poison Spyder BFH II Rear Bumper
Mopar Front Rock Bumper
Recovery
Warn M8000-s
Front & Rear Shackles
Misc straps and pulleys
Lighting
GE Nighthawk LED (re-branded Trucklights)
30" LED Light Bar
2" LED Spot Lights
Rims and Tires
Black Rock 15x8
Goodyear MT/R Kevlar 35x12.50R15
Dyna beads

Now, let me rewind a bit and start things off from the begin...again...for the second time.
I guess I'll do a short sum up of my Jeeps life and detail the actual build over the past two years or so to get everyone up to speed.
My Jeep started life as a 98 Wrangler Sport with a no name 4 inch lift and 33'' Futura Dakota RVT
Over time I did the normal stuff we all do, front and rear bumpers, rocker guards, suspension, exhaust, tires etc... and it looked like this.
It was around this time that my weekly routine was to get to work early to weld my control arms back on my frame or axle...which ever one decided to rip out that day, gotta love New England and our wonderful rust. After doing this a few to many times my awesome wife gave me the green light to, as she put it "do what you do", and so the work began.
My build so far is looking like this...
Frame
2000
Completely stripped
Coated inside and out with Rust Bullet
New motor mounts
New front track bar mount
New steering linkage mount
Newly fabed rear control arm mounts
Reinforced rust prone areas of frame
New transfer case nutserts
New Classic Tube SS brake lines
Motor
4.6L I-6
4.2 Crank
Brown Dog MML
Icon IC944 .30 pistons
Comp Cams 68-232-4
Mopar performance valve springs / Retainers - 5249464 / 4452032
Mopar performance head gasket - 4529242
Arp head studs
Melling oil pump
62mm TB
Fuel Pump, lines, Ford 24lb Injectors
FAL Fan
Aluminum Radiator
Header
Banks Exhaust
Hi Flow cat
New Gaskets
New Bearings
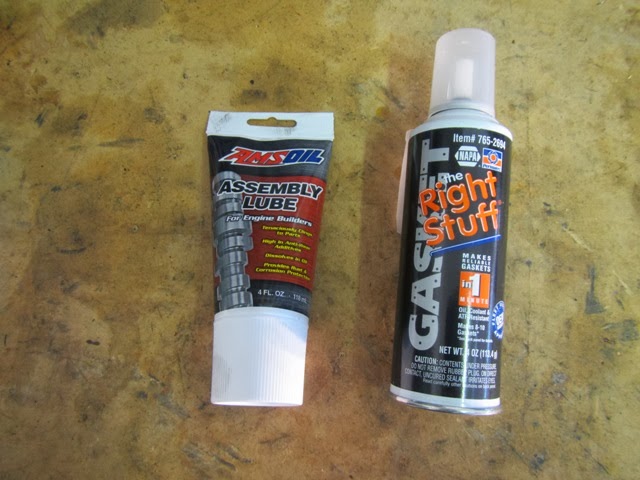
Custom mounted Amsoil cone filter w/pre-filter
Transmission/Transfer Case
Advanced Adapters SYE
Advanced Adapters Braided Stainless Clutch Line
Novak Transfer Case Shifter
Tom Woods Rear Drive Shaft
Suspension
OME 2.5 HD springs
OME L series shocks
JKS Control arms upper and Lower
JKS Quicker Discos
TNT Front track bar (with replacement frame bracket)
Rokmen .5 body lift
Rokmen bump stops extensions
Rokmen rear spring relocator kit
New bumper jounces
Axles
Front
2000 HP Dana 30
4.10
Solid differential cover
Lube locker
New upper control arm bushings
Gusseted lower control arm mounts and upper control arm mount
New Rotors and Pads
SS Brake Lines
- locker, RCV's, sleeves, Artec truss (ordered), C Gussets (ordered), Currie steering, Vanco BBK
Rear
1999 Ford 8.8
Ford Racing LSD Clutch Packs
4.10
Solid differential cover
Lube locker
New Rotors and Pads
Currie 8.8 brake line kit
Artec Truss
Yukon 8.8 Axles
- Locker
Armor
Rokmen HiLine Tube Fender
Rokmen Stryker Steel Corners
Rokmen Transfer Case Skid
Rokmen Gas Tank Skid
Rokmen Rocker Guards
Rokmen Power Steering Skid
Poison Spyder BFH II Rear Bumper
Mopar Front Rock Bumper
Recovery
Warn M8000-s
Front & Rear Shackles
Misc straps and pulleys
Lighting
GE Nighthawk LED (re-branded Trucklights)
30" LED Light Bar
2" LED Spot Lights
Rims and Tires
Black Rock 15x8
Goodyear MT/R Kevlar 35x12.50R15
Dyna beads
Now, let me rewind a bit and start things off from the begin...again...for the second time.
Last edited: