Shootingjeeper
New member
I planning on installing my Maximus 3 tire carrier this weekend. I was just wondering if there was any tips or tricks to make the install go smoother or if it was pretty straight forward out of the box. Thanks.
Once you get started please take lots of pictures. I'm considering their base package carrier.
I had to google it, not a bad carrier. Who makes it? Is is strong ?
Ha, same here. Looks pretty beefy and similar to your hanson (gate mounted). You saved a few hundred though.
I installed mine back in June. Very easy. Hardest part was getting hinge bolts in and tightening the inner tailgate bolts under the hinge with the L shaped hex drive. Also make sure you use loctite. I didn't and it started to squeak until I tightened things up.
Last thing that was tough was getting the tailgate level and holding level while trying to tighten it down. Really tough.
Also adjust the swing bolt guide tightly with the door nearly closed or the door will rattle when you shut it hard. I had to re adjust mine.
Good luck.
Thanks for the advice. I appreciate it. Are you still running the rubber bump stops behind the carrier?
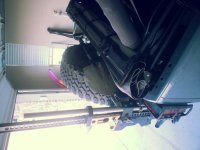
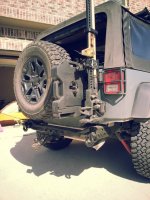
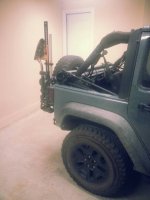
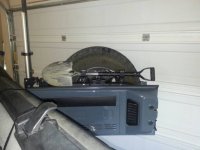
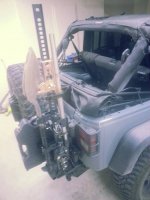
I took the stock rubber bump stops off and put the included rubber seals in the holes. The new long gate bump stop included is for holding everything tight when tail gate is shut. The right rubber stop over the included gate screw keeps the tailgate from hitting the right rear taillight when the gate is swung open. These are the only stops I am using other than the one I made to keep the rotropax from wobbling against the spare.
Ok. Would adding the rotopax be a pain later on or would I be better off getting the rotopax carrier and installing it all at once?
No it is super easy to add anytime. No reason to do it now if you want to wait. The set up is well designed and modifying it is easy at anytime.
I have the Maximus 3 carrier waiting to go on my Jeep, and this reminds me I'd better install it before the weather drops below zero. I think I'll have to do it in the next week or so.
Took me three hours or so because I had trouble setting hinge screws and keeping gate level. Finally enlisted help of the wife and after much fiddling we got it. Not prefect level but close enough.
Good luck and let me know if you had trouble getting it level as well.