BLCK4X4
New member
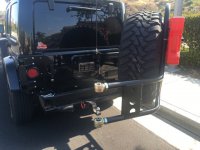
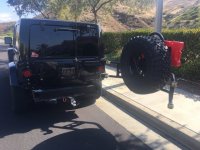
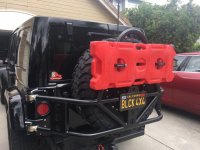
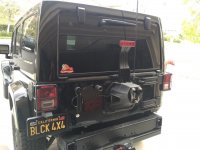
Okay guys, so I finally installed my carrier after picking everyone's brains all month, and decided to do my first write up. I got in depth as much as I can but its my first write up so cut me some slack :snakeeyes:
Here we go !
Tools Needed:
Rubber Mallet
Self taping screws
4.5" Hole Saw
13mm socket
13mm Box Wrench
19mm socket
19mm Box Wrench
3/8 drive shallow socket
5/16 drill bit
1 Ratchet Strap
C Clamps
Tape
Movers Plastic Wrap
Wire strippers/cutters
Electrical tape
WD-40(lube while drilling)
Hand Riviter Tool kit- https://www.amazon.com/gp/aw/d/B003TODXQW/ref=ya_aw_od_pi?ie=UTF8&psc=1
Lots of beer
Estimated Time: 4-6hrs
1. Remove the spare tire and remaining plastics on the rear gate.
Along with the tail lights and license plate holder.
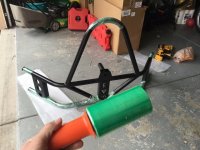
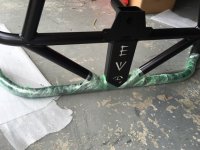
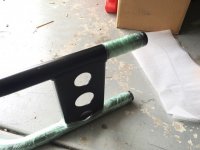
2. Wrap up the carrier in your plastic wrap in any areas that may touch the ground or be near working areas. (THIS IS STEP IS ONLY FOR PAINTED KITS)
3. Remove rear section of top. Believe it or not this will make a huge difference when lining up your corners and clamping them in place.
4. Begin by lining up the driver side first before moving on to the Passenger side. The best guide is the holes for the fuel door. These two holes should line up flush with one another. Then use your clamps to temporarily hold it in place while making your adjustments. Once in the perfect location, tighten down your ratchet strap. This will tighten the corner to the body of the jeep particularly near the tailgate area where it may seem to not fit properly before tightened.
Note that you need to put some sort of protection between the ratchet and painted corners to avoid from rubbing and damage if painted.
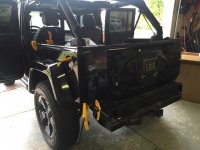
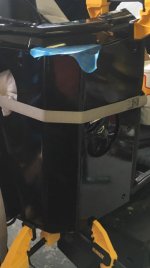
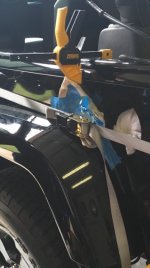
5. After you have checked not once, not twice, but 3 times. Begin drilling your pilot holes using the 5/16 Drill bit. REMEMBER, MEASURE 20 TIMES, DRILL ONCE.
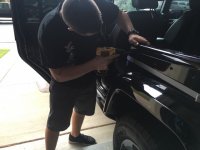
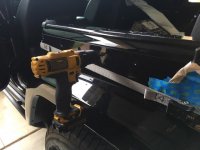
6. Next you use your Riveter Tool and insert the Rivets. NOTE there is one hole just to the top right of the fuel tank door. DO NOT rivet that hole, this will be used later for the carrier bracket. ONLY on the driver side though.
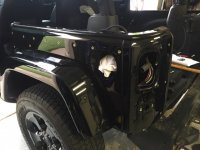
7. Once you mount the corner and screw in the bolts, you can then tape up and begin drilling your hole out for your tail light, using your 4.5" Hole Saw.
BEWARE use your WD-40 to lube the blade while cutting otherwise your have a lot of back lash. Once you are done cutting the hole, grind down the rough edges to assure proper fitment of the lights and housings.
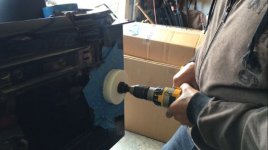
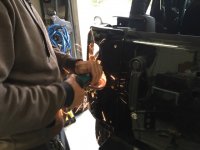
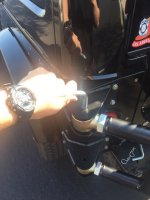
8. You will then need to wire your lights up with the stock harness. Refer to your light instructions to determine which wire matches which. Do not install them until the carrier is mounted as you need to reach your hand inside when threading the nut on the back side of the bracket.
9. Next, hold the tire carrier up to the body of the jeep with the mounts attached. The drill your pilot holes and thread your bolts through with the nut and washer on the inside of the corner.
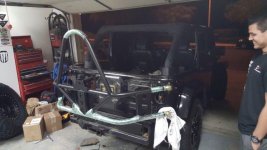
10. Lastly, tune it to fit perfectly by tightening and adjusting...then install your tail lights, check them. Double check them..And begin cleaning up the big mess in your garage. Then you're ALL DONE!!
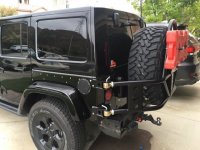
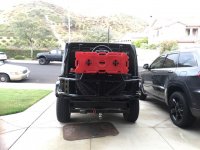
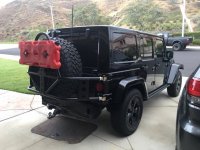
Thanks everyone!!
Here we go !
Tools Needed:
Rubber Mallet
Self taping screws
4.5" Hole Saw
13mm socket
13mm Box Wrench
19mm socket
19mm Box Wrench
3/8 drive shallow socket
5/16 drill bit
1 Ratchet Strap
C Clamps
Tape
Movers Plastic Wrap
Wire strippers/cutters
Electrical tape
WD-40(lube while drilling)
Hand Riviter Tool kit- https://www.amazon.com/gp/aw/d/B003TODXQW/ref=ya_aw_od_pi?ie=UTF8&psc=1
Lots of beer
Estimated Time: 4-6hrs
1. Remove the spare tire and remaining plastics on the rear gate.
Along with the tail lights and license plate holder.

2. Wrap up the carrier in your plastic wrap in any areas that may touch the ground or be near working areas. (THIS IS STEP IS ONLY FOR PAINTED KITS)


3. Remove rear section of top. Believe it or not this will make a huge difference when lining up your corners and clamping them in place.
4. Begin by lining up the driver side first before moving on to the Passenger side. The best guide is the holes for the fuel door. These two holes should line up flush with one another. Then use your clamps to temporarily hold it in place while making your adjustments. Once in the perfect location, tighten down your ratchet strap. This will tighten the corner to the body of the jeep particularly near the tailgate area where it may seem to not fit properly before tightened.
Note that you need to put some sort of protection between the ratchet and painted corners to avoid from rubbing and damage if painted.


5. After you have checked not once, not twice, but 3 times. Begin drilling your pilot holes using the 5/16 Drill bit. REMEMBER, MEASURE 20 TIMES, DRILL ONCE.


6. Next you use your Riveter Tool and insert the Rivets. NOTE there is one hole just to the top right of the fuel tank door. DO NOT rivet that hole, this will be used later for the carrier bracket. ONLY on the driver side though.

7. Once you mount the corner and screw in the bolts, you can then tape up and begin drilling your hole out for your tail light, using your 4.5" Hole Saw.
BEWARE use your WD-40 to lube the blade while cutting otherwise your have a lot of back lash. Once you are done cutting the hole, grind down the rough edges to assure proper fitment of the lights and housings.


8. You will then need to wire your lights up with the stock harness. Refer to your light instructions to determine which wire matches which. Do not install them until the carrier is mounted as you need to reach your hand inside when threading the nut on the back side of the bracket.
9. Next, hold the tire carrier up to the body of the jeep with the mounts attached. The drill your pilot holes and thread your bolts through with the nut and washer on the inside of the corner.

10. Lastly, tune it to fit perfectly by tightening and adjusting...then install your tail lights, check them. Double check them..And begin cleaning up the big mess in your garage. Then you're ALL DONE!!


Thanks everyone!!
Last edited:

