A couple of days ago, I fired up Rusty, our 1972 Jeep J2000 pickup truck with an AMC 360 V8 under the hood and started backing him out of the garage when all of a sudden, Cindy told me to stop. As I would come to find, gas was pouring out from under the engine and leaving a heavy trail of it as I drove. After rolling him back in the garage and giving things a closer look, I found that the gas wasn't leaking from a fuel line or hose but was actually spraying out of the mechanical fuel pump like a sprinkler. Fortunately for me, this was an easy fix and as luck would have it, something that my local Napa Auto Parts store had in stock.
What I Needed
• Fuel Pump - Napa 6505
• 1/2" Flare Nut Wrench
• 9/16" Socket
• Ratchet
• Ratchet Extension
• Gasket Scraper
• Flathead Screwdriver or 1/4" Socket
Removal & Installation
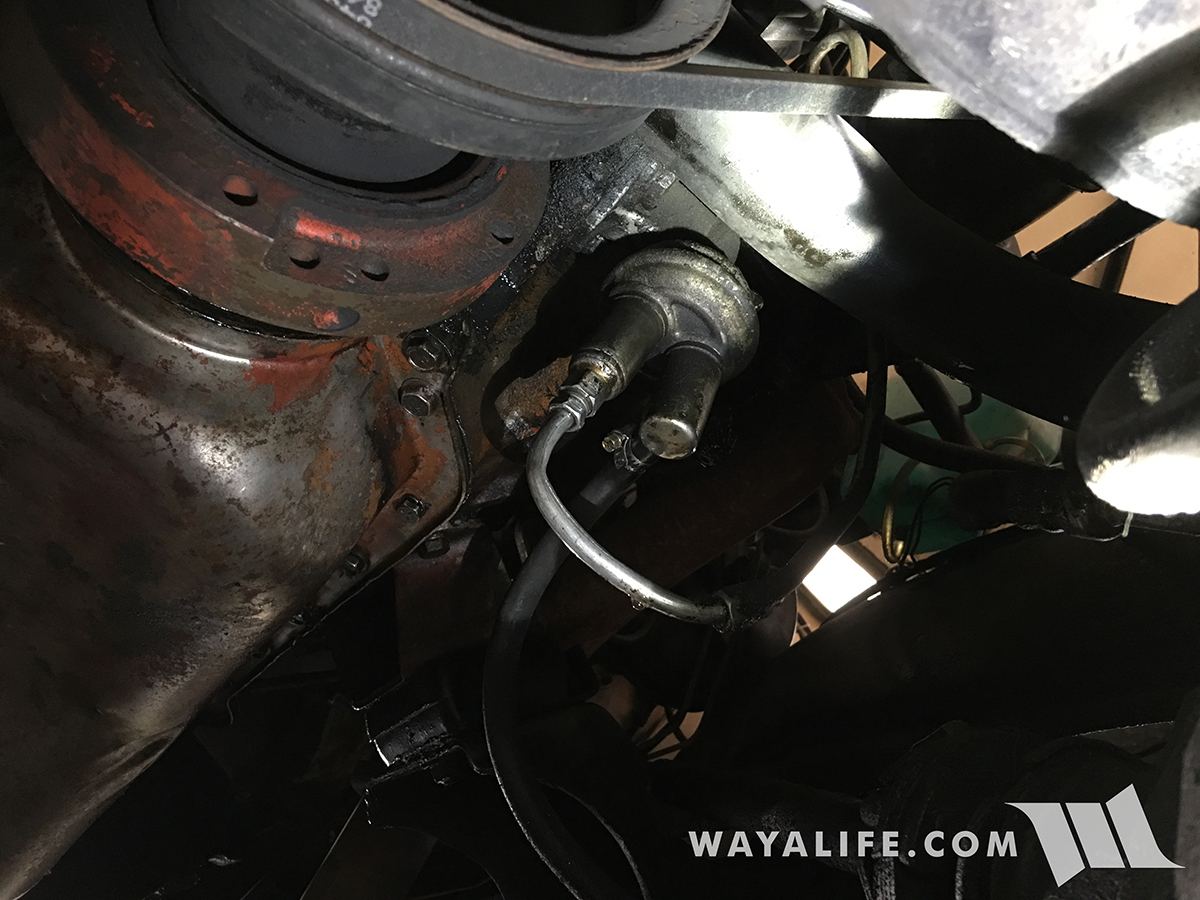
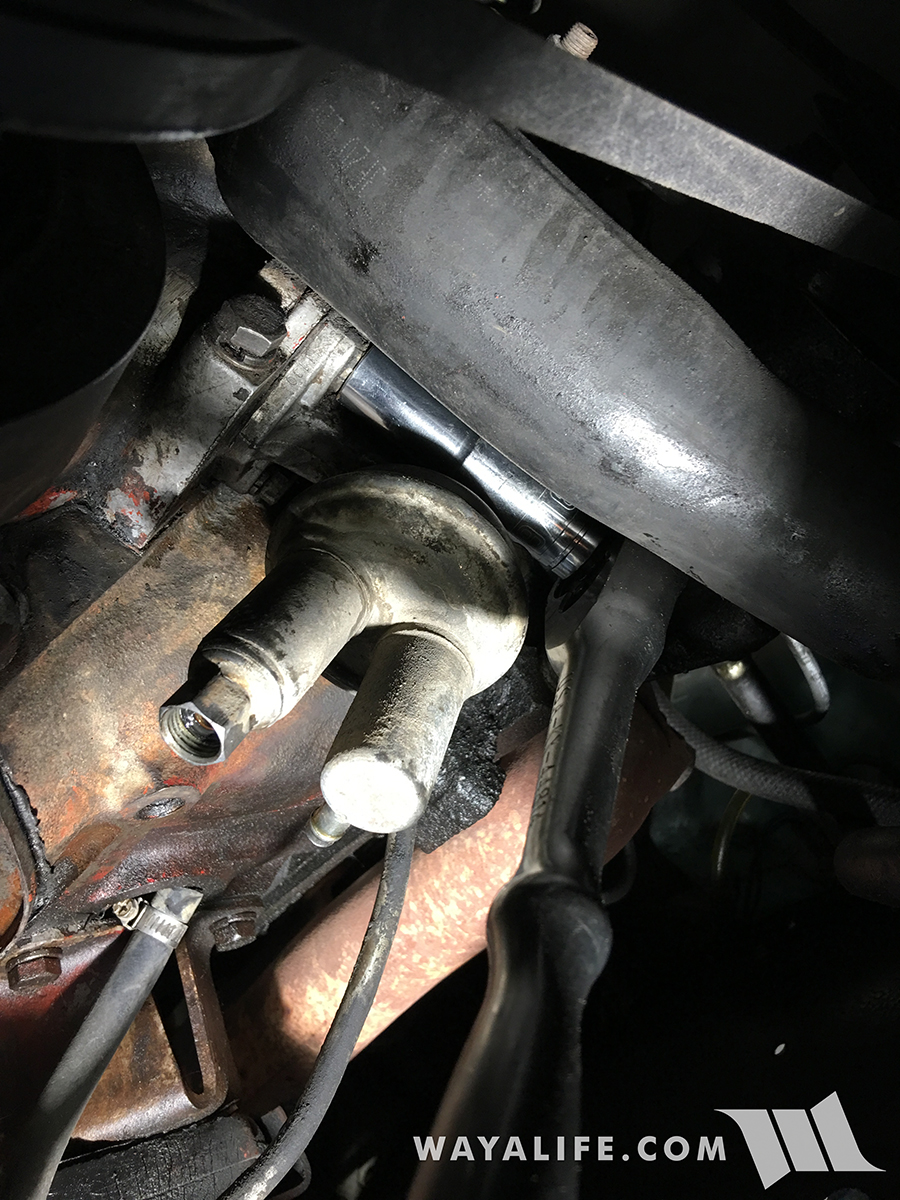
You can't really see much more than a drip hanging from the fuel line now but when engine was running, gas was literally spraying out from the top of the fuel pump.
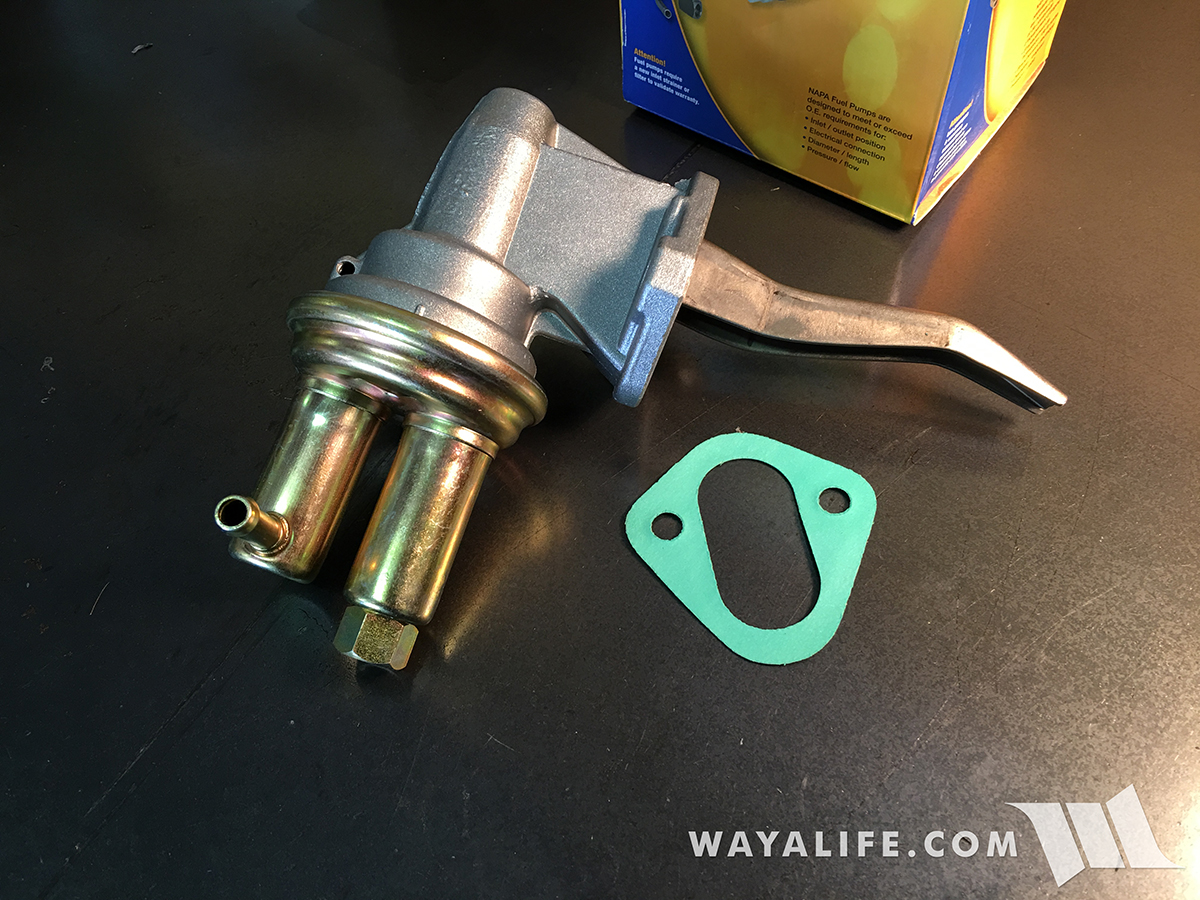
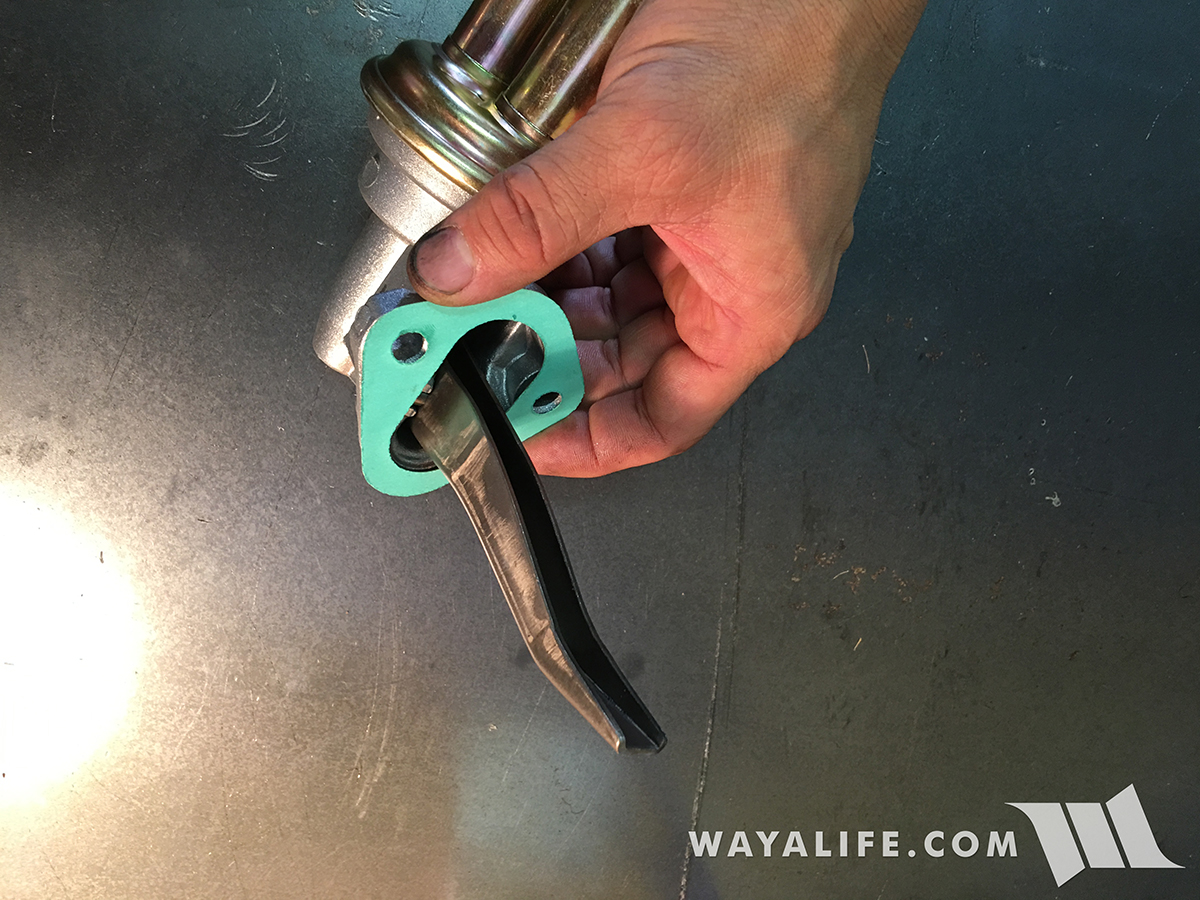
Here's a shot of the new fuel pump that I got from my local Napa Auto Parts store. As you can see, it even came with a new gasket.
While I could have used a standard flathead screwdriver, I find that it's easier to remove a small hose clamp like the one securing the inlet line to the fuel pump with a 1/4" socket.
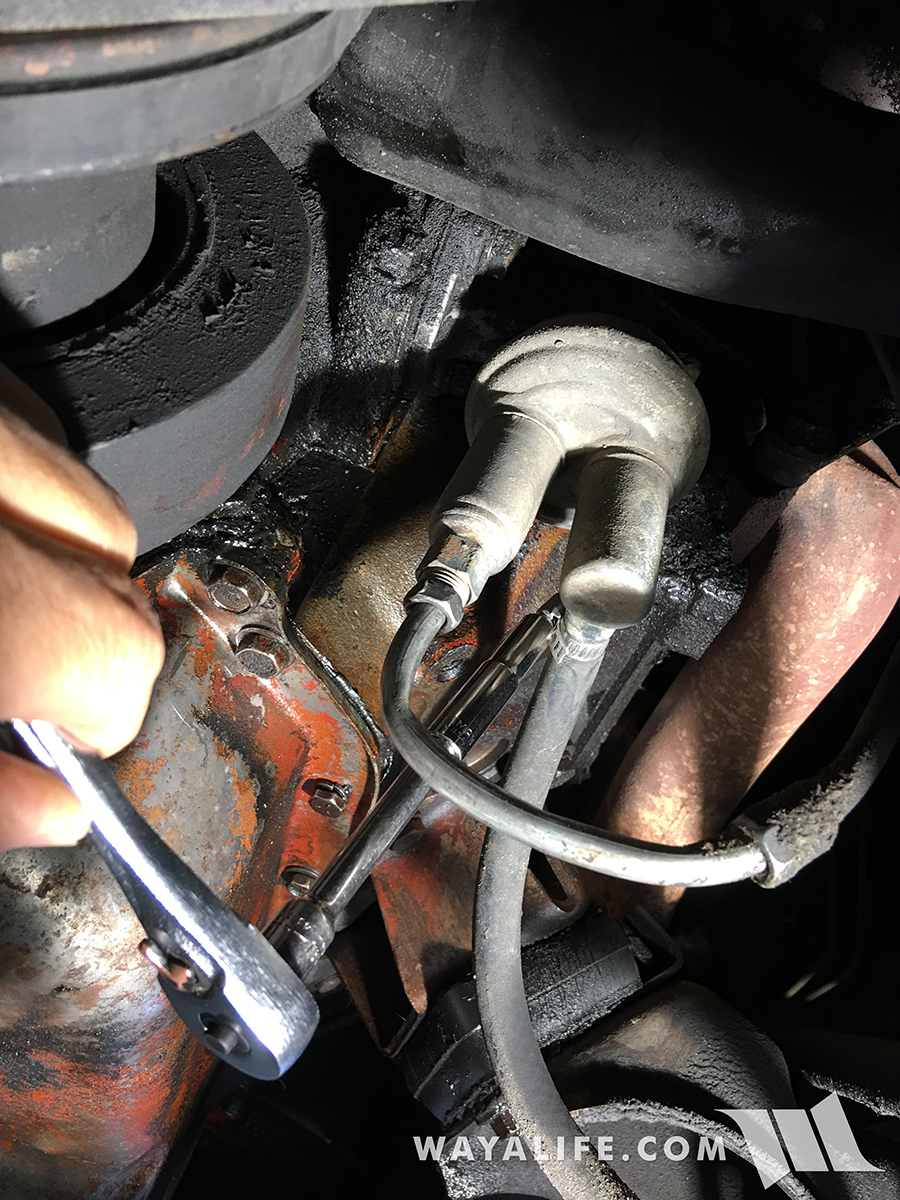
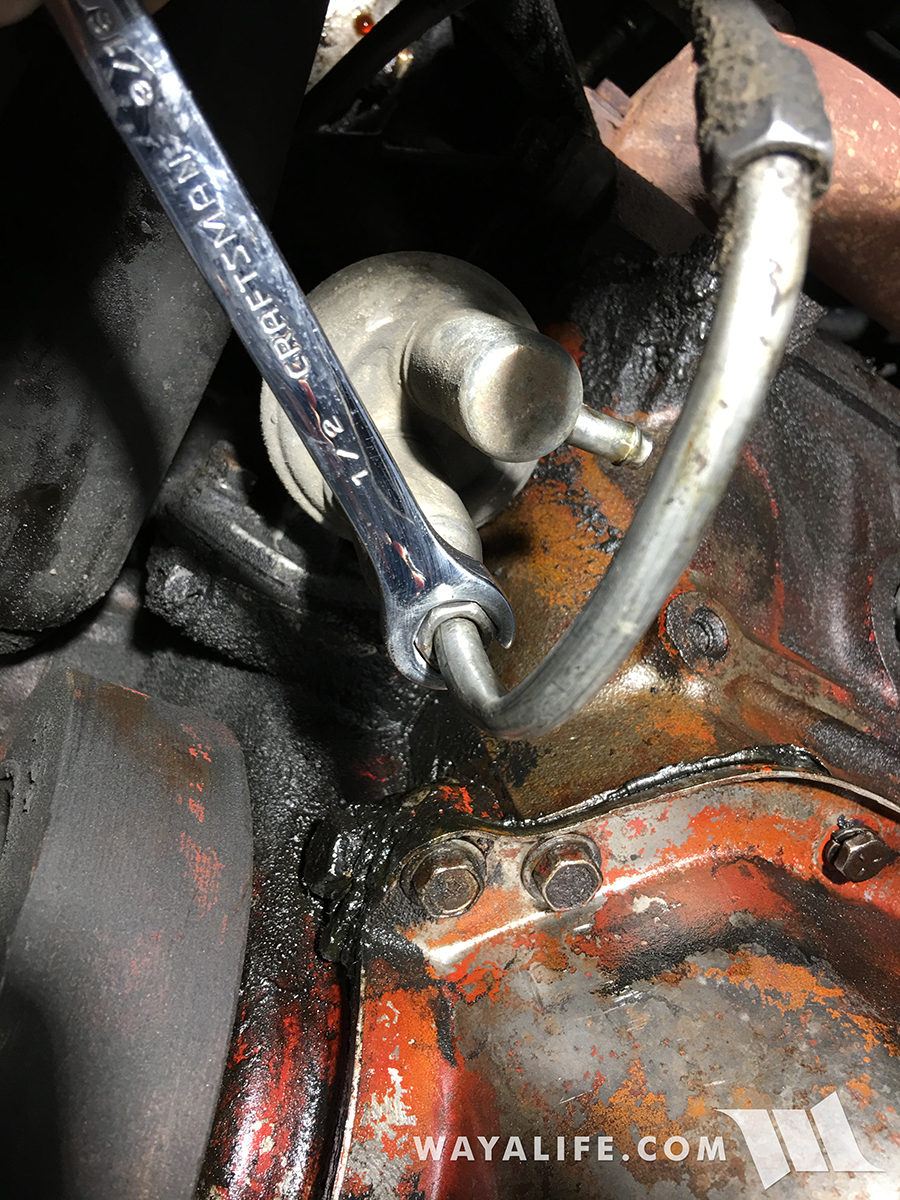
Using a 1/2" flare nut wrench, I carefully removed the outlet line attached to the bottom of the fuel pump.
Using a 9/16" socket, I then removed the 2 bolts securing the fuel pump to the engine.
With the fuel pump removed, I proceeded to clean up the remaining gasket material using a gasket scraper.

Positioning the new gasket onto the new fuel pump before installing it onto the engine.
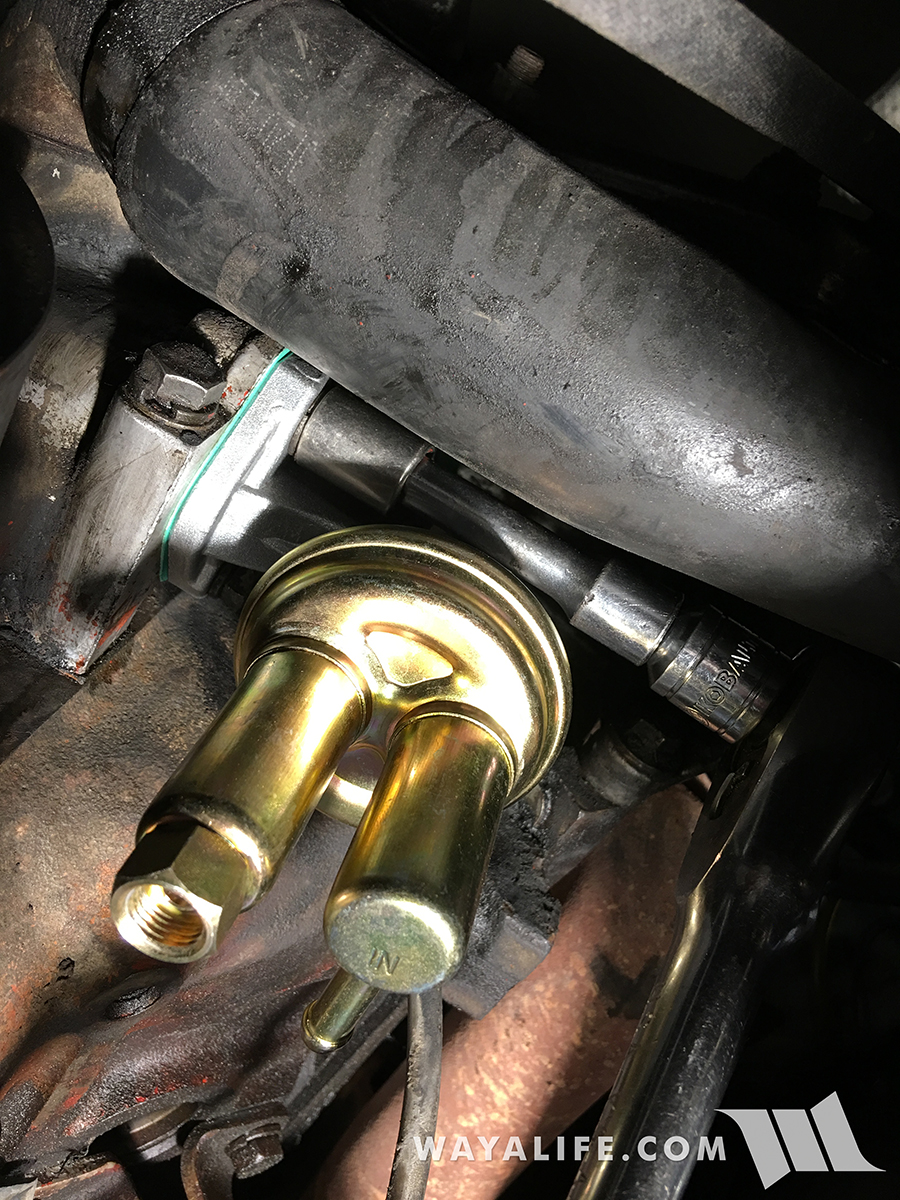
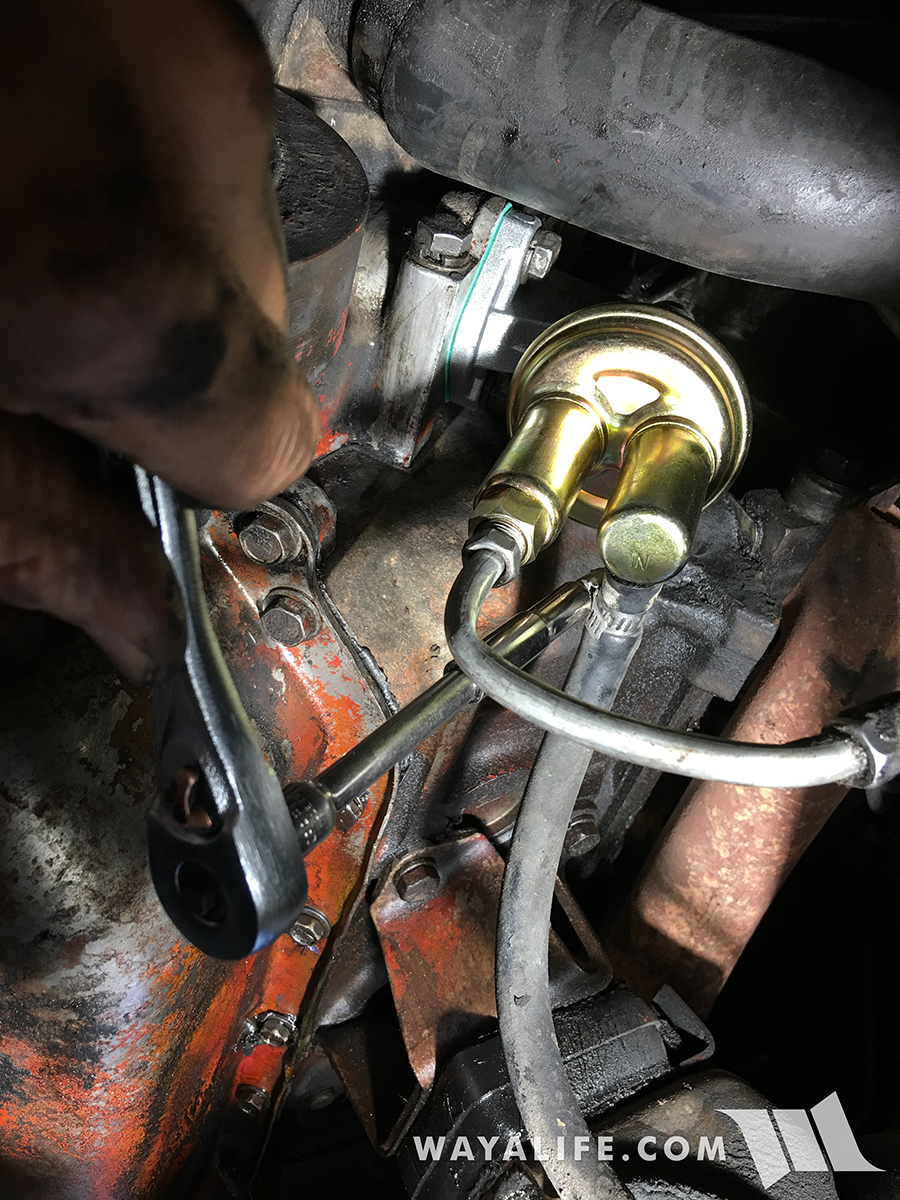
Installing the new fuel pump onto the engine using the factory bolts. Because the shape of this new fuel pump was a bit different, I needed to use a smaller 9/16" socket and ratchet extension to get in and tighten up the bolts.
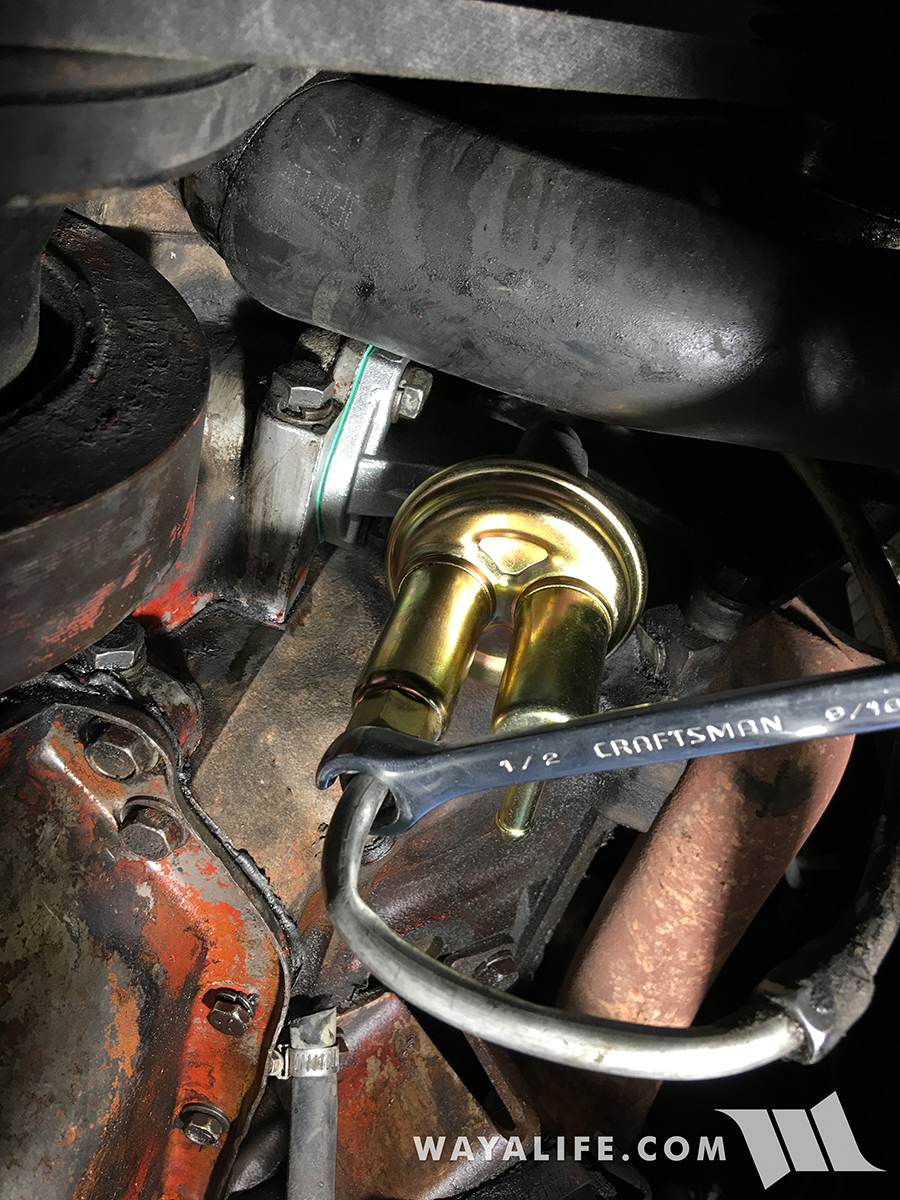
Connecting the outlet line to the bottom of the fuel pump using a 1/2" flare nut wrench.
Attaching the inlet line onto the side of the fuel pump and securing the hose clamp using a 1/4" socket.
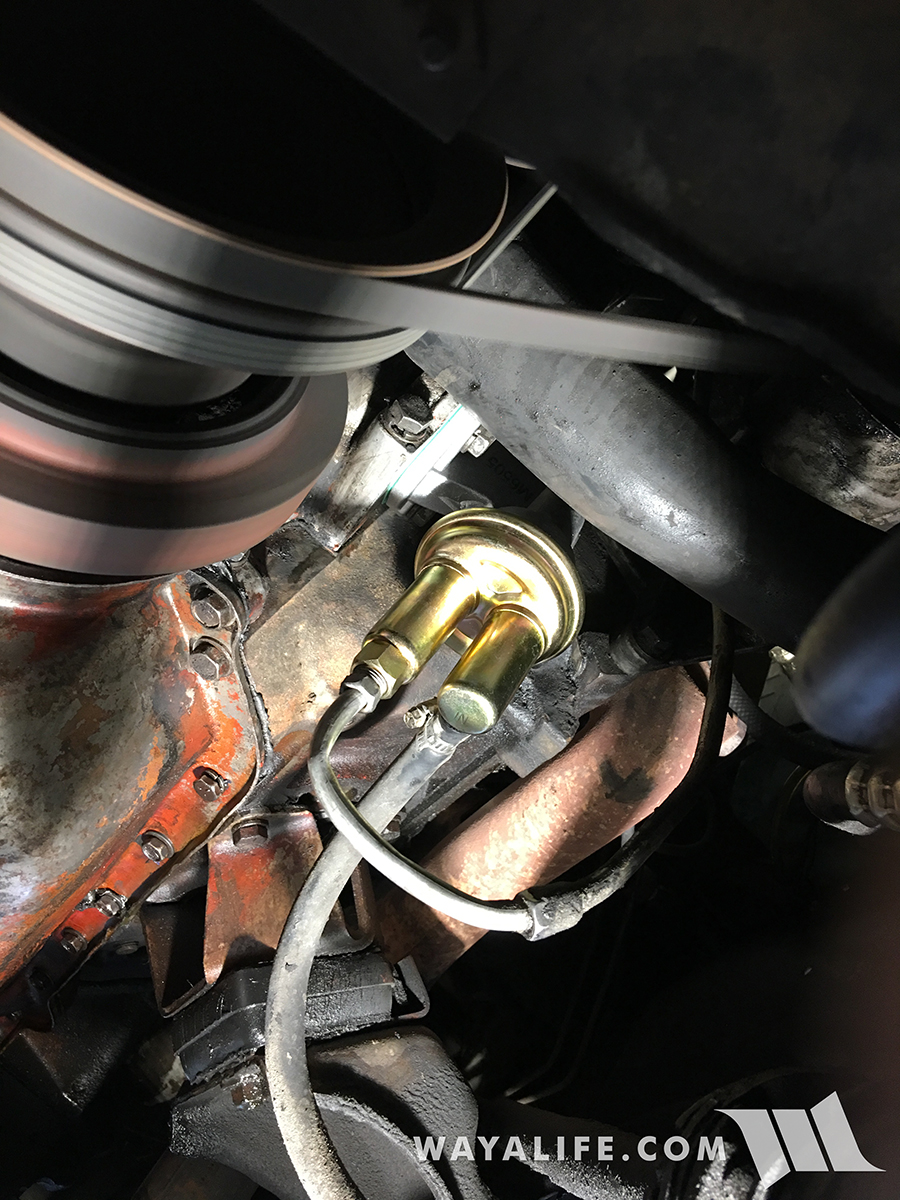
And just like that, Rusty's is up and running again. Here's a shot of what the new fuel pump looks like installed.
What I Needed
• Fuel Pump - Napa 6505
• 1/2" Flare Nut Wrench
• 9/16" Socket
• Ratchet
• Ratchet Extension
• Gasket Scraper
• Flathead Screwdriver or 1/4" Socket
Removal & Installation
You can't really see much more than a drip hanging from the fuel line now but when engine was running, gas was literally spraying out from the top of the fuel pump.
Here's a shot of the new fuel pump that I got from my local Napa Auto Parts store. As you can see, it even came with a new gasket.
While I could have used a standard flathead screwdriver, I find that it's easier to remove a small hose clamp like the one securing the inlet line to the fuel pump with a 1/4" socket.
Using a 1/2" flare nut wrench, I carefully removed the outlet line attached to the bottom of the fuel pump.
Using a 9/16" socket, I then removed the 2 bolts securing the fuel pump to the engine.
With the fuel pump removed, I proceeded to clean up the remaining gasket material using a gasket scraper.
Positioning the new gasket onto the new fuel pump before installing it onto the engine.
Installing the new fuel pump onto the engine using the factory bolts. Because the shape of this new fuel pump was a bit different, I needed to use a smaller 9/16" socket and ratchet extension to get in and tighten up the bolts.
Connecting the outlet line to the bottom of the fuel pump using a 1/2" flare nut wrench.
Attaching the inlet line onto the side of the fuel pump and securing the hose clamp using a 1/4" socket.
And just like that, Rusty's is up and running again. Here's a shot of what the new fuel pump looks like installed.
 I'm no engineer, but something about fuel spraying on a hot engine seems bad to me. Glad you caught this quickly and got her all fixed up!