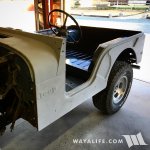
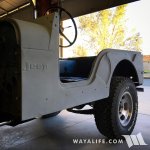
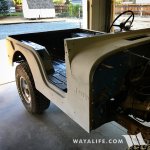
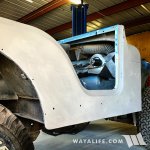
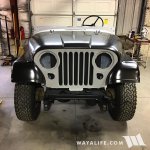
CALAMITY JANE - Shaped Up & Almost Ready for Paint

wayoflife

Administrator
Staff member
As some of you know, we rescued our 1974 Jeep CJ5 Renegade from a curbside back in August and since that time, Cindy and I have been working hard to address all the calamities that is all Jane. To see some of the things we've done so far simply click on the link below.

http://wayalife.com/showthread.php?39698-The-CALAMITY-of-Jane

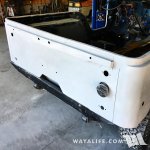
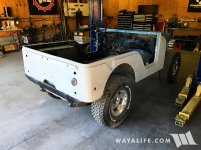
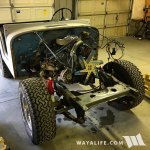
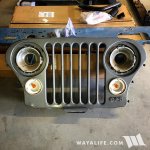
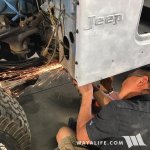
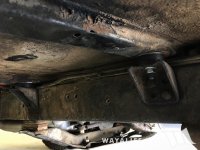
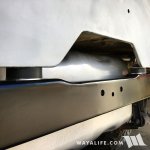
After stripping her down, sanding her layer upon layer of paint down to the metal, doing some body work and welding up a plethora of holes, I think she's almost ready for paint. Here are a few shots of what she looks like now.
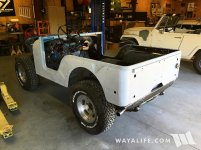
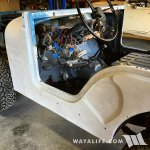
IMG_0259.jpg

IMG_0253.jpg

IMG_0256.jpg

IMG_0252.jpg

IMG_0254.jpg

IMG_0255.jpg

IMG_0257.jpg

IMG_0258.jpg
 

wayoflife

Administrator
Staff member
Body is looking smooth. Any idea what color you are going to shoot?

We're going to restore her to her original factory Jetset Blue Poly Metallic.

attachment.php


attachment.php


:yup:
 

bthomas

Member
Looking good! It seems like you made pretty quick work out of the prep, time flies when your having fun right? That blue is going to look good, and I'm looking forward to seeing the it.
 

wayoflife

Administrator
Staff member
Okay, been working on Jane ever chance we get and we're now closer than ever to getting her to paint. Here are a few shots of things we've done since we got her body back into shape.

First up, we stripped her down about as far as we could go without doing a full frame off restoration.
JOMY5956.jpg

EOAF4981.jpg

OGKV7682.jpg

Next, we Raptor Lined her bed.
attachment.php


attachment.php


You can see more pics of this here:
RAPTOR LINING JANE : Spraying New Life into the Tub of an old Jeep CJ5

Next up, we made repairs to broken and missing body mounts.
attachment.php


Had a hell of a time removing some of the body mount bolts being that they were essentially fused in place.
WBKN8737.jpg

But, we ultimately got Jane sitting securely on all new body mounts.
HRSQ1257.jpg

IGXC0780.jpg

Cleaned up a myriad of parts, stripped them of their paint and got them looking new again.
QMYU2133.jpg

RKOS3945.jpg

Cut the mess off of our factory roll bar, cleaned it up and got it powder coated.
attachment.php


attachment.php


Took apart the dash, filled in all the stupid crazy holes that the previous owner drilled into it and got it ready for paint. As you can see, I tried really hard to preserve the factory VIN sticker too.
attachment.php


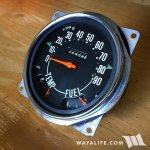
Also took some time to take apart, clean up and repaint the speedometer cluster needles.
BJOG5301.jpg

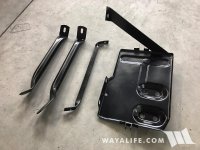
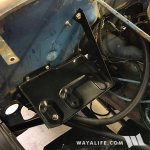
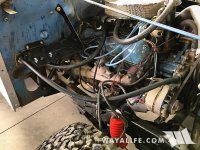
Here you can see that we've re-plumbed the heater and re-installed the cleaned up battery tray.
EOAP3371.jpg

OKYH5417.jpg

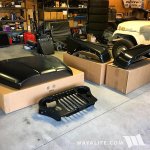
Now it's time to start unpacking all the new Omix-Ada parts we got and get them installed.
YBHK2982.jpg

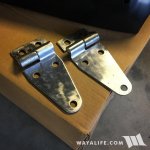
While they are new, some of these parts come a little rough and will need some cleaning up before installing them.
SEHX5209.jpg

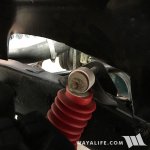
Being that we have an intermediate CJ5 and that most of the new parts you can get are made for "all" CJ5's, we found there were a few fitment issues that would need to be dealt with.
BKYW8414.jpg

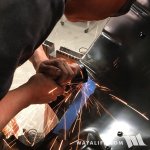
Time to do some trimming.
EXGD3317.jpg

Fortunately, this was easy enough of a fix and all was good.
GLXN2133.jpg

Now that's what I'm talking about!
IMG_0500.jpg

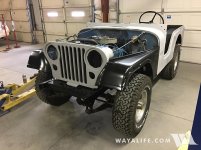
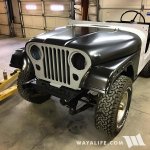
And, with the addition of a new hood, Jane is starting to look like a Jeep again :)
UJLH1691.jpg

XBKQ9120.jpg
 

MR.Ty

Token East Coast Guy
It looks like you all have done a fantastic job so far! I know I've said it already but it is really awesome watching you all restore Calamity Jane. :yup:
 

bigcale

Caught the Bug
Want to get an old CJ again some day, this just make me want to do it sooner. Something about them makes going back country exploring a little more pure.
 

JAGS

Hooked
I barely have time to keep up with this thread. You are moving on the restore. Being this isn't your daily, sure does look like a fun project to work on, do it right and not feel rushed. [emoji41][emoji41][emoji106]
 
Top Bottom