M38A1Driver
New member
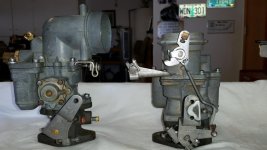
Recently the Carter YF carburetor (on the right in pic ) I have been running for years on my M38A1 was in need of a thorough cleaning and re-build. I decided to switch to the original Carter YS carburetor (on the left in pic) that I had removed many years ago and never got around to rebuilding. The Carter YS is the military spec. carburetor that was used on the M38, M38A1 & M170 back in the day. The YS is a waterproof design that is better suited for the vibrations and extreme angles of off road use.
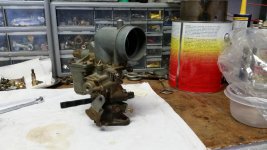
There are two versions of the YS. The YS637S is used on the M38 (50-52) and the YS950S Used on the M38A1 (52-71). There are some slight differences in the two versions but the internal workings are identical.
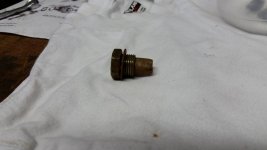
Disassembly begins with the fuel intake. Be sure to treat the strainer screen gently you may need to reused it.
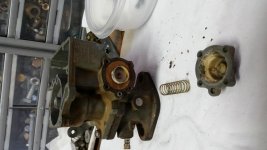
Fuel metering rod diaphragm, cover and spring. Note the spring size and length there are two sets of these diaphragms as you will see later.
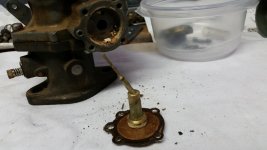
Fuel metering rod assembly. Don't loose the small pin that holds the metering rod in the diaphragm. Note the deteriorated rubber on the diaphragm, this is caused by ethanol in today's fuel.
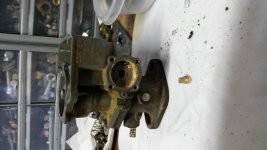
Fuel metering rod jet
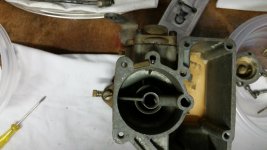
Discharge valve ball and weight. These are present in both the YS and YF. Newer YF kits have a needle valve pin to replace this set up. These parts are located in the carb body hole above the ball shown in the pic. They are loose. Some have a retainer spring clip. Be sure to remove these right after you take the cover off and before you turn the body upside down.
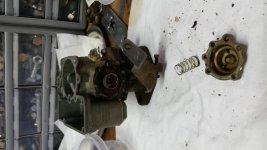
Accelerator pump diaphragm, spring and cover. This is why you want to take note of the spring sizes. Especially in the 637S.
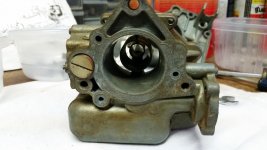
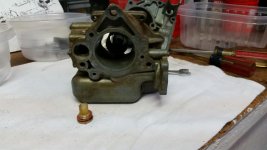
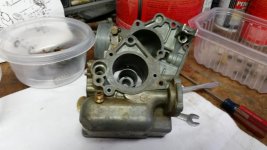
Intake check valve cover, strainer screen and check valve.
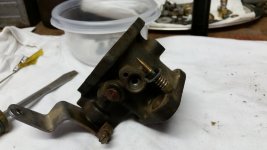
Throttle Body Idle adjustment screw. Note the damaged rubber gasket on the screw.
This could contribute to vacuum leaks along with a worn out rubber gasket on the butterfly valve shaft.
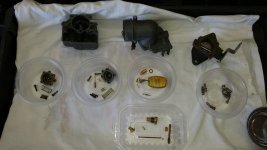
All the parts were soaked in carburetor cleaner for 24 hrs. and are ready for re-assembly.
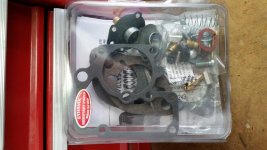
There are a lot of New Old Stock (N.O.S.) rebuild kits for both the YS and YF on the market. Most of them are not ethanol compatible. Try to get the most complete ethanol compatible parts kit you can find. Keep in mind that some of the kits shown online list parts or show parts that are no longer available so it is important to disassemble carefully and keep as many parts as you can in case you need to recycle them.
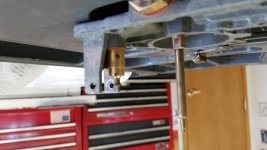
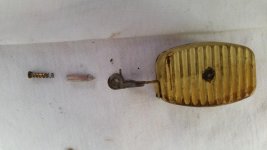
Float valve and spring loaded needle assembly. The spring loaded needle helps dampen vibration when off roading and keeps the float stable.
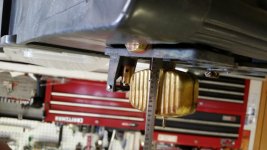
Don't forget to adjust the float level.
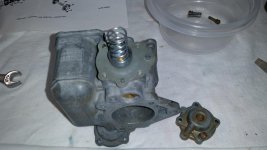
Fuel Metering rod assembly with ethanol resistant diaphragm ready for installation.
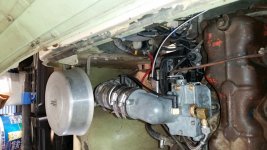
The float bowel on the YS is vented through the carb intake from the air cleaner.
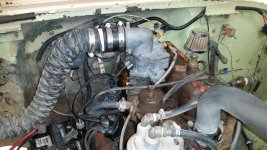
Finished and ready to rip.
Sorry about the cockeyed pictures. I couldn't figure out how to rotate them in the post.
