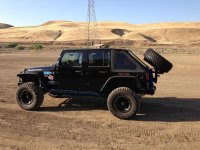
jk12blk
New member
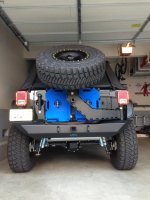
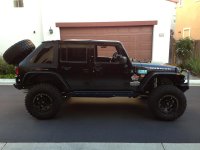
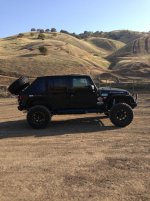
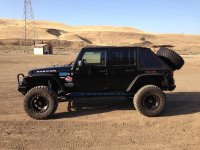
For those of you interested in the KOR rear bumper w/ tire carrier, here you go...
Bumper arrives in a crate as shown below (includes all parts and instructions)
View attachment 27056
First step is to install the Backing Plate to the tailgate.
Before you can do this, you need to remove the spare tire, third brake light, factory tire carrier (8 bolts), vent cover, and bump stops.
KOH provides instructions on how to do this.
Photo below detailing this step after removing all parts.
Note: I removed the third brake light wire completely until I figure out what I want to do. The wire can be disconnected from inside the tailgate through an access panel on the inside of the tailgate. I believe KOR does include a third brake light mount as part of their license plate relocation bracket (just not sure I want to install the license bracket yet - may do something custom for the brake light only).
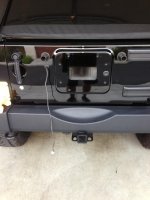
Next step is to install the Backing Plate to the tailgate.
Note: if you ordered the rotopax mounts, you will need to secure the mounts to the backing plate prior to installation.
Using the provided M8 X30 (8) stainless bolts, secure the backing plate to the tailgate.
(I used some anti-seize on the 8 bolts prior to securing to the tailgate)
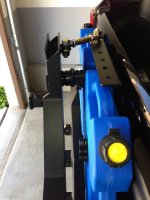
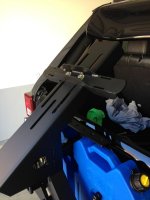
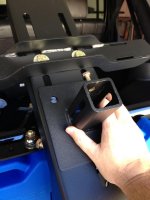
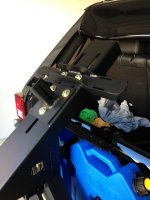
Couple photos below of the Backing Plate and rotopax
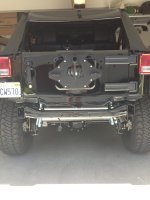
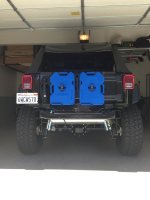
After installing the Backing Plate, the next step is to install the KOR rear bumper.
Begin by removing the factory bumper and tow hitch if equipped (KOR provides instructions on how to do this and explains which factory bolts to keep).
After removing the factory bumper and tow hitch (if equipped), to make clearance for the rear bumper, the ends of the frame rails need to be notched.
After marking the three points per KOR instructions, it is time to cut.
Here are a few photos to give you an idea.
Be sure to paint the exposed metal
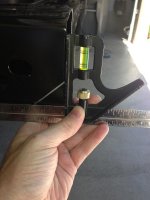
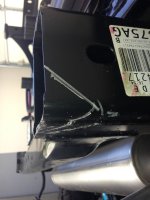
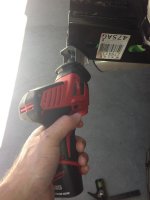
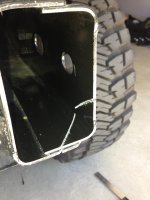
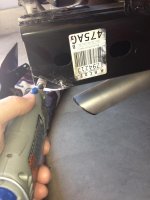
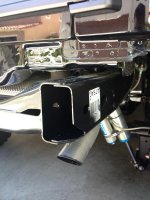
After cutting frame rail corners, it is time to install the rear bumper.
However, there are a few items which need to be complete prior to sliding on the rear bumper.
1) KOR explains one of the four cross member holes in the frame needs to be enlarged (9/16 bit)
Be sure to paint any exposed edges to prevent rust drilling the hole larger
2) If you ordered the Rigid LED lights, this is the time to install (I did not order lights)
3) KOR provides a small back plate which must be installed at this point. I chose to paint my plate blue which makes KOR fist logo clearly visible on the bottom of the bumper.
KOR recommends two people, but I was able to install the rear bumper by myself (slides on fairly easily - just need to line it up as the fit is snug).
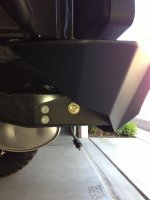
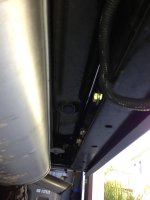
The bumper lines up well with all bolts holes and after looking below, I could see why the frame rail notches were necessary.
Install all bumper bolts first prior to tightening (4 across the rear cross member, 6 on the sides (3 each side).
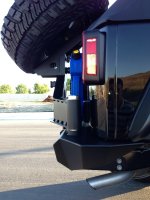
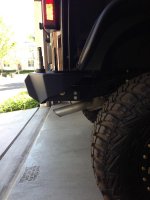
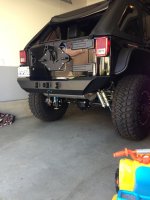
Some photos of the bumper installation below
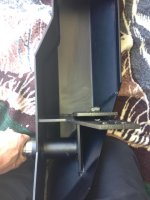
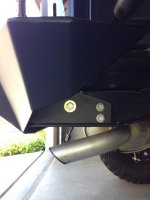
After installing the bumper, it's time to assemble the tire carrier arm to the spindle.
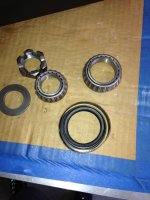
KOR provides instructions for installing the bearings, grease seal, washer and castle nut.
Here are a few photos
Bearings, grease seal, washer and castle nut
Larger bearing and grease seal installed in arm
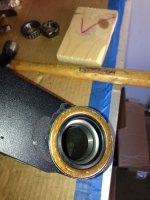
After installing the large bearing and grease seal, the arm can be placed on the bumper spindle.
The small bearing is next to be installed followed by the washer and castle nut.
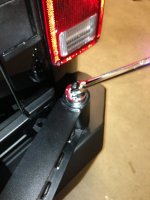
Using a 1 1/2 socket, secure the castle nut (I had a hard time finding a 1 1/2 socket which would fit inside the arm hole. I finally found a socket at Lowes which fit).
Grease the bearings using the zerk fitting and install top cap (note: KOR is developing billet cap for the castle nut - should be available soon)
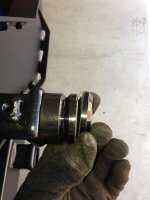
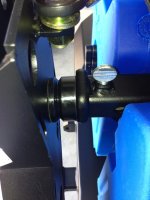
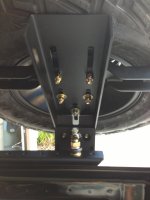
Photos below of spindle, castle nut and securing the castle nut (I installed the upper race (not shown) myself, but generally the upper race comes installed from KOR)
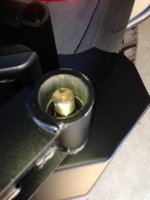
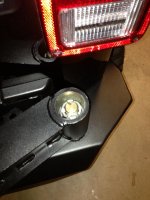
This concludes Part 1 (I think I maxed on 20 photos per post).
Will try to respond to my own thread to finish this write-up.
:beer:
Bumper arrives in a crate as shown below (includes all parts and instructions)
View attachment 27056
First step is to install the Backing Plate to the tailgate.
Before you can do this, you need to remove the spare tire, third brake light, factory tire carrier (8 bolts), vent cover, and bump stops.
KOH provides instructions on how to do this.
Photo below detailing this step after removing all parts.
Note: I removed the third brake light wire completely until I figure out what I want to do. The wire can be disconnected from inside the tailgate through an access panel on the inside of the tailgate. I believe KOR does include a third brake light mount as part of their license plate relocation bracket (just not sure I want to install the license bracket yet - may do something custom for the brake light only).

Next step is to install the Backing Plate to the tailgate.
Note: if you ordered the rotopax mounts, you will need to secure the mounts to the backing plate prior to installation.
Using the provided M8 X30 (8) stainless bolts, secure the backing plate to the tailgate.
(I used some anti-seize on the 8 bolts prior to securing to the tailgate)
Couple photos below of the Backing Plate and rotopax


After installing the Backing Plate, the next step is to install the KOR rear bumper.
Begin by removing the factory bumper and tow hitch if equipped (KOR provides instructions on how to do this and explains which factory bolts to keep).
After removing the factory bumper and tow hitch (if equipped), to make clearance for the rear bumper, the ends of the frame rails need to be notched.
After marking the three points per KOR instructions, it is time to cut.
Here are a few photos to give you an idea.
Be sure to paint the exposed metal


After cutting frame rail corners, it is time to install the rear bumper.
However, there are a few items which need to be complete prior to sliding on the rear bumper.
1) KOR explains one of the four cross member holes in the frame needs to be enlarged (9/16 bit)
Be sure to paint any exposed edges to prevent rust drilling the hole larger
2) If you ordered the Rigid LED lights, this is the time to install (I did not order lights)
3) KOR provides a small back plate which must be installed at this point. I chose to paint my plate blue which makes KOR fist logo clearly visible on the bottom of the bumper.
KOR recommends two people, but I was able to install the rear bumper by myself (slides on fairly easily - just need to line it up as the fit is snug).
The bumper lines up well with all bolts holes and after looking below, I could see why the frame rail notches were necessary.
Install all bumper bolts first prior to tightening (4 across the rear cross member, 6 on the sides (3 each side).
Some photos of the bumper installation below


After installing the bumper, it's time to assemble the tire carrier arm to the spindle.
KOR provides instructions for installing the bearings, grease seal, washer and castle nut.
Here are a few photos
Bearings, grease seal, washer and castle nut

Larger bearing and grease seal installed in arm

After installing the large bearing and grease seal, the arm can be placed on the bumper spindle.
The small bearing is next to be installed followed by the washer and castle nut.
Using a 1 1/2 socket, secure the castle nut (I had a hard time finding a 1 1/2 socket which would fit inside the arm hole. I finally found a socket at Lowes which fit).
Grease the bearings using the zerk fitting and install top cap (note: KOR is developing billet cap for the castle nut - should be available soon)
Photos below of spindle, castle nut and securing the castle nut (I installed the upper race (not shown) myself, but generally the upper race comes installed from KOR)


This concludes Part 1 (I think I maxed on 20 photos per post).
Will try to respond to my own thread to finish this write-up.
:beer:

