You are using an out of date browser. It may not display this or other websites correctly.
You should upgrade or use an alternative browser.
You should upgrade or use an alternative browser.
GFrench 76 CJ5 Restoration
- Thread starter gfrench
- Start date
Spazbyt
Hooked
gfrench
Member
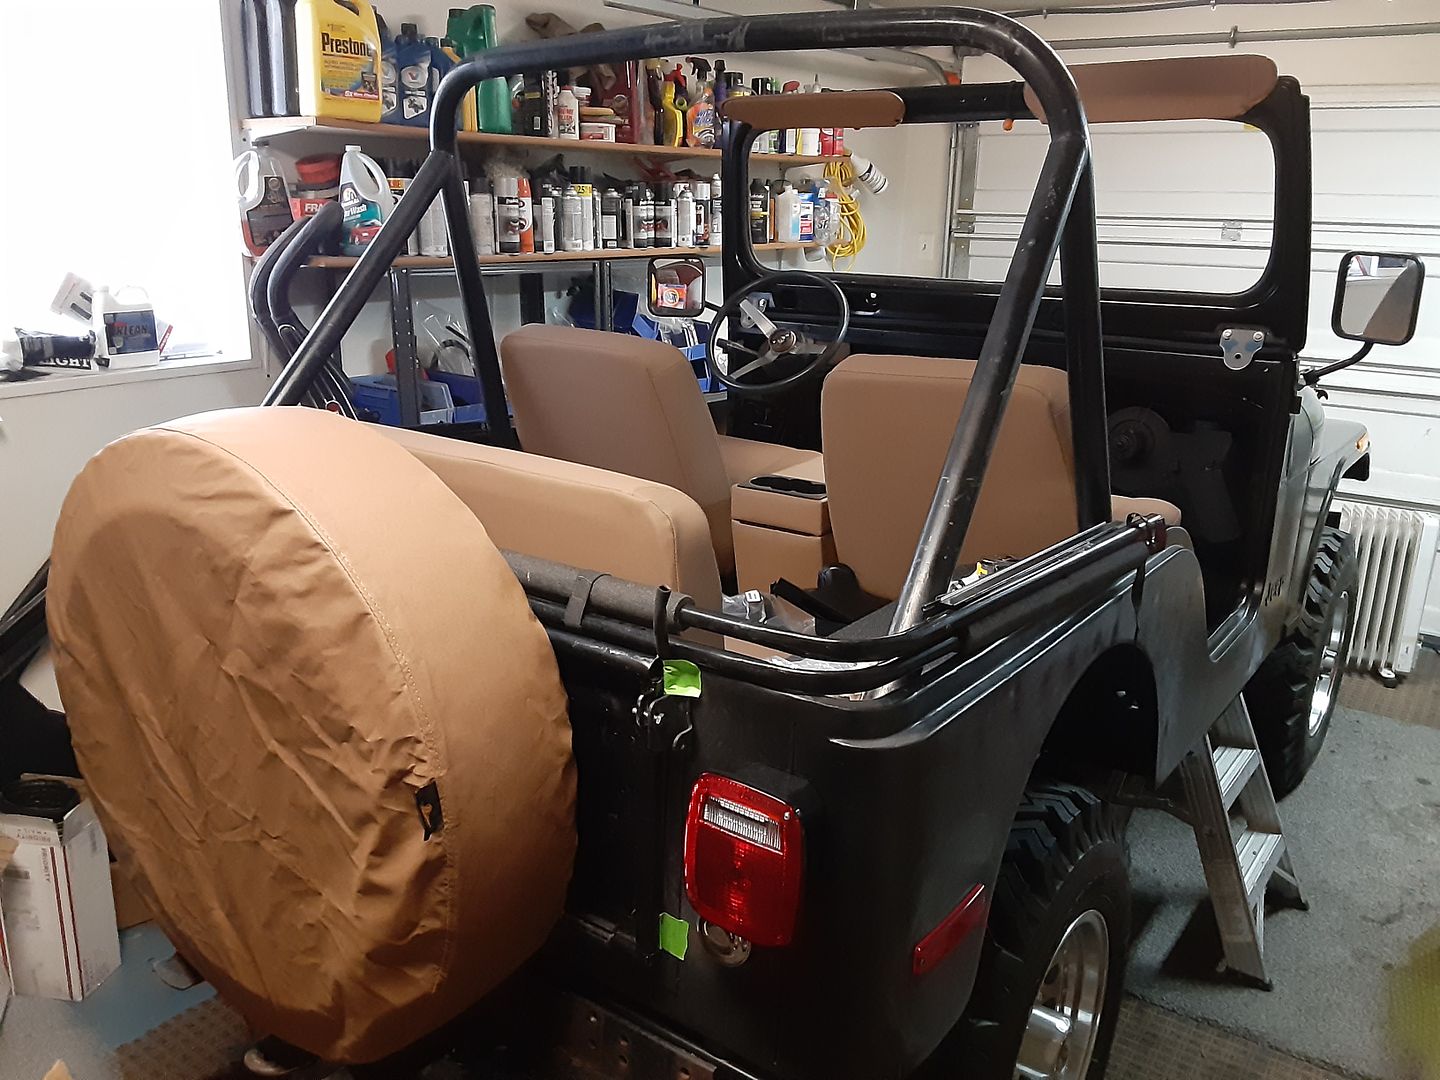
Just a little update on my continued mock up before the final tear down and painting....
For the 1987 to 1995 YJ Tilt Steering Column I picked up- thought I would post things along the way... sure there are other threads on this same topic... but here is my experience so far.
The YJ Column is a perfect match to the stock CJ5 interior brackets-
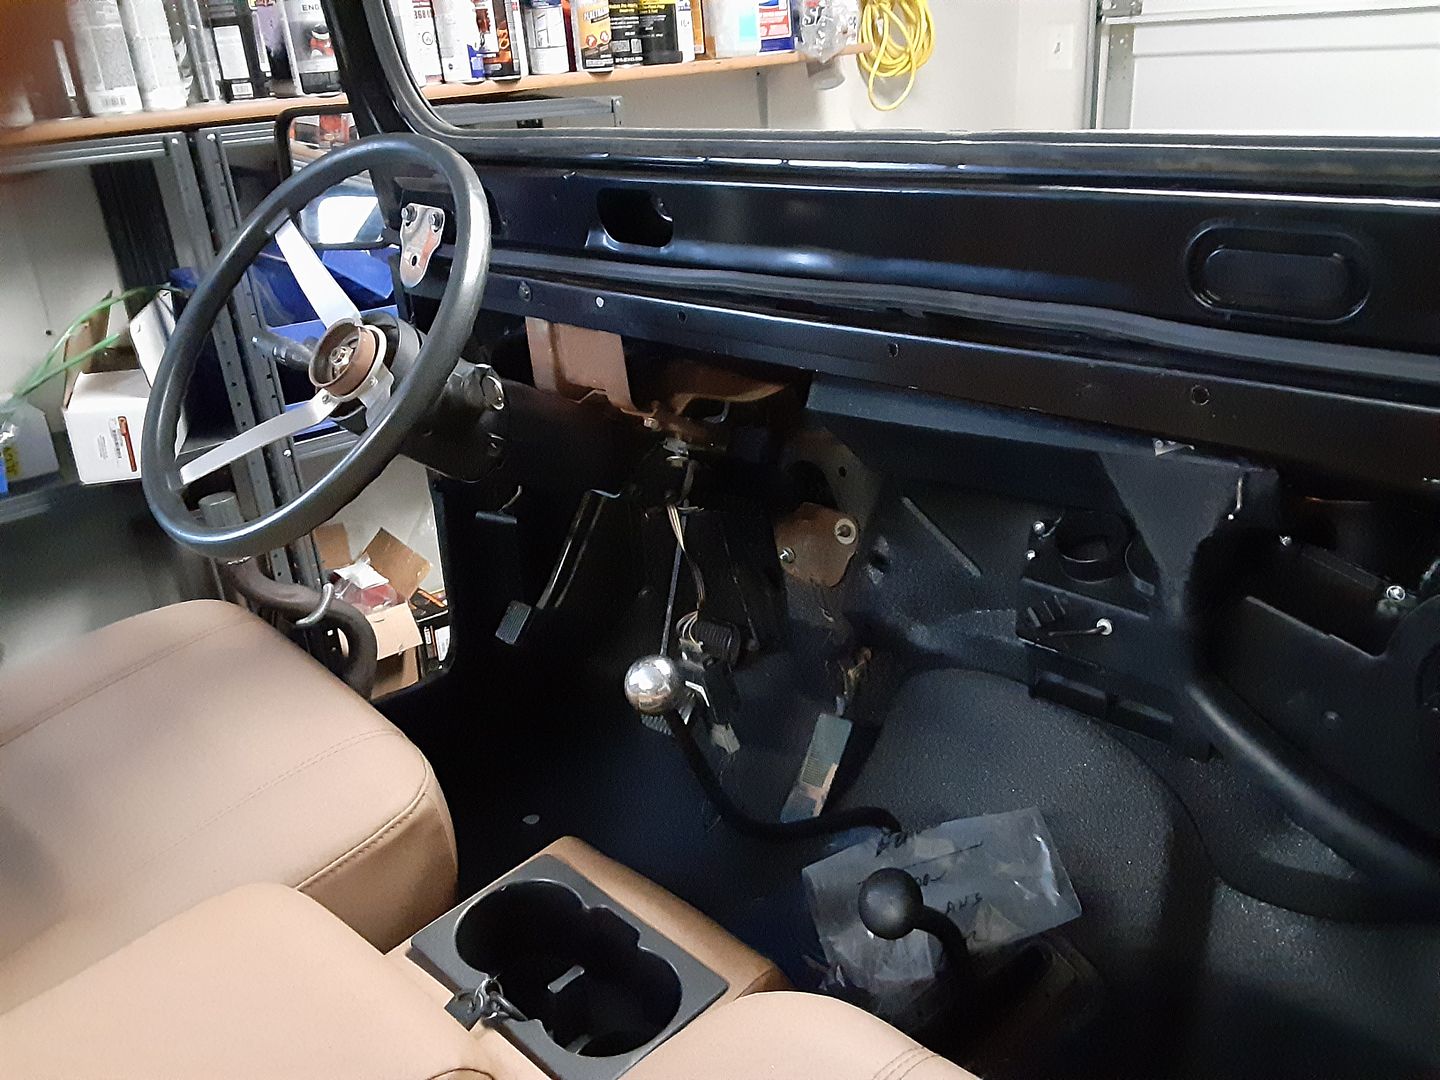
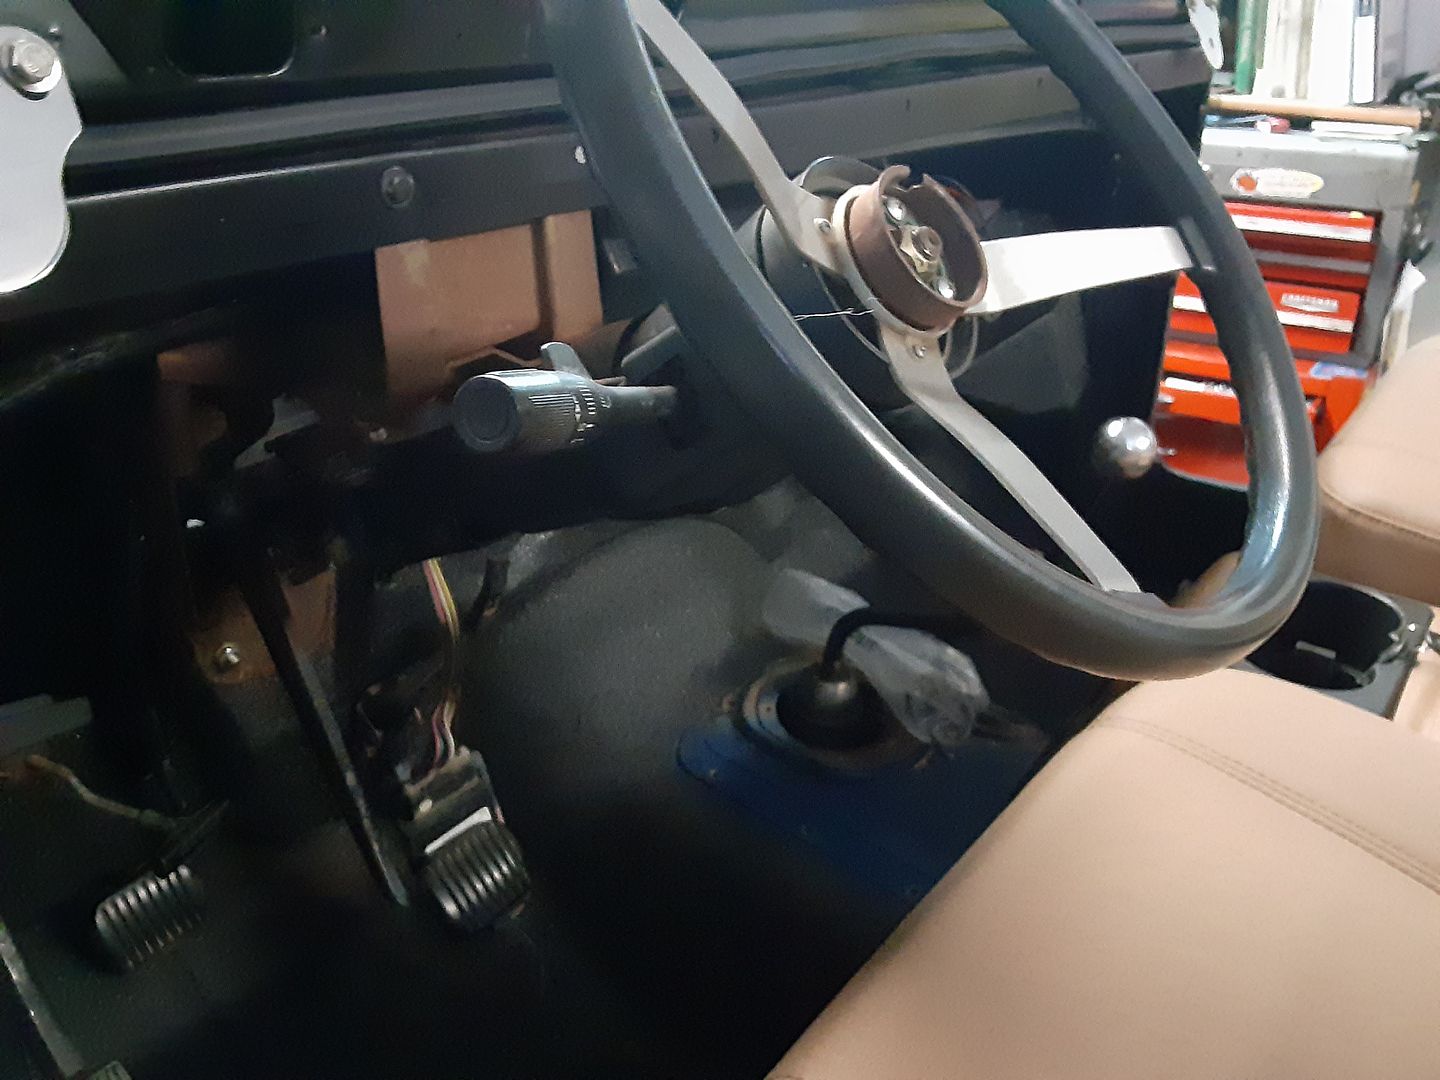
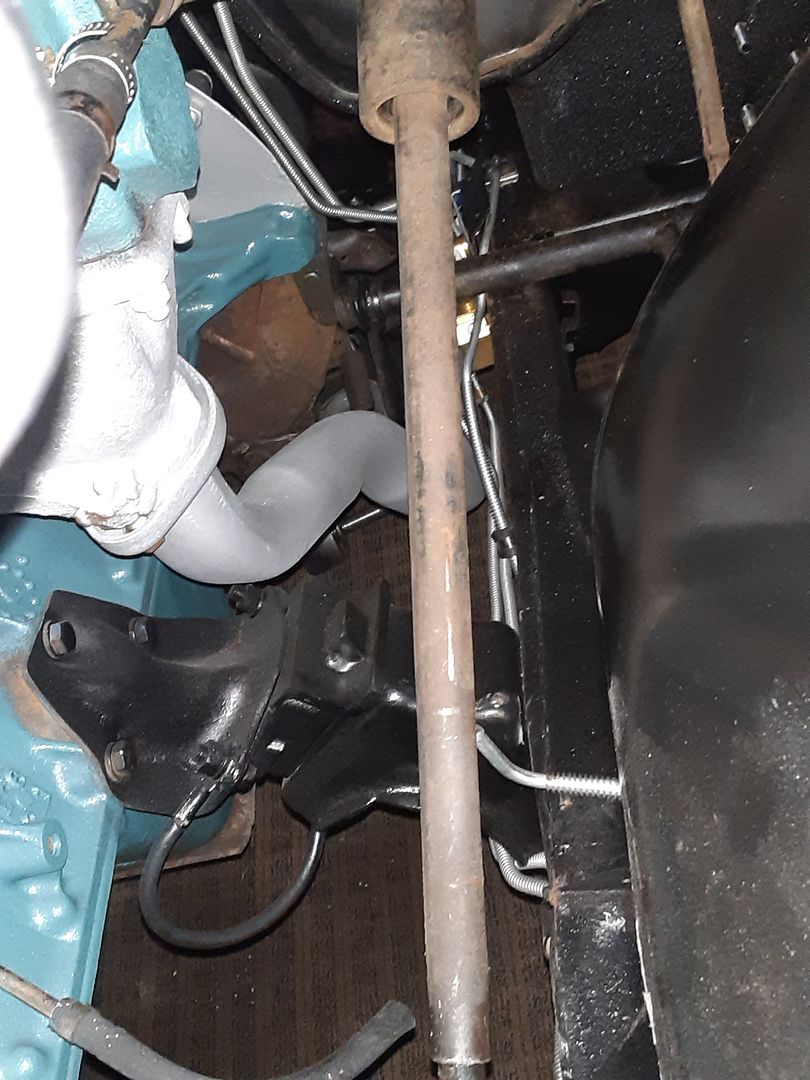
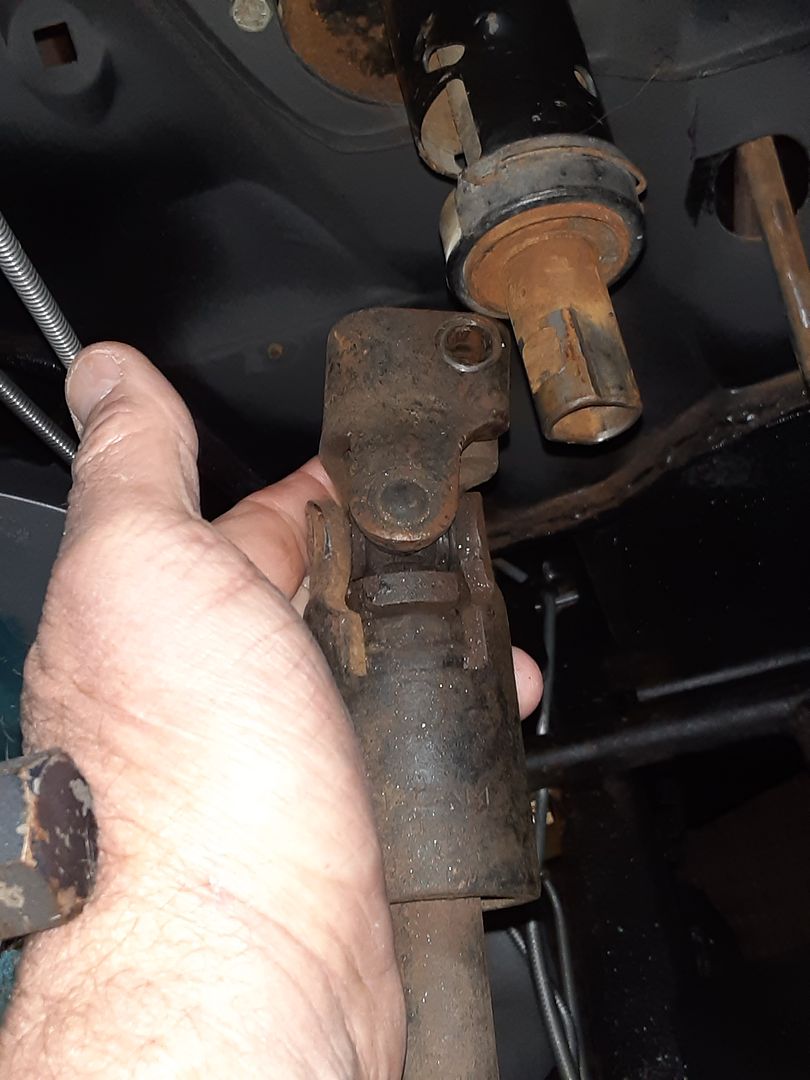
Also- when you remove the top part of the stock steering shaft and slide the top half of the YJ one onto the lower half of the stock CJ5 steering shaft- Matches up perfect!
Having a Tilt Wheel is a game changer to getting in and out of this thing for sure. Next will need to see how the electrical hooks up but seeing the two ignition plugs on the Column are the same ones on the CJ5- wont know till I get there.
all the pieces are starting to fall into place- Cannot wait to get some color on it.
For the 1987 to 1995 YJ Tilt Steering Column I picked up- thought I would post things along the way... sure there are other threads on this same topic... but here is my experience so far.
The YJ Column is a perfect match to the stock CJ5 interior brackets-


Also- when you remove the top part of the stock steering shaft and slide the top half of the YJ one onto the lower half of the stock CJ5 steering shaft- Matches up perfect!


Having a Tilt Wheel is a game changer to getting in and out of this thing for sure. Next will need to see how the electrical hooks up but seeing the two ignition plugs on the Column are the same ones on the CJ5- wont know till I get there.
all the pieces are starting to fall into place- Cannot wait to get some color on it.

Last edited:
wjtstudios
Hooked
Just a little update on my continued mock up before the final tear down and painting....
For the 1987 to 1995 YJ Tilt Steering Column I picked up- thought I would post things along the way... sure there are other threads on this same topic... but here is my experience so far.
The YJ Column is a perfect match to the stock CJ5 interior brackets-
Also- when you remove the top part of the stock steering shaft and slide the top half of the YJ one onto the lower half of the stock CJ5 steering shaft- Matches up perfect!
Having a Tilt Wheel is a game changer to getting in and out of this thing for sure. Next will need to see how the electrical hooks up but seeing the two ignition plugs on the Column are the same ones on the CJ5- wont know till I get there.
all the pieces are starting to fall into place- Cannot wait to get some color on it.
Looks great and that steering column fit in perfectly!
2015 JKUR AEV JK350
1985 CJ8 Scrambler
AZ Explorer
Caught the Bug
Sweet updates!:thumb:
Spazbyt
Hooked
gfrench
Member
Dang!
Has been way to long since I have updated you all on my 1976 CJ5 project-
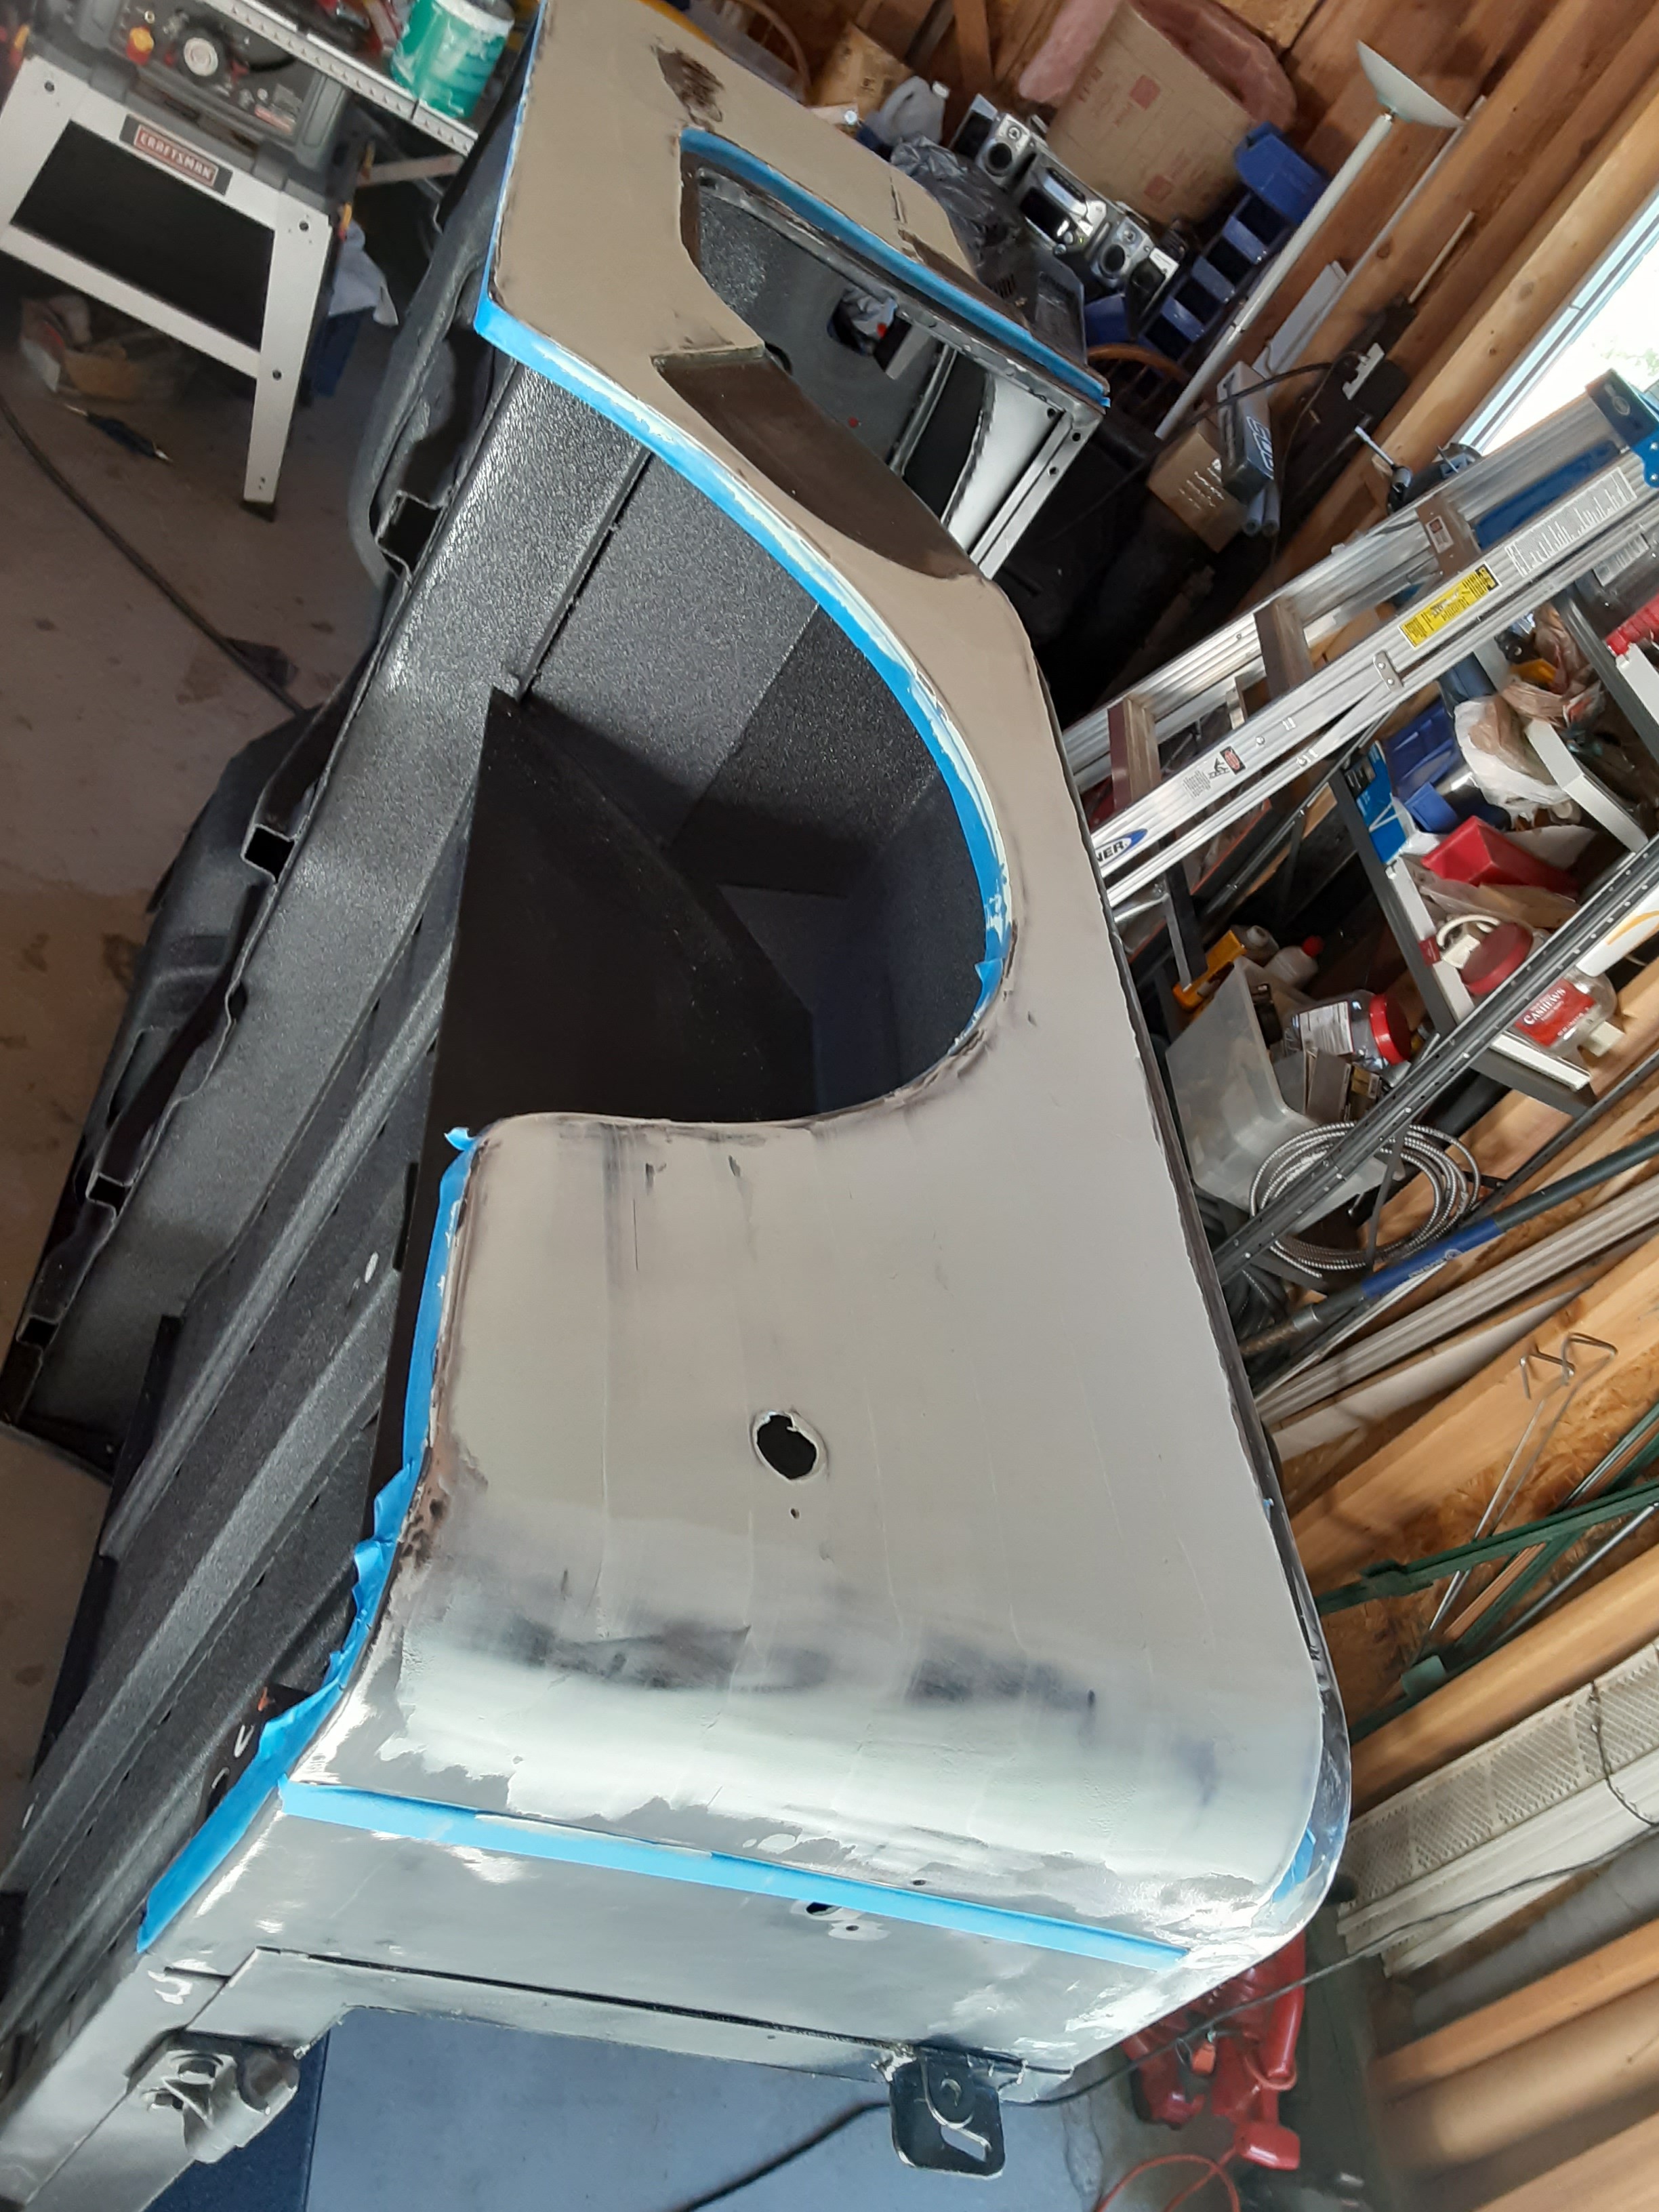
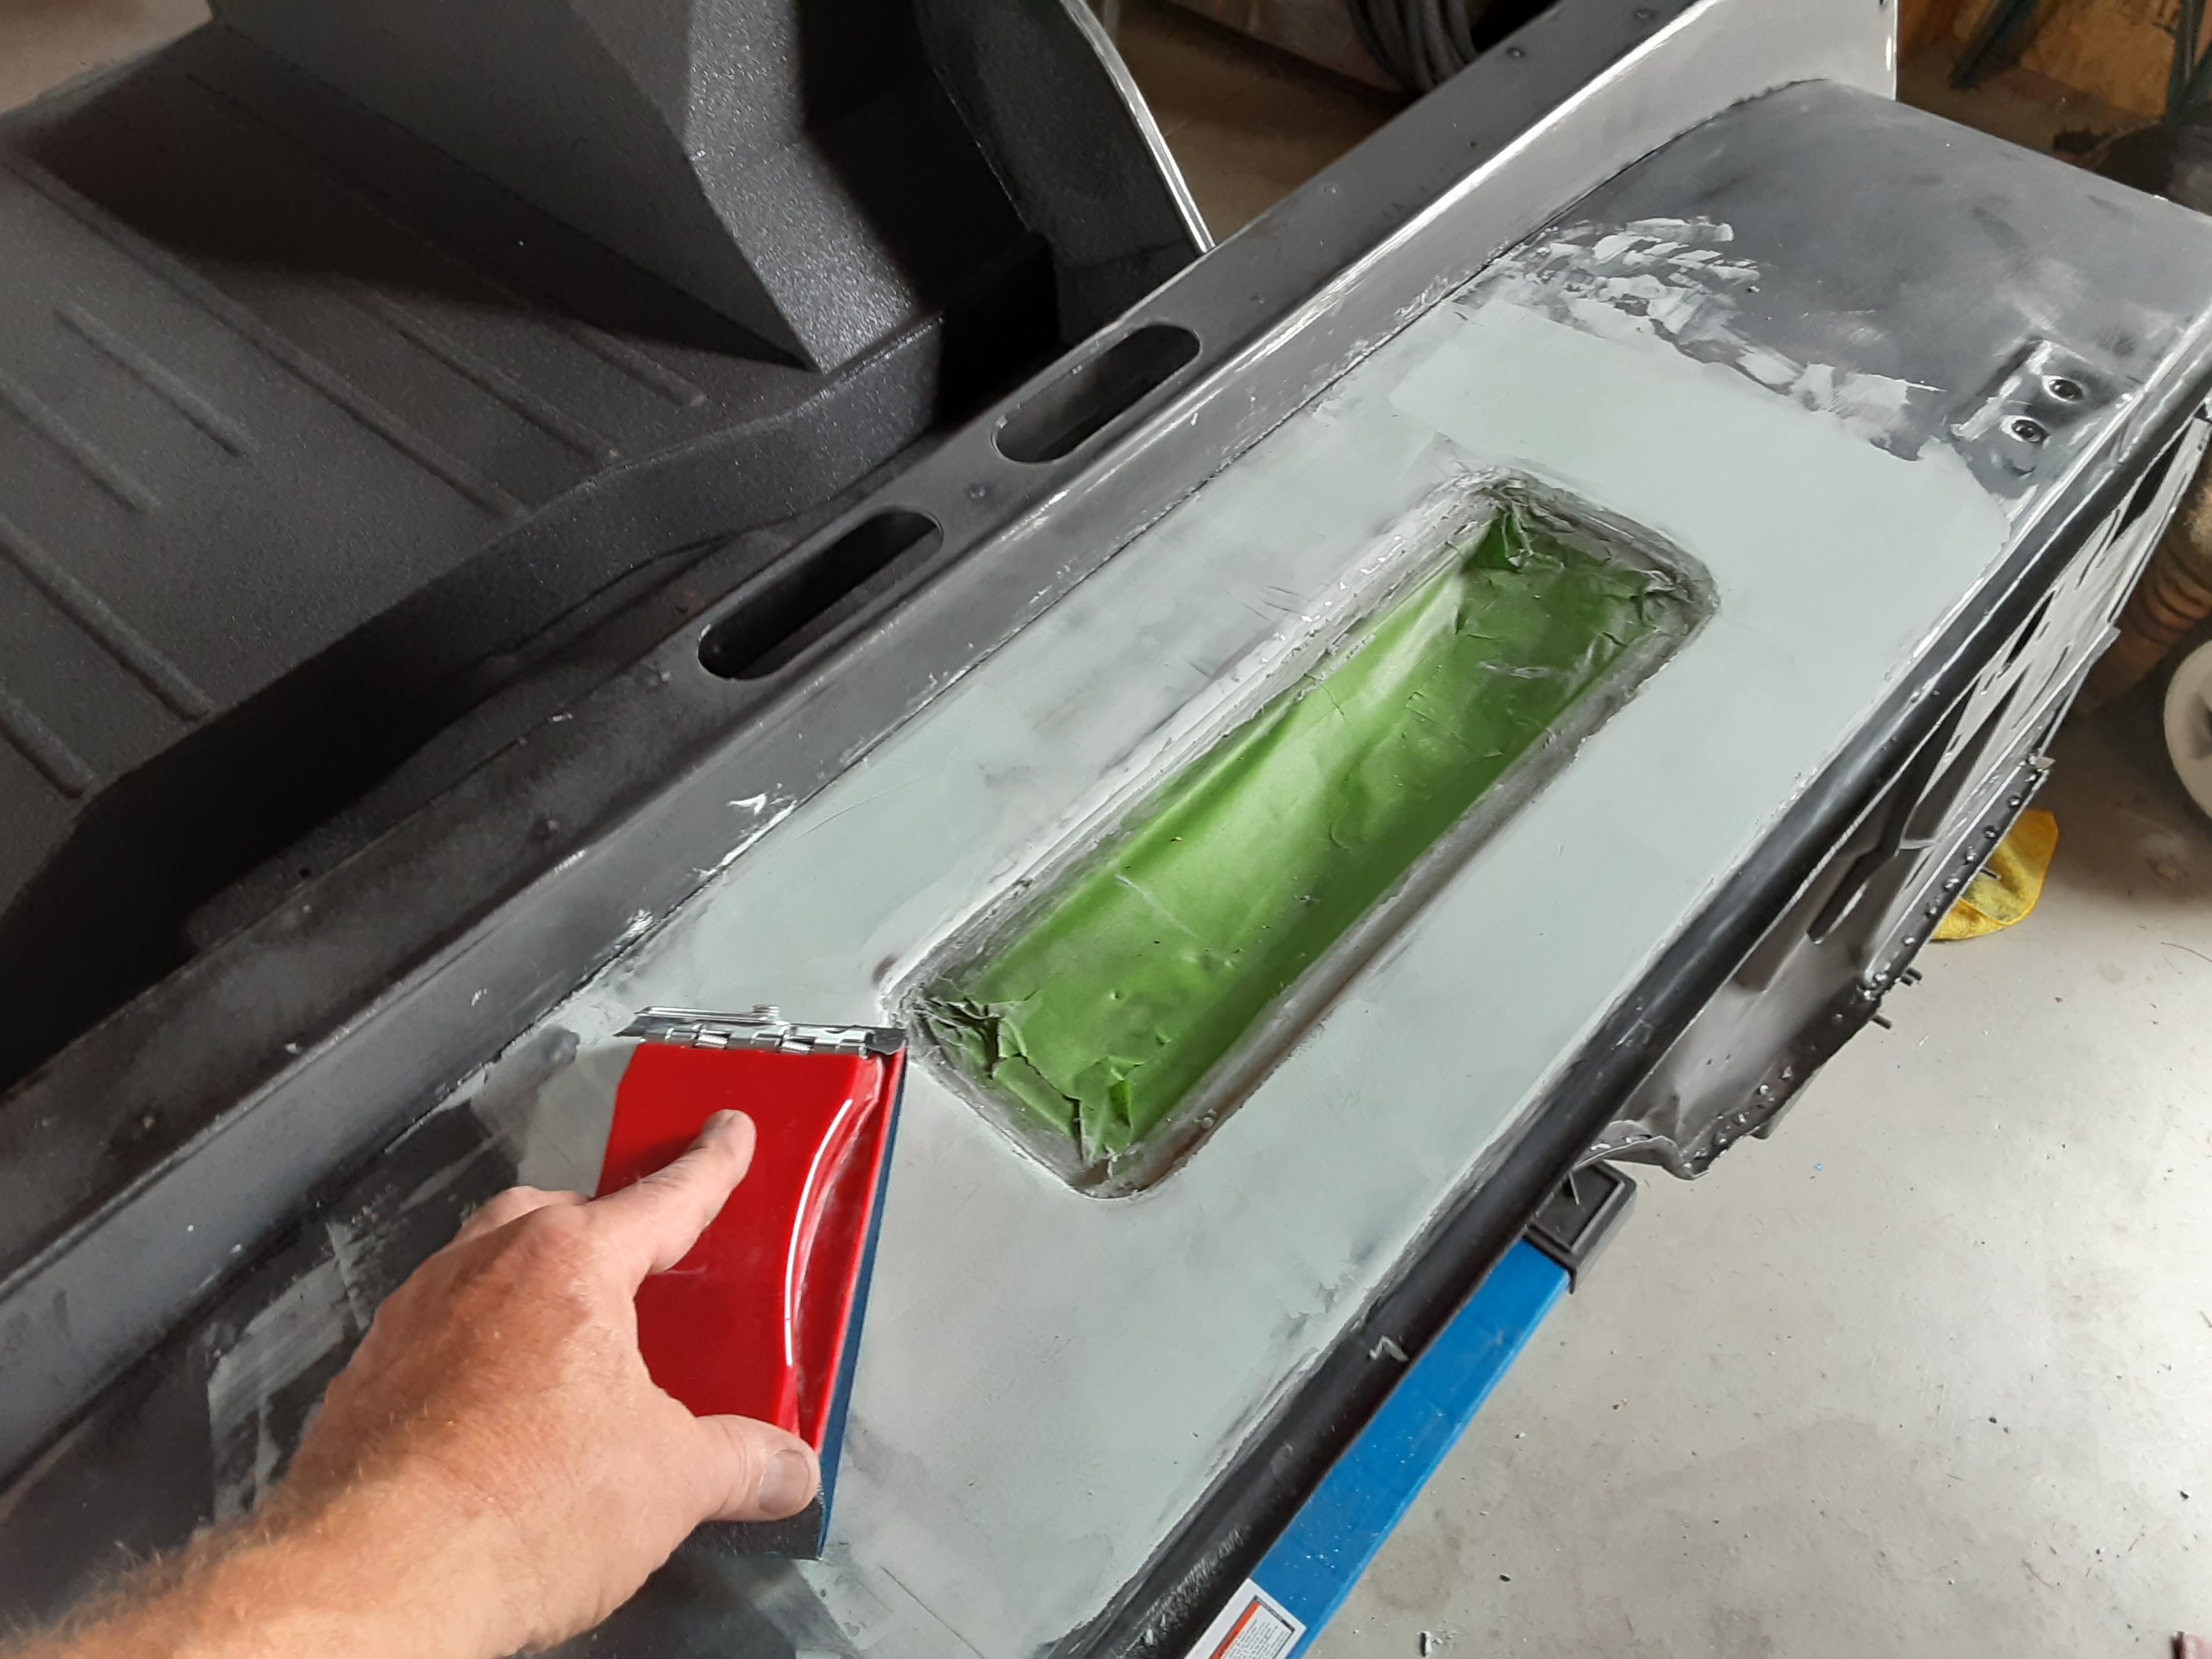
Have been busy doing the body work and Painting. This was a new Repli tub but for anyone that has bought one... they are little crude around the edges but have to remember it is a Jeep!
So took some time to work things out a straight as possible.

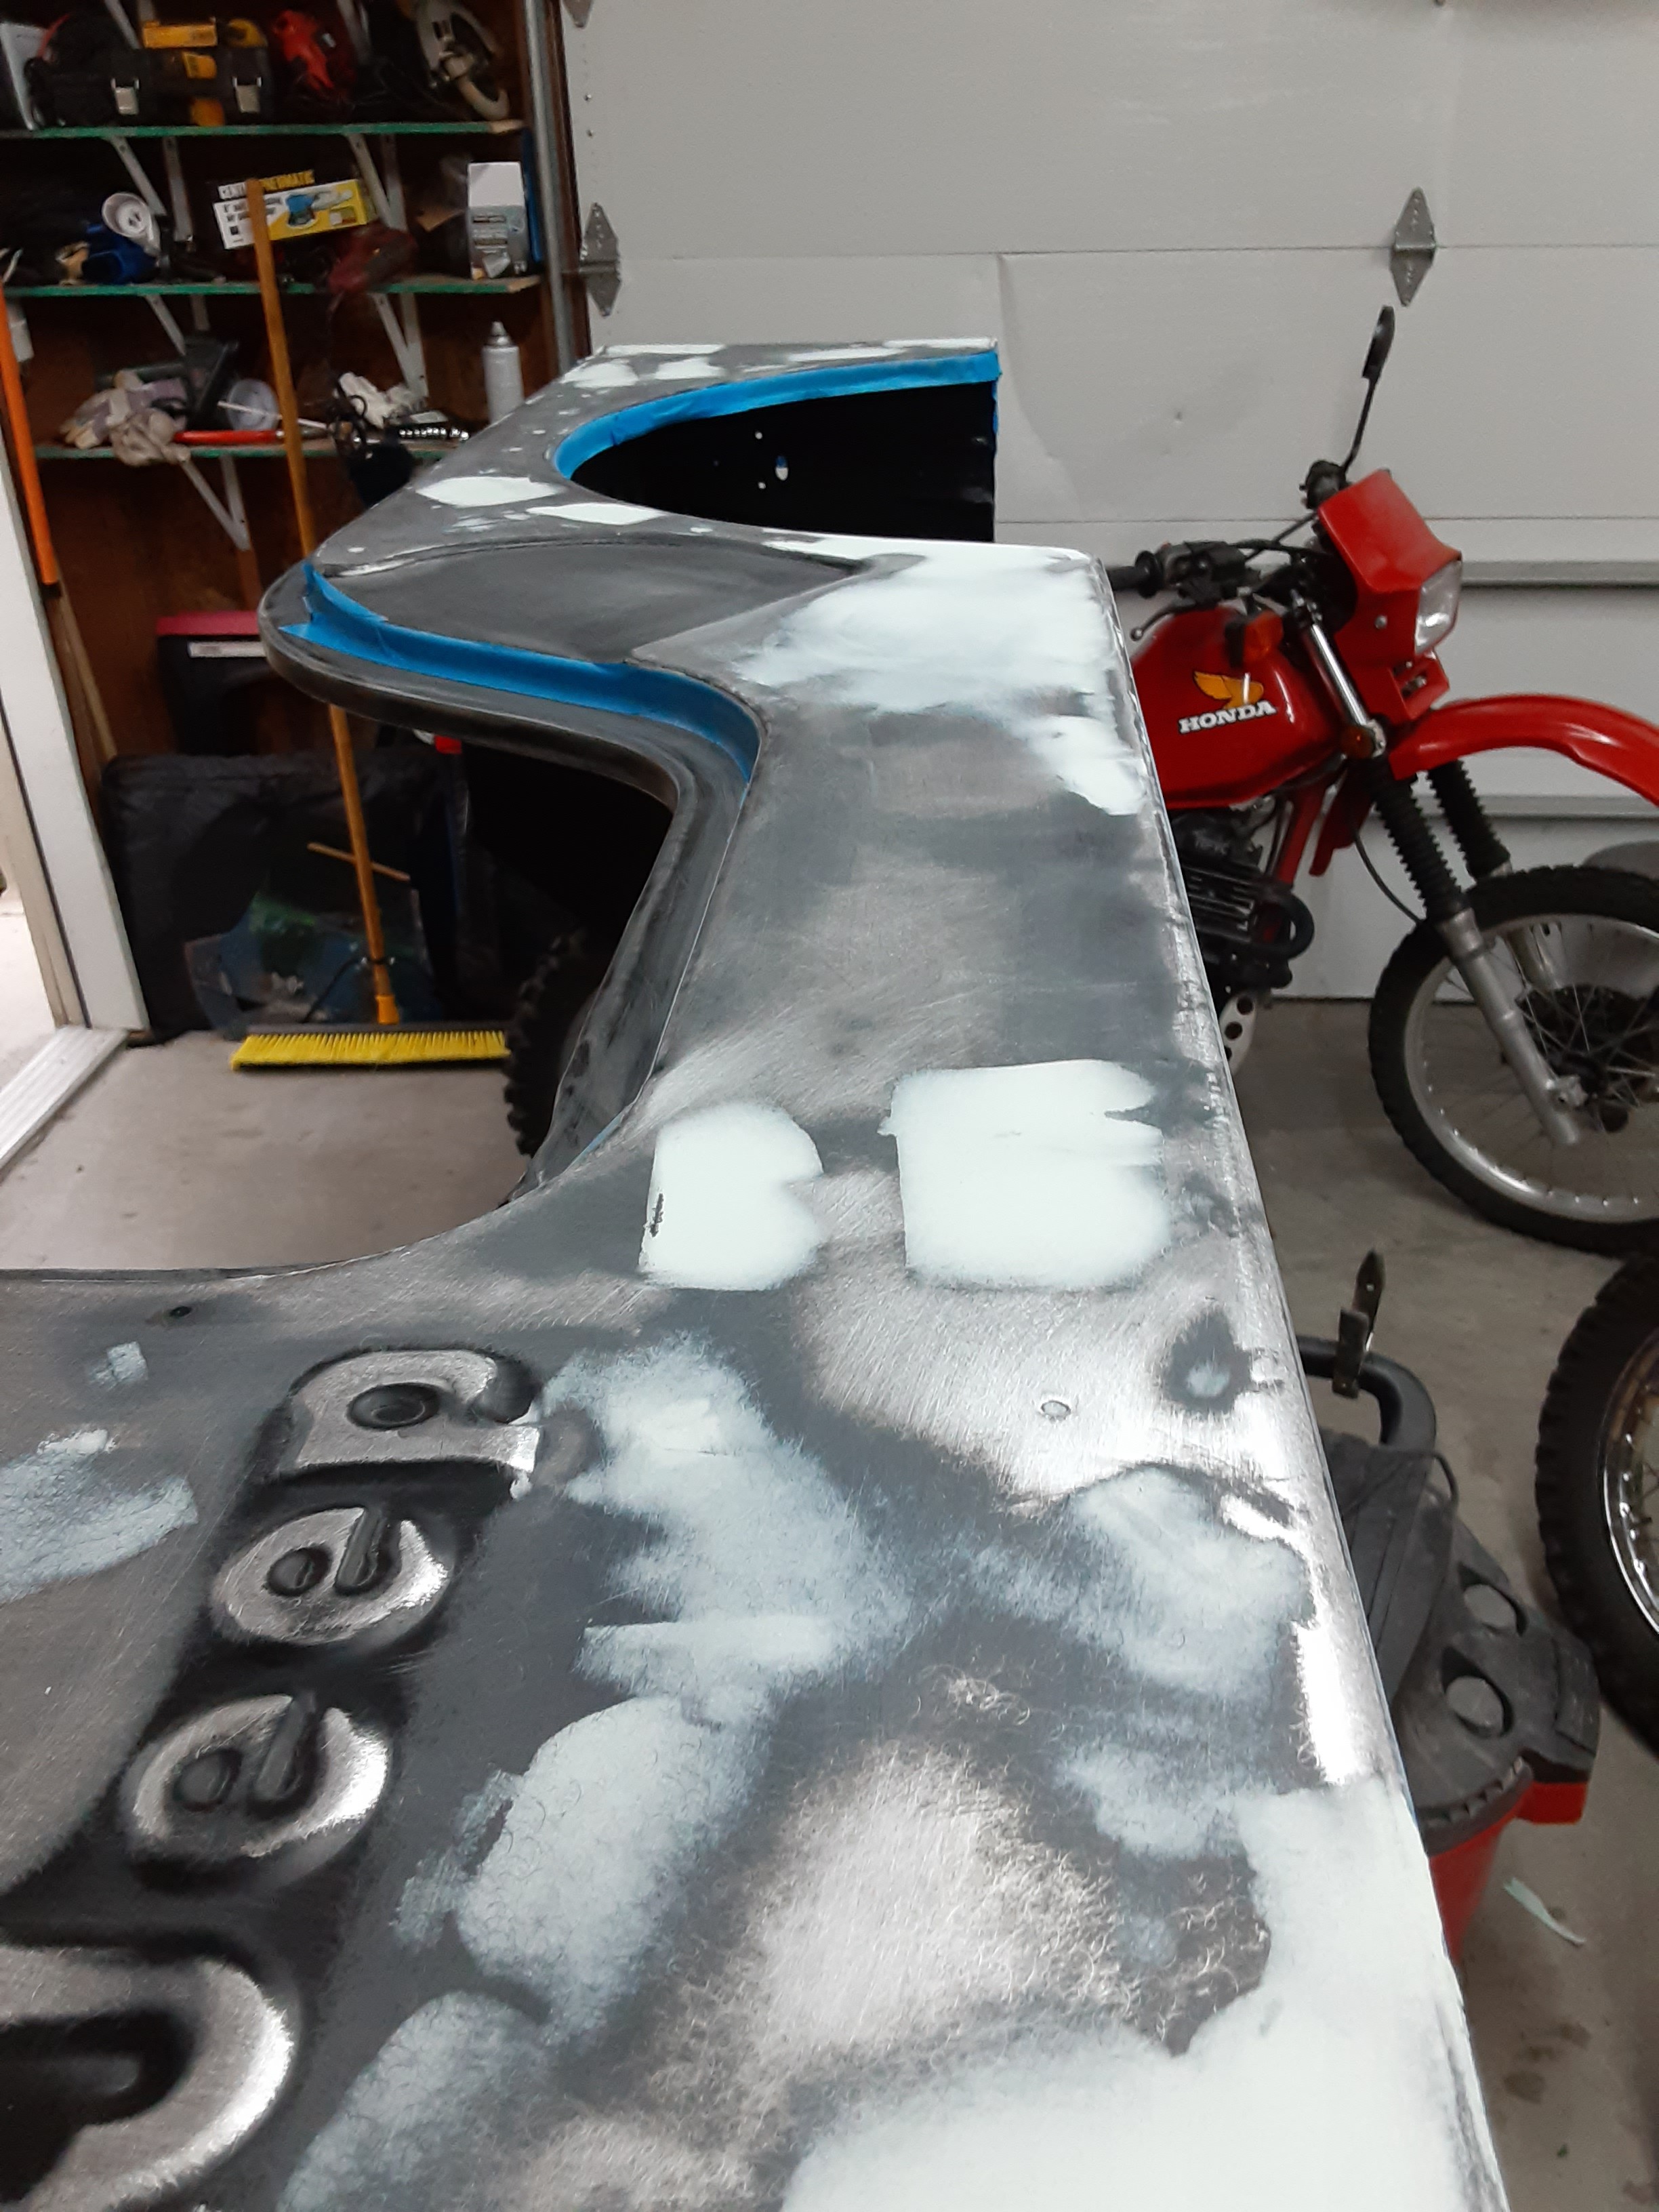
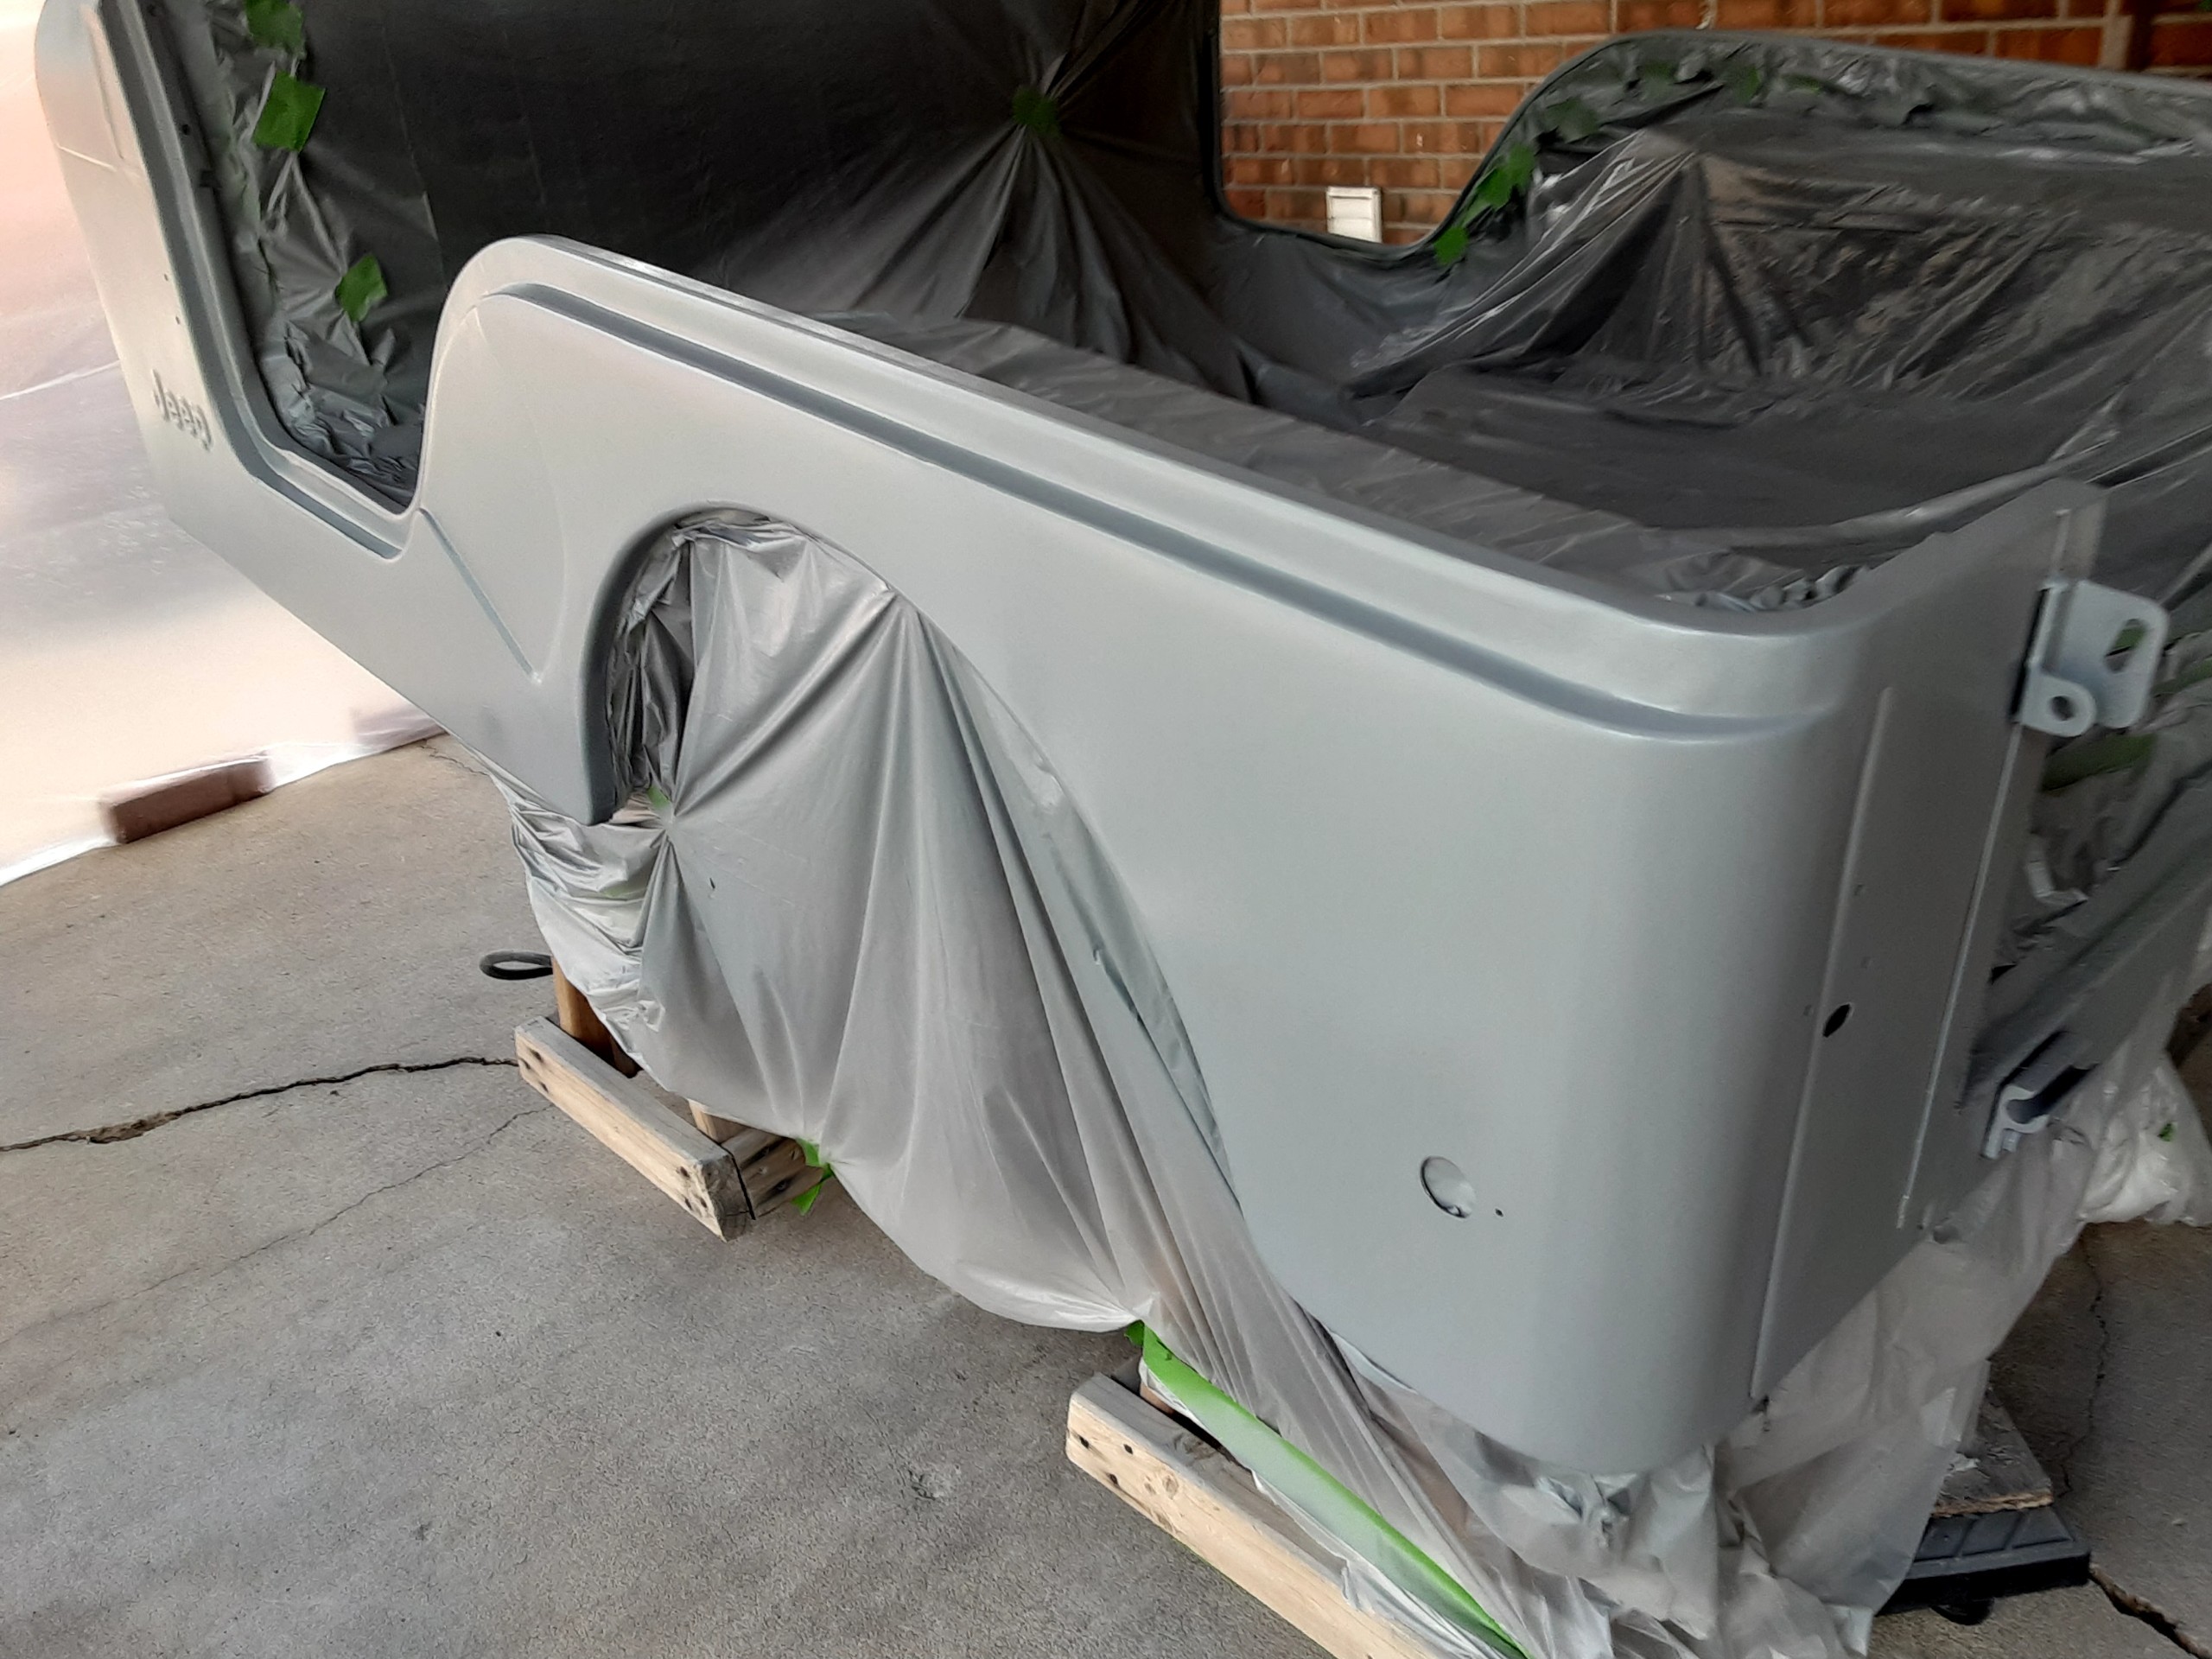
Once I got the body filler all sanded and worked down... hit it with a high build primer!


Has been way to long since I have updated you all on my 1976 CJ5 project-
Have been busy doing the body work and Painting. This was a new Repli tub but for anyone that has bought one... they are little crude around the edges but have to remember it is a Jeep!
So took some time to work things out a straight as possible.
Once I got the body filler all sanded and worked down... hit it with a high build primer!
gfrench
Member
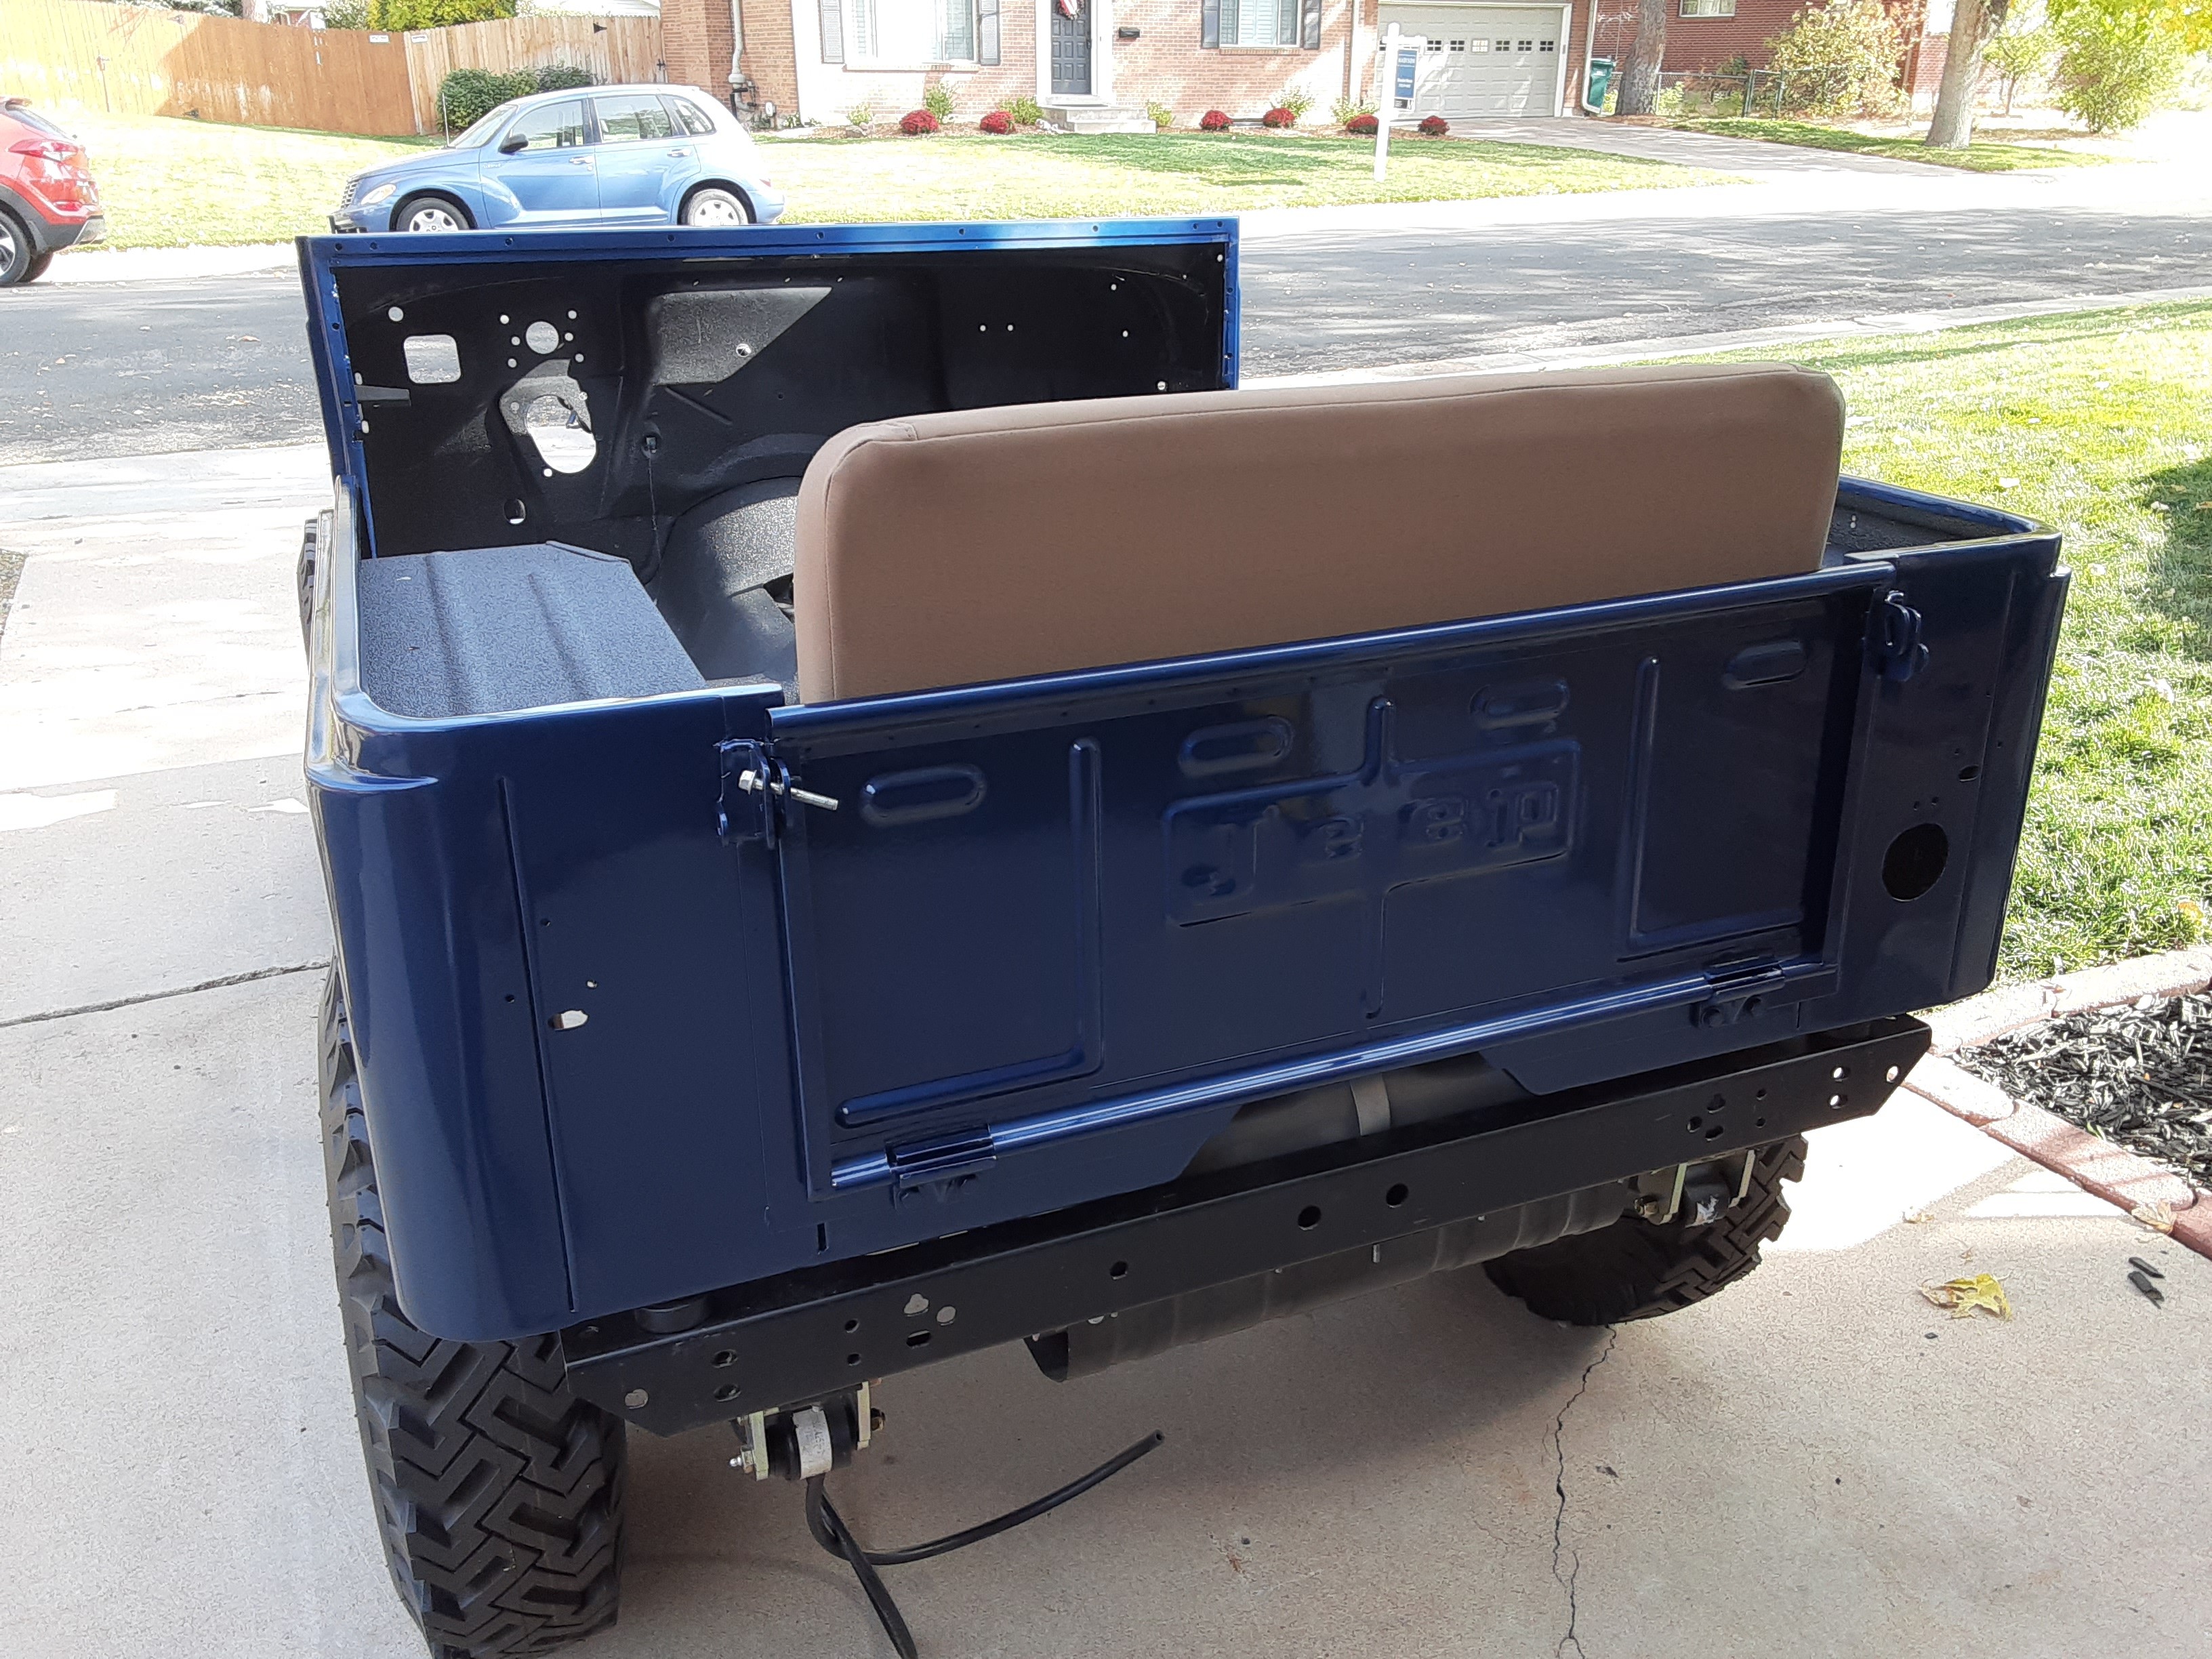
Once the Primer was sanded to 600 grit was time to try my hand for the first time using a good Paint Gun and mixing paint chemicals.
I went with a Single Stage Acrylic Enamel metallic and it laid down pretty nicely-
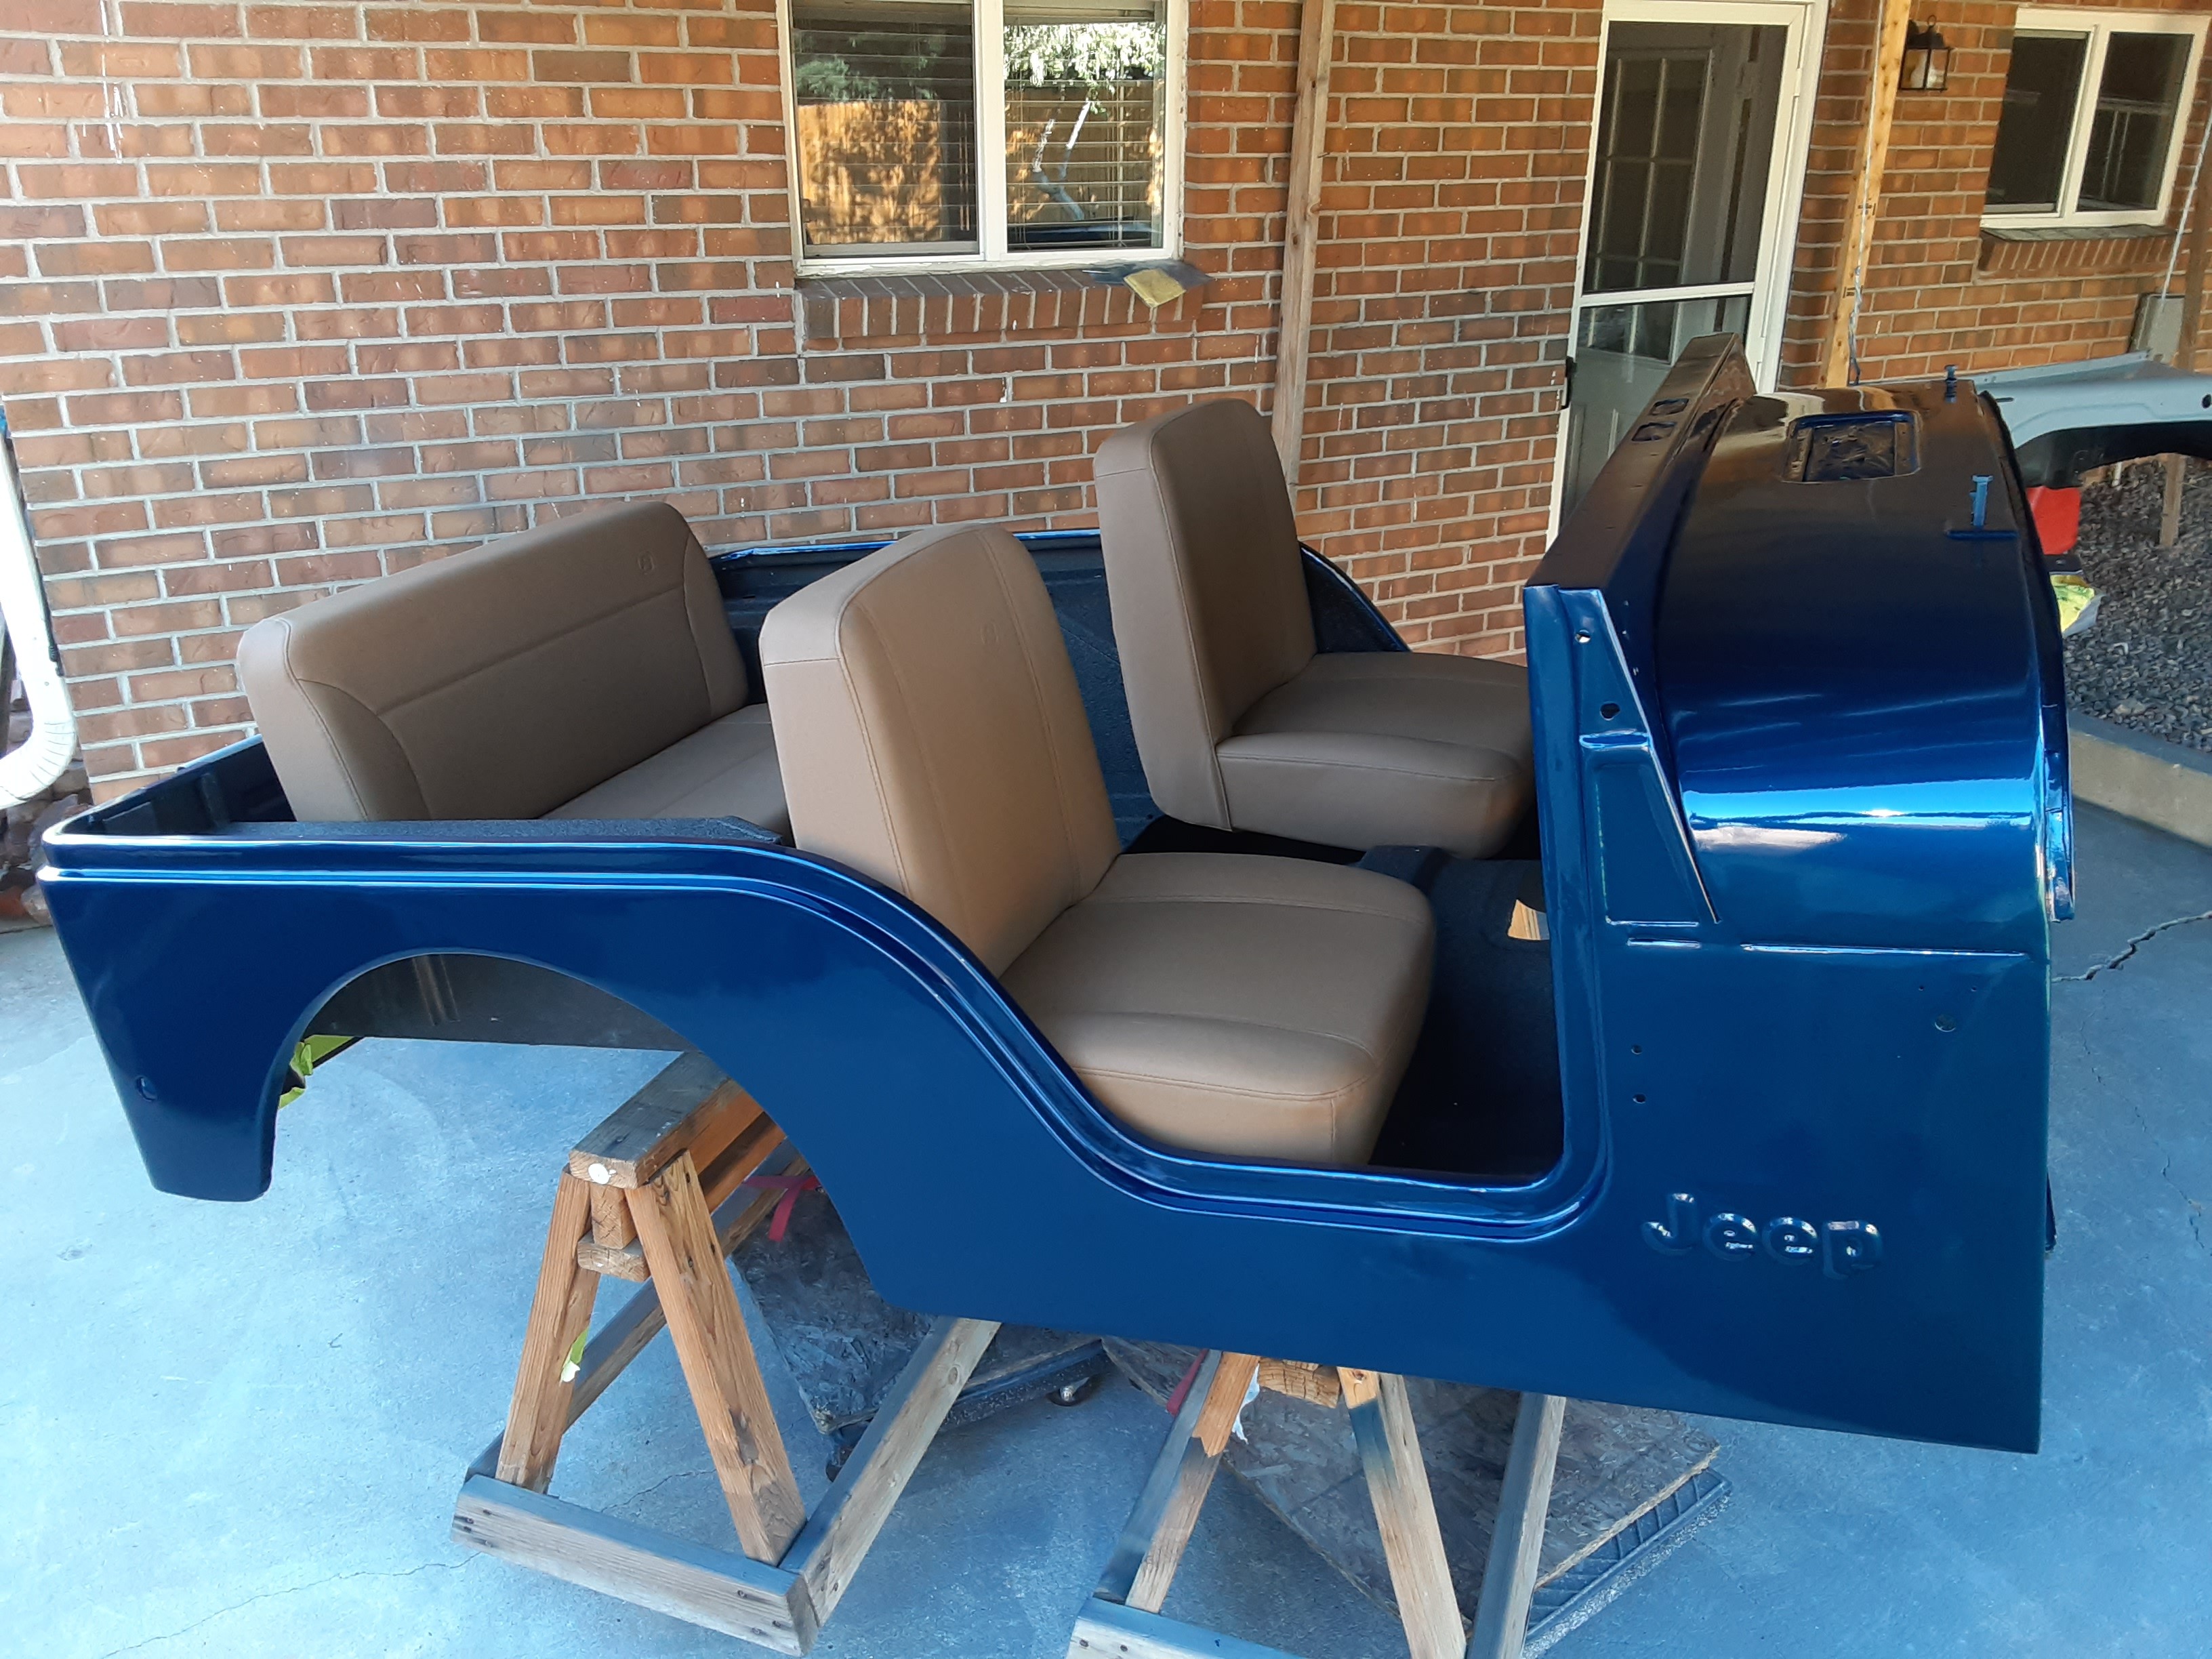
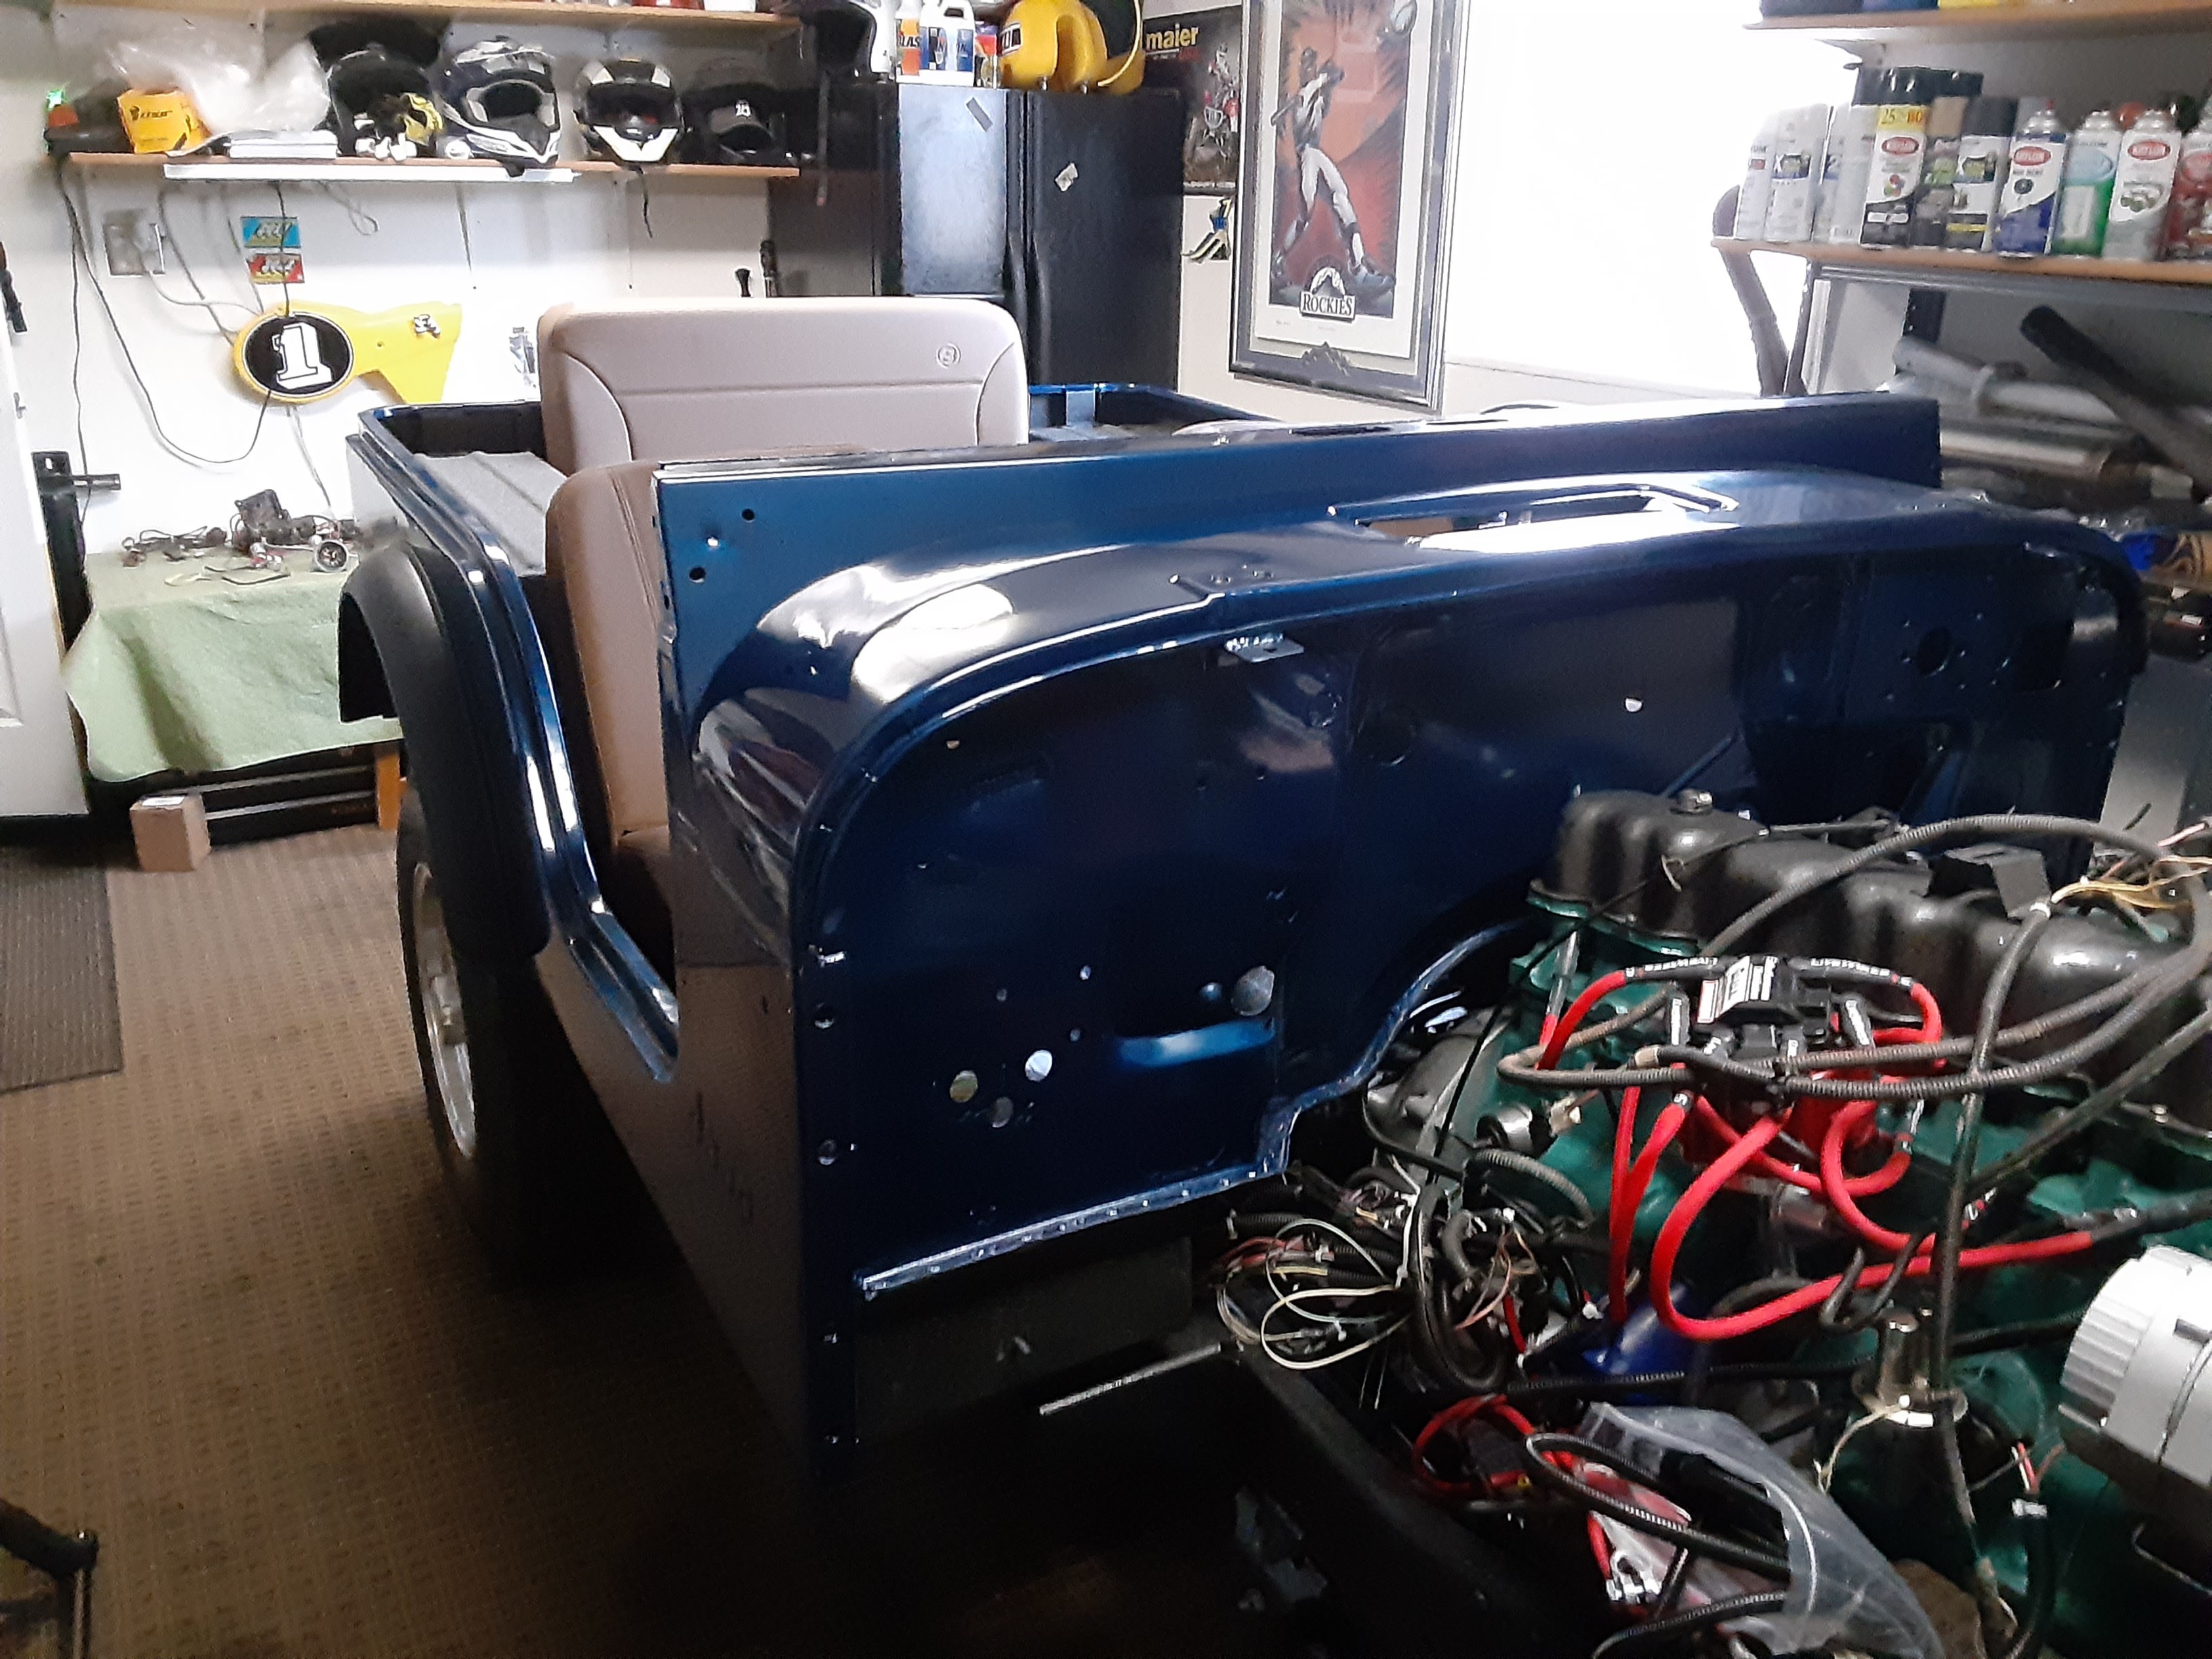
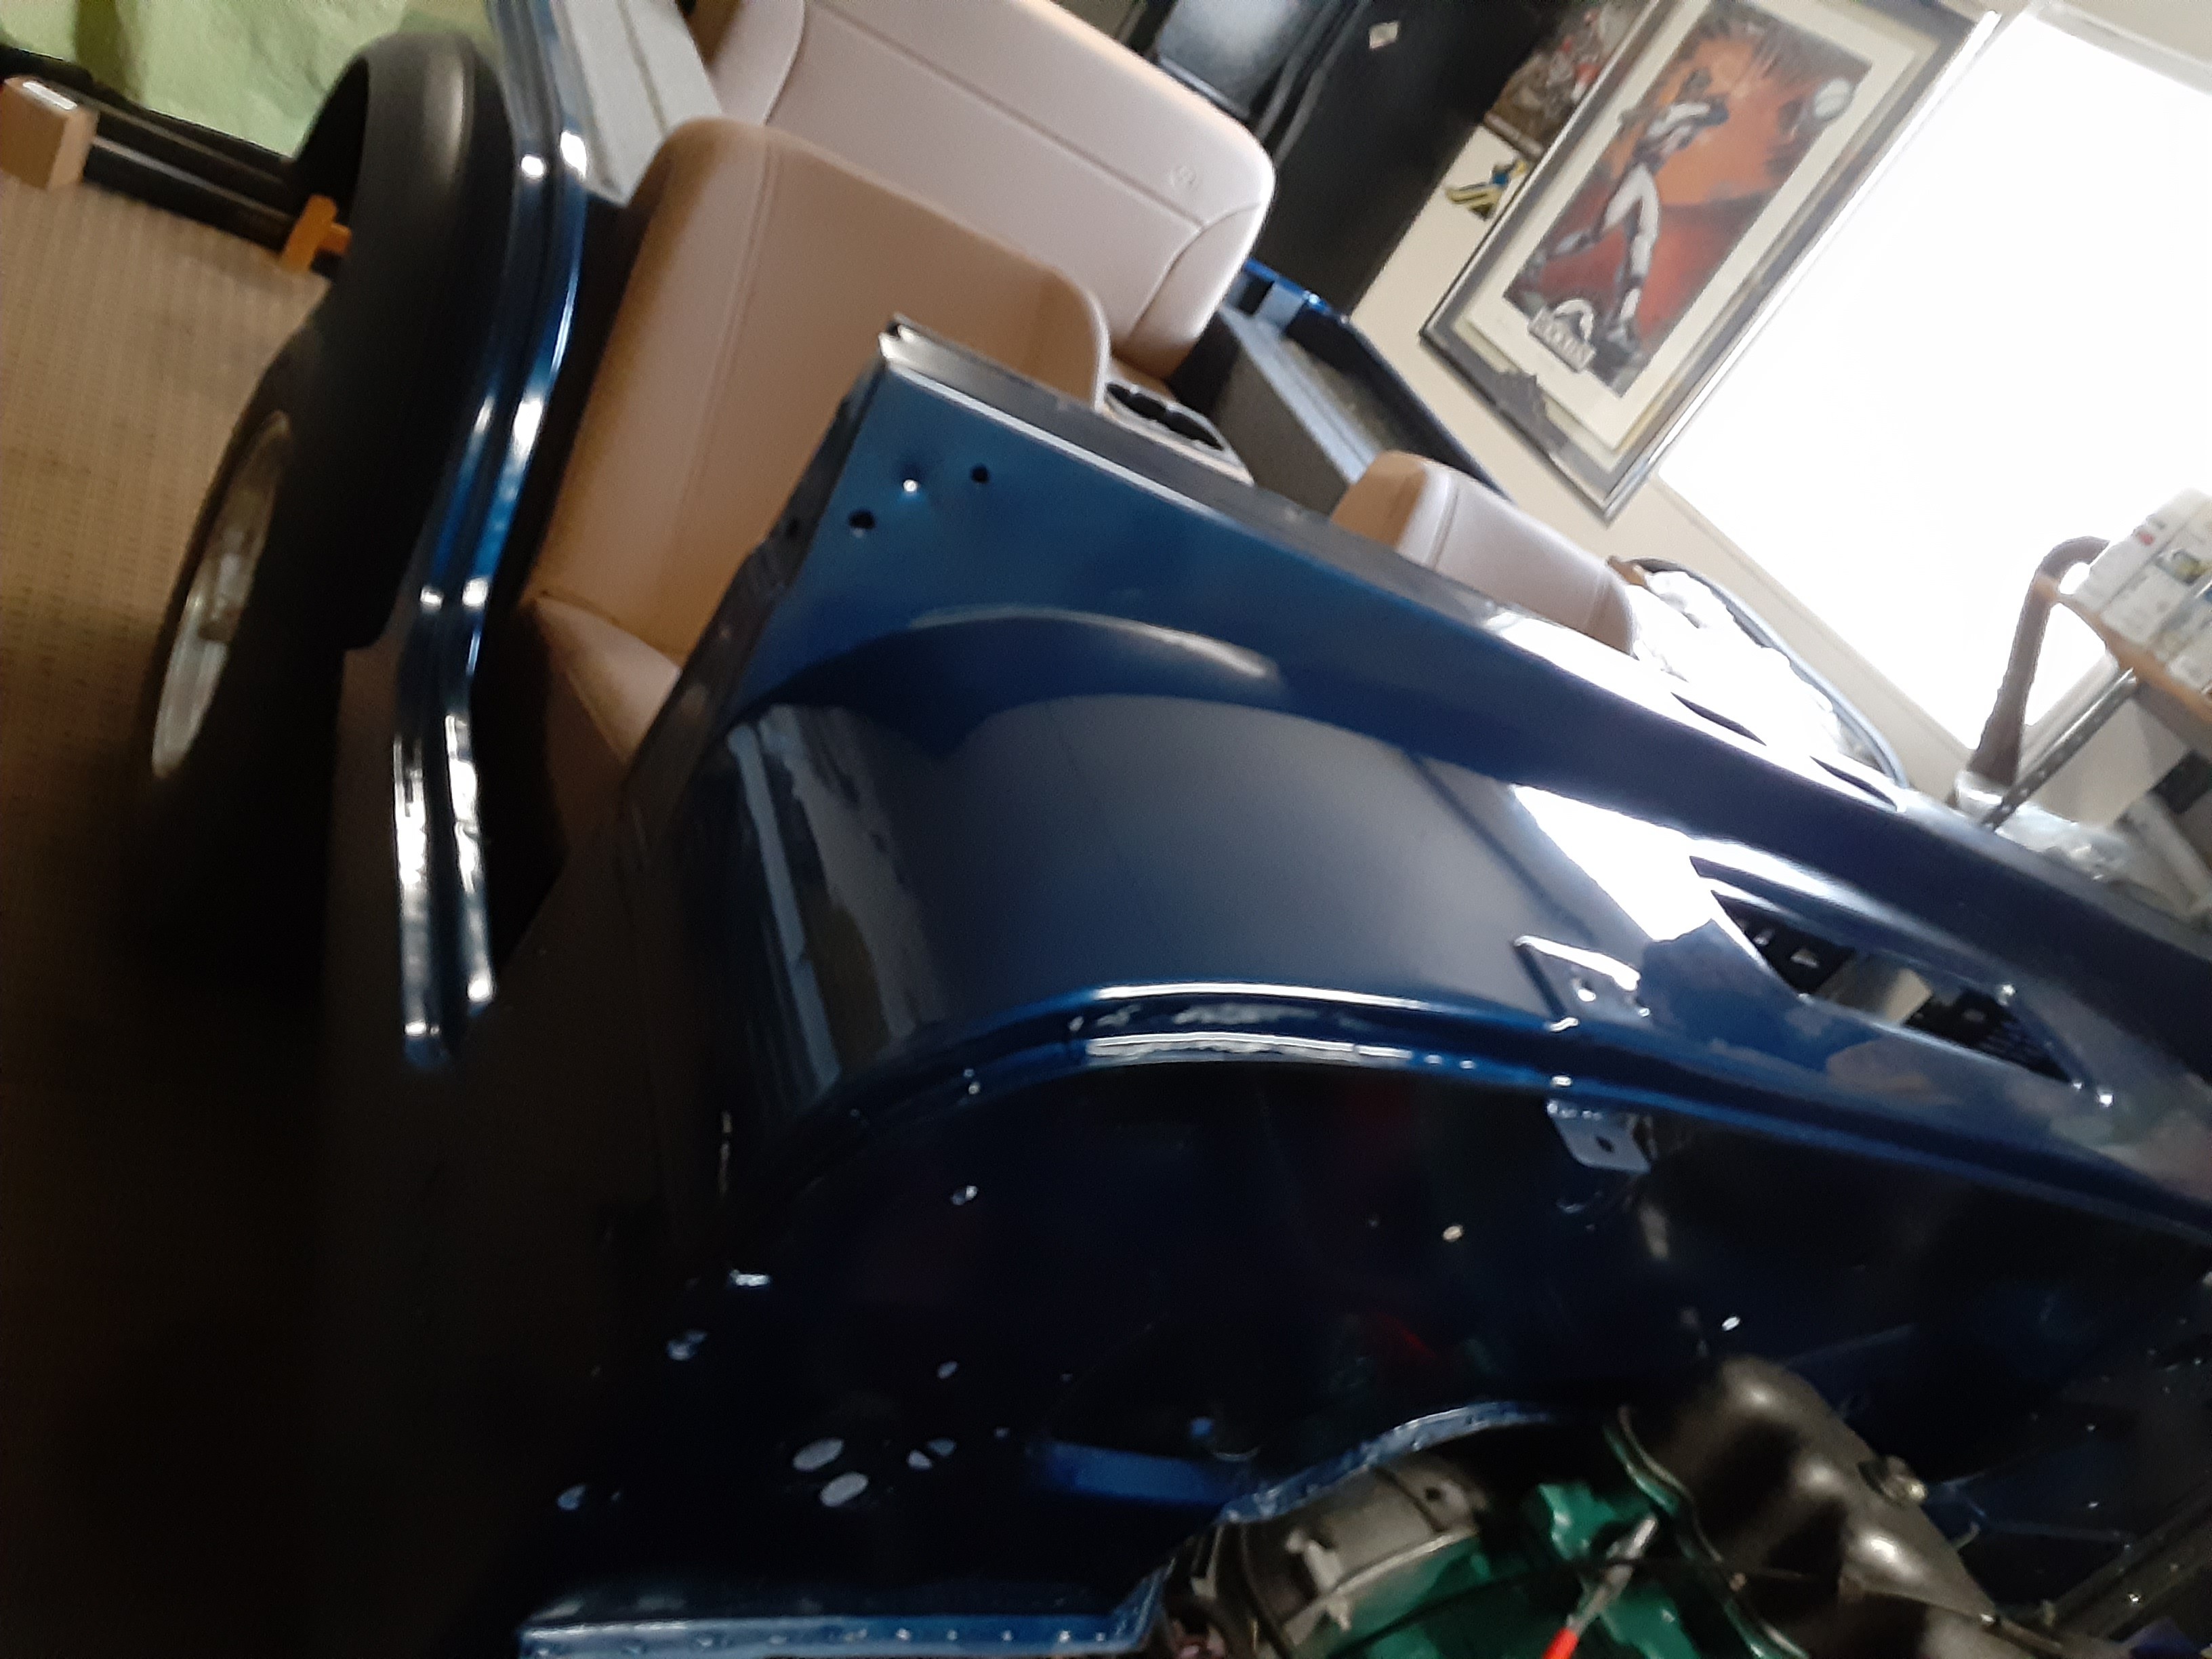
Body is now set on the frame and the final Color Sanding and Polishing has started.
This paint really smooths out/perks up with some 2000 grit wet sanding and then hitting it with a little polishing compound with the buffer- builds a nice rich deep shine. Pretty happy with the results so far.


I went with a Single Stage Acrylic Enamel metallic and it laid down pretty nicely-
Body is now set on the frame and the final Color Sanding and Polishing has started.
This paint really smooths out/perks up with some 2000 grit wet sanding and then hitting it with a little polishing compound with the buffer- builds a nice rich deep shine. Pretty happy with the results so far.
wjtstudios
Hooked
Awesome! Making progress!
2015 JKUR AEV JK350
1985 CJ8 Scrambler
2015 JKUR AEV JK350
1985 CJ8 Scrambler
JKbrick
Active Member
Andy5160
Hooked
tchmotorsports
Caught the Bug
Outstanding!Love the color and attention to detail,i really like wheels too.
wjtstudios
Hooked
That color is beautiful
2015 JKUR AEV JK350
1985 CJ8 Scrambler
2015 JKUR AEV JK350
1985 CJ8 Scrambler
Elroy231
Active Member
Cool color. Looks great. Gettin things done on that!!
Sent from my SM-G965U using WAYALIFE mobile app
Sent from my SM-G965U using WAYALIFE mobile app
gfrench
Member
Thank you all for the nice comments/feedback.
Cannot tell how I suffered for many months trying to decide on a color for my Jeep- from Red to White- Green to Silver- and on and on!
The original color of this Jeep was 6T- nautical blue... and working with my Sherwin Williams Automotive paint guy we found this amazing color that had all the same color Metallic as the original color.. but the paint today is so far advanced from 1976 even though it is a Single Stage Acrylic Enamel.
I will catch up with some addition pics and updates that I did prior to all the body and paint work- and will be posting that up soon.
This is such a GREAT Forum!