When EVO Manufacturing first released their 4" DoubleD JK Bolt On Long Arm Suspension System, we held a contest where the prize was to win the first production kit and get it installed on their Jeep JK Wrangler. Below are complete step by step installation photos that we took of the winners Jeep getting the kit installed at Off Road Evolution.
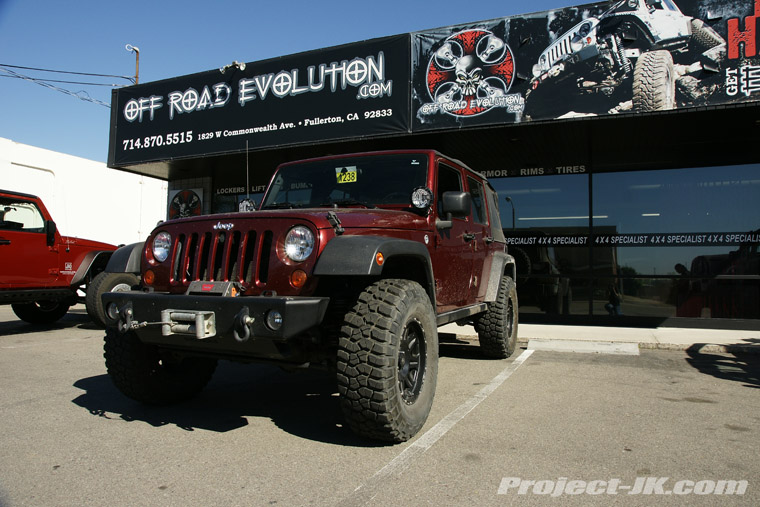
Here's a before shot of nmwranglerx's JK ready to EVOlve
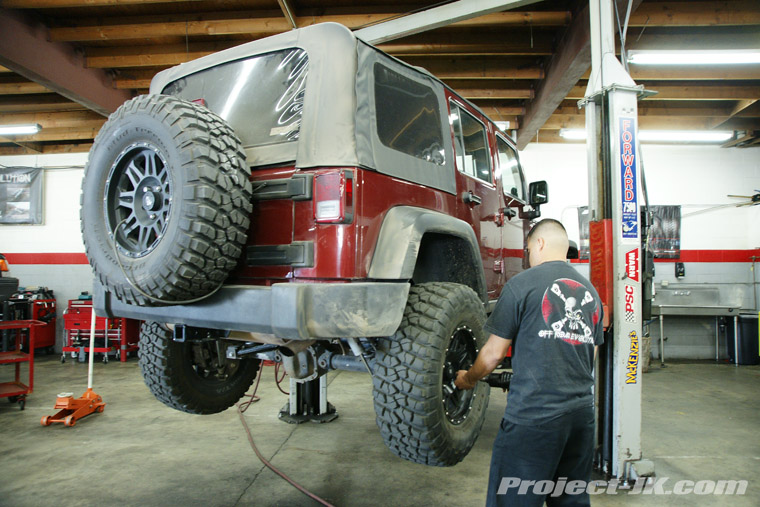
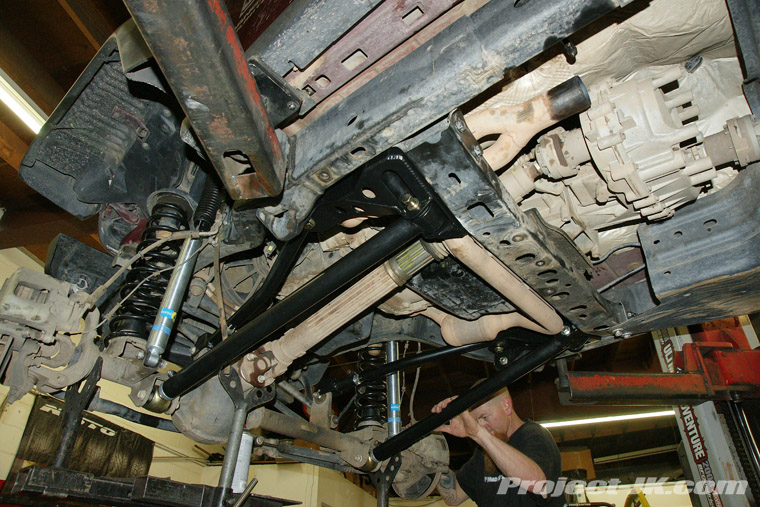
Up on the lift and removing the tires
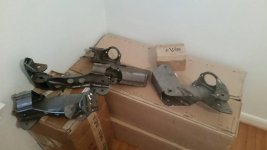
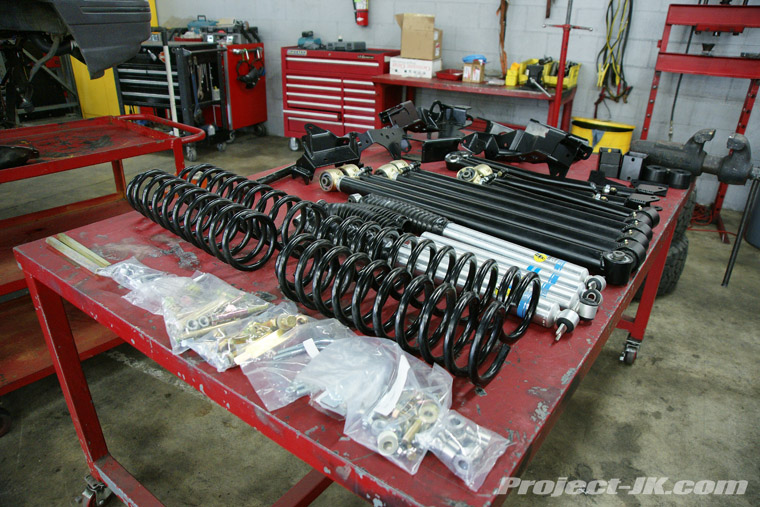
All the components of the EVO MFG DoubleD JK Bolt-On Long Arm Kit
Starting the tear down

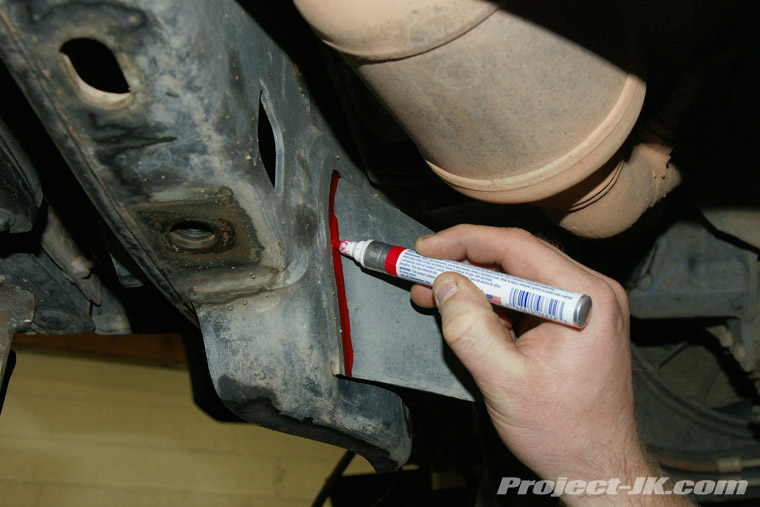
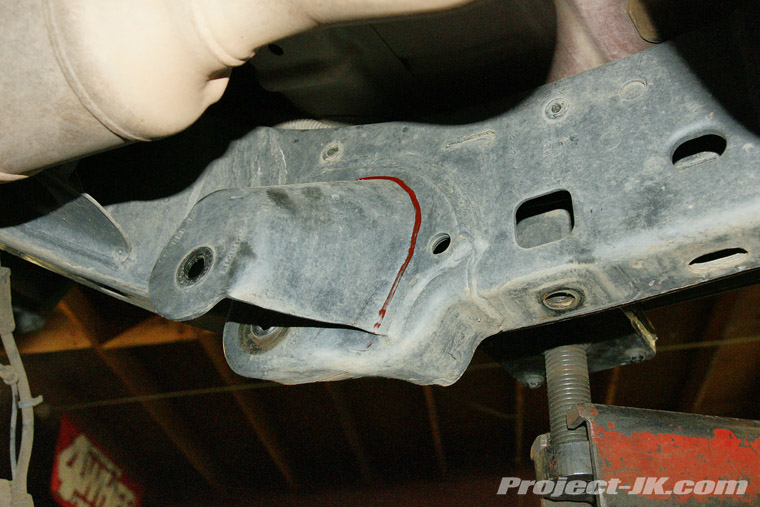
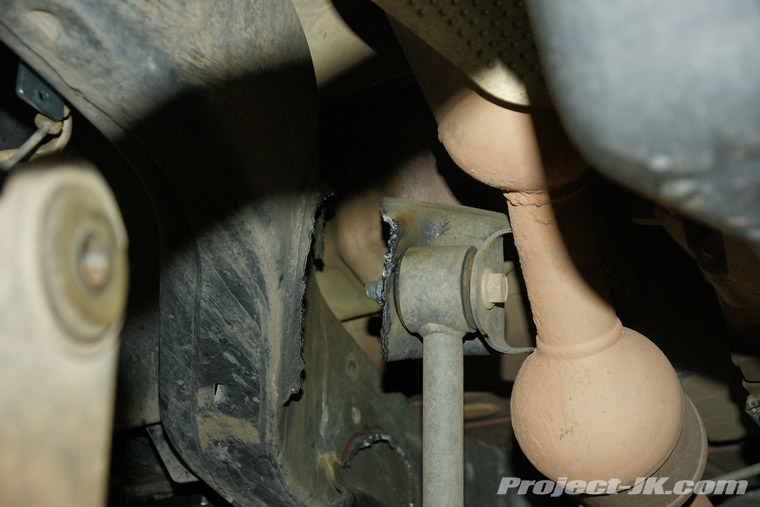
Marking the cuts on the front factory control arm brackets
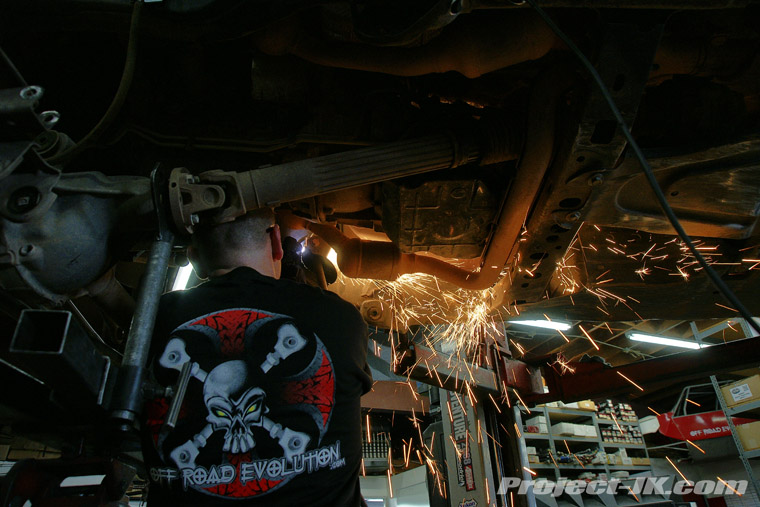
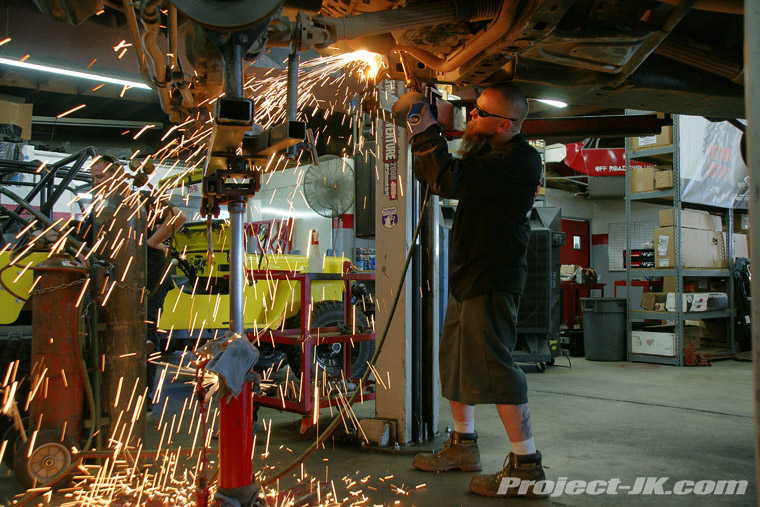
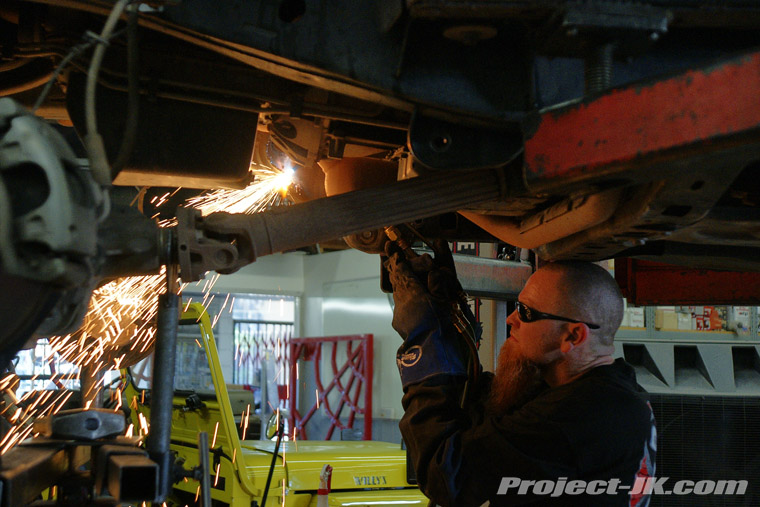
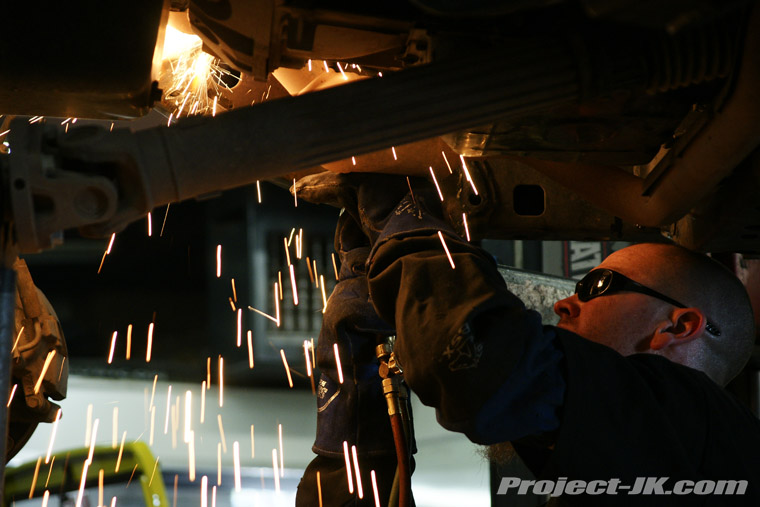
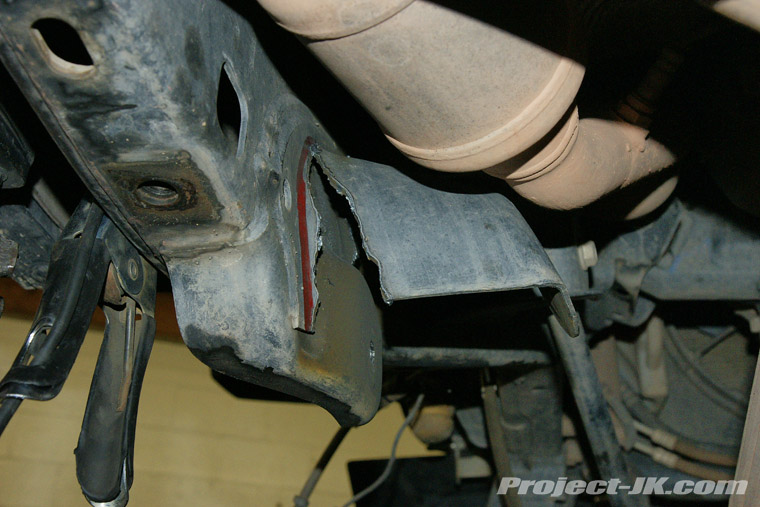
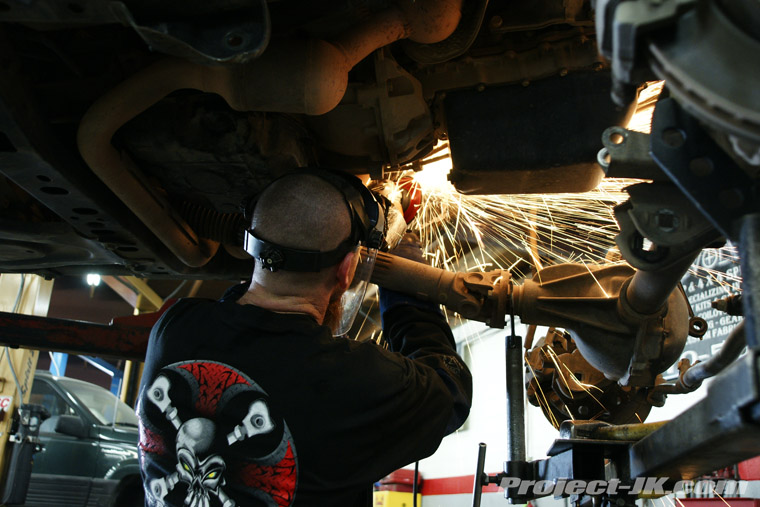
Cutting off the factory control arm mounts
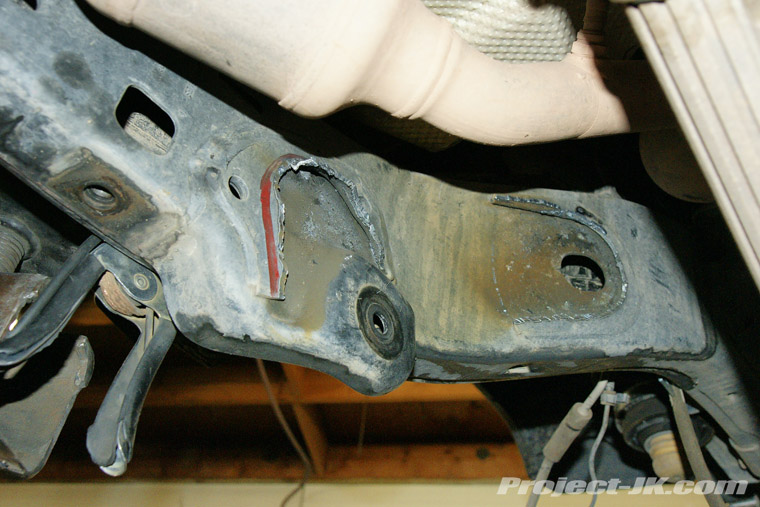
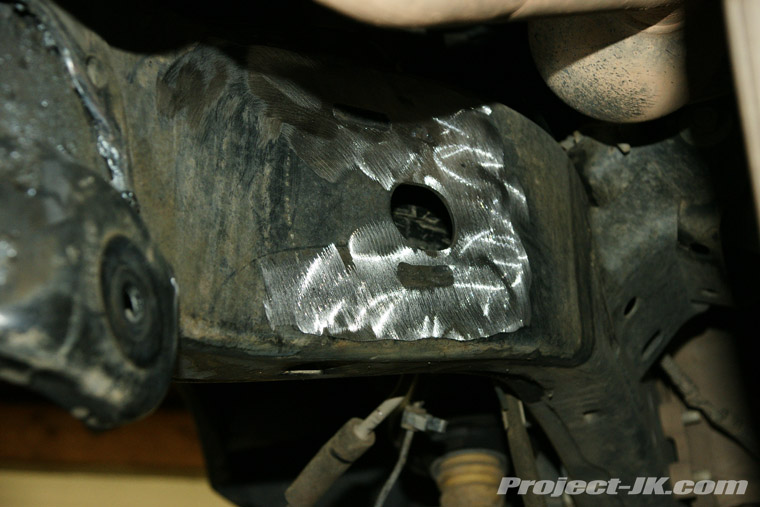
Grinding to a smooth finish
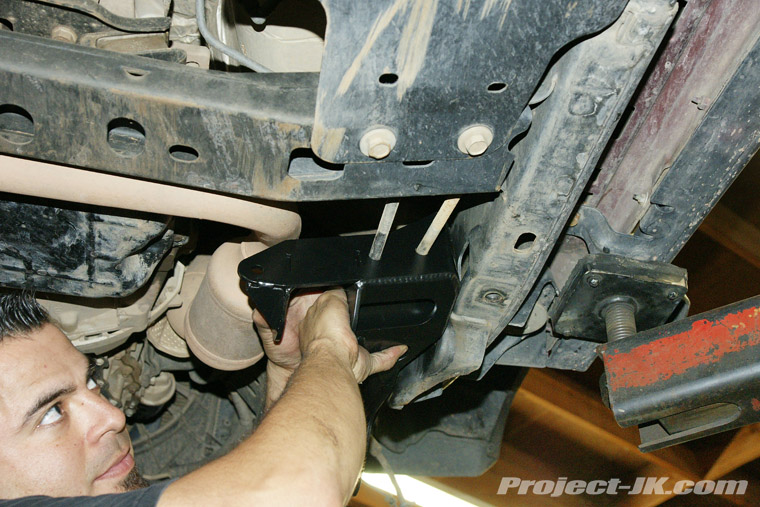
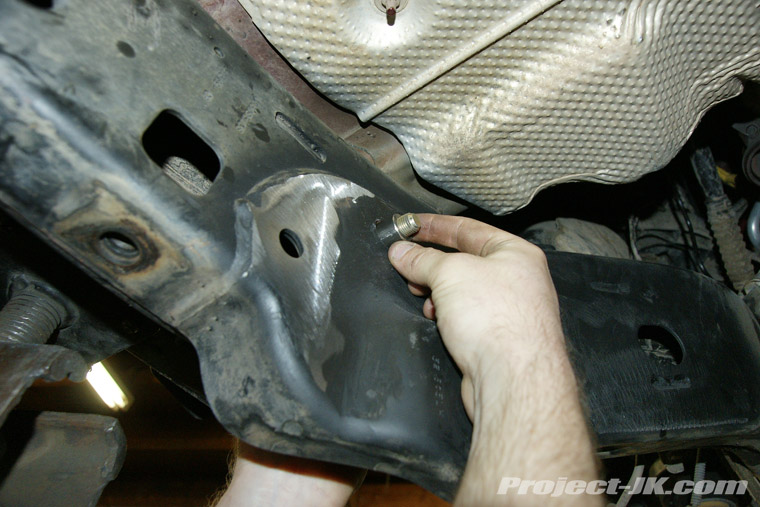
Fitting the new control arm bracket to mark the holes that need to be drilled
Removed the bracket to drill the marked holes

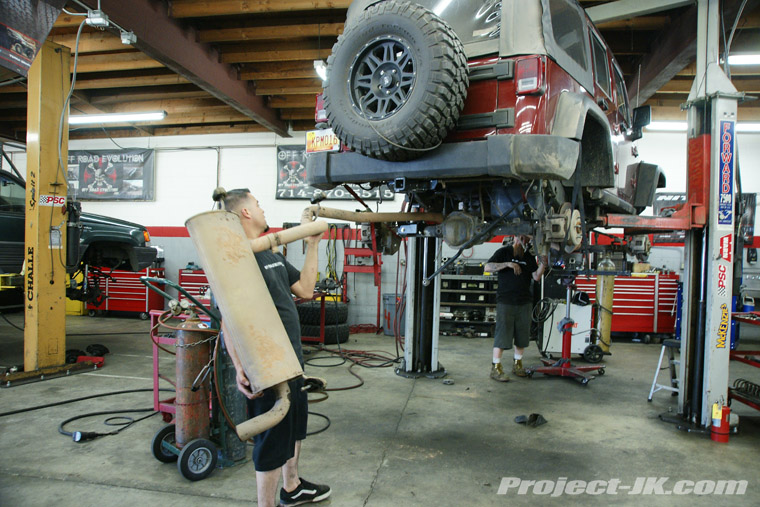
Removing the exhaust so that the remaining holes can be drilled

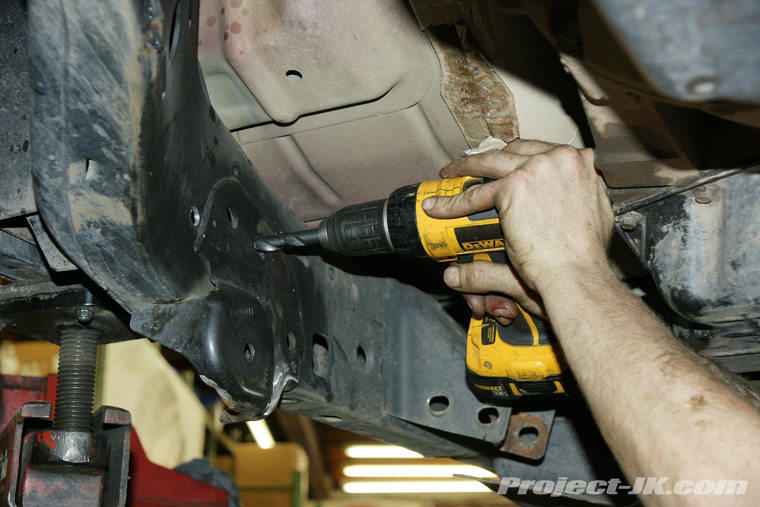
Now that the exhaust is out of the way, the remaining holes can be drilled
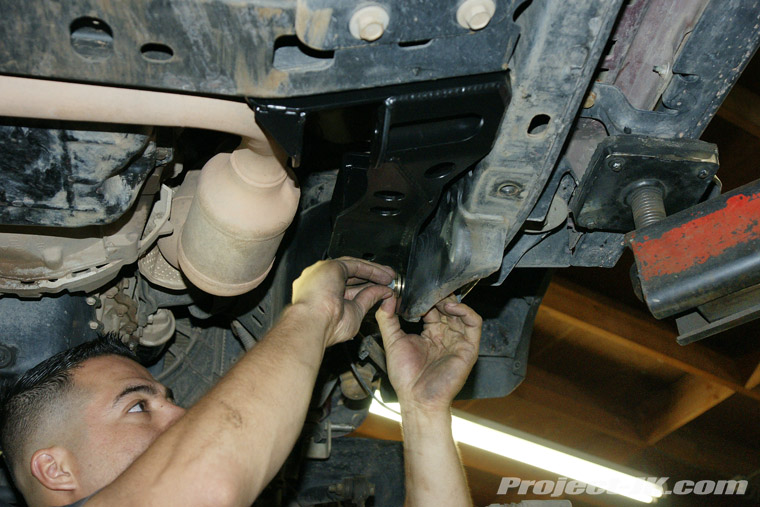
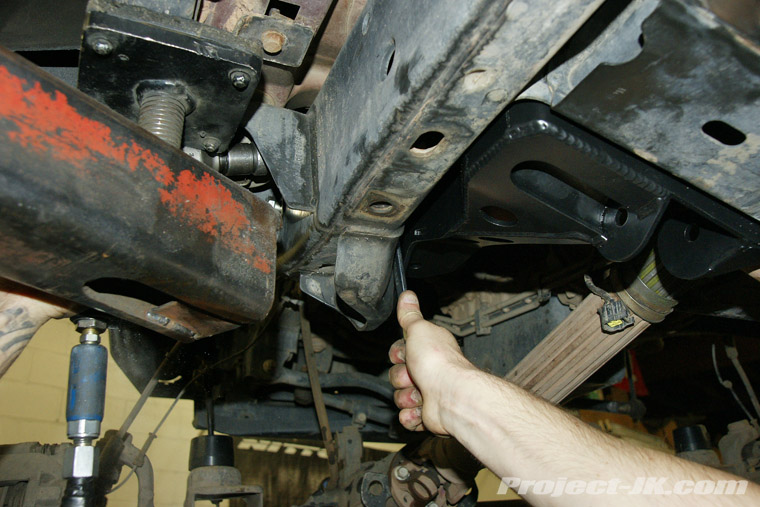
After drilling the holes, install the crush sleeves
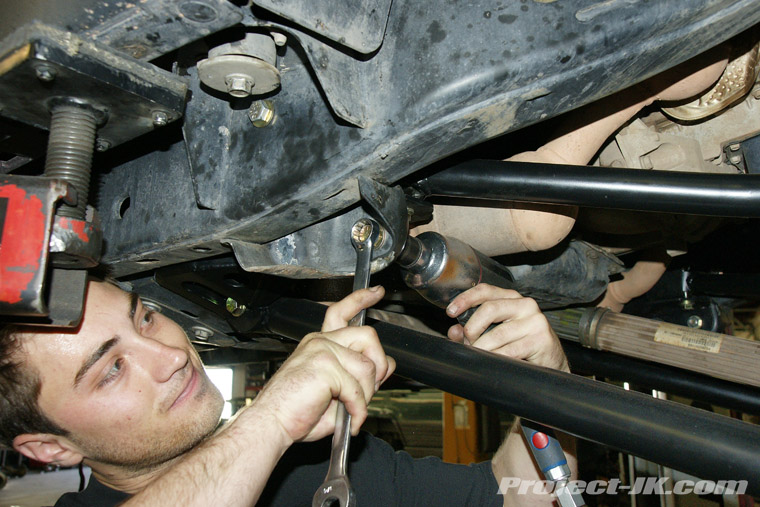
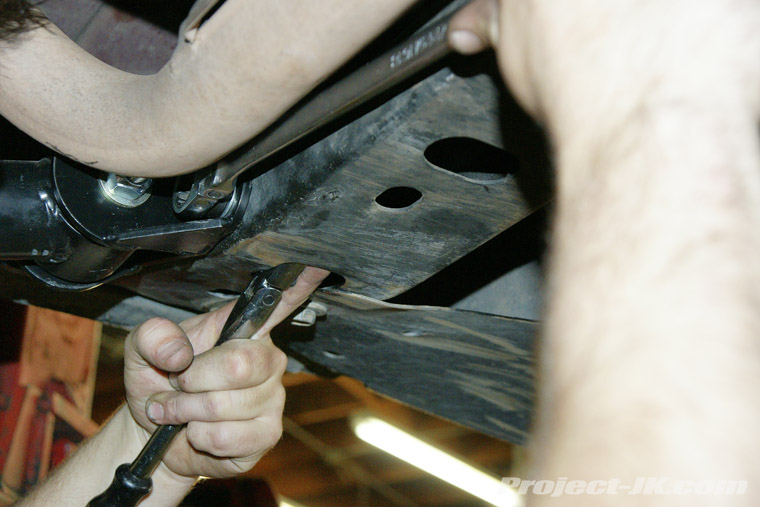
Now the front control arm brackets can be installed
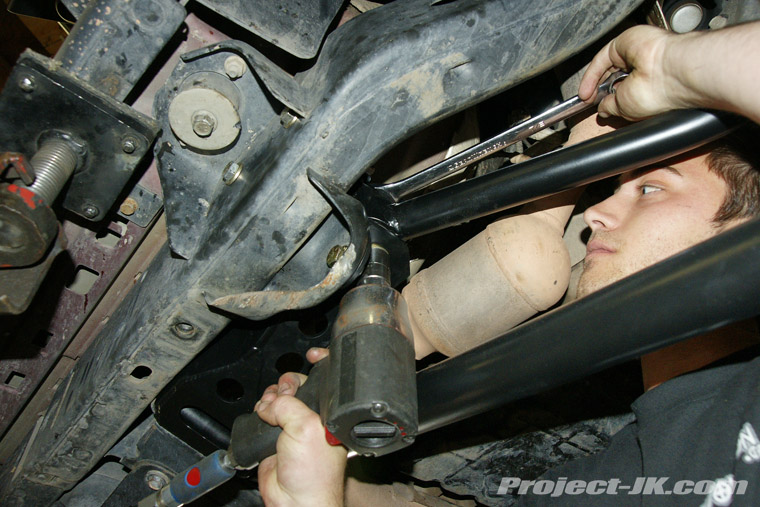
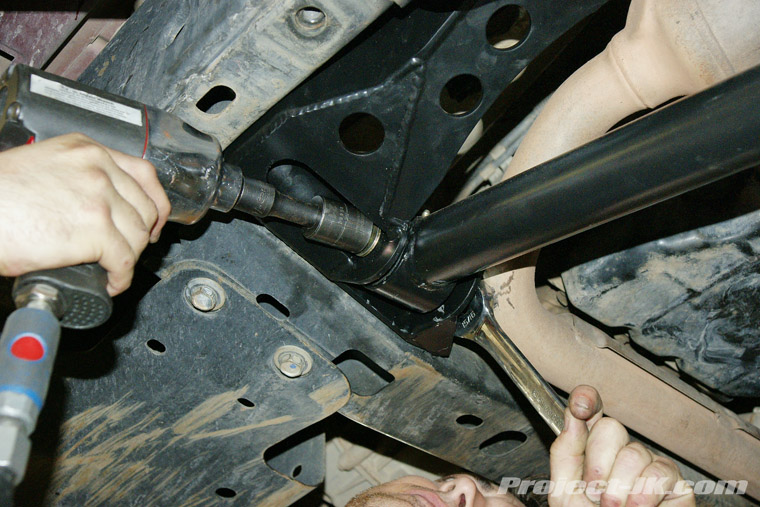
Tightening up the front control arm bracket bolts
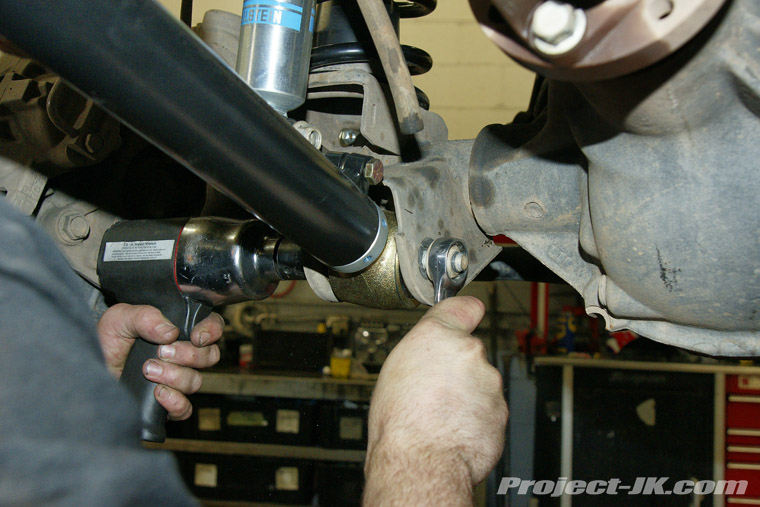
Installing the front control arms
Here's a before shot of nmwranglerx's JK ready to EVOlve
Up on the lift and removing the tires
All the components of the EVO MFG DoubleD JK Bolt-On Long Arm Kit
Starting the tear down
Marking the cuts on the front factory control arm brackets
Cutting off the factory control arm mounts
Grinding to a smooth finish
Fitting the new control arm bracket to mark the holes that need to be drilled
Removed the bracket to drill the marked holes
Removing the exhaust so that the remaining holes can be drilled
Now that the exhaust is out of the way, the remaining holes can be drilled
After drilling the holes, install the crush sleeves
Now the front control arm brackets can be installed
Tightening up the front control arm bracket bolts
Installing the front control arms
")