WJCO
Meme King
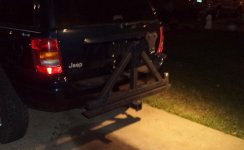
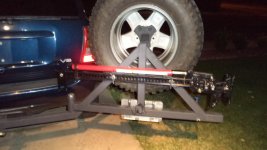
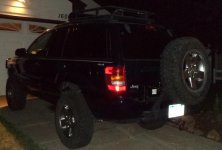
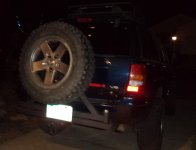
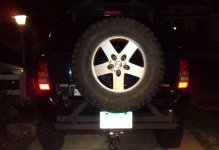
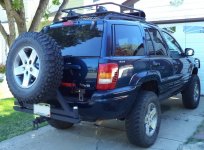
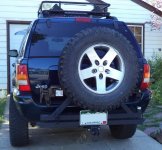
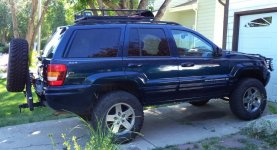
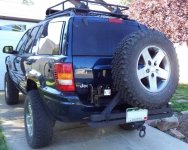
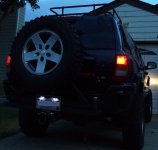
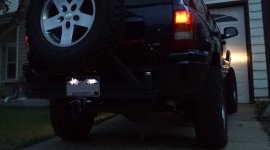
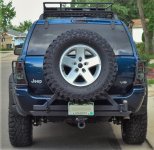
This thing was built a couple of years ago, but thought I would throw together a build thread. It may help someone else. This really applies to any vehicle with a hitch, and you could even add the swing away tire carrier to any heavy duty bumper with a little bit of fab work. Photo heavy.
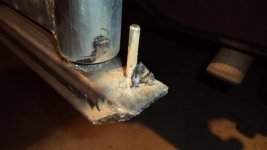
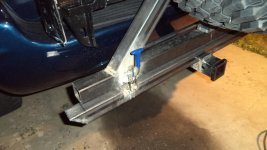
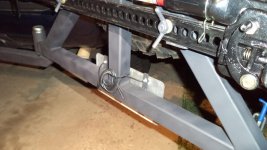
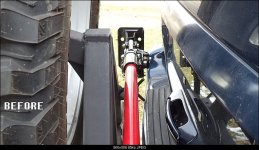
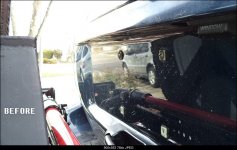
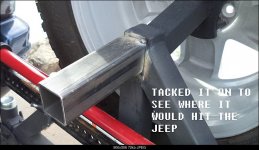
I put about 20 hours into this thing. Excuse the crappy welds, regardless the welds are solid. Here's where I started. I had my hi-lift inside the cab forever mounted to the back seat, but I had to move it one day and it was a pain. For how little I use it, I'm keeping it outside the Jeep. I bought an 8 inch hitch extender and built off that. The OEM hitch is too deep under the WJ bumper to come straight up. It says right on the hitch extension to not tow more that 500 pounds (made for a bike rack), but it's solid steel and I may still tow small stuff. FYI, the hitch insert was a sloppy fit, so when it was all done, I welded it.
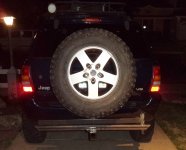
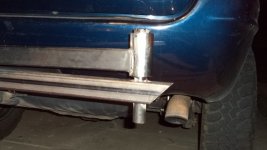
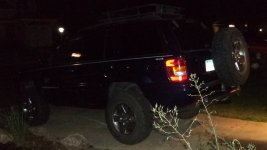
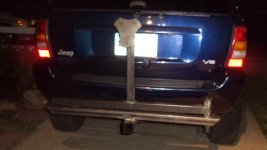
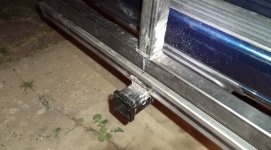
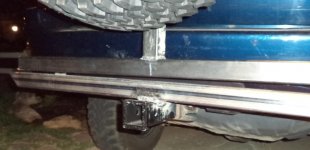
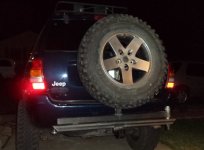
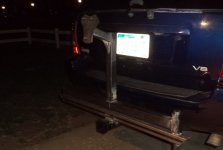
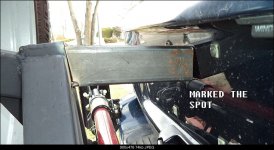
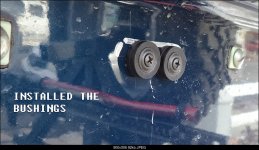
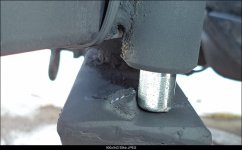
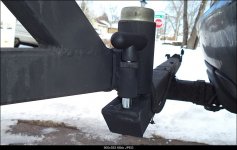
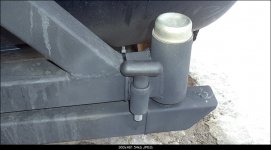
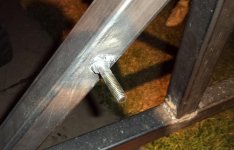
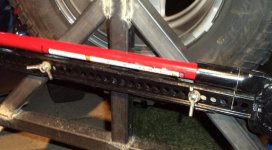
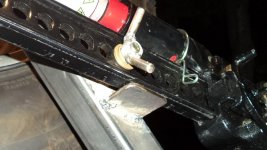
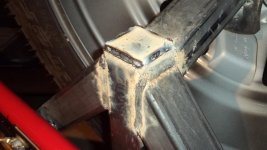
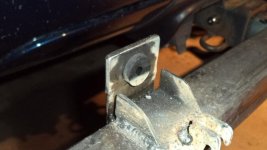
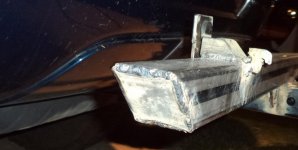
Then I added the 45 degree uprights and did some fine tuning for the jack mount with washers, spacing, etc. I also built a small shelf for the swing arm to sit on so it doesn't sag and put stress on the hinge bearings while it's closed. Then did the latching system, and welded caps on all the open ends of the tubing and two more gussets under the main support attaching to the hitch insert. Added a rubber bushing on the closing shelf to keep down the rattles. Added the latch. Added a stop so when the carrier is open, it doesn't hit the Jeep. Finished the hi lift mount including two small shelves to help distribute the weight and keep any potential bolt bending from happening. I made my own wing nuts, I wanted something big that could be used easily with gloves on.
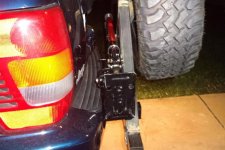
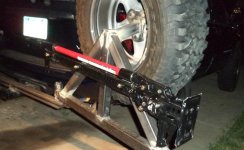
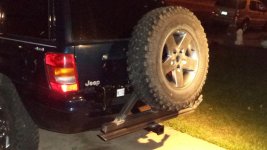
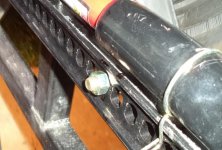
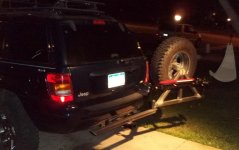
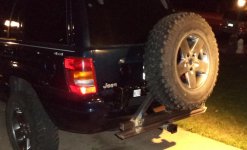
I put about 20 hours into this thing. Excuse the crappy welds, regardless the welds are solid. Here's where I started. I had my hi-lift inside the cab forever mounted to the back seat, but I had to move it one day and it was a pain. For how little I use it, I'm keeping it outside the Jeep. I bought an 8 inch hitch extender and built off that. The OEM hitch is too deep under the WJ bumper to come straight up. It says right on the hitch extension to not tow more that 500 pounds (made for a bike rack), but it's solid steel and I may still tow small stuff. FYI, the hitch insert was a sloppy fit, so when it was all done, I welded it.


Then I added the 45 degree uprights and did some fine tuning for the jack mount with washers, spacing, etc. I also built a small shelf for the swing arm to sit on so it doesn't sag and put stress on the hinge bearings while it's closed. Then did the latching system, and welded caps on all the open ends of the tubing and two more gussets under the main support attaching to the hitch insert. Added a rubber bushing on the closing shelf to keep down the rattles. Added the latch. Added a stop so when the carrier is open, it doesn't hit the Jeep. Finished the hi lift mount including two small shelves to help distribute the weight and keep any potential bolt bending from happening. I made my own wing nuts, I wanted something big that could be used easily with gloves on.


Last edited:

