AZVAJKU Build

AZVAJKU

Hooked
To set the stage for my build thread I need to explain how I got to where I am now.

My current Jeep actually started out as a 2008 JK. After selling my CJ5 that I owned for 23 years, I bought what I thought was the logical replacement. In late 2007 I bought a 2008 model year 2-door, manual transmission Rubicon JK. While it did not have the get up and go of my V8 powered CJ, it did come with some great features. air conditioning, heat and defrost that actually worked, satellite radio, wipers that cleared the windshield and a top that was mostly water proof. Keep in mind that my CJ5 with bikini top was a daily driver for many years so this JK was the very lap of luxury. In addition my new stock JK would perform off road nearly as well my 401 powered, T-18 tranny, Detroit Locker equipped CJ5 would.
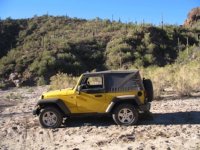
stock 2008 JK.jpg


After about 2 weeks I had a few modifications added. A 3.5-inch Tera-Flex lift, 35-inch tires, and AEV wheels. Shortly after I installed a Shrockworks front bumper with Warn Power Plant winch, and Shrockworks rear bumper/tire carrier.
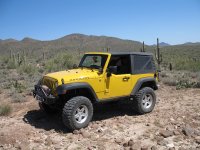
modified 2008 JK.jpg


I had a lot of fun with the two door but now that I was old and soft I wanted to carry more gear and needed room for my dog. Less than a year later I ended up trading for a 2009 Rubicon JKU. It had all the great characteristics of the 2-door but with more room and a better ride.
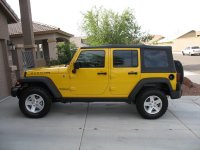
Stock 2009 JKU.jpg


The salesman was actually a Jeep driver so as part of my deal he had the bumpers and winch transferred to the 4-door. In addition the dealer installed AEV beadlocks with 37-inch KM2's and 5.13 gears. I later added a set of Shrockworks rock rails and installed a Dynatrac Pro-Rock 44 with Chromo shafts in the front.
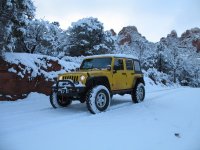
modified 2009 JKU.JPG


I really enjoyed the Jeep but had always wanted to add some 'Confidence to Explore' to the rear axle. I thought about swapping for some chromo shafts or some other method to beef up the rear 44.

While surfing Wayalife I saw Eddie and Cindy's 2017 SEMA Show coverage. Most importantly I saw the thread on Dynatrac's new package deals. I called Dynatrac and was fortunate enough to speak with the owner. Jim patiently answered all my questions and helped me pick the package that would be right for what I wanted to do with my Jeep. (Thanks again Jim!)

The Dynatrac Elite Package was the start of this most recent build up and led to a whole list of upgrades.

More information to follow.
 

boardsurfer

Active Member
I called Dynatrac and was fortunate enough to speak with the owner. Jim patiently answered all my questions
Wait, what? That's pretty awesome that the owner takes sales calls. Not something you would expect. :thumb:

Awesome 2 door by the way. Half doors are always killer.
 

AZVAJKU

Hooked
Wait, what? That's pretty awesome that the owner takes sales calls. Not something you would expect. :thumb:

Awesome 2 door by the way. Half doors are always killer.

There are some stellar individuals in the Jeep world and Jim at Dynatrac is one of them.

.
 

AZVAJKU

Hooked
So after I ordered my axles I needed to pick out some wheels. I learned some important lessons from my old wheels.

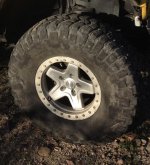
My previous wheels were AEV Pintler Beadlocks and my reason for choosing them was based primarily on weight and backspacing. I really wanted to keep the overall weight down and was concerned my stock at the time front axle would not survive with a heavy wheel and 37-inch tire. I looked at Walker Evans, Hutchinson, and AEV. I finally went with the AEVs.

Pintler.jpg


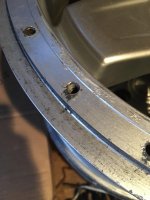
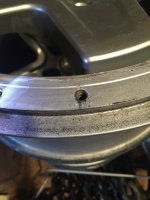
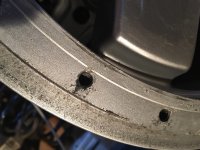
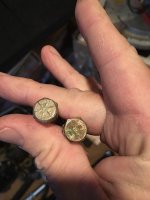
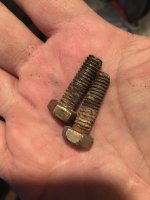
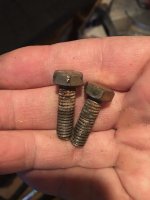
The AEV's were a decent choice at the time. After a few trail runs I discovered some characteristics that would influence my future wheel purchase. I did not like the way the lock-ring bolts would get the corners rounded off on rocks and cause my socket to slip off when checking torque. In addition i found out the hard way that steel bolts threading into aluminum were going to cause galling issues, even in a dry environment. Each time I unthreaded or threaded the steel lock-ring bolts into the aluminum wheels it would slightly erode the bolt holes.

AEV Pintler Beadlocks 01.jpg

AEV Pintler Beadlocks 03.jpg

AEV Pintler beadlock 02jpg.jpg

In addition the lock-ring bolts would easily corrode even if they looked pristine on the outside. I discovered that water would get trapped by the lock-ring and seep into the bolt holes. This not only includes water from stream crossings but also resulted from washing my Jeep.

AEV Ring bolts 03.jpg

AEV ring bolts 02.jpg

AEV ring bolts 01.jpg

Part of this was user error on my part as I did not apply an anti-seize paste to the bolts on assembly, nor did I conduct proper maintenance by pulling the bolts for inspection after each off-roading season.

All the above factors lead to my current wheel choice.

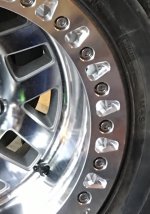
I looked at several brands of beadlocks. I really liked the Trail Ready wheels. The fact that they are made in America and can be ordered with custom backspacing made them a strong contender. However I ended up going with the KMC XD Machetes. I liked the look of the wheel. More importantly I liked the reputation for extreme strength, countersunk and hex headed lock-ring bolts, dual valve stems, steel bolt inserts, and the 'drain' holes on the rings. In VA this is pretty important.

Machete.jpg

In addition, Mel Wade at EVO seems to think highly of them and EVO has a buy four get one free deal! Sold. I hit Drew at EVO up and ordered 5.

In the next post I will demonstrate Beadlock Cross Fit and show how I mounted my 40's on the Machetes.
 
Last edited:

AZVAJKU

Hooked
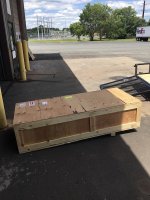
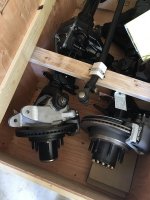
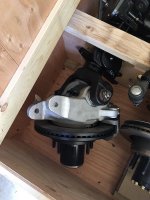
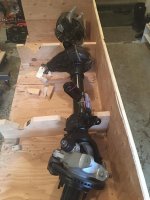
Here are a few pictures of when my Dynatrac Elite axle package arrived.

The good folks at Dynatrac saved me some money by sending the crate to a Fed-Ex shipping hub. The money I saved over a home delivery paid for a big chunk of my new trailer. :rock:

Dynatrac Elite 01.jpg

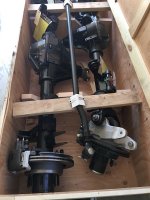
The way the axles were boxed for shipping was impressive. Total weight of the XD60 and PR80 was almost 1200 lbs.

Dynatrac Elite 02.jpg

That is a lot of beef!


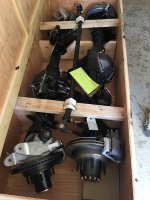
The guys at the local Fed-Ex hub used their forklift and loaded the shipping container on my trailer. To get the box off the trailer at my house I rented a pallet jack and wrestled it into my garage. Strangely enough all my buddies were no where to be found when I need help moving this heavy box.

Dynatrac Elite 03.jpg


Dynatrac Elite 04.jpg


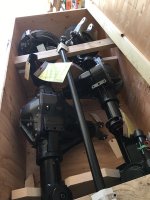
After getting this heavy beast in my garage I poured a bourbon and sat back to admire the massiveness and all American craftsmanship of these beautiful axes.

Dynatrac Elite 05.jpg

Dynatrac Elite 06.jpg
 

AZVAJKU

Hooked
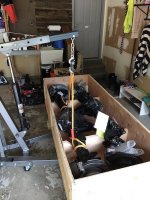
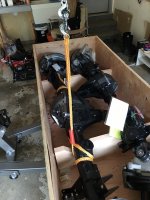
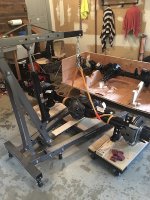
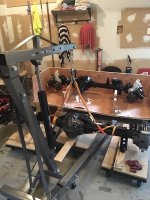
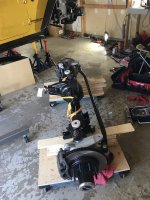
Getting the axles out of the box and moved into position required an engine hoist.

Rear axle lift 01.jpg

Rear axle lift 02.jpg


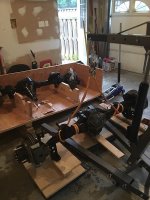
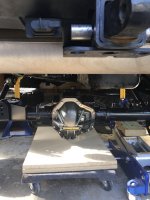
I bought several furniture dollys and attached 3/4 inch plywood , this allowed me to easily maneuver the axle into position for mounting.

Rear axle lift 03.jpg

Rear axle lift 04.jpg

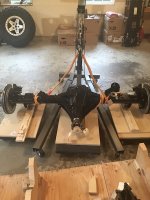
Rear axle lift 05.jpg


Prorock 80 ready to bolt in the Jeep

Rear axle lift 06.jpg


The front axle will go in next.

Front axle 01.jpg
 

AZVAJKU

Hooked
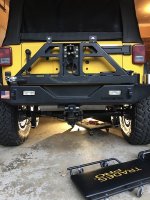
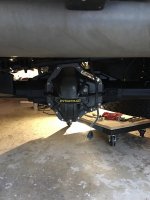
The PR 80 rear axle is bolted on.


Rear axle on 01.jpg


Rear axle on 02.jpg

Originally I was going to run my 37-inch Nitto Trail Grapplers until they needed replacement and then make the step up to 40's, however that huge axle is screaming for a bigger tire.

Jim at Dynatrac, you were correct Sir!!


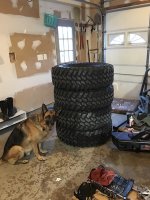
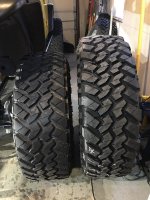
So i ordered 5x Nitto 40's. (four shown because I am too worn out to stack the 5th on the top)

My dog is probably wondering if I can still afford to feed him after buying all that rubber.

New 40 Nittos.jpg


New 40-inch Nitto compared to old 37-inch

40s vs 37s.jpg
 

AZVAJKU

Hooked
A few more details on the rear axle bolt in.

Rear axle bolt in 001.jpg


I also took this opportunity to swap out my battered TF control arms for some new EVO arms. I started with the length of the take off arms and will fine tune later.

Rear axle bolt in 02.jpg


That's not a goldfish in the bag, but a weak attempt to keep brake fluid from flooding my garage.
Rear axle bolt in 03.jpg

Using a jack to raise the axle up and down helps with aligning the control arm holes

Rear axle bolt in 04.jpg


The PR80 brakes are massive in comparison to the stock brakes.
Rear axle bolt in 05.jpg


Rear axle bolt in 06.jpg


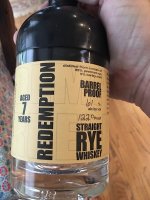
After all this work I needed a little Redemption.

Rear axle Redemption .jpg
 

WJCO

Meme King
Nice work so far. Looking good. If you have time before those bags break, you can get some cheap line locks for your brake hoses, lol.

31E+K0nYyFL._SL500_AC_SS350_.jpg
 

AZVAJKU

Hooked
Nice work so far. Looking good. If you have time before those bags break, you can get some cheap line locks for your brake hoses, lol.

View attachment 292420


Great info, thanks!

The brake lines are back on, however I will soon be rerouting the rear lines for better clearance. I’ll pick up a set of line locks for that project and to have on the trail. This build has been a great education, on much of this I am learning as I go so I greatly appreciate your advice. .
 

AZVAJKU

Hooked
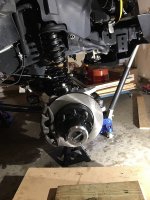
Front axle

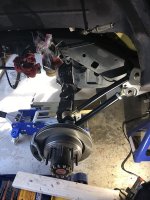
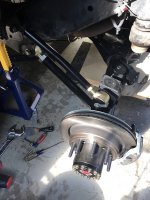
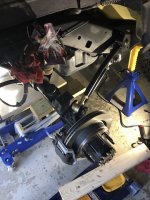
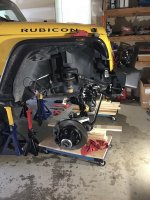
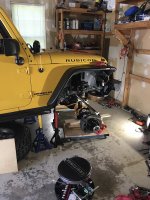
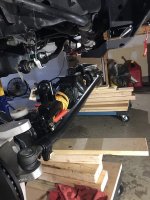
Time to bolt the Dynatrac XD60 on the front

Once again the roller dollys made life easier

XD60 01.jpg

XD60 02.jpg

XD60 03.jpg

XD60  04.jpg


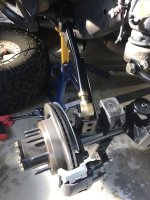
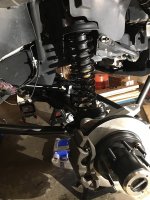
As with the rear axle, new EVO control arms along with 4-inch plush ride springs replaced the old TF parts.

XD60  05.jpg

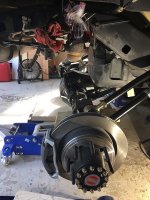
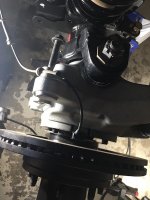
The brakes are huge.

XD60  06.jpg
I am happy to have locking hubs again.
 
Top Bottom