Howdy,
I'd like to thank you for your inputs. Been buried last few days, just now getting back to this. Turns out some of your comments came even as I was tackling the issue.
Venture 4wd, a guy I follow on Youtube installed a Goose Gear Plate system and on the video he removes the seats as part of the process. Hope it helps.
https://www.youtube.com/watch?v=fN_jAPhrX9I
Yep, this is basically what my experience was like. Fortunately I had an impact wrench. Those were 8 long stiff bolts to pull (plus 2 easy nuts). I think it was the hardest I've worked the impact wrench and compressor in a very long time. Took a lot of air
")
.
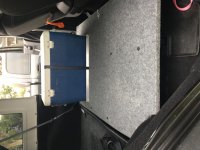
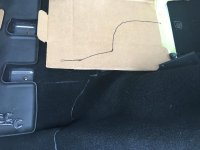
Hope these help, I take my seats out for the extra storage space during trips. Excuse the mess, I also removed the main carpet but have kept the small interior mats that I have double sided velcroed to the floor. That makes it easier to clean up after the interior gets wet but still feels comfortable day to day
I've left the carpet in. More attractive cosmetically, but primarily to help with road noise. Having taken most of your carpet out, has road noise become a headache for you?
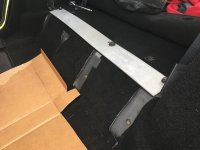
Not the best pictures without the seats but made a floor for a flat surface for my dog and to secure a cooler when doing the Rubicon
I'm out of time to do that for this trip. However I'm going to eyeball this a bit closer. Being able to carry Tigger around (and now Freyja, too) is a key item. I don't need the back row as much as I need big flat space when carrying her with me
. One
must be able to Jeep with their dogs.
So, yes, I did just simply go ahead and pluck the seats. Nice, easy job.
For those that choose to remove their own seat, start with the bottom. That let's you just flip up the base so you can get to the bolts in the middle of the brackets. 18mm tool required.