Wifes JL build up...Suger Booger

Slimebones

Active Member
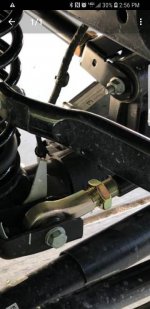
On your pic of the front sway bar link mount, is that a bolt going through at the lower mount instead of the supplied stud? How did you accomplish that?
 

deantac

Member
On your pic of the front sway bar link mount, is that a bolt going through at the lower mount instead of the supplied stud? How did you accomplish that?

The link comes with a open hole Heim joint instead of the stud heim like the other three link ends , so you can use the factory bolt and flag nut.

323367F7-62A5-4FD1-B054-E493590F3003.jpg
 

deantac

Member
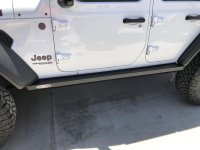
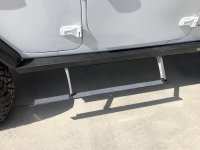
Rock Slide Engineering steps installed, two body bolts gave me trouble. Worked the bolts back and forth until they freed up also hit them with my ball peen hammer when it would tighten up.....I still need to do wiring harness , I'm going to install Evo tire carrier tomorrow.

The wife is happy...you know what I'm saying.....You know what I'm saying. :brows:

FOPX4440.jpg
 

deantac

Member
I purchased this from Accutune as part of their lift they sell , but It's Currie enterprise sway bar links.
 

deantac

Member
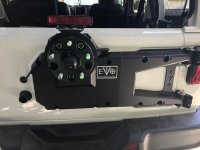
Did the EVO tire carrier today , straight forward just as Eddie out lined in his video...which I used. :2thumbsup:

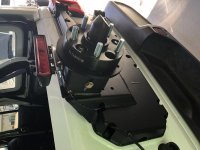
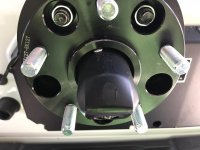
Used a 1.5" cheap spacer for the tire carrier...stock wheel....... factory tail gate bumper is to short to touch tire, need a longer one.

IMG_1741.jpg

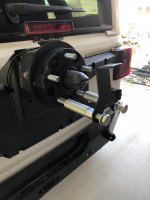
I used the small bracket EVO supplies for the third brake light...mounted it on top using the carrier bolt to hold it..... bent it backwards to point outward.

IMG_1738.jpg

I cut the camera housing guard off the factory tire carrier and slid it over the camera and drilled a hole then screwed it in place.

IMG_1742.jpg

Then added the locking cover too. just added protection, not sure if it will stay, I might take it off but just more protection for the camera.

IMG_1743.jpg
 

jdofmemi

Active Member
Did the EVO tire carrier today , straight forward just as Eddie out lined in his video...which I used. :2thumbsup:

Used a 1.5" cheap spacer for the tire carrier...stock wheel....... factory tail gate bumper is to short to touch tire, need a longer one.

View attachment 331672

I used the small bracket EVO supplies for the third brake light...mounted it on top using the carrier bolt to hold it..... bent it backwards to point outward.

View attachment 331673

I cut the camera housing guard off the factory tire carrier and slid it over the camera and drilled a hole then screwed it in place.

View attachment 331674

Then added the locking cover too. just added protection, not sure if it will stay, I might take it off but just more protection for the camera.

View attachment 331675

Looks good👍

I think I like the way you did the light better than my idea. It ends up in pretty close to the same place, but using the carrier bolt is easier than breaking drill bits and screws trying to put it on the angled part.
 

CalSgt

Hooked
Did the EVO tire carrier today , straight forward just as Eddie out lined in his video...which I used. :2thumbsup:

Used a 1.5" cheap spacer for the tire carrier...stock wheel....... factory tail gate bumper is to short to touch tire, need a longer one.

The carrier should be adjusted to where the tire makes slight contact (with the carrier) before the lug nuts are tightened. That contact will isolate the tire from shaking or vibrating. No need for the rubber tailgate bumper any more...
 

deantac

Member
The carrier should be adjusted to where the tire makes slight contact (with the carrier) before the lug nuts are tightened. That contact will isolate the tire from shaking or vibrating. No need for the rubber tailgate bumper any more...

Right I know that..But would like the rubber bumper to push on it from that side also.
 

deantac

Member
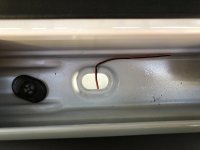
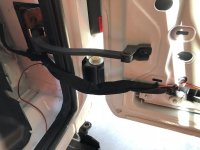
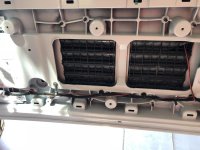
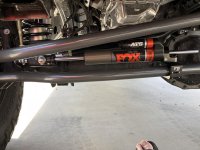
Worked on it some more on my days off....Did the wiring harness for the steps, that was a pain in the ass. the harness is simple but taking all the inner panels off sucked. Also got a Tazer so I could make some changes. I swapped the steering out for the Synergy kit....It's a nice set up and also added the Fox steering damper too.

IMG_1757.jpg

Steps are loud when they open and close....I did not expect that, going to take some getting used to.

IMG_1756.jpg
 

deantac

Member
Took the day off Tuesday and ran up to Big Bear.... Took the wife up there as she has not been to Big Bear.


Went to the Zoo..

Bald Eagle :usa:

IMG_1752.jpg


Wolf

IMG_1751.jpg

Grizzly

IMG_1747.jpg

IMG_1749.jpg
 

deantac

Member
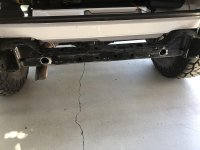
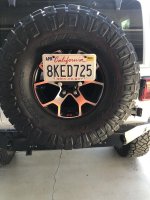
Well I got a few more things done...real pain to do but I made it work. Mounted the rear bumper and got the sensors to work...fucking pain nothing went right... license plate holder and lights done.


IMG_1763.jpg

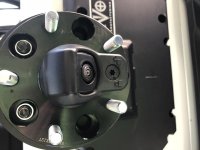
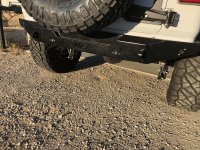
So the bumper didn't come with any way of holding the sensors in the bumper so I pealed the factory holders off the factory bumper and mounted them to the Genright bumper.
IMG_1783.jpg


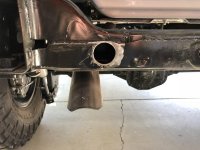
But as you can see they got smashed by the cross member...so I drilled holes in the frame to make room. The outside ones cleared so no need to do anything to them.
IMG_1785.jpg
IMG_1786.jpg


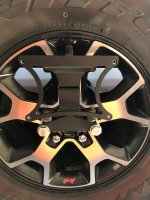
The Artec plate holder I ordered had a few issues too. first I never thought about me running a spacer/adapter on the EVO tire carrier which flips the bolt pattern upside down...so the bracket will not fit the wider bolt pattern that now is on top. I made a bracket to fit the wider mount and welded it to their mounting part.


IMG_1776.jpg

The one I made...it clears the camera lens, can not see it in the camera at all.


IMG_1795.jpg

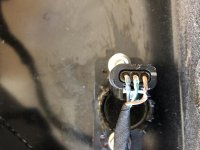
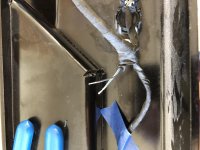
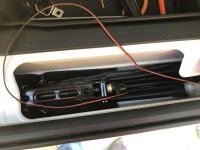
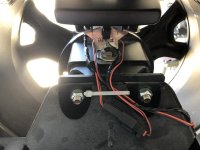
I used the factory wires to the rear license plate to use on the new plate mount....I ran them from the bumper harness through the tub at the jack storage area, there is a drain plug and I just ran the wire through it....then along the weather stripping through the wire protector into the tail gate then out to the tire.

IMG_1792.jpg
IMG_1790.jpg
IMG_1793.jpg
IMG_1789.jpg
IMG_1788.jpg
IMG_1791.jpg


The plate holder is supplied with screws that thread in the plate holder that has welded nuts on the backside to hold the plate...standard thread. The LEDs are metric ? so I had to drill out the threads to install the LEDs.

Done


IMG_1798.jpg
 
Top Bottom