Oscar's No Build Thread

sipafz

Caught the Bug
That’s awesome you can make all of that yourself! [emoji106]


Sent from my iPhone using WAYALIFE mobile app

Thanks! I’m fortunate to have access to a machine shop and more surplus material than I know what to with.

A lot fancier than my modified hockey pucks. 🤣

Good job! [emoji482]

--
Build Thread - Adventures of Fiona - https://wayalife.com/showthread.php?t=47407

Hockey pucks get the job done! I just happened to have some extra 1” x 3” aluminum hanging around. [emoji482]
 

sipafz

Caught the Bug
Flex Day:

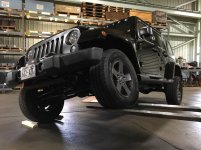
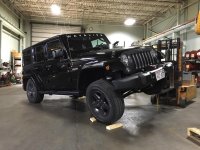
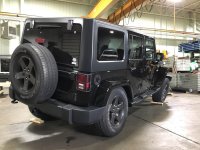
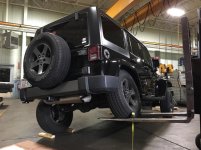
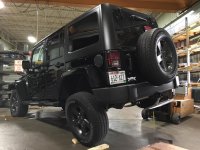
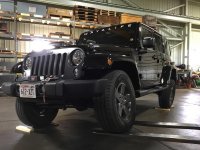
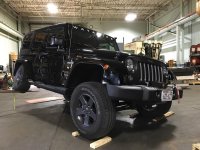
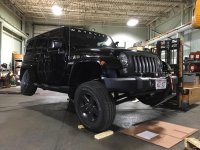
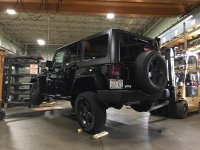
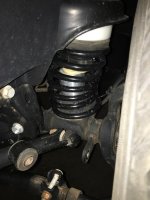
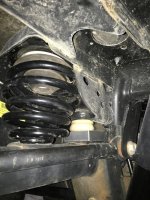
While at the shop this morning, I brought Oscar in to flex a bit:

IMG_6690.jpg

IMG_6702.jpg

IMG_6701.jpg

IMG_6703.jpg

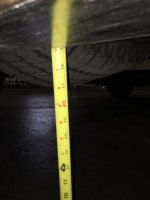
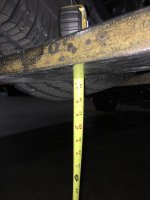
With sway links still attached and raised until the rear tire was just about to lose contact, I got 17” under the front tire:

IMG_6694.jpg

Front bump:

IMG_6697.jpg

Opposite rear bump:

IMG_6700.jpg

Again, sway links attached and raised until the front tire was about to lose contact, I got 18” under the rear tire:

IMG_6713.jpg

IMG_6714.jpg

IMG_6720.jpg

IMG_6716.jpg

IMG_6709.jpg

Rear bump:

IMG_6700.jpg

Opposite front bump:

IMG_6717.jpg

Then I raised opposing front and rear to the same maximum clearance until the rear tire left the ground.

IMG_6724.jpg

IMG_6723.jpg

With the sway links connected, all I could get was 9.5” under each wheel. With the sway links disconnected I got 12” under each.

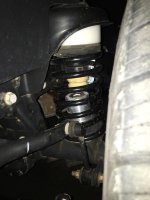
Front bump at full compression:

IMG_6728.jpg

And rear:

IMG_6731.jpg

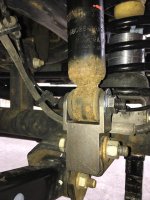
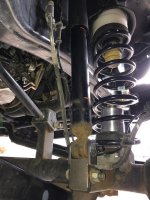
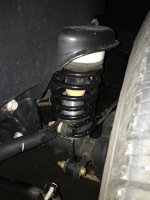
I’m not sure if those numbers are good or bad, but I did learn that my shocks are definitely short in the front so I’m thinking about making some extensions. Once they are on I will retest and compare.
 
Last edited:

sipafz

Caught the Bug
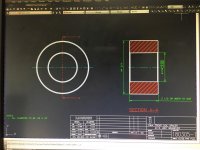
For the Machine Heads:

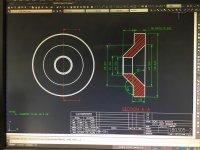
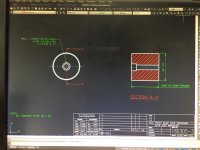
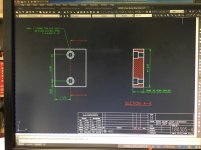
DIY lift is in and seams to be working properly. Here are the details if anyone else is interested in making their own spacers and bump extensions:

IMG_6833.jpg

IMG_6834.jpg

IMG_6835.jpg

IMG_6836.jpg

I can e-mail .dwg or .pdf files upon request.
 
Last edited:

Arrcherr

Caught the Bug
Very cool that you were able to make your own lift! Heck making sure I bought all the right stuff was interesting enough let alone making it
 

sipafz

Caught the Bug
That's awesome that it worked out for you.

I still have some work to do as I suspect that my flex is less due to the lift. The shocks and sway links are definitely limiting axel droop. I plan to address the front shocks next.

Very cool that you were able to make your own lift! Heck making sure I bought all the right stuff was interesting enough let alone making it

Thanks! It’s time consuming for sure, but I’m learning a lot about how the suspension works and how by changing one thing effects others. Now I need to gain back lost flex by designing and machining shock extensions, brake line/ABS/traction control wire extensions and alter the sway links to be longer and adjustable.

Awesome job! Thanks again for the sweet bump stops!

You’re welcome Pete! Are they tall enough or are you stacking with others? I thought I read somewhere that your springs were +2”? Let me know if they work out for you.
 

sipafz

Caught the Bug
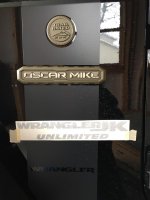
I got a pair of these in the mail today. I’ve never been a fan of this crooked stripe and badge. I’m gonna lose the stripe, straighten the badge and add these new WranglerJK stickers so I have that daily remember that I need a JL 🤣.

IMG_6776.jpg
 

sipafz

Caught the Bug
Project “Get The Flex Back” started. Since adding my DIY budget boost, I knew that shock extensions would be needed to regain full axel droop and maximize total flex.

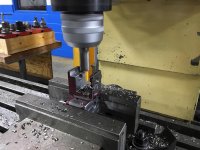
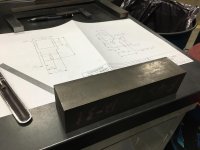
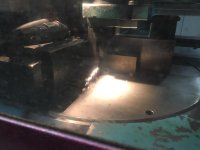
I started with taking some basic measurements and spent some time designing some extension brackets for the front shocks. Once I had the concept on paper, I found a 2” x 2” piece of cold rolled steel and cut 2pcs to 3 5/8” long:
IMG_6744.jpg

IMG_6745.jpg

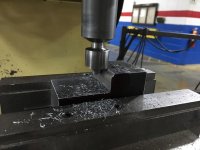
After some layout and milling, it was time use a round over bit to make a nice radius to keep from wearing the brake line:
IMG_6746.jpg

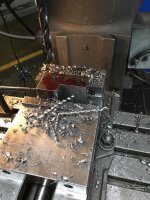
At the Bridgeport, I drilled the mounting holes 2” apart which should produce 2” more shock travel:
IMG_6747.jpg

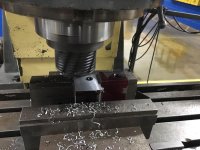
Back at the heavier knee mill, I continued with machining the features of the bracket:
IMG_6757.jpg

IMG_6759.jpg

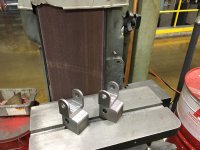
The last step was to shape a radius at the top of the bracket at the belt sander:
IMG_6760.jpg

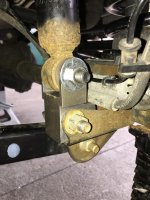
At home, the brackets were installed and tested:
IMG_6762.jpg

IMG_6764.jpg

IMG_6770.jpg

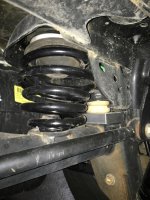
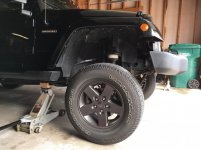
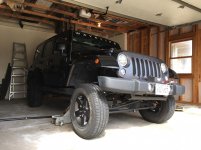
With the sway links disco’ed and body lifted until the front tire just lifted off the ground, I measured 2 3/8” more droop:
IMG_6767.jpg

IMG_6768.jpg

I’m pleased with how the brackets turned out! A little paint is all they need and then I will re-measure total flex with the forklifts again. I also need to investigate whether rear shock extensions would be beneficial.
 

JKbrick

Active Member
Machine shops amaze me how cool it is to make such nice stuff. Hey I ordered a set of rear brake line drop brackets and the place sent me two sets. I called them and told them. They thanked me for my honesty and told me to keep them. If you want the extra set pm me your name and address.


Sent from my iPad using WAYALIFE mobile app
 

sipafz

Caught the Bug
Machine shops amaze me how cool it is to make such nice stuff. Hey I ordered a set of rear brake line drop brackets and the place sent me two sets. I called them and told them. They thanked me for my honesty and told me to keep them. If you want the extra set pm me your name and address.


Sent from my iPad using WAYALIFE mobile app

That’s very gracious of you and thanks! I’m not sure that I would need them since net lift in the back is only 1 1/4”. That might change if I do add shock extensions to the rear. On the front I carefully tweaked the metal lines to give the slack that was needed. I will let you know and thanks again!
 

JKbrick

Active Member
That’s very gracious of you and thanks! I’m not sure that I would need them since net lift in the back is only 1 1/4”. That might change if I do add shock extensions to the rear. On the front I carefully tweaked the metal lines to give the slack that was needed. I will let you know and thanks again!

Your welcome, let me know


Sent from my iPad using WAYALIFE mobile app
 

DeJkUnlimited

Caught the Bug
So awesome you can fab your own parts. I suppose for a machinist it’s not as difficult as it looks, but nice work either way.
 

sipafz

Caught the Bug
Man those look impressive! Nice job.

Thank you!

Those things look beefy. Well done.

No crush sleeves required! 🤣

You keep amazing me man!:thumb::beer:

Thanks - The dry fit went well as everything lined up. The only tweak was filing a larger radius on the bottom corners to fit the axel brackets.

So awesome you can fab your own parts. I suppose for a machinist it’s not as difficult as it looks, but nice work either way.

Thank you! It’s not hard, just time consuming. I always keep in mind that these parts are for my $40,000 Jeep so I try to design and manufacture to the same or better quality as compared to what I could buy. I’m lucky to have the time, materials and equipment to support my hobby like this.

So this is what showed on the main screen of my app preview:

IMG_6777.JPG

What was the rest of your question that you didn’t ask? If you think that I don’t like going on and on about about this stuff, you’re wrong 🤣!
 
Top Bottom