Simple beginnings...

GoMopar440

Member
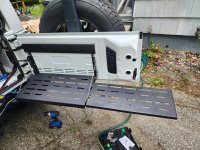
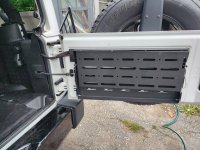
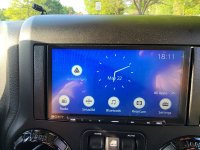
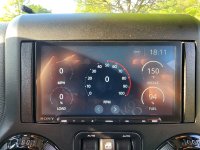
The digital rearview mirror arrived in the mail today and I already have the mirror and wires to the rear mostly installed. All I have left to connect is the power wire for the camera and then mount the camera itself. I need to find a keyed 12V power source wire near or in the rear swing gate. I picked up a Haynes manual for the wiring diagrams, but haven't been able to find a suitable power wire yet.

I'm also going to add a rear power port in the cargo area using the same 12V power wire I use for the camera.
 

GoMopar440

Member
My Jeep didn't come with a rear cargo area 12v power port, so I'm going to add some ports of my own. I'm adding a cargo area 12V socket as well as a multi USB socket as well. The USB socket has a volt gauge, on/off switch and one USB-A and two USB-C ports on it. The single type A port is PD quick charge type and the two type C ports are the QC3.0 quick charge types. The 12V constant power, 12V keyed power and ground wire will all be run through a single waterproof 12/3 cable that I just picked up today. It'll be run from the battery area under the hood back to the recess under the cargo area by the swing gate. I'll place a fuse on each of the hot wires in the engine bay and a separate buss block for each hot wire out back as well. I still need to select and buy the fuses and buss blocks for this setup.
 

GoMopar440

Member
Ok, good news/bad news today.

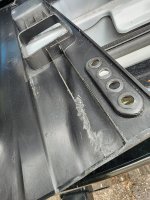
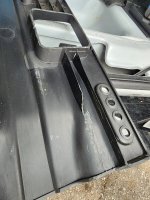
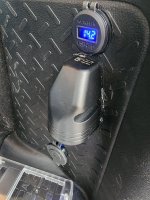
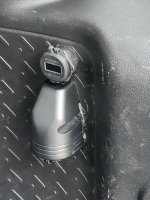
The Good: The USB and 12v power ports arrived today, two days earlier than expected. I was able to start fitting them to the rear passenger corner interior panel.

The Bad: The 12v power port won't fit where I wanted it to, and I didn't find this out until AFTER I had drilled the hole in the panel for it. DOH!

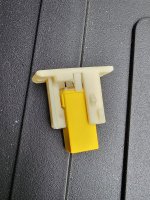
I have figured a work around for it, but it's not quite ideal. I'm going to put a hollow spacer between the port and the panel and mount it like that in order to keep the port from protruding behind the panel any more than necessary.

1000002597.jpg 1000002599.jpg
 
Ok, good news/bad news today.

The Good: The USB and 12v power ports arrived today, two days earlier than expected. I was able to start fitting them to the rear passenger corner interior panel.

The Bad: The 12v power port won't fit where I wanted it to, and I didn't find this out until AFTER I had drilled the hole in the panel for it. DOH!

I have figured a work around for it, but it's not quite ideal. I'm going to put a hollow spacer between the port and the panel and mount it like that in order to keep the port from protruding behind the panel any more than necessary.

View attachment 406169 View attachment 406170
This seems like an innovative solution. You could also mount a box to the surface and then mount the plugs on the box.
 

GoMopar440

Member
This seems like an innovative solution. You could also mount a box to the surface and then mount the plugs on the box.
That would be a better solution... if done before drilling those holes. Since I did more assuming than measuring before I started cutting, I have to get creative to hide my mistake. 😆
 

GoMopar440

Member
Today I picked up a 1" PVC connector from the electrical conduit section at Lowe's. It needed a bit of trimming for length and inside diameter. After cutting it to length, I used a big step drill bit and opened up the inside of each end until the power port just began to fit. Then a sanding drum on a Dremel took care of clearancing the part inside the middle.

Unfortunately the locking ring that holds the plug in place arrived split in two, so I'll have to wait for the replacement to arrive in the mail. I haven't returned this one yet so I could still use it for fitting to the spacer I just made.

1000002604.jpg 1000002605.jpg 1000002606.jpg 1000002607.jpg 1000002609.jpg
 
Im just wondering if the paper plate was used. Did you use it for some pasta or a juicy steak? How about using it to eat pizza? I mean, in the garage and working on the Jeep, one would think pizza would be a good go-to.
 

GoMopar440

Member
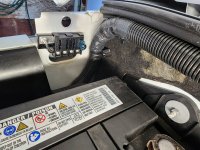
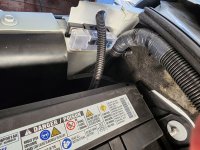
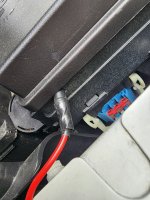
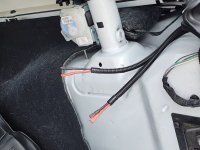
Today I cleaned out the old aftermarket amp wiring that was found under the big floor bin in the cargo area. I also pulled the 4ga power wire that was run up the driver side to power the amp. 1000002622.jpg

With that out of the way, I ran my 12/3 power wire to the rear cargo area. The outer insulation jacket was too big to fit through the firewall, so I removed it as well as the internal fiber wire spacers.
1000002618.jpg


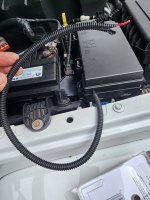
Once the 3 new wires were ran through the firewall, I sleeved them with some split loom.
1000002619.jpg
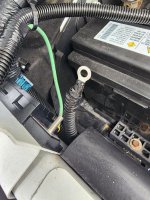
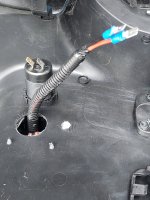
I decided to open up an existing hole in the inner fender just large enough to run the split loom through it rather than sending the wires around the end of it. I sprayed the bare metal with some grey primer sealer to keep it from rusting.
1000002620.jpg


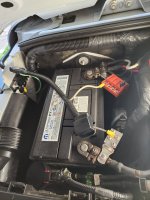
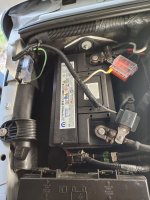
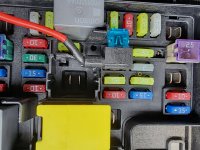
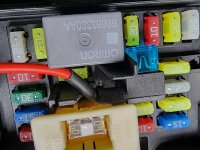
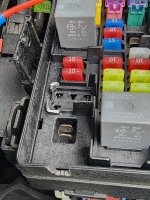
I'm just going to store the battery end of the wires down beside the battery until I can pick up a couple junction blocks. One for battery power and one for keyed power.
1000002621.jpg


Then it was just a matter of running the new wire out back, following the factory wiring. I zip-tied the new wires to the factory wires as I went to keep everything out of the way of the panels and carpet. 1000002624.jpg

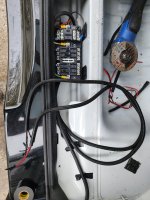
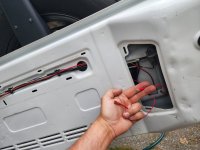
And this is where the new wire is going to lay while I wait for a dual input fuse block. One input will be battery and the other input will be keyed. Each side of the fuse block will have 6 of their own fused circuits. In this pic you can see the old ground wire for the amp, and the 3 tec screws holding it to the floor.🙄
1000002623.jpg
 

GoMopar440

Member
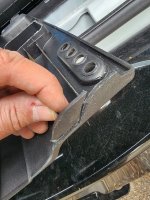
I forgot to add that I tried the panel with the spaced out power port. The prongs on the back of the plug still hit the sheet metal underneath. Looks like I'll need to look into that box idea after all.
 
Top Bottom