Coming up to Speed With Grubbicon

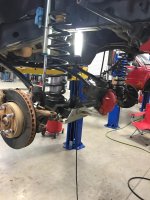
Figured Id update on some of the work done so far this morning since Im going to take a break for a bit. I started by taking the brake lines off and disconnecting the other wheel speed sensor. Then I pulled the track bar off and then the upper control arm.
ImageUploadedByWAYALIFE1448910800.002108.jpgImageUploadedByWAYALIFE1448910811.265596.jpg

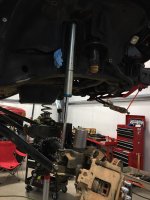
I then pulled the springs out and unbolted the shocks.
ImageUploadedByWAYALIFE1448910835.088332.jpgImageUploadedByWAYALIFE1448910847.826668.jpg

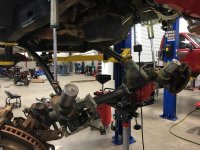
After that I unbolted the lower 2 control arms and rolled the axle out of the way.
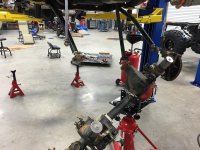
ImageUploadedByWAYALIFE1448910888.869729.jpgImageUploadedByWAYALIFE1448910901.129743.jpg

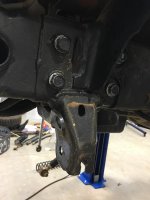
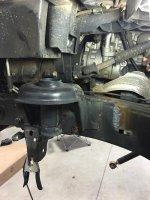
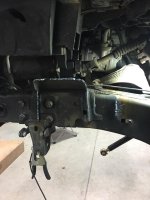
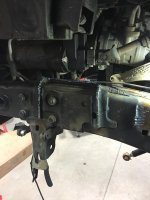
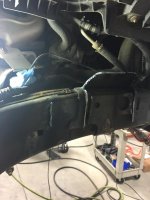
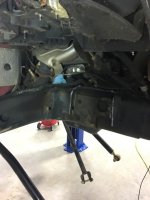
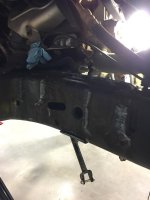
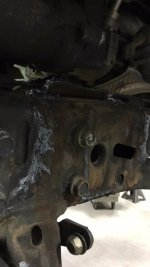
Next I took the inner fender liner out. As well as take my track bar reinforcement bracket off the frame so I could get in there to cut the coil bucket off.
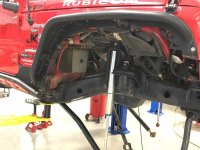
ImageUploadedByWAYALIFE1448910984.856661.jpgImageUploadedByWAYALIFE1448911053.049727.jpg

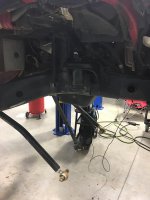
Here in a bit Im going to get back at it and take the shocks off then cut the shock mounts and coil bucket off.
 
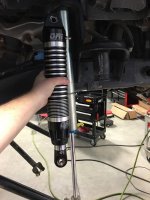
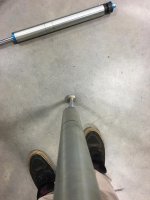
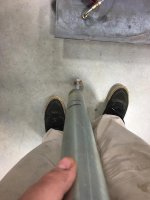
A little comparison of the ORI first the King shocks before it came off. Looks like both of the shafts on the shocks got a decent bend in them.
ImageUploadedByWAYALIFE1448926993.581338.jpgImageUploadedByWAYALIFE1448926944.130586.jpgImageUploadedByWAYALIFE1448927105.681768.jpgImageUploadedByWAYALIFE1448927129.618024.jpg

I then moved to cutting the shock towers off and coil buckets. Looks like there is no turning back now. Not gonna lie its got me a bit nervous but I know I can get it done.
ImageUploadedByWAYALIFE1448927161.755461.jpgImageUploadedByWAYALIFE1448927172.022250.jpgImageUploadedByWAYALIFE1448927180.390559.jpgImageUploadedByWAYALIFE1448927205.376166.jpgImageUploadedByWAYALIFE1448927215.512691.jpgImageUploadedByWAYALIFE1448927224.431036.jpg

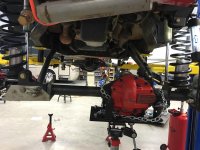
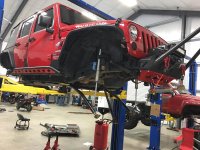
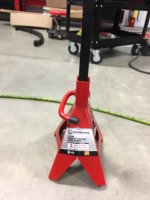
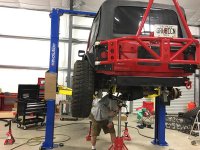
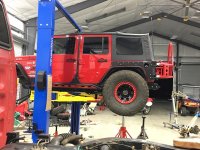
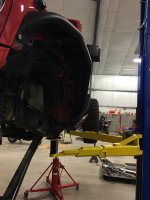
After all that I set the Jeep done on jack stand to put different blocks in the rear so I can raise the control arms up higher in the rear. In the process I had a jack stand buckle and drop the front of the Jeep. Thankfully the lift caught it will not damage to the Jeep. To bad it happened so fast I couldn't get a picture.
ImageUploadedByWAYALIFE1448927368.335937.jpgImageUploadedByWAYALIFE1448927377.268544.jpg
ImageUploadedByWAYALIFE1448927403.638706.jpg
 
Man I bet you shit yourself when you saw the Jeep drop! I know I would have. Glad nothing went wrong and you sent hurt bud!
 
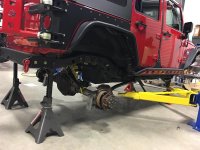
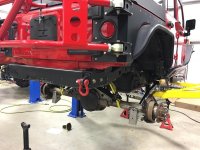
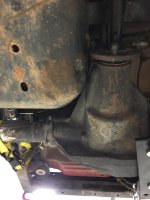
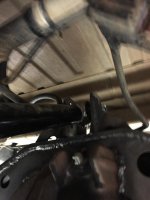
Couple more pictures with the axle pushed up. Im definitely into the gas tank and it looks like the upper 3 link mount might be into the floor. Id like it to go as far up as I can so if I have to looks like I may end up cutting the cargo area and raising the floor. I wont know for sure though until I have have a couple wheels mounted.
ImageUploadedByWAYALIFE1448928603.833819.jpgImageUploadedByWAYALIFE1448928617.237525.jpgImageUploadedByWAYALIFE1448928671.027290.jpgImageUploadedByWAYALIFE1448928845.365659.jpgImageUploadedByWAYALIFE1448928858.987655.jpg

Man I bet you shit yourself when you saw the Jeep drop! I know I would have. Glad nothing went wrong and you sent hurt bud!
Definitely wasnt the greatest feeling in the world but thankfully nothing happened.
 
This is such a great build! Thanks for sharing the details! Looking forward to seeing the finish product and hearing how it handles on the trails.
 
Oh yea bud! So are you going to cut the floor out of the rear now? Or just cut the rear little trunk thing off and see if that gives you enough clearance
 
You should clearance your axle with one side raised at a time. Your axle doesn't ever (I say ever but mean rarely) move straight up and down.
 
Oh yea bud! So are you going to cut the floor out of the rear now? Or just cut the rear little trunk thing off and see if that gives you enough clearance

I'm going to leave the trunk thing lol. I'm going to try and avoid cutting the floor out, but if I have to for clearance of the upper 3 link mount I will. If I do end up cutting that I'm going to cut as little as possible.

This is such a great build! Thanks for sharing the details! Looking forward to seeing the finish product and hearing how it handles on the trails.

Thanks man and I'm glad you find it useful information. Also just a heads up I believe I heard that the Artec bolt in kits are 15% off. So if you think your gonna go this route may not be a bad idea to go ahead and get the kits.
 
You should clearance your axle with one side raised at a time. Your axle doesn't ever (I say ever but mean rarely) move straight up and down.

I am aware of that but it was just me screwing around. I'm not going to actually try to mount the shock towers in until I have the tire actually mounted and have them at the right pressure. I'd hate to do it with this one not even on the bead and it change a good bit. I also need to get lug nuts so they will sit on the axle.
 
I am aware of that but it was just me screwing around. I'm not going to actually try to mount the shock towers in until I have the tire actually mounted and have them at the right pressure. I'd hate to do it with this one not even on the bead and it change a good bit. I also need to get lug nuts so they will sit on the axle.

Gotcha.:thumb:
 
Gotcha.:thumb:

I ordered new hardware and a new ring to replace the one bad ring Thursday night. Hopefully that stuff will be here in a couple days and I can get to it. Im dredging mounting them though lol. I think mounting beadlocks is one of my most hated things other then grinding lmao.
 
After all that I set the Jeep done on jack stand to put different blocks in the rear so I can raise the control arms up higher in the rear. In the process I had a jack stand buckle and drop the front of the Jeep. Thankfully the lift caught it will not damage to the Jeep. To bad it happened so fast I couldn't get a picture.

View attachment 175608

Reminder to self, never buy POS Strongway jack stands! :bleh:
 
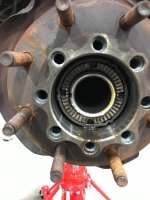
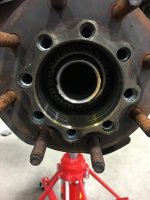
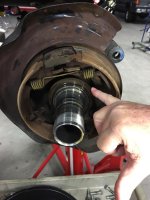
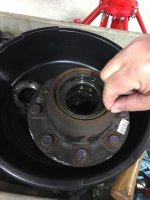
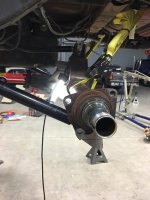
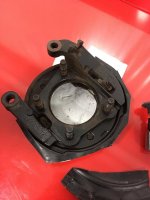
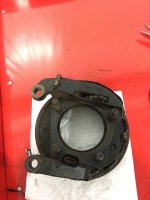
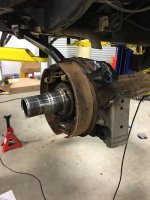
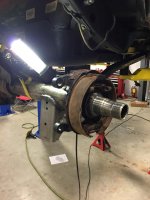
Didnt do much today, but I did take both the rear hubs off so I can put new studs in. While they were off I also went ahead and cut the dust covers off.

Once the shafts are pulled out there is a nut on the spindle and there is a special socket to get it off because it has 4 prongs. What I did was took a flat head screw driver and a hammer and got them off. The driver side is reverse threads and the passenger side is normal. After you pull the bearing out behind the nut you can pull the hub straight off. It took a bit of a persuasion with a hammer for me to get them off.
ImageUploadedByWAYALIFE1449013918.091446.jpgImageUploadedByWAYALIFE1449013925.941302.jpgImageUploadedByWAYALIFE1449013935.274239.jpgImageUploadedByWAYALIFE1449013944.360611.jpgImageUploadedByWAYALIFE1449014073.361647.jpg

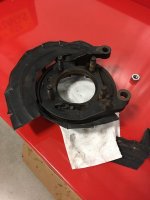
I ended up using a set of tin snips to cut the dust covers off. Then with the little pieces still sticking up I took a hammer and bent them in. Its good enough for me. I dont think it will ever be noticed after the caliper is on there and the wheel is as well.
ImageUploadedByWAYALIFE1449014046.876156.jpgImageUploadedByWAYALIFE1449014083.063391.jpgImageUploadedByWAYALIFE1449014090.129309.jpgImageUploadedByWAYALIFE1449014099.615404.jpgImageUploadedByWAYALIFE1449014109.448219.jpg
 
Last edited:
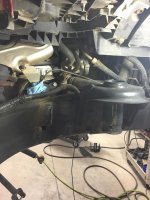
Not a whole hell of a lot done today, but I did get the plasma cutter back out and did some more cutting on the front. Figured I try to get as much off as possible instead of having to do a ton of grinding. On the driver side there is a bit im just not going to be able to do because of the steering box in the way.
ImageUploadedByWAYALIFE1449100105.083168.jpgImageUploadedByWAYALIFE1449100116.148071.jpg

I also went by Oreilys to get some wheel studs. They are supposed to be here tomorrow. All 32 studs for $185. Part of me was not surprised, but thats crazy lol.
 
Really enjoying the updates man. Glad you and the Jeep weren't hurt when that stand buckled. :yup:
 
Top Bottom