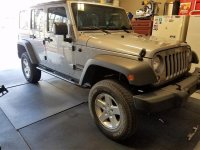
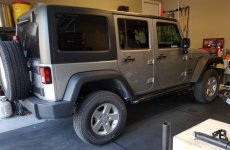
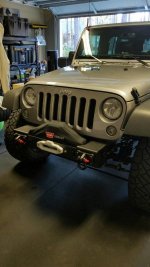
2016 JKU Silver Build

moto82mike

Member
Installed So Far:

LoD sliders
Mopar 2" Lift w/Fox shocks and front driveshaft
Fox ATS steering stabilizer

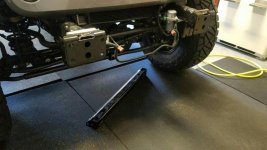
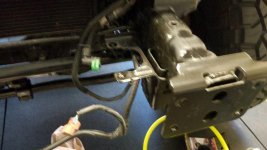
20161126_150748.jpg20161127_095106.jpg20161127_095143.jpg


More to come in next few weeks (with be posting install photos/videos):
- Wheels and 35" Ridge Grapplers
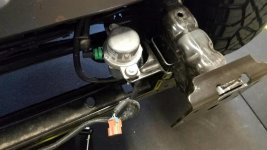
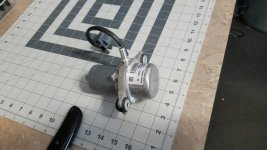
- EVO Quarter Pounder Front bumper w/vacuum relocation
- EVO rear fascia
- EVO hinged tire carrier
- Warn Zeon 10-S winch
- Factory fender cut
 
Should be nice. Looks like you do crossfit too, box jump, floor mats, and maybe a sled?
 
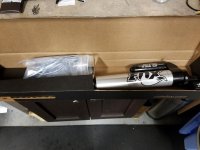
Fox ATS Steering Stabilizer install

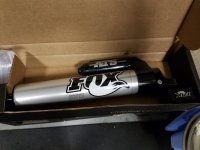
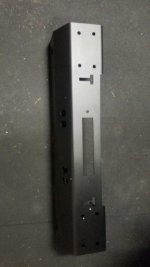
Unboxing - great quality construction as expected.
20161125_175353.jpg
20161125_175358.jpg

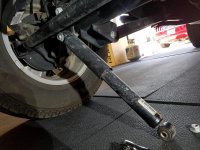
Removing old stabilizer. These three first. Remove 1 & 2 then slide shock off. Took some force and bent flanges out on 2 but they are not used for new stabilizer. Once you get shock off, then remove 3.
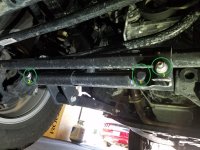
20161126_135430.jpg
20161126_140638.jpg

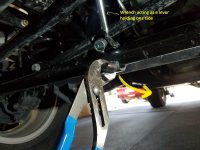
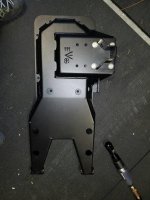
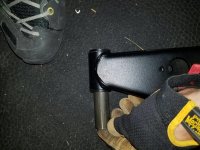
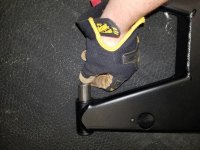
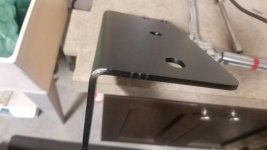
Getting the bracket off from the tie-rod can be challenging (you have to bend it). I don't own a torch (yet) so I used force. I created a lever to hold one side of the bracket and used monkey wrench to bend the other side. This took quite a bit of force but I bet a torch and some heat would make this much easier.
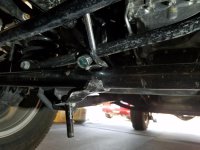
20161126_141509.jpg
20161126_141601.jpg

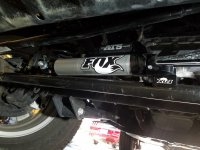
Now, You remove the Trackbar bolt near the passenger front wheel, and replace it with the bolt that comes with the kit (forgot to take a photo of this bolt but it has two threaded shafts with a nut in the middle. Longer shaft goes back through Trackbar where you removed the factory bolt and the other end of the shaft comes out toward the front of the vehicle and this is where the eyelet for the shock goes.
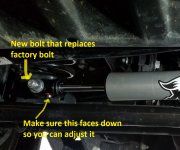
20161126_150748.jpg
20161126_144939.jpg

Turn steering wheel all the way toward passenger side of vehicle.

Adjust the stabilizer so that 1/4 of the shaft is exposed on the left side (as you look at it, see photo).
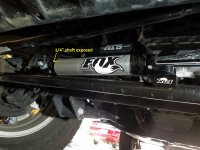
20161126_144939.jpg

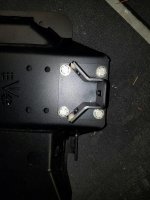
At this time, you will install the 4 pinch bolts into the tie-rod mounting bracket. The instructions didn't say, but I used blue locktite on these.

Once this is tight, have your helper turn the steering wheel back to the center and then left slowly while you look for and obstructions.

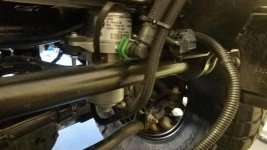
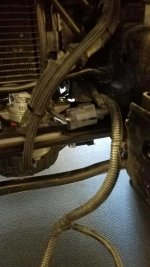
The instructions say that if you have a 2012+ with less that 2.5" of lift, then you need to rotate the reservoir down toward the rear of the vehicle to avoid contact with obstructions. I did this and it is easy, just make sure you loosen the corrent pinch bolt on the "L" bracket as they describe. The wrong (smaller allen bolt) will bleed out shock oil like I did:thinking:
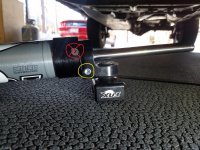
20161126_135830.jpg

Other than these few challenges, the instructions that it came with are pretty good.

I back the adjuster screw all the way out (counter-clockwise) and then went clockwise 14 clicks because that is where I read the "sweet-spot" is and then drove it. WOW! What a difference over stock and I don't even have my 35's on yet. The jeep handles way more "locked in" feeling and is very smooth over bumps with no pull in either direction. I will keep it at 14 until I put my wheels and tires on and then maybe adjust it some more.

I hope this helps anyone that is thinking about purchasing/installing this stabilizer.
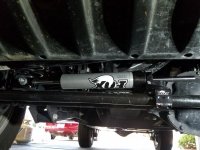
 
Should be nice. Looks like you do crossfit too, box jump, floor mats, and maybe a sled?

Yeah and squat rack that you can't see. I don't call it Crossfit because that is like being in a cult nowadays. It's more of a power lifting routine by Jim Wendler called 5/3/1.
 
Yeah and squat rack that you can't see. I don't call it Crossfit because that is like being in a cult nowadays. It's more of a power lifting routine by Jim Wendler called 5/3/1.

That is too funny, I basically quit crossfit in mid 2015 to do 5/3/1 at home. Got through 8 cycles before I had to reset. 5/3/1 is great but make sure you deload at least every other cycle. My hips really started hurting after a while. I just got tired of wasting $130/ mo and instead bought a Rogue rack, bar, etc.
 
That is too funny, I basically quit crossfit in mid 2015 to do 5/3/1 at home. Got through 8 cycles before I had to reset. 5/3/1 is great but make sure you deload at least every other cycle. My hips really started hurting after a while. I just got tired of wasting $130/ mo and instead bought a Rogue rack, bar, etc.
Yeah, I have been working the 5/3/1 for a few cycles and have definitely reached plateaus. I had the same hip pain so I took a few weeks off. Either way, after de-load, I feel great.

I buy rogue equipment too. It's an investment for sure - they'll be digging rogue racks up like dinosaur bones when we are gone.

$130/month and they rush you through their workout and get you out the door for the next round of customers: "you have 8 minutes to establish 1RM clean!". HaHa. That is enough time for 2 reps...

Either way, I will be working on this JK for a few weeks and posting photos until it's done. Then will be posting trail reviews.

Sent from my SM-G930V using WAYALIFE mobile app
 
Installed So Far:

LoD sliders
Mopar 2" Lift w/Fox shocks and front driveshaft
Fox ATS steering stabilizer

View attachment 232378View attachment 232379View attachment 232380


More to come in next few weeks (with be posting install photos/videos):
- Wheels and 35" Ridge Grapplers
- EVO Quarter Pounder Front bumper w/vacuum relocation
- EVO rear fascia
- EVO hinged tire carrier
- Warn Zeon 10-S winch
- Factory fender cut
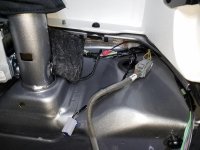
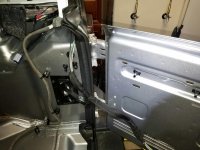
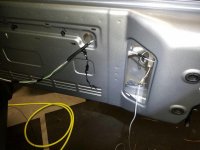
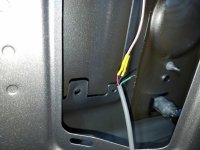
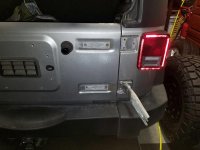
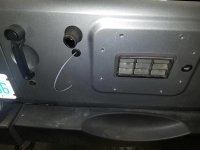
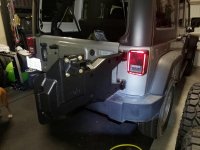
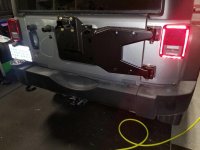
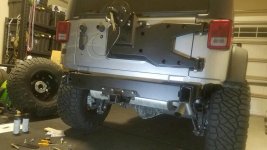
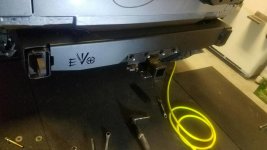
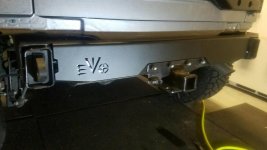
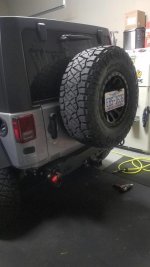
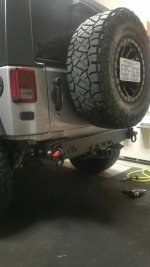
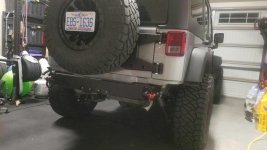
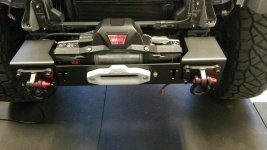
I did the install for the EVO rear tire Hinged carrier with the license plate relocation kit made by ORE. Both sets of instructions were really good so I won't bother repeating them on here but here are some photos of the process.

20161202_160717.jpg20161202_160722.jpg20161202_160736.jpg20161202_160744.jpg20161202_170400.jpg20161202_170406.jpg20161202_170412.jpg20161202_170418.jpg20161202_175205.jpg20161202_175212.jpg20161202_181529.jpg20161202_181537.jpg20161202_183216.jpg

Sent from my SM-G930V using WAYALIFE mobile app
 
The install was fairly straightforward but I did have to pull out the mini sledgehammer a few times to motivate the tow points to go in the frame.

I had to have a new fascia sent from EVO because the first one arrived pretty beat up. There were dings in the powder coating on almost every corner.
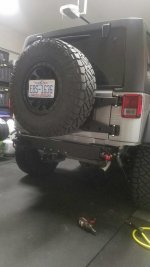
20161129_044609.jpg
20161129_044542.jpg

The second one arrived and was better but still had one damaged finish on the corner.
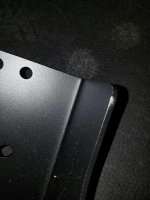
20161209_164321.jpg

I decided to give up on their ability to package and ship a part without damage and went ahead with the install.
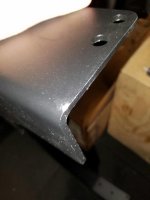
Just beware that if you order some of these bigger parts, they will probably have some dings.

Sent from my SM-G930V using WAYALIFE mobile app
 
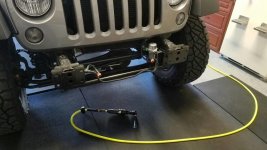
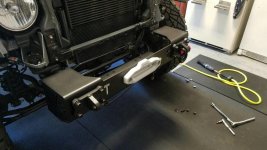
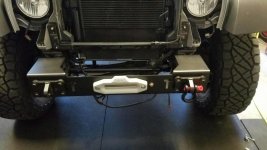
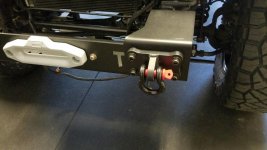
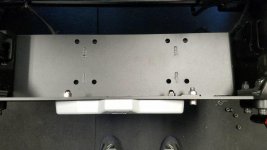
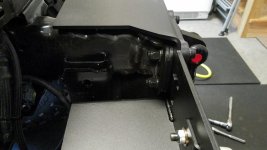
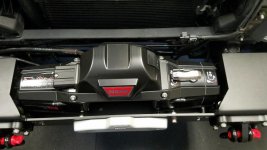
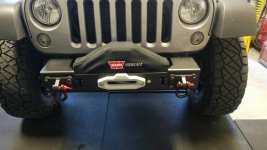
Installed EVO Quarter Pounder front bumper and winch. Easy install with good instructions. The frame was an easy cut with a sawsall. I went through a few blades cutting. The winch was also very easy to install.

20161210_105907.jpg20161210_105927.jpg20161210_112059.jpg20161210_114814.jpg20161210_114819.jpg20161210_123326.jpg20161210_123341.jpg20161210_140117.jpg20161210_140123.jpg20161210_140126.jpg20161210_140134.jpg20161210_140142.jpg20161210_142428.jpg20161210_142433.jpg20161210_155350.jpg20161210_155357.jpg

I corrected tire size with Superchips TrailDash 2.

I must say, these Nitto Ridge Grapplers are great so far. Smooth and quiet with an aggressive look.

Sent from my SM-G930V using WAYALIFE mobile app
 
Top Bottom