When Cindy and I decided to buy Pappy, our 1954 Willys CJ3B, we did so with the knowledge he had some issues that need to be addressed and a few sooner than later. Among the things that made the "sooner" list was his gas tank. Looking under the hood, I saw what looked like rust in the fuel filter and a quick peek inside the filler neck with a flashlight verified as much. From the outside, the gas tank did appear to be in pretty good shape but a closer look revealed that some patch work had been done to the back of it. Of course, while I was there, I also noticed there wasn't a wire going to the sending unit and that was probably because there was no sending unit. Needless to say, addressing all this was next up on my to do list and the following will show you what all I had to do.
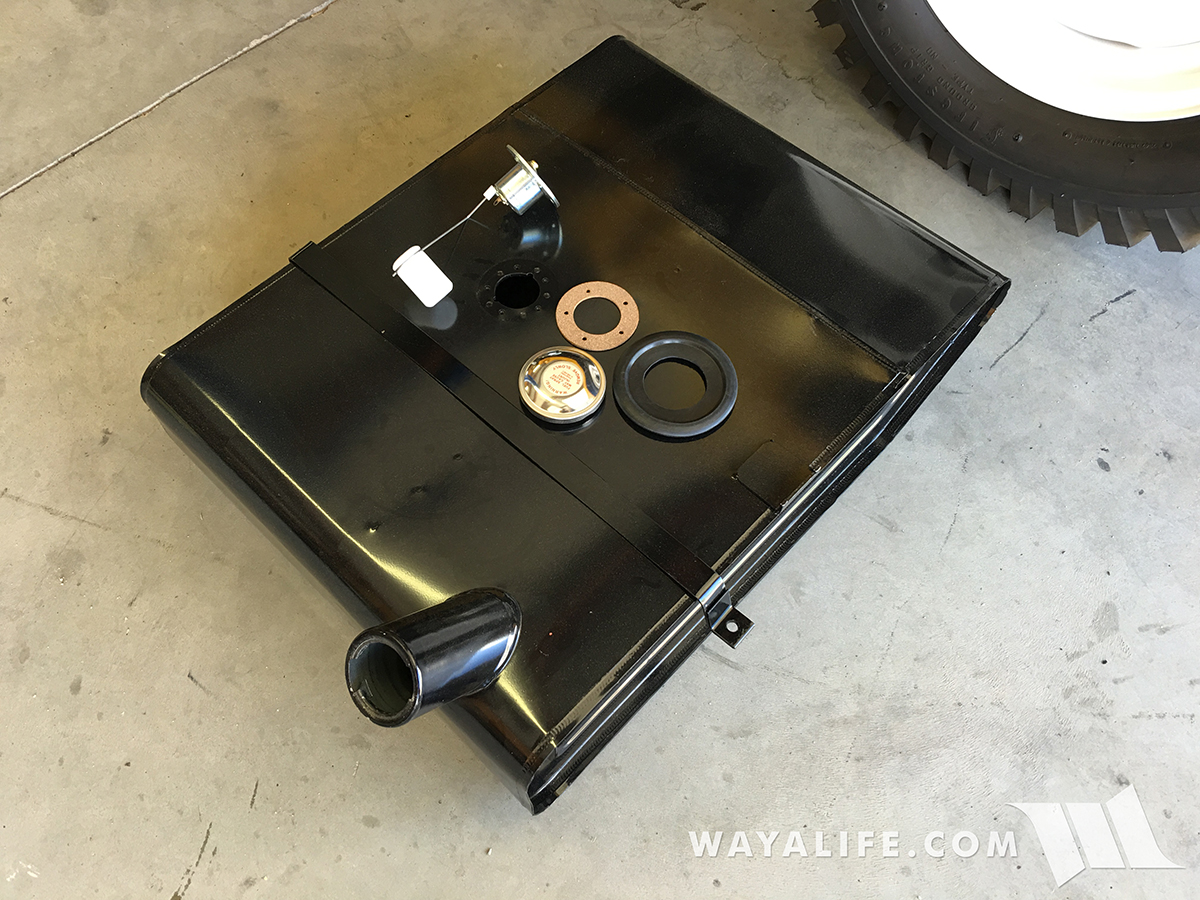
Again, I really have to give props to Omix-Ada for being such a HUGE supporter of old iron and for continuing to make OE parts for them. After doing a quick search on their website, I was able to find an exact match for a replacement CJ3B steel gas tank, sending unit, sending unit gasket, filler neck grommet, gas cap and strap.
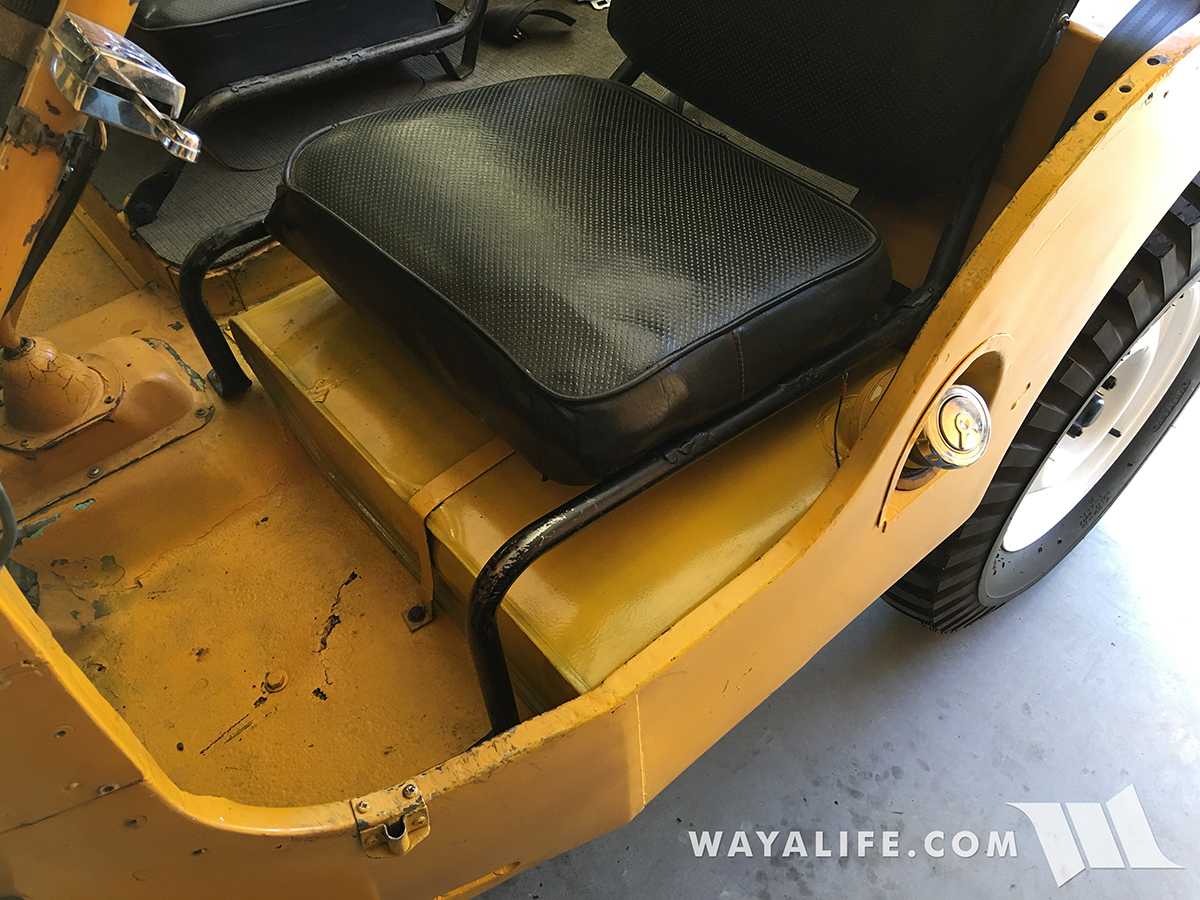
As you can see in this photo, Pappy's gas tank really doesn't look so bad on the outside.
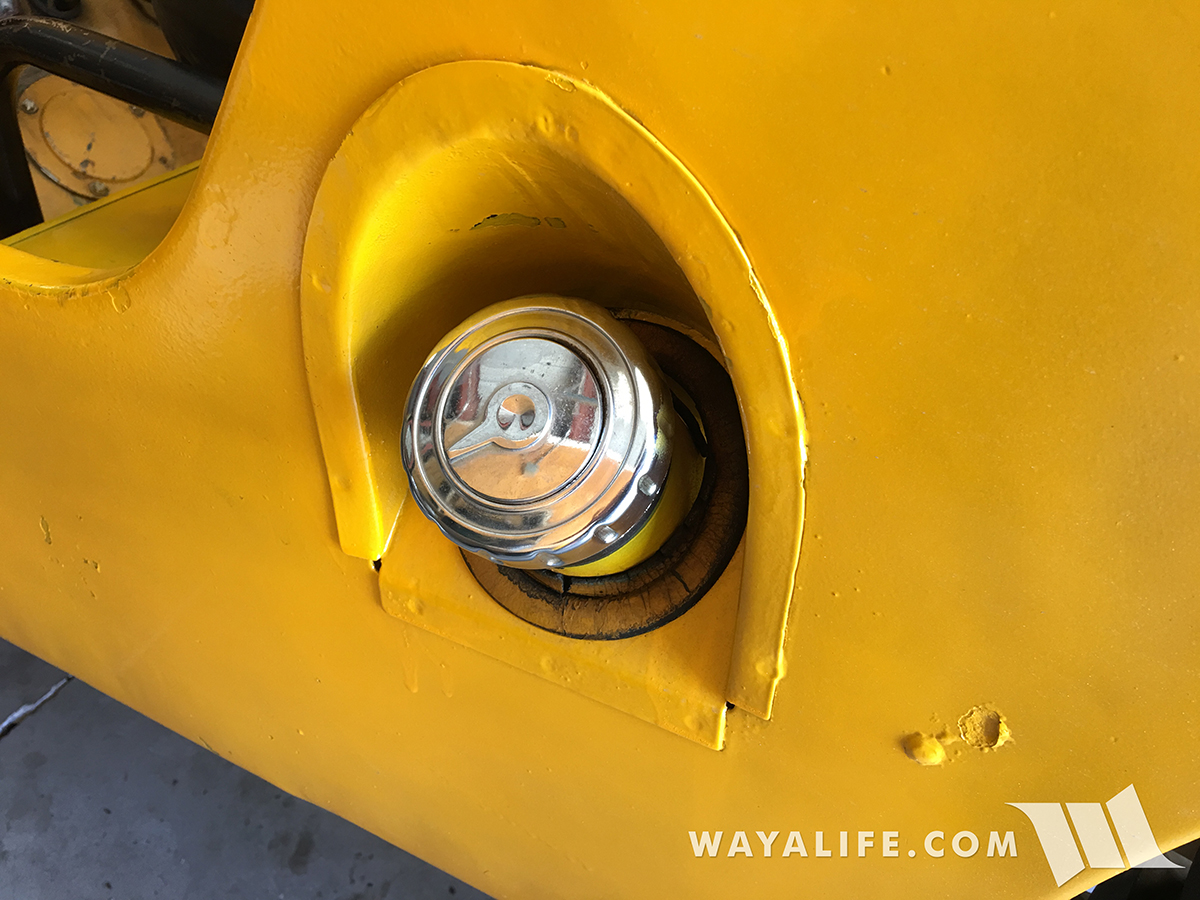
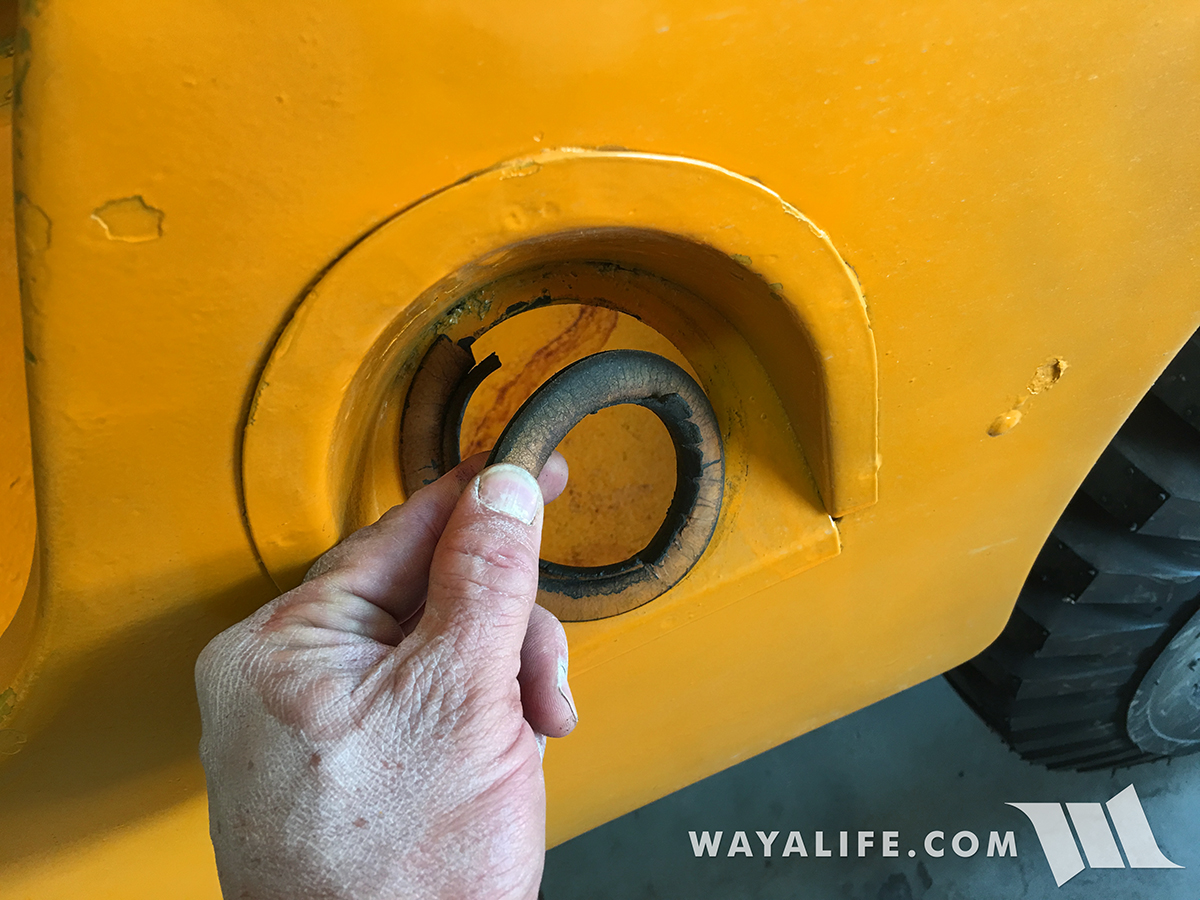
Here's a shot of the locking gas cap that came with him. Being as old as it was, it tended to stick and was difficult to remove the key from it so I planned on replacing it. You can also see that the filler neck grommet was corroded and not doing much of anything.
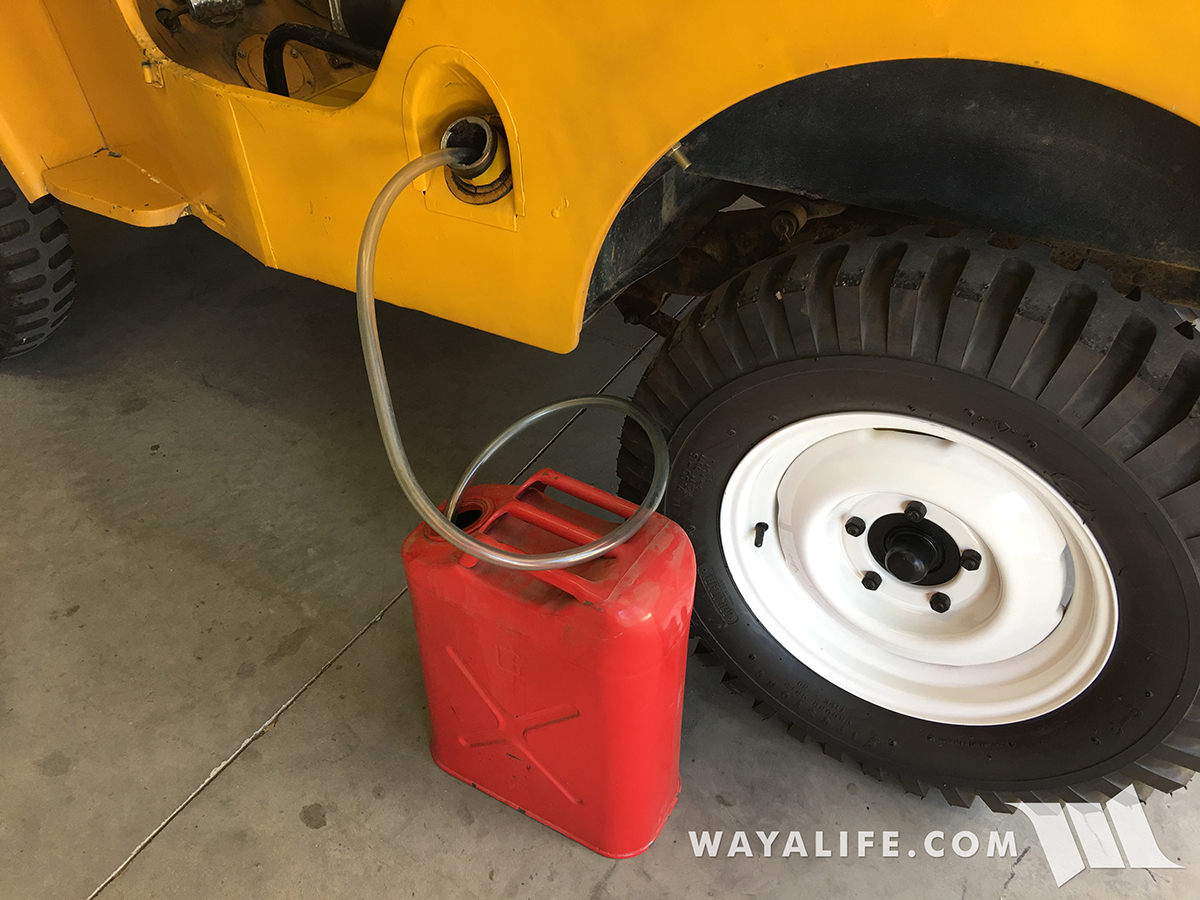
To being the swap, I siphoned whatever gas I could out of the existing tank.
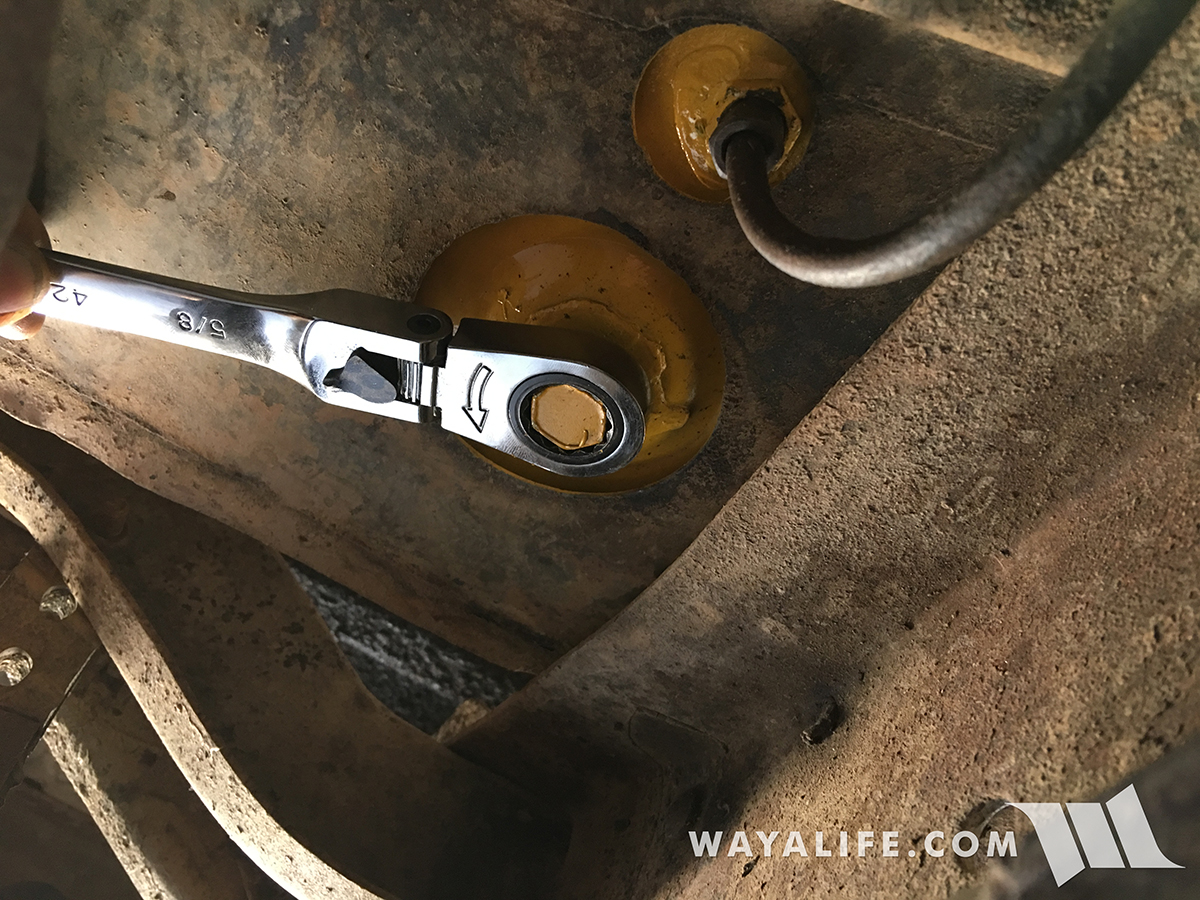
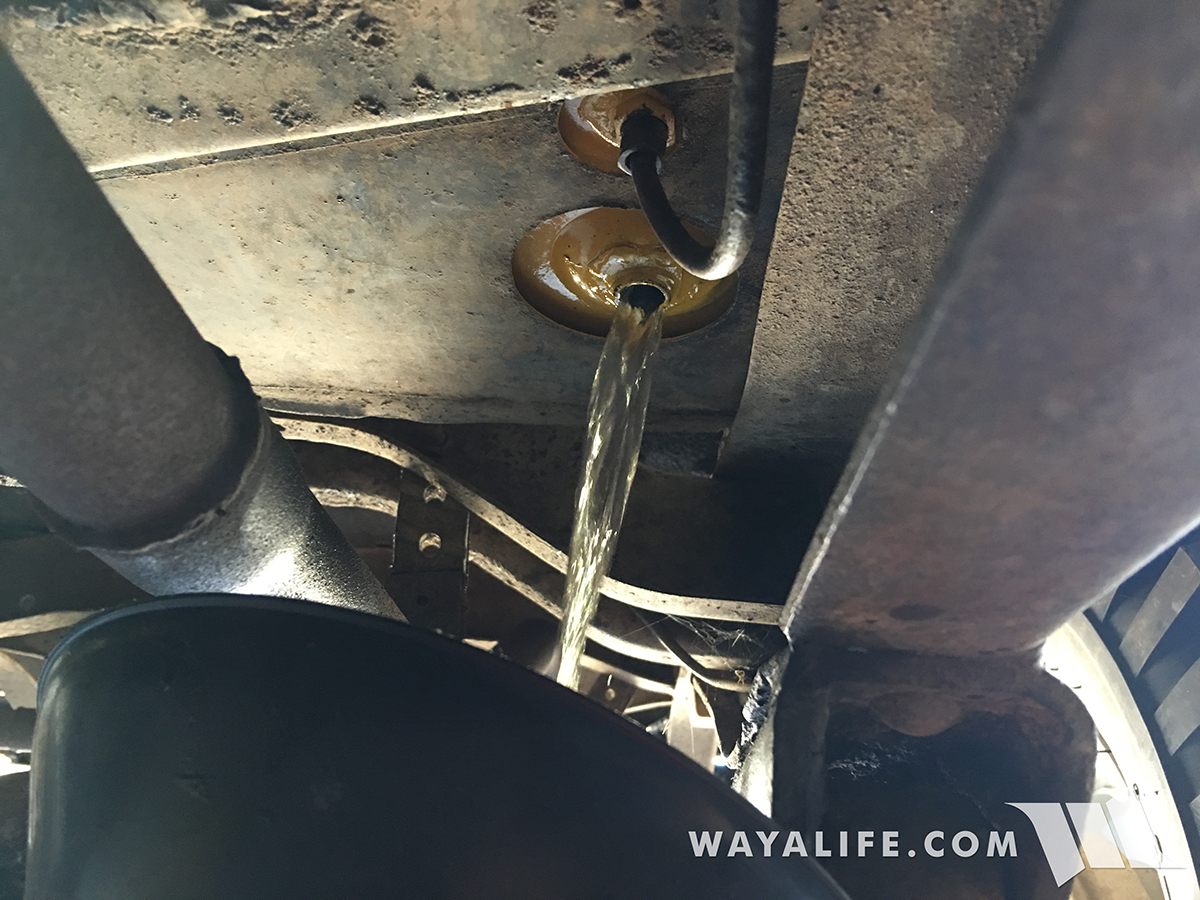
Next, I climbed under the Jeep and removed the drain to get the remaining gas out.
I placed a funnel in a small 2 gallon gas can to capture the remaining fuel.
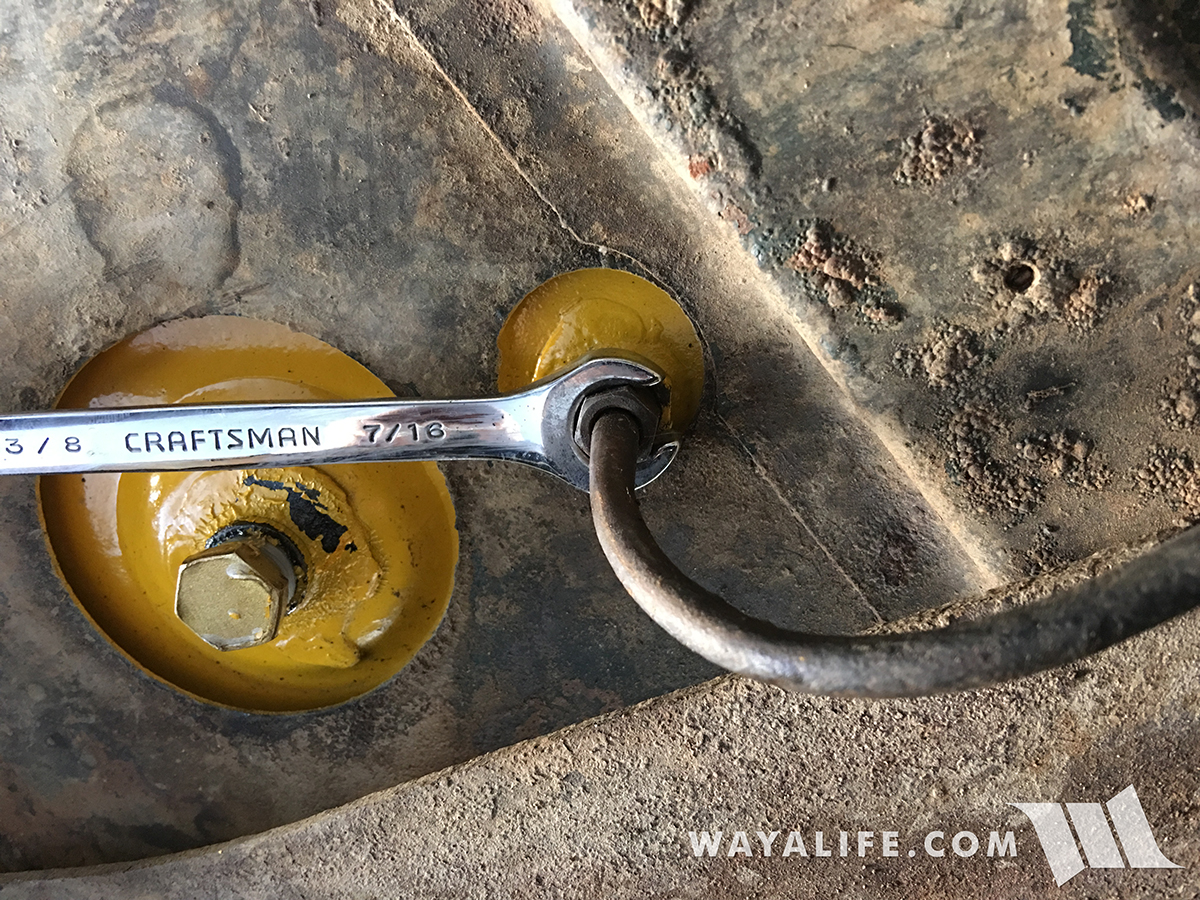
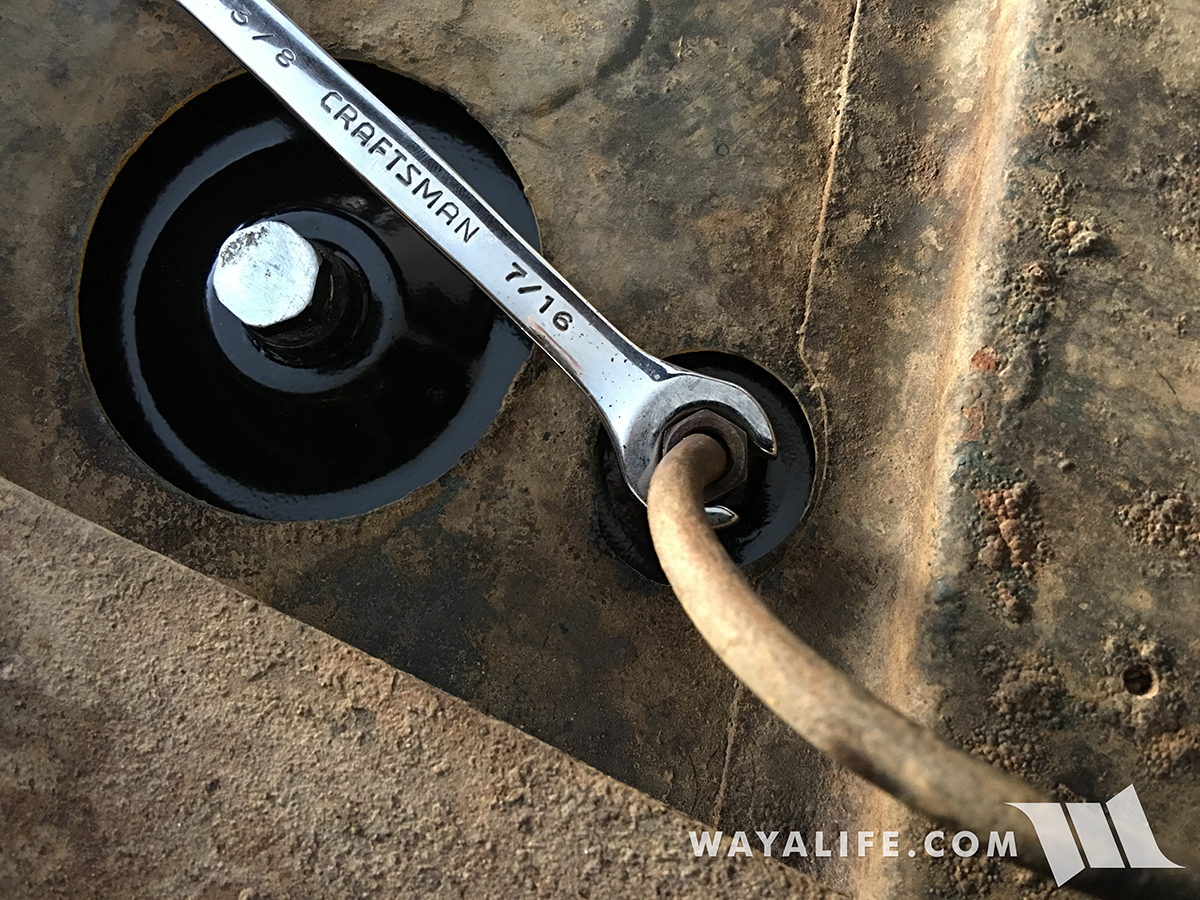
Using a flare nut wrench, I disconnected the fuel inlet line from the tank.
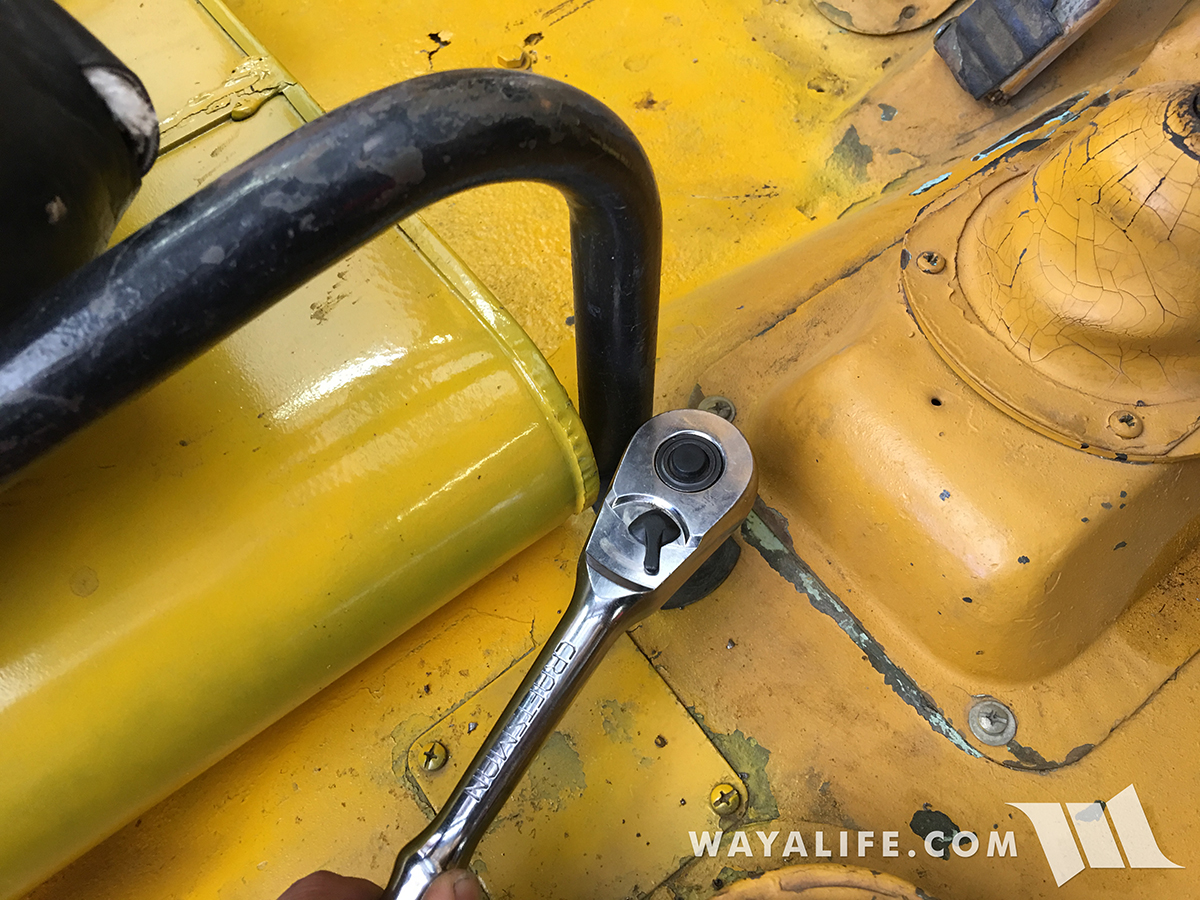
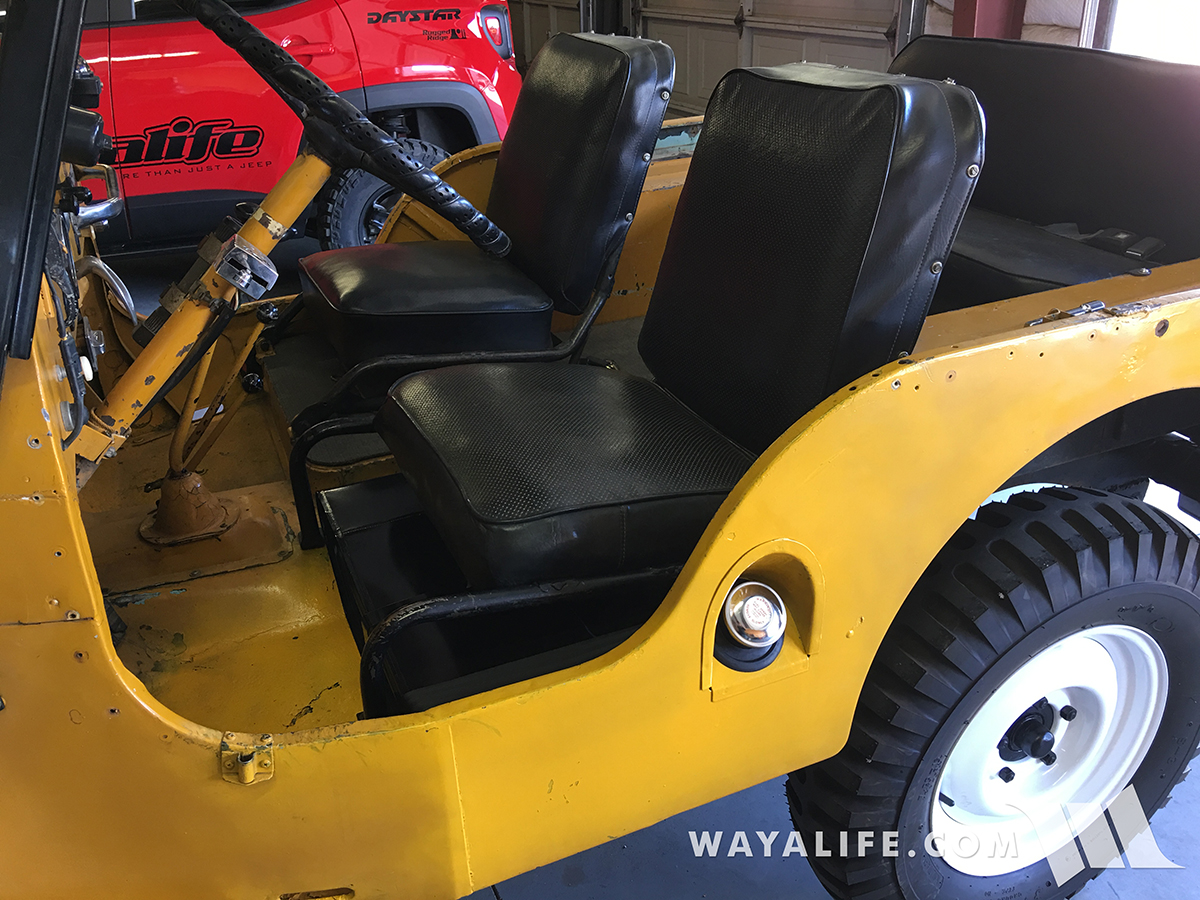
Up on top again, I then removed the 3 bolts securing the driver seat to the tub.
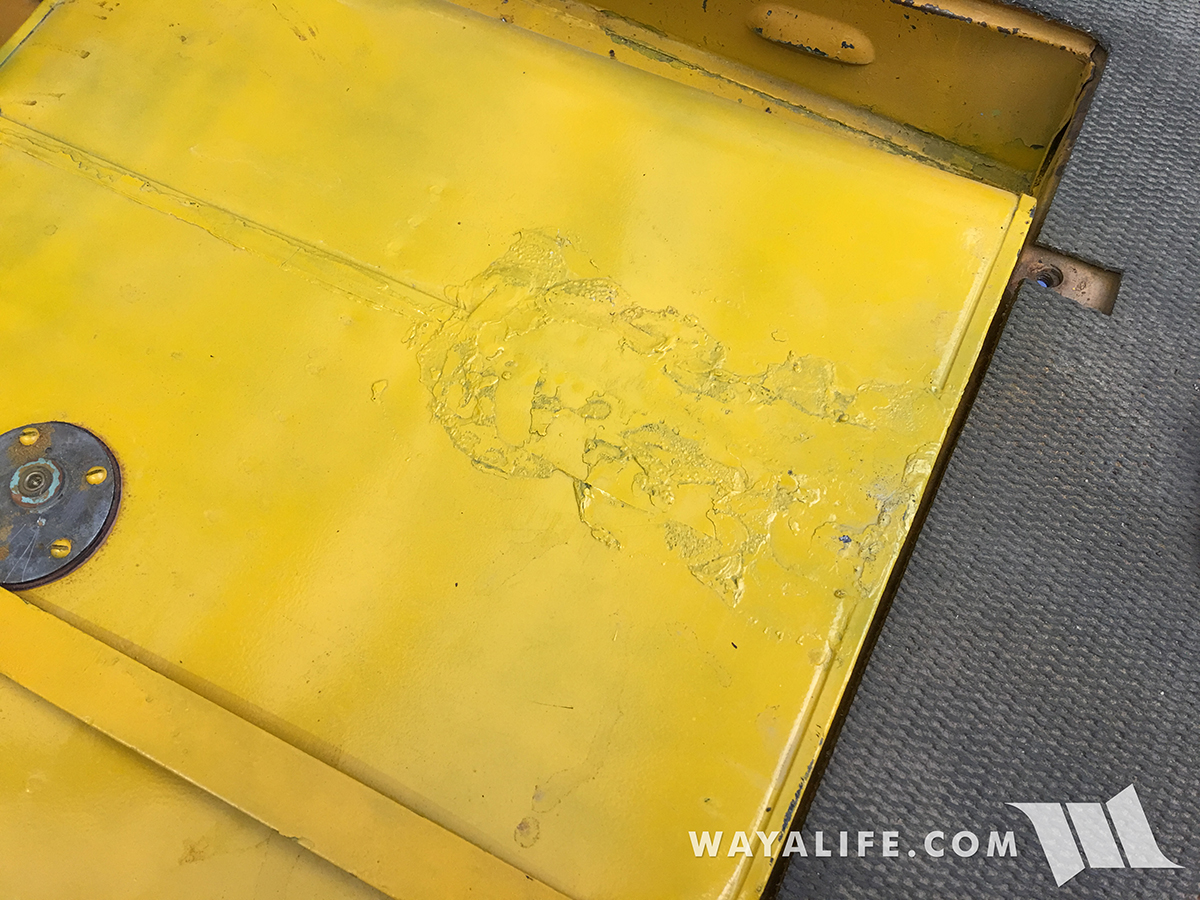
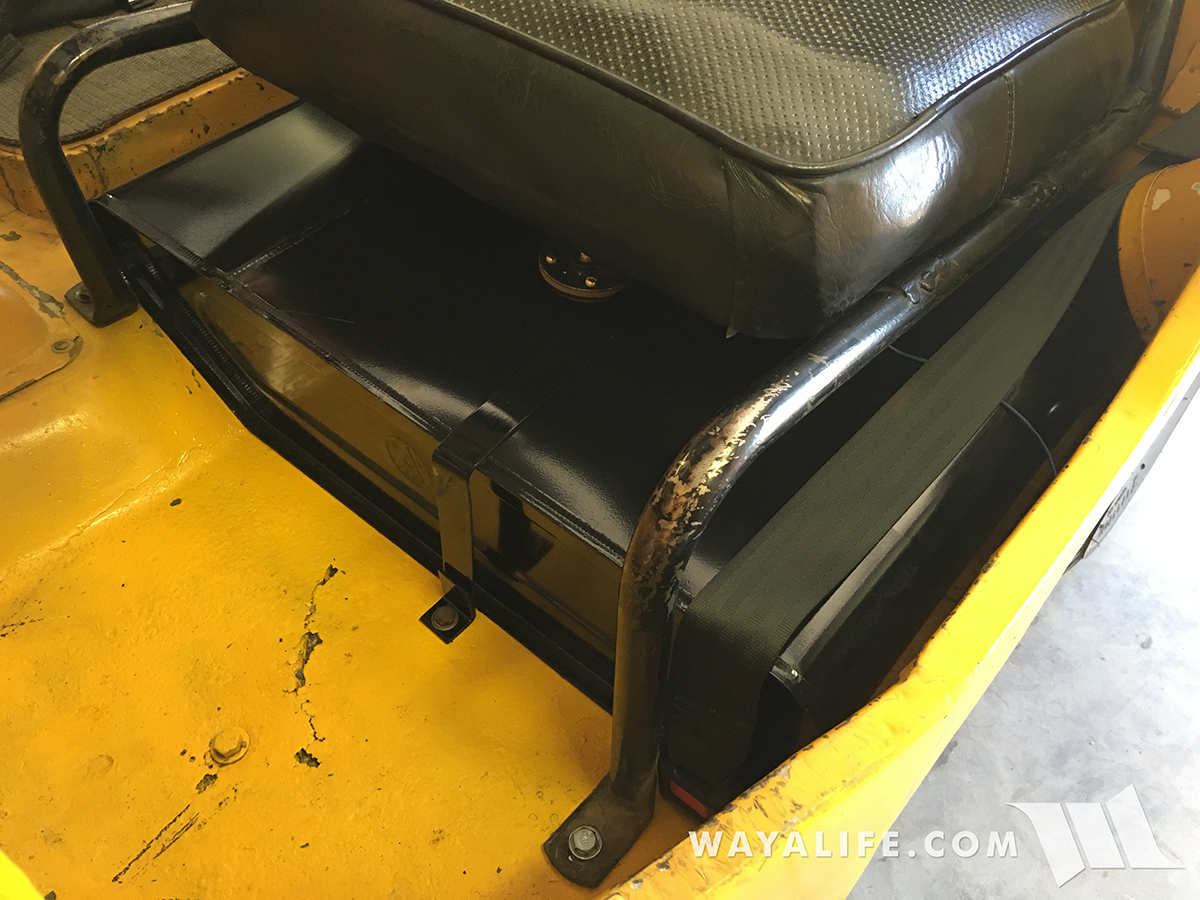
With the seat removed, you can get a better look at the patch work that was done at some point and time to the top of the gas tank.
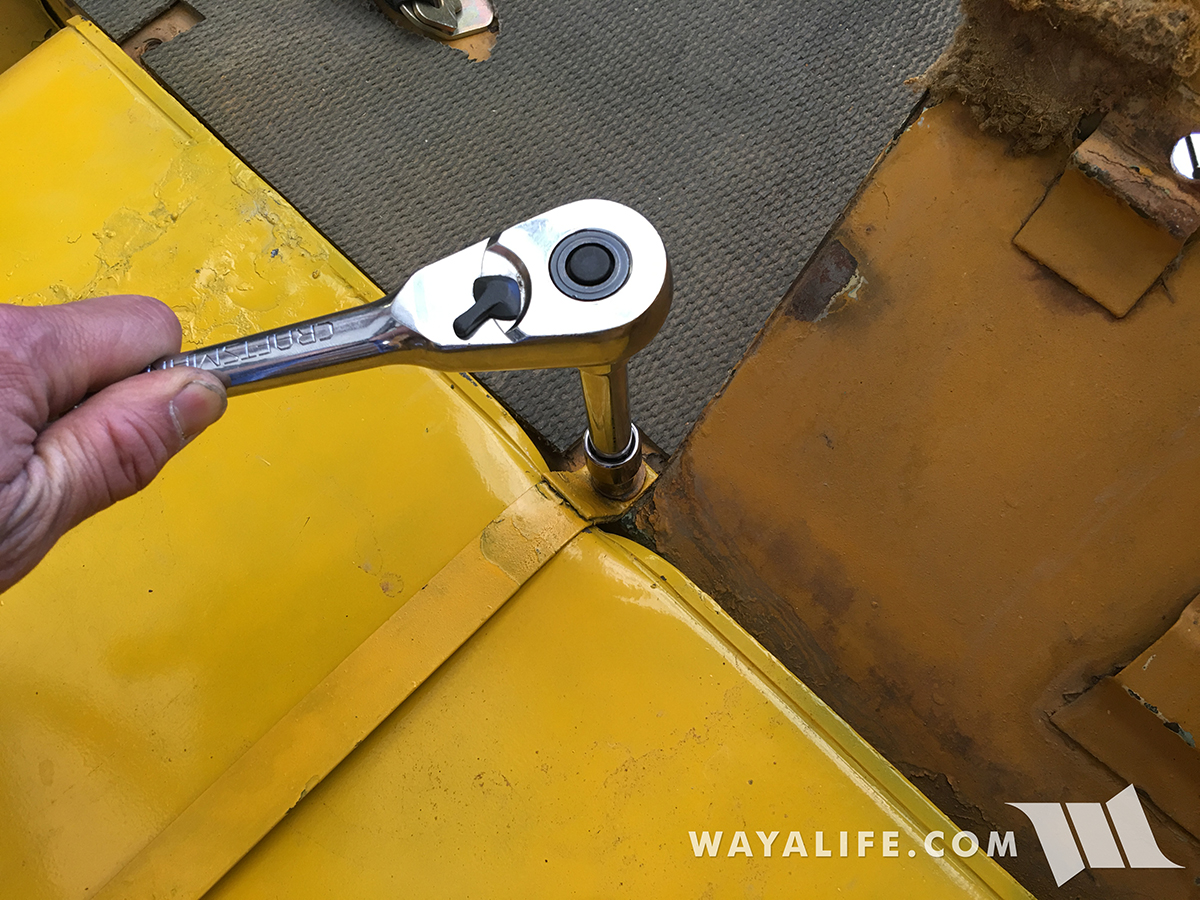
Time to remove the gas tank strap.
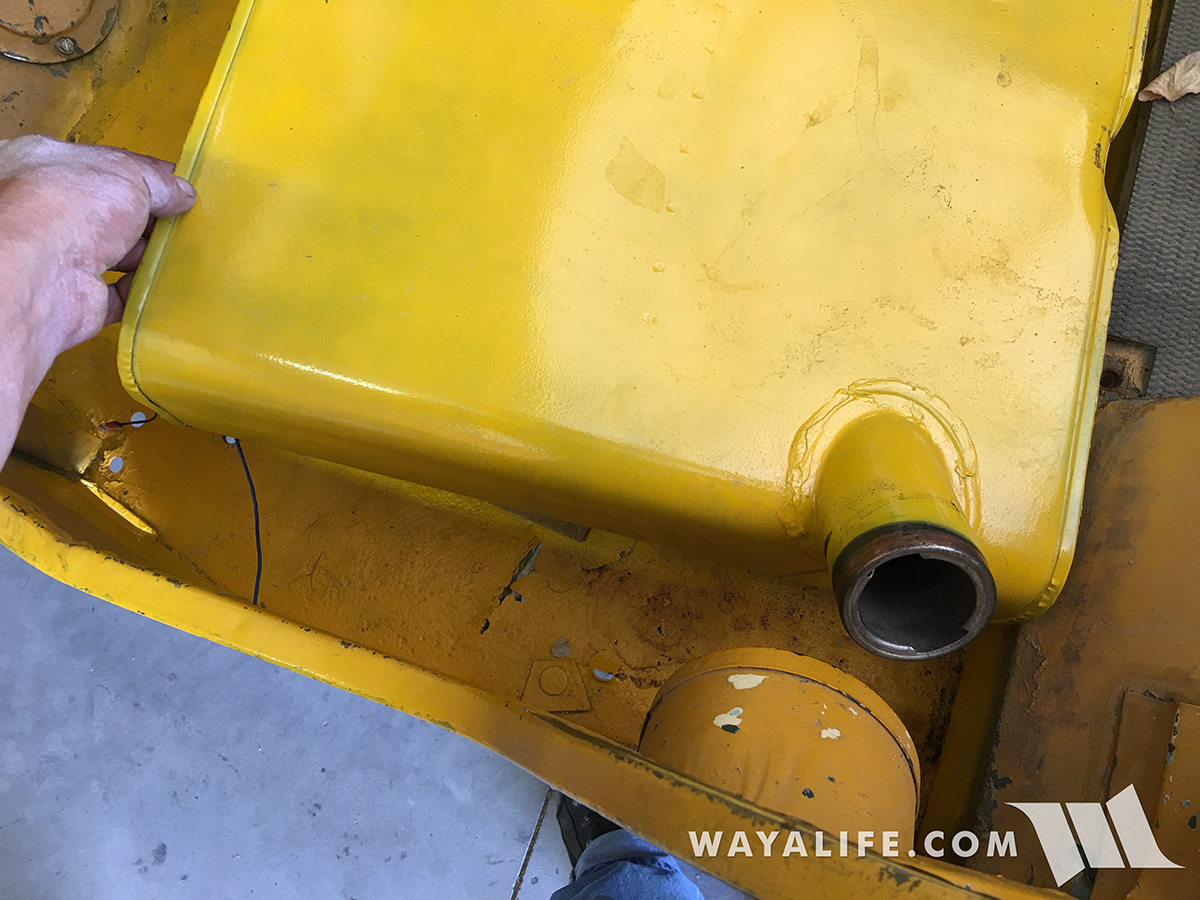
With the strap removed, the fuel inlet line disconnected and the gas cap off, the gas tank can now be removed from the tub.
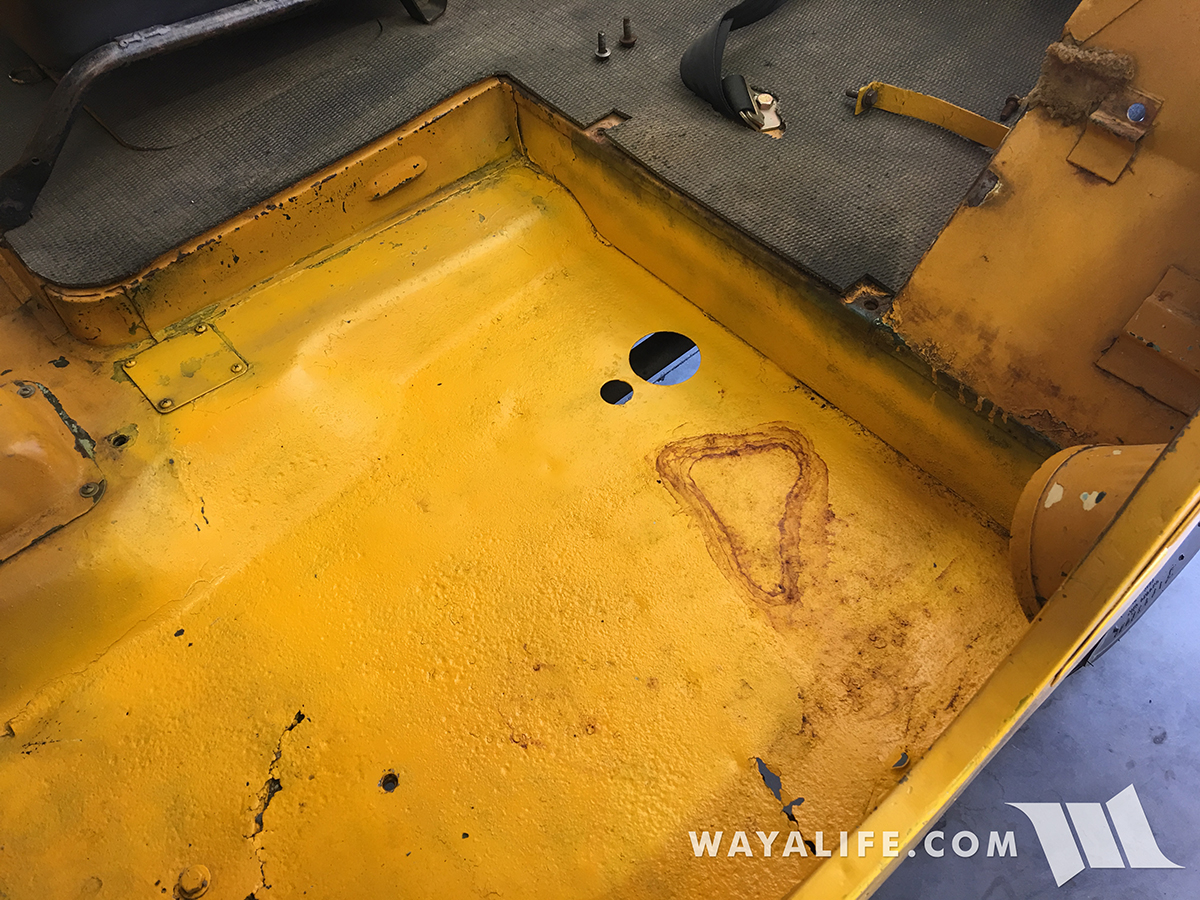
Shot of what the tub looks like without a gas tank installed.
This rubber filler neck grommet has seen better days. Good thing I have a replacement.
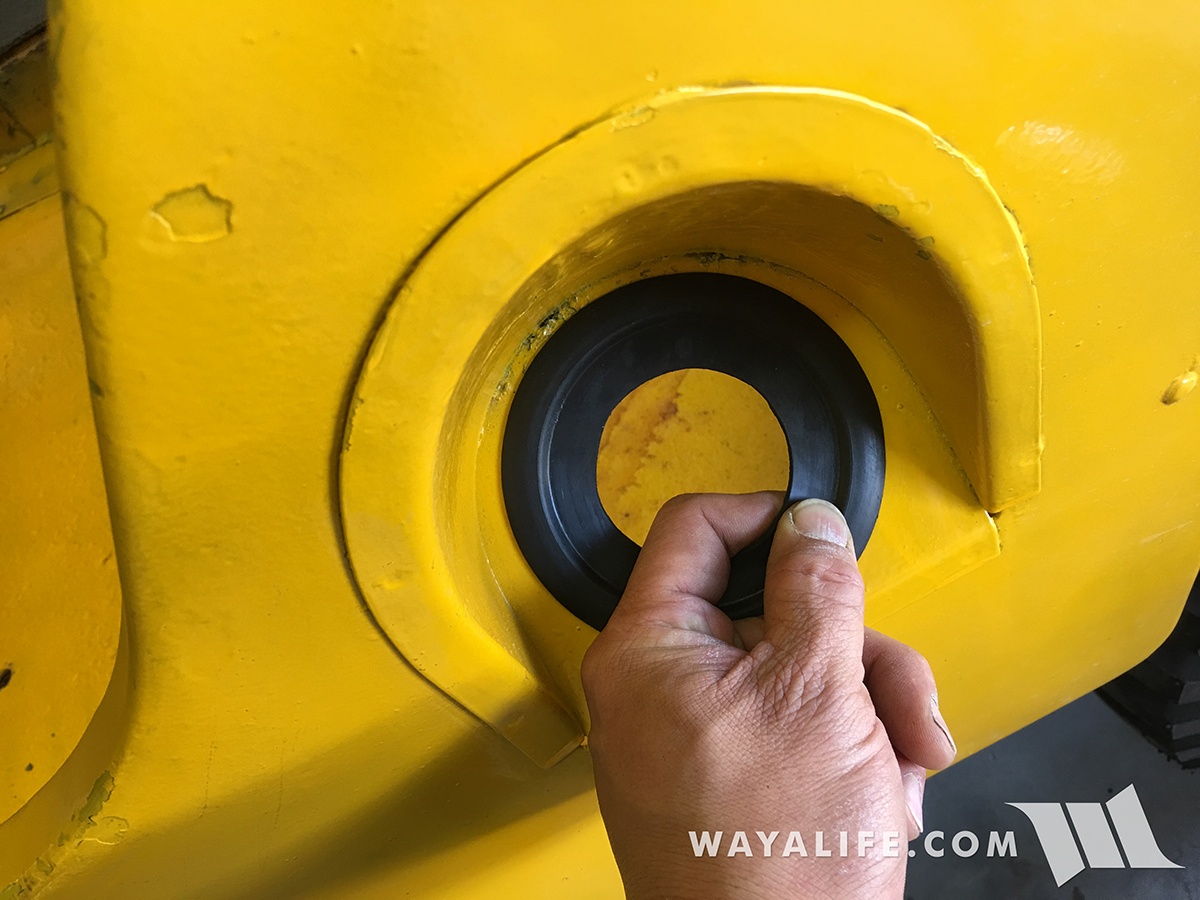
Installing my new Omix-Ada rubber filler neck grommet.
Carefully installing my new Omix-Ada CJ3B gas tank.
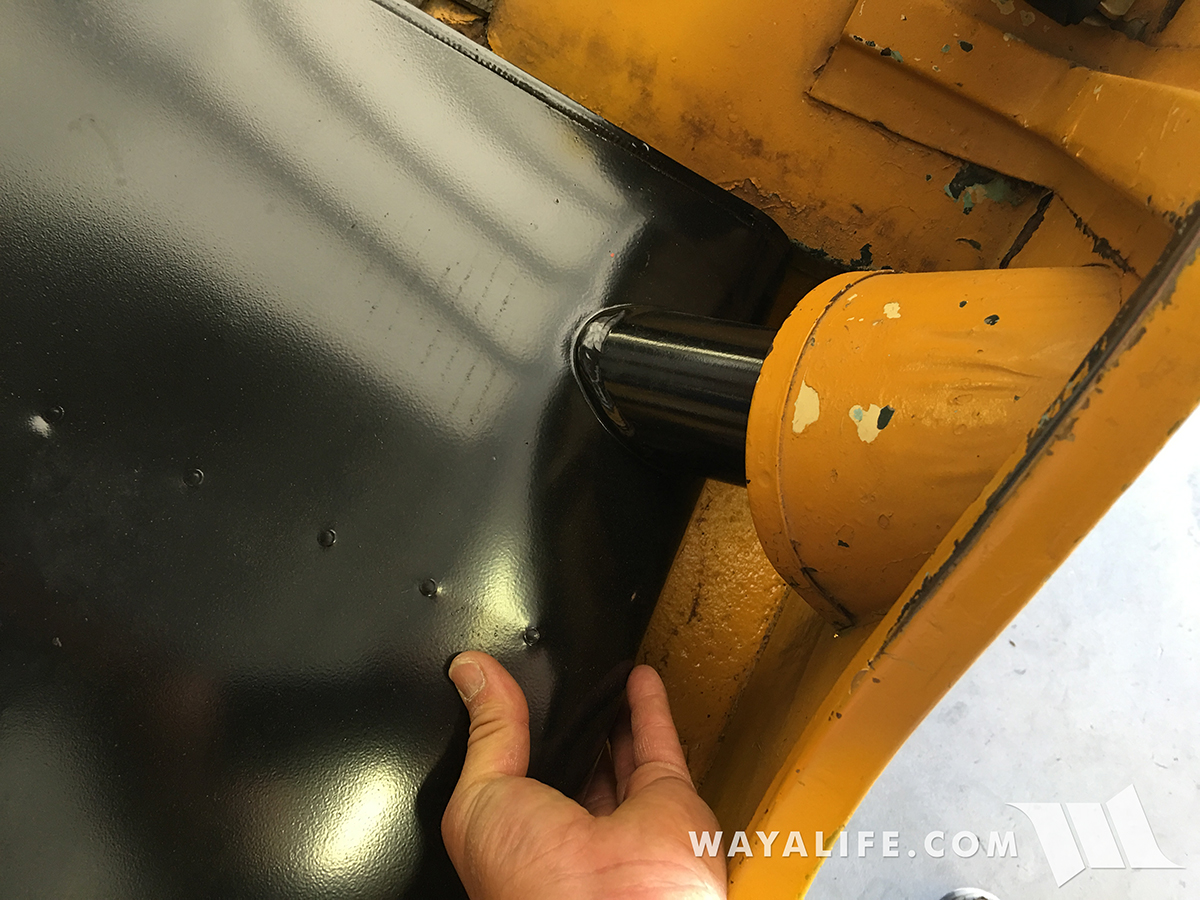
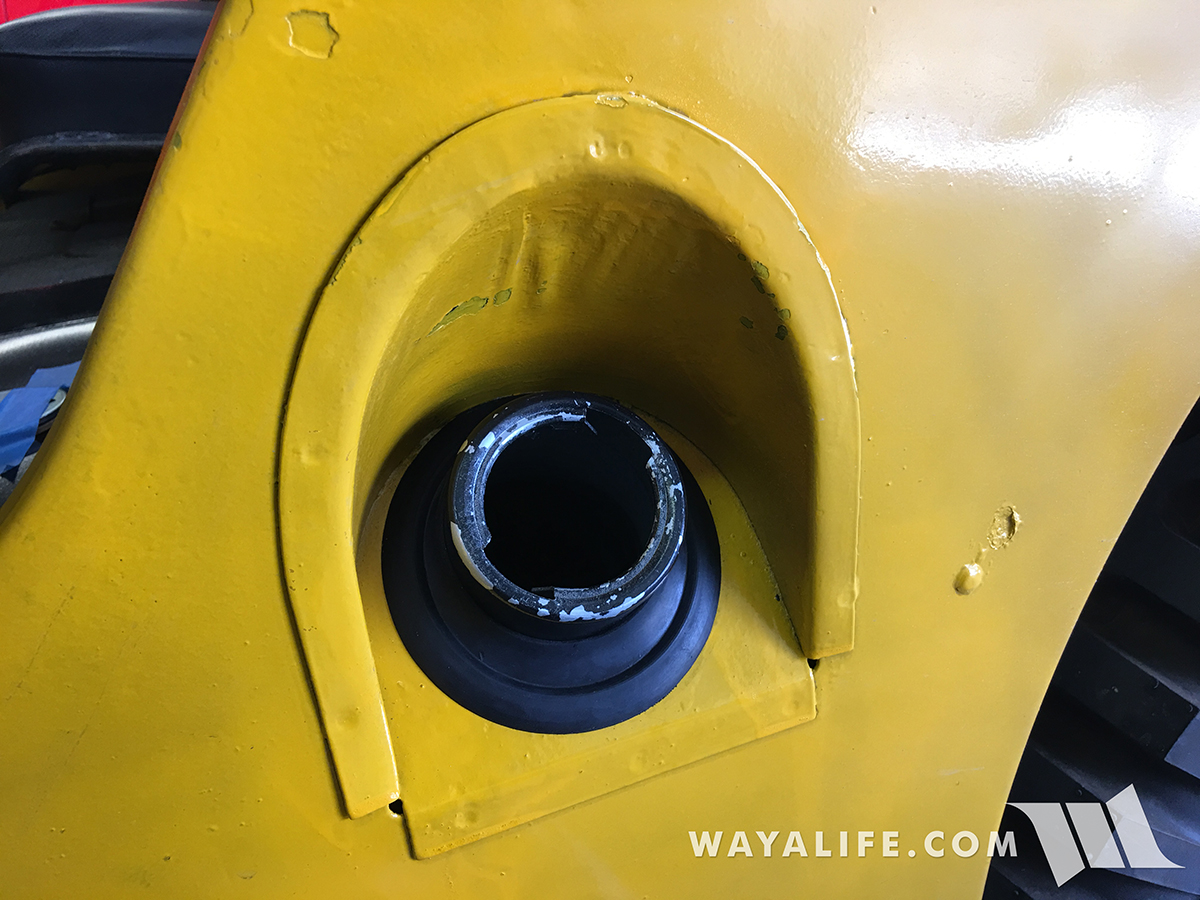
Making sure that the filler neck protector is doing its job.
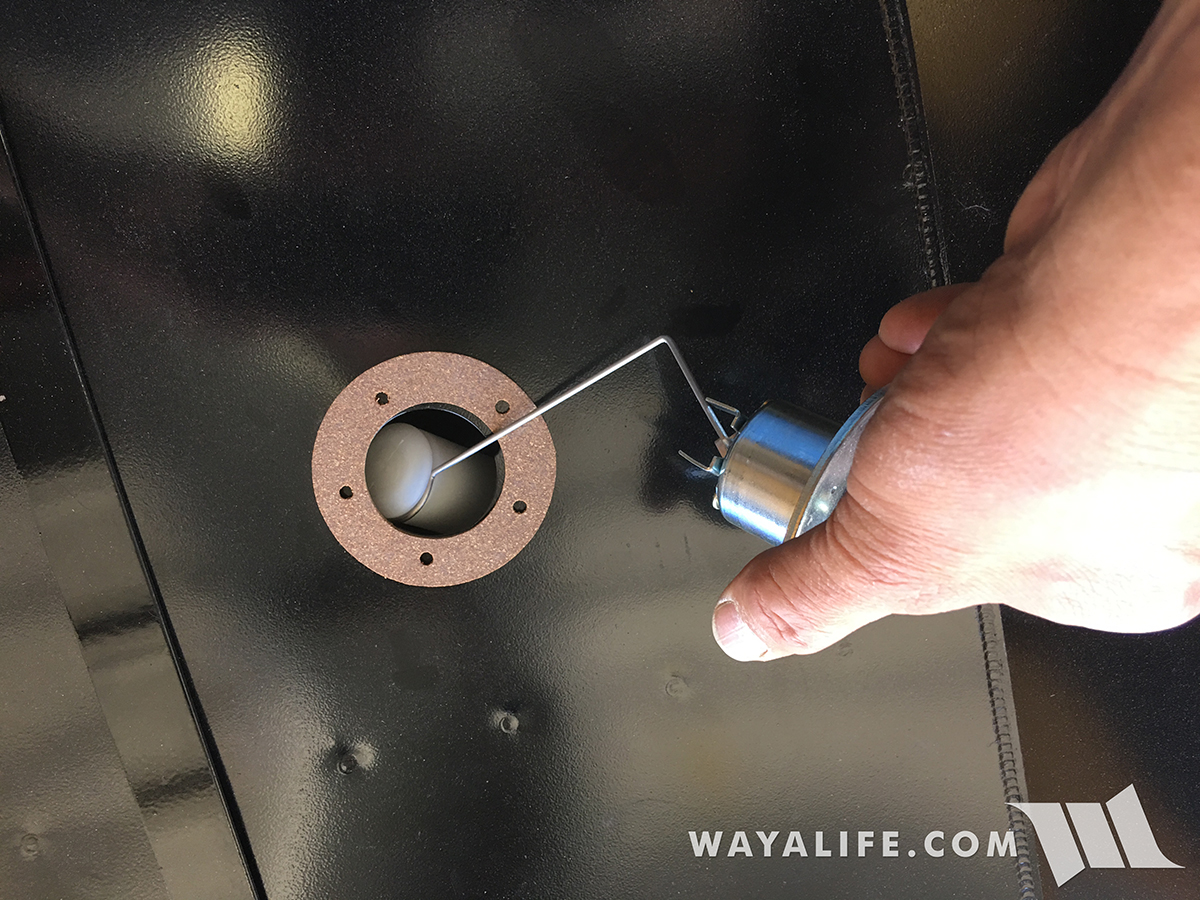
After placing a new gasket on to the top of the gas tank, I inserted the new sending unit into it.
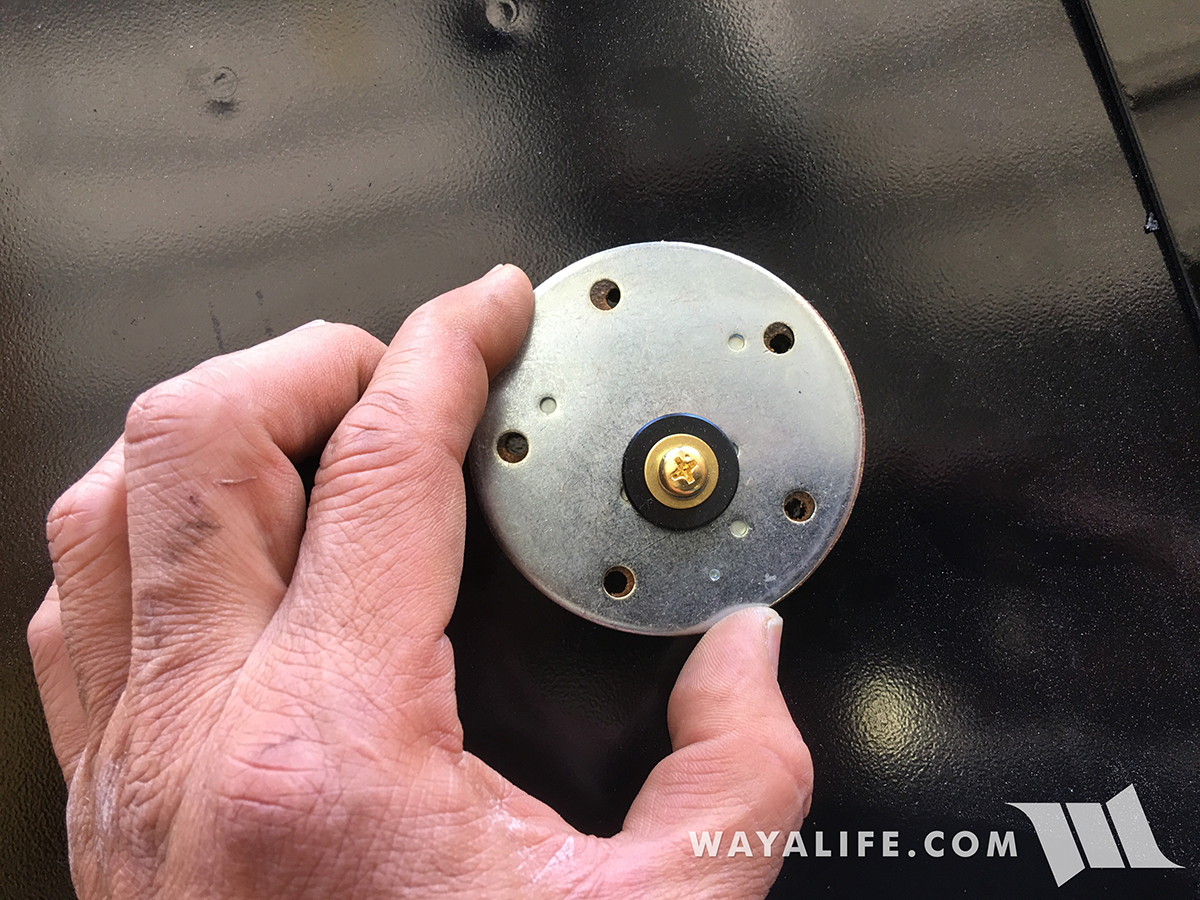
The bolt pattern is specific and you need to line up the bolt holes on the sending unit with the gasket and the gas tank.
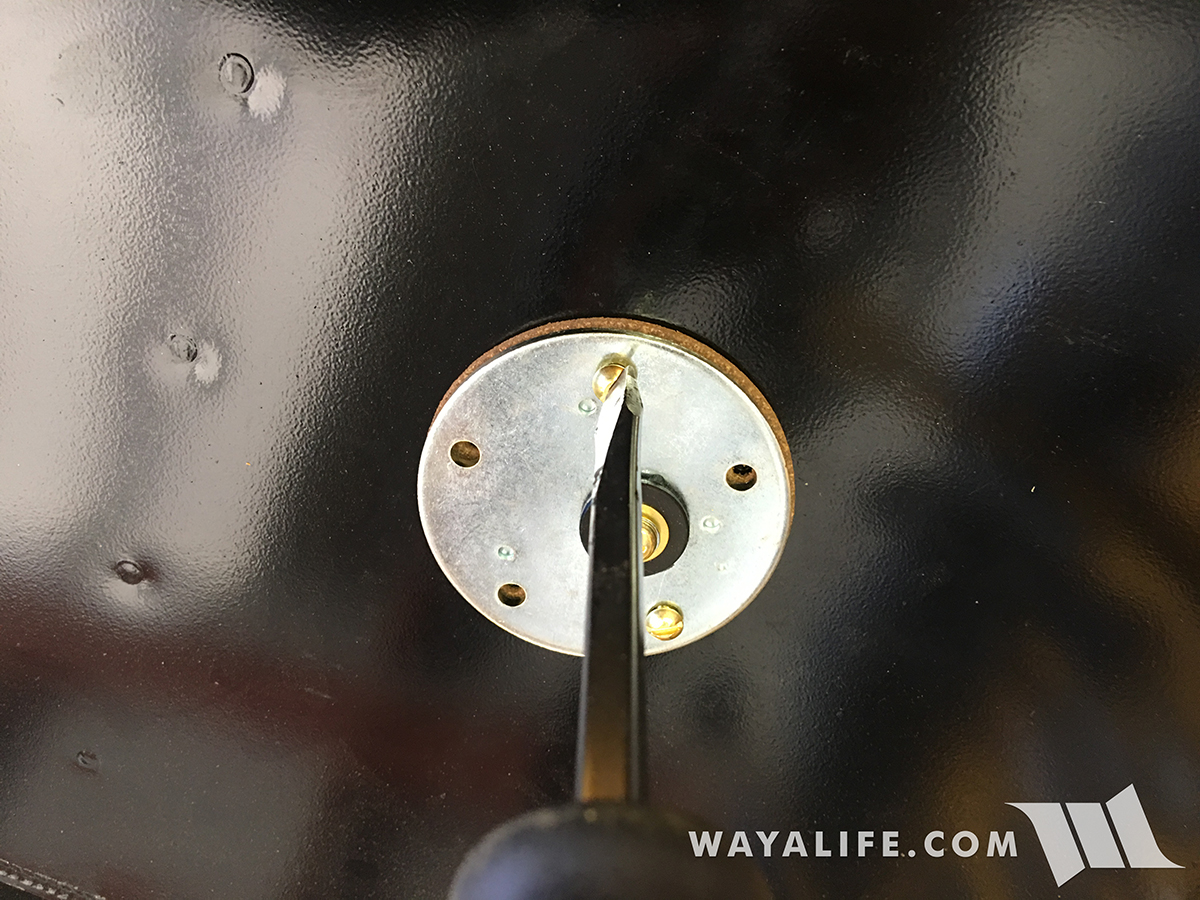
I had to pick up some brass screws from the hardware store in order to secure the sending unit on to the gas tank.
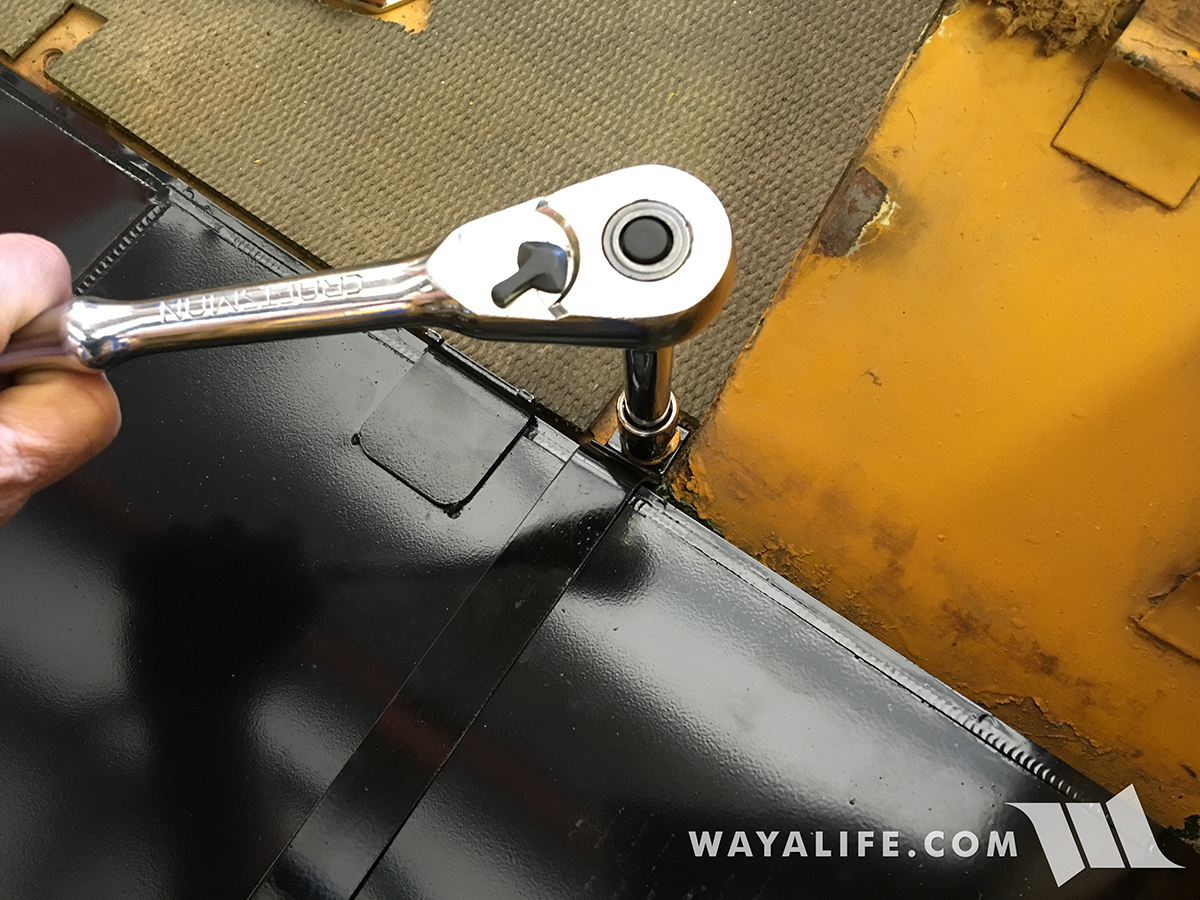
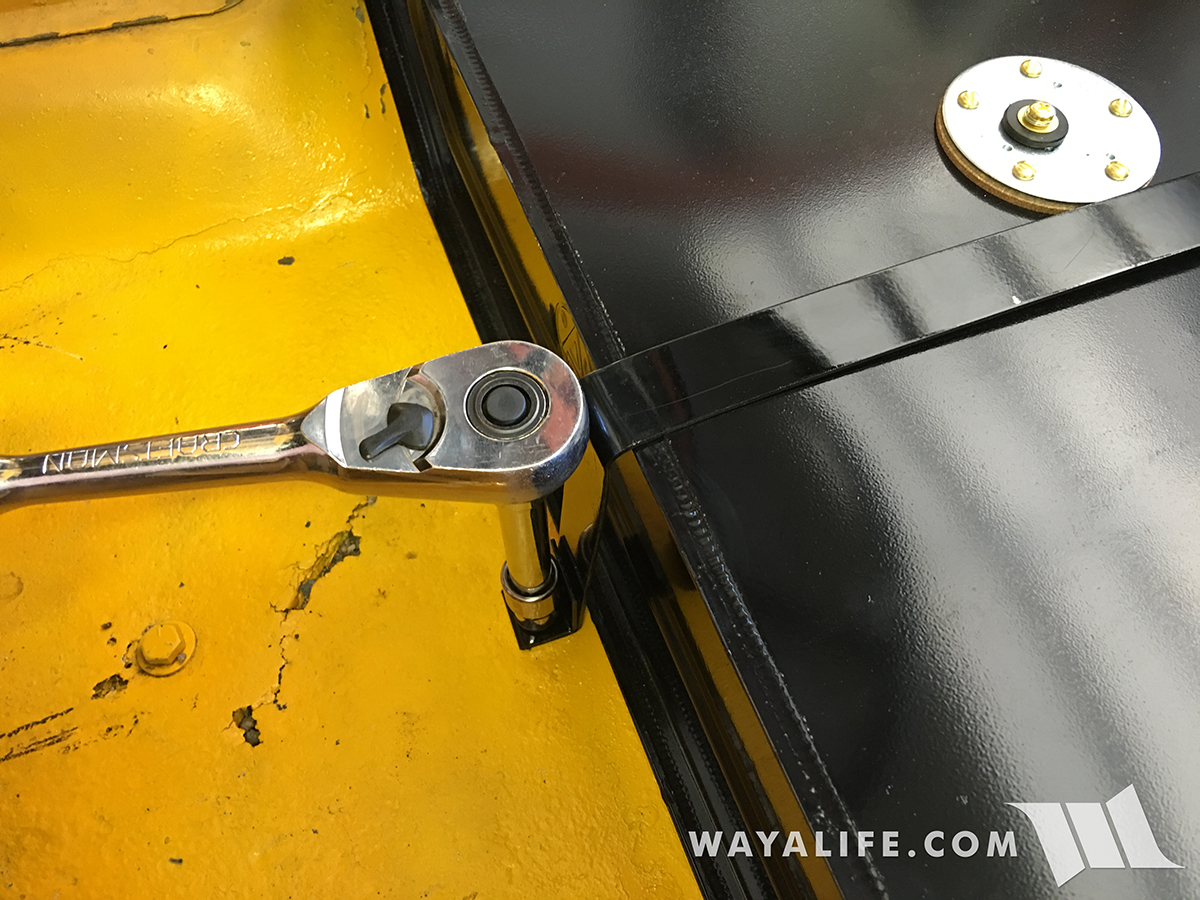
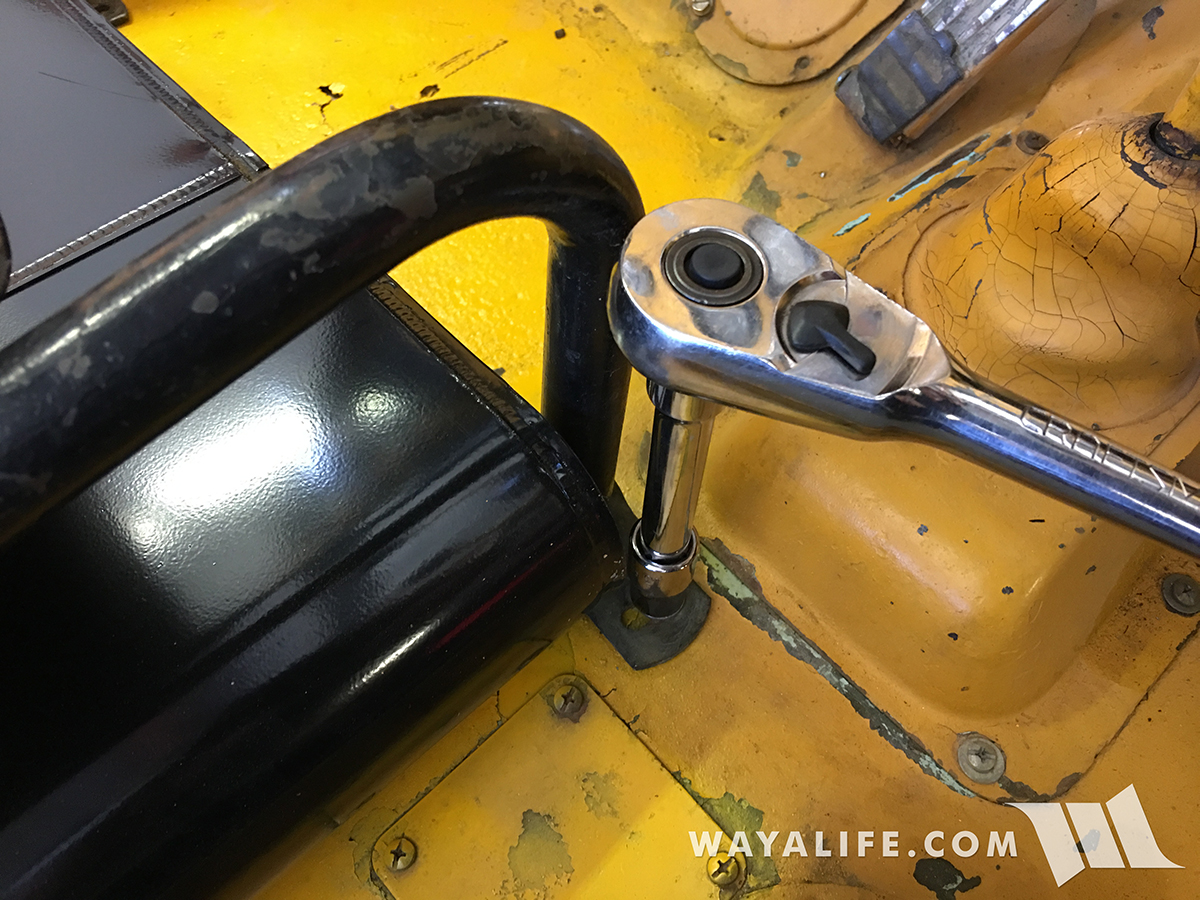
Time to secure the new gas tank to the tub using the new strap I got.
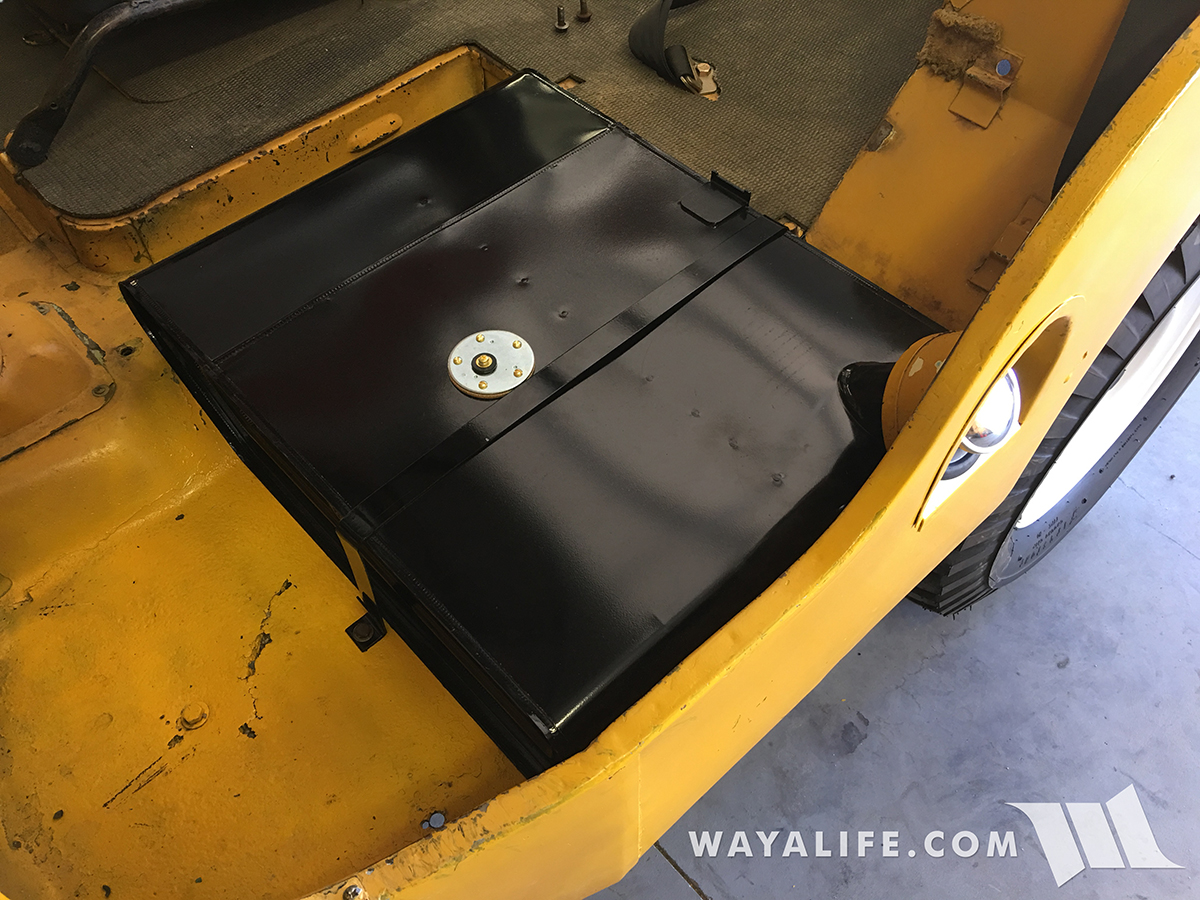
And, here's what the new gas tank looks like installed.
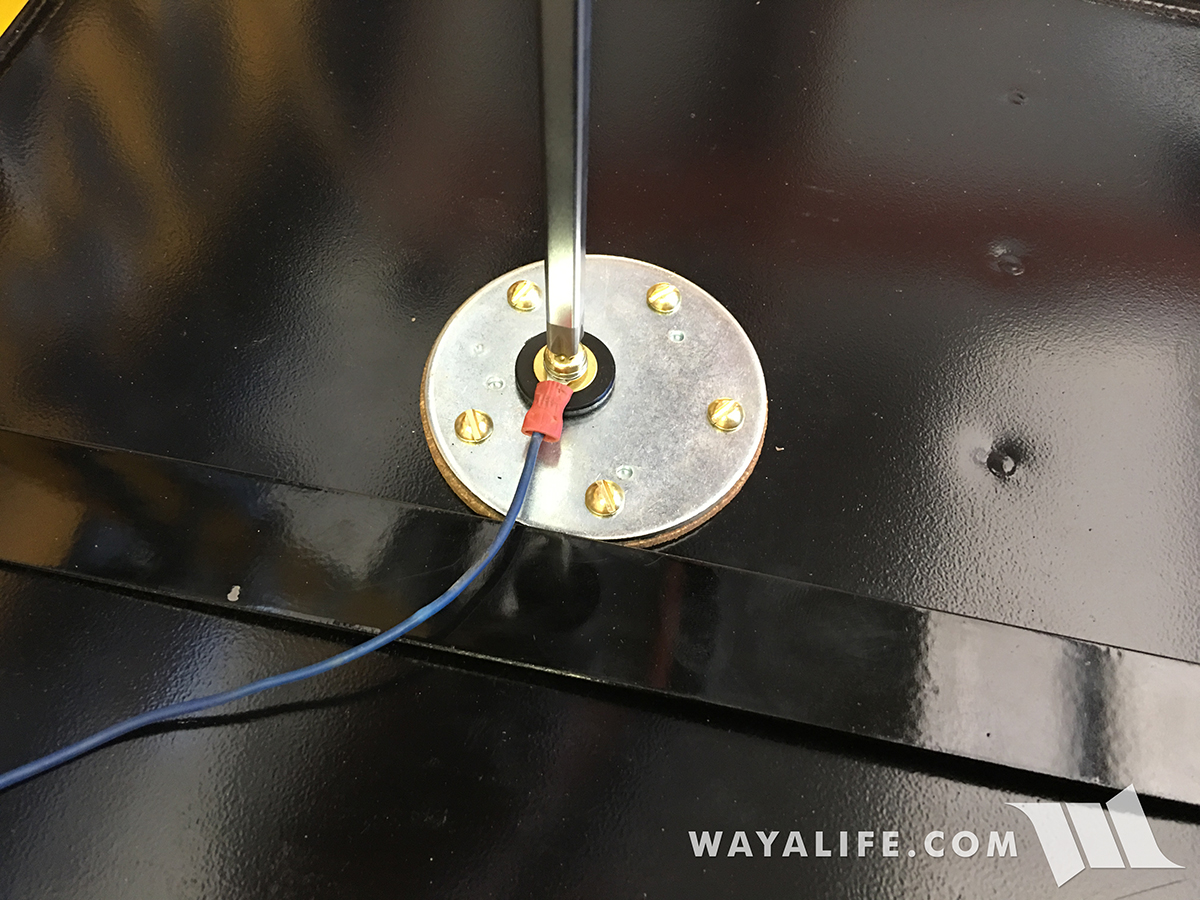
Here you can see the fuel gauge wire being connected to the top of the sending unit.
Now the driver seat can be reinstalled.
Time to climb back under the jeep and connect the fuel inlet line to the bottom of the gas tank.
And just like that, Pappy has a new gas tank.
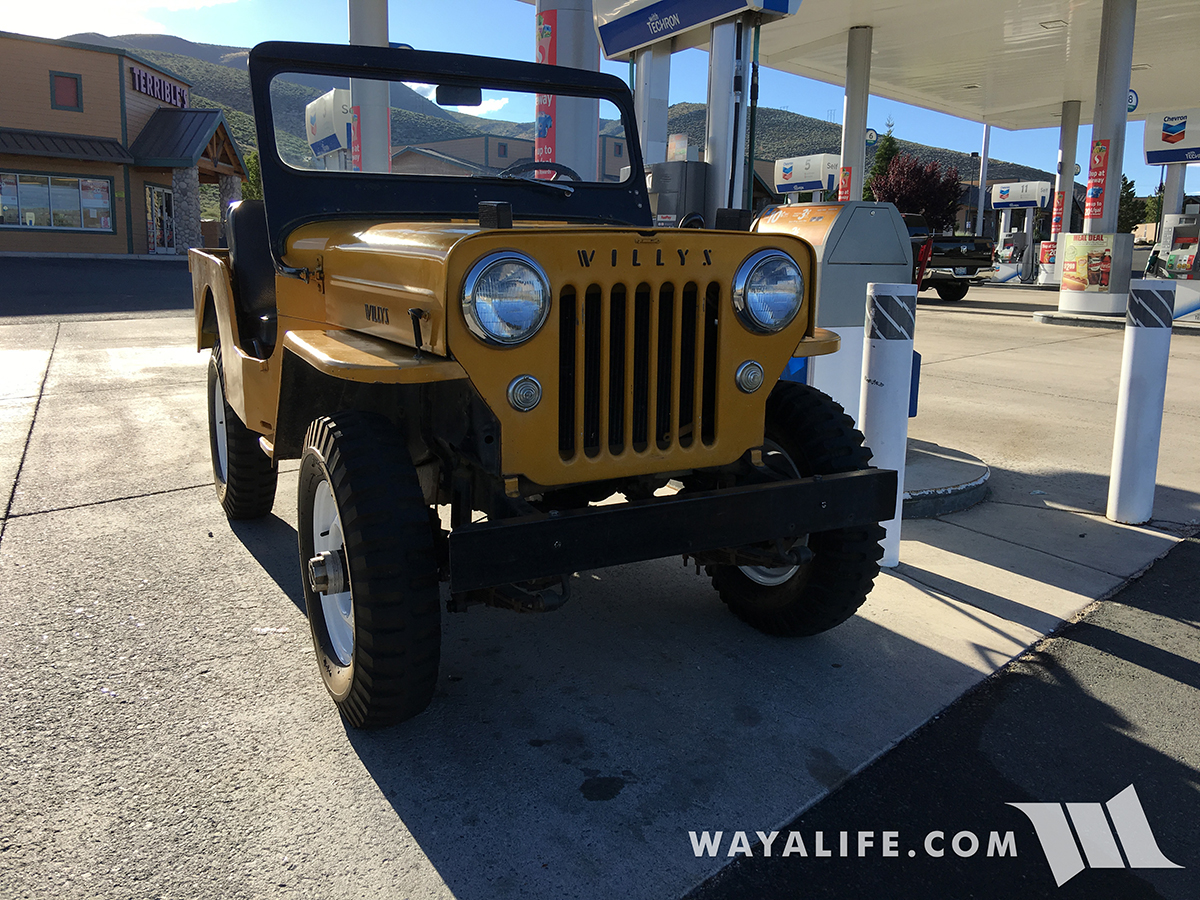
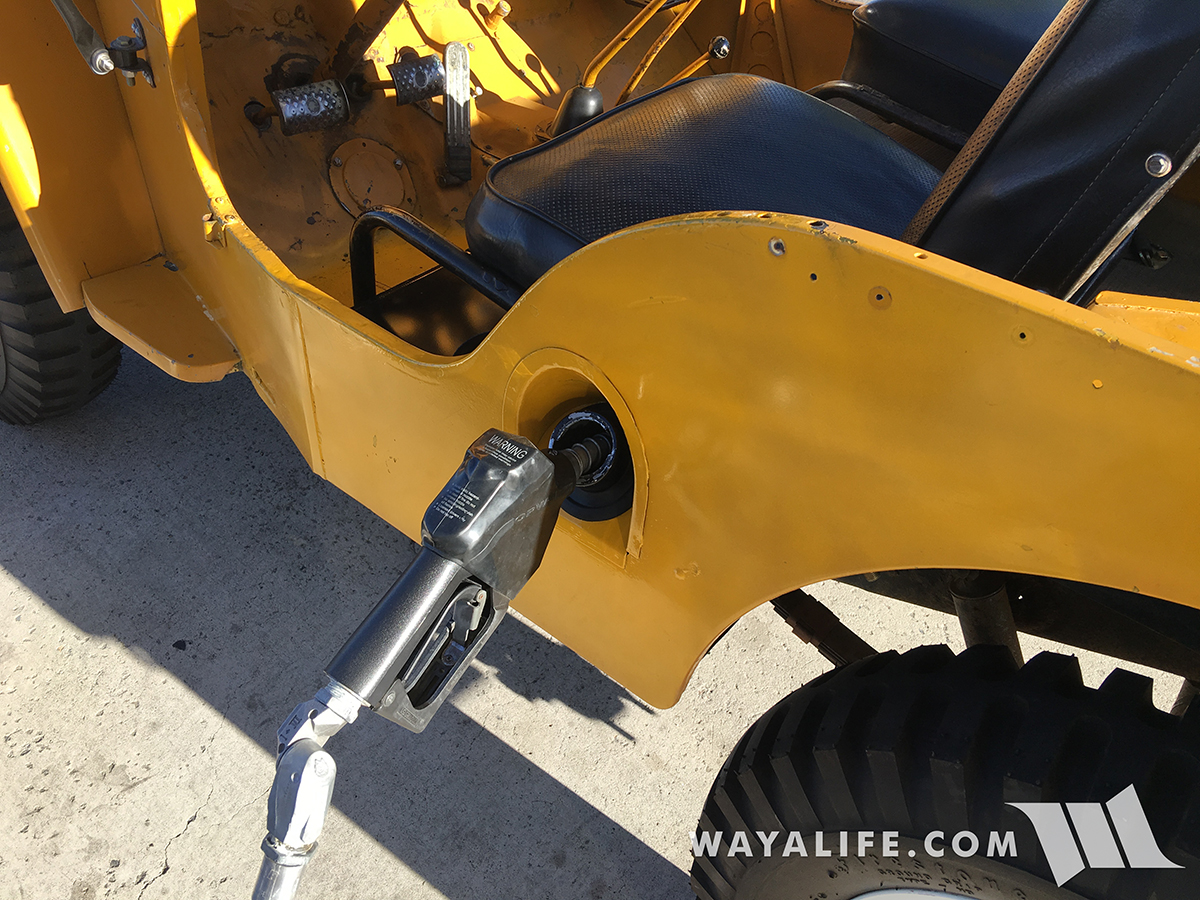
After pouring the gas I siphoned off into Pappy's new gas tank and checking for leaks, I took a drive down to the gas station and filled him up.
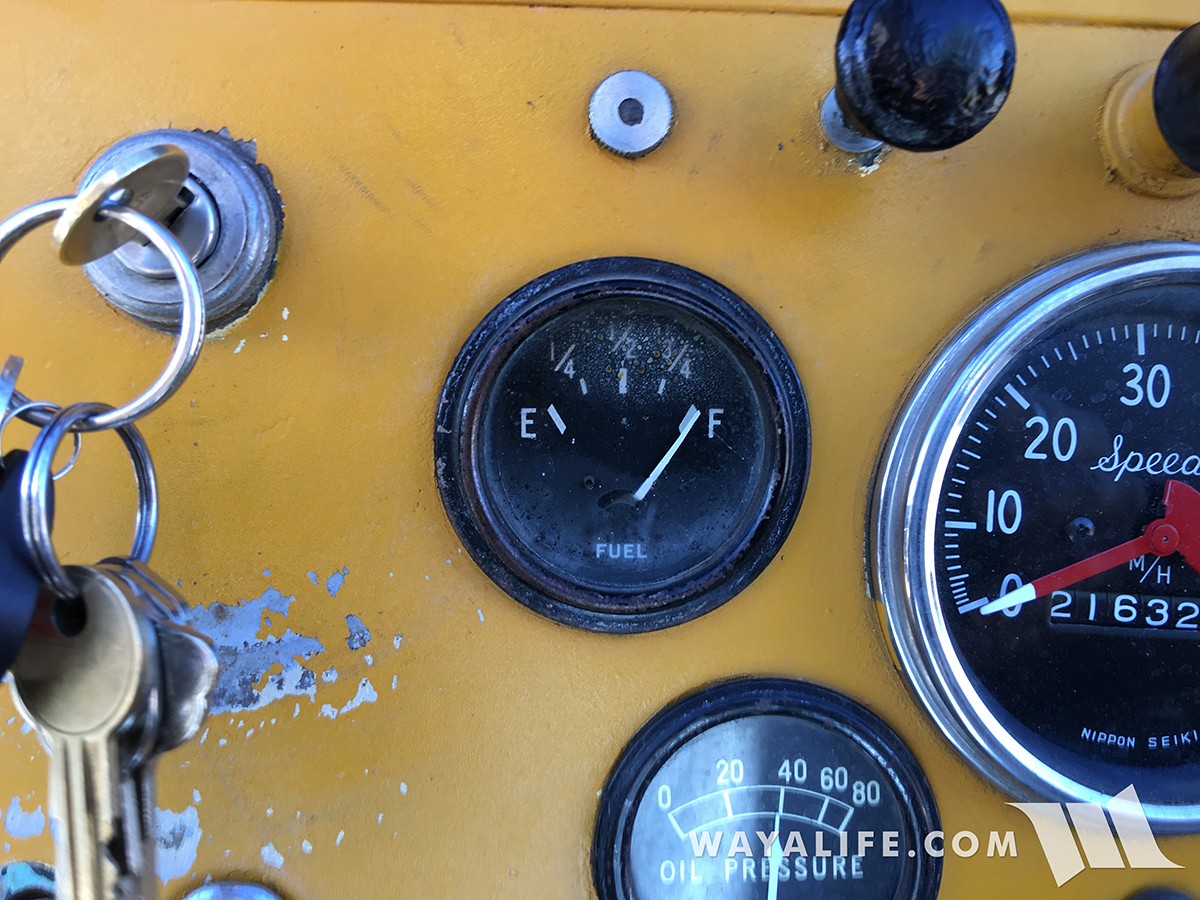
Look at that - a fuel gauge that actually works!
Again, I really have to give props to Omix-Ada for being such a HUGE supporter of old iron and for continuing to make OE parts for them. After doing a quick search on their website, I was able to find an exact match for a replacement CJ3B steel gas tank, sending unit, sending unit gasket, filler neck grommet, gas cap and strap.
As you can see in this photo, Pappy's gas tank really doesn't look so bad on the outside.
Here's a shot of the locking gas cap that came with him. Being as old as it was, it tended to stick and was difficult to remove the key from it so I planned on replacing it. You can also see that the filler neck grommet was corroded and not doing much of anything.
To being the swap, I siphoned whatever gas I could out of the existing tank.
Next, I climbed under the Jeep and removed the drain to get the remaining gas out.
I placed a funnel in a small 2 gallon gas can to capture the remaining fuel.
Using a flare nut wrench, I disconnected the fuel inlet line from the tank.
Up on top again, I then removed the 3 bolts securing the driver seat to the tub.
With the seat removed, you can get a better look at the patch work that was done at some point and time to the top of the gas tank.
Time to remove the gas tank strap.
With the strap removed, the fuel inlet line disconnected and the gas cap off, the gas tank can now be removed from the tub.
Shot of what the tub looks like without a gas tank installed.
This rubber filler neck grommet has seen better days. Good thing I have a replacement.
Installing my new Omix-Ada rubber filler neck grommet.
Carefully installing my new Omix-Ada CJ3B gas tank.
Making sure that the filler neck protector is doing its job.
After placing a new gasket on to the top of the gas tank, I inserted the new sending unit into it.
The bolt pattern is specific and you need to line up the bolt holes on the sending unit with the gasket and the gas tank.
I had to pick up some brass screws from the hardware store in order to secure the sending unit on to the gas tank.
Time to secure the new gas tank to the tub using the new strap I got.
And, here's what the new gas tank looks like installed.
Here you can see the fuel gauge wire being connected to the top of the sending unit.
Now the driver seat can be reinstalled.
Time to climb back under the jeep and connect the fuel inlet line to the bottom of the gas tank.
And just like that, Pappy has a new gas tank.
After pouring the gas I siphoned off into Pappy's new gas tank and checking for leaks, I took a drive down to the gas station and filled him up.
Look at that - a fuel gauge that actually works!