Not as if there's a whole lot you can do to soften up the ride of an old leaf sprung Willys CJ3B but I figured running a set of shocks that actually work might help to smooth things out. At least, I knew one of the old factory style shocks on Pappy was bad for sure as it was sticking and the other three had clearly seen better days. Needless to say, I decided to pick up a set of new Rancho RS5000 as they were affordable, available for as a direct fit on and of course, they were very affordable. Below are a few shots that I took that highlight what it takes to swap out shocks on an old school Jeep.
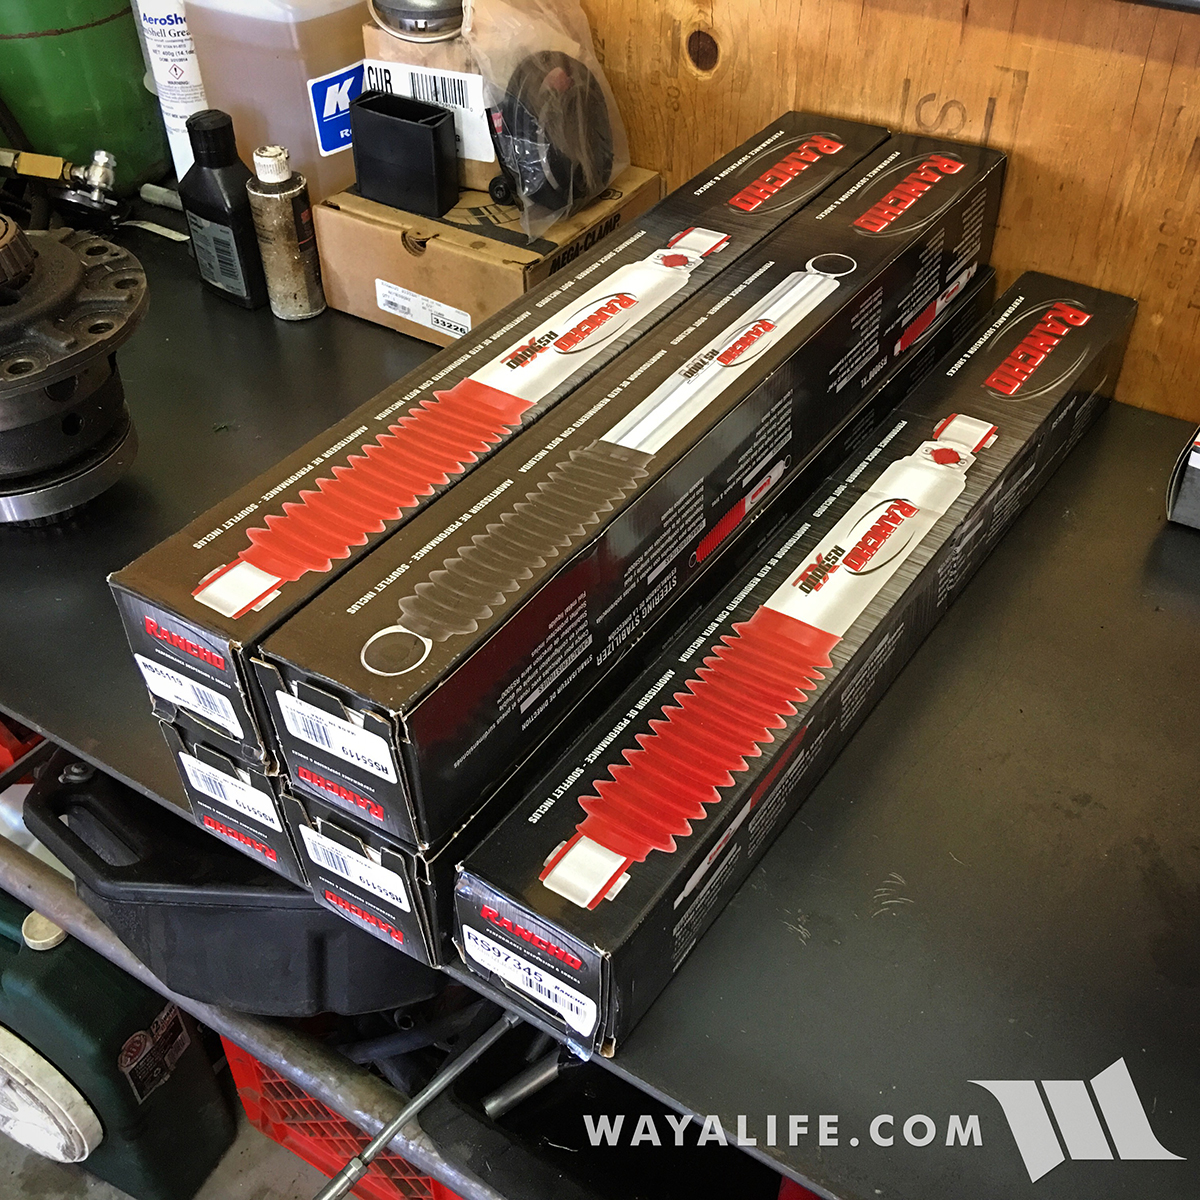
Here's a shot of the new Rancho RS5000 shocks that I got for Pappy. I also got a generic steering stabilizer kit and hope to get it installed sometime too.
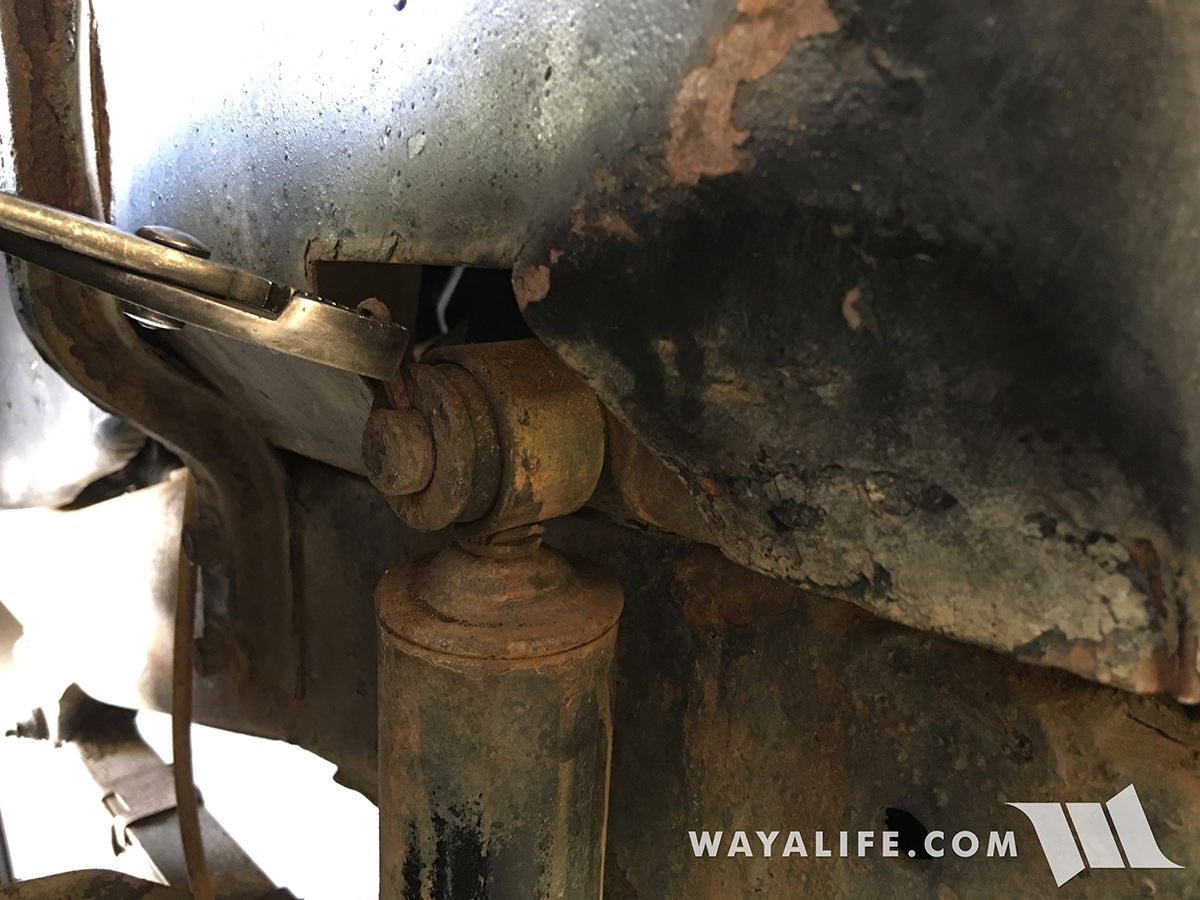
If you can believe it, back in the day, shocks were just mounted and held in place with washers and cotter pins. Here you can see me using a pair of pliers to remove the cotter pin from the upper frame mount.
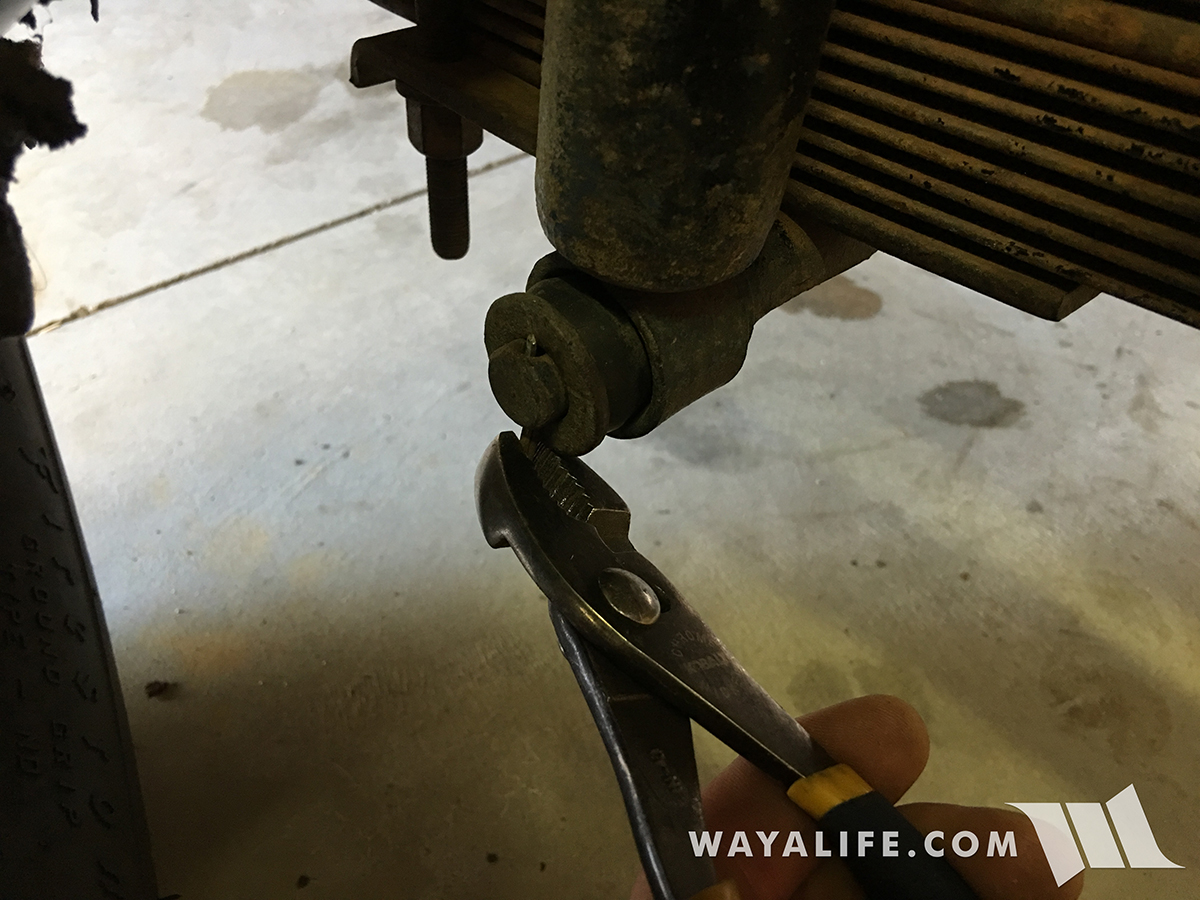
And here I am removing the cotter pin from the axle mount.
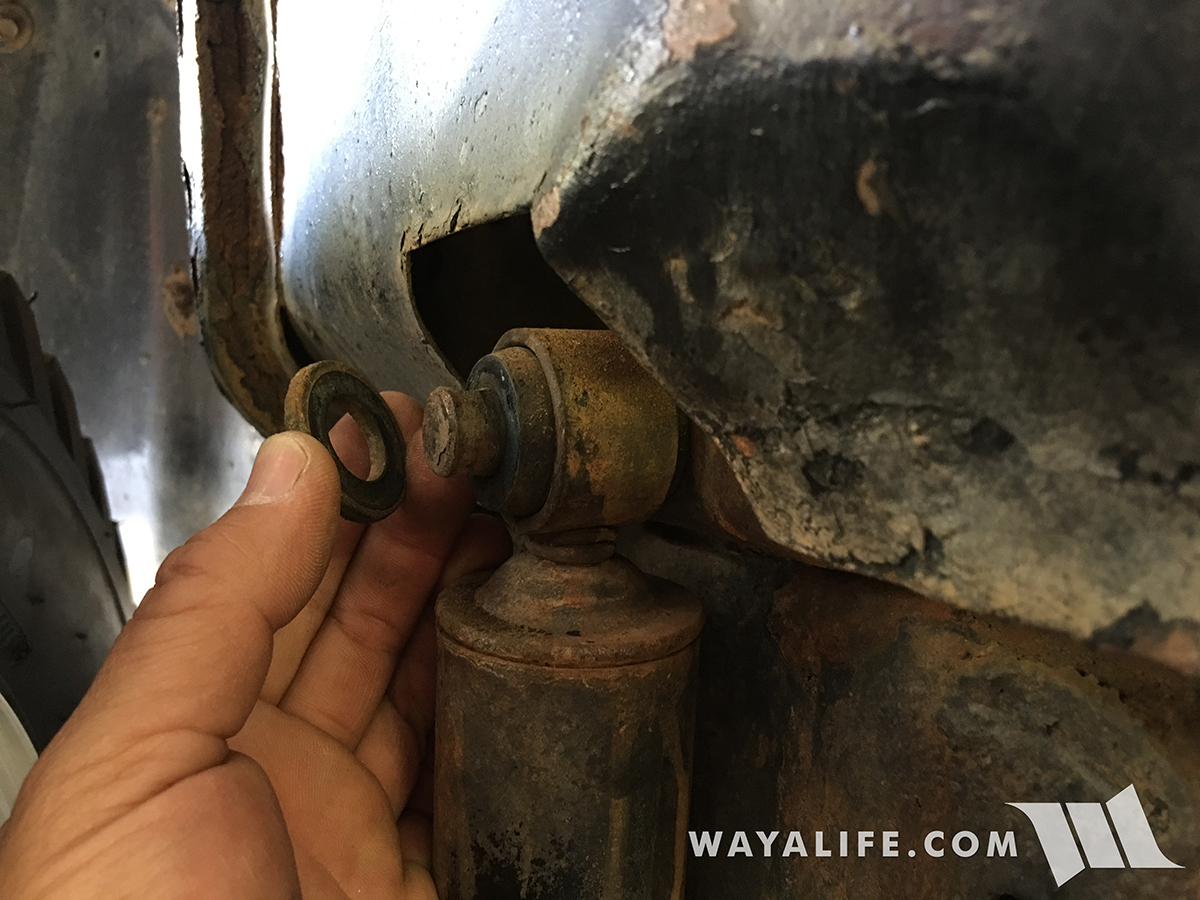
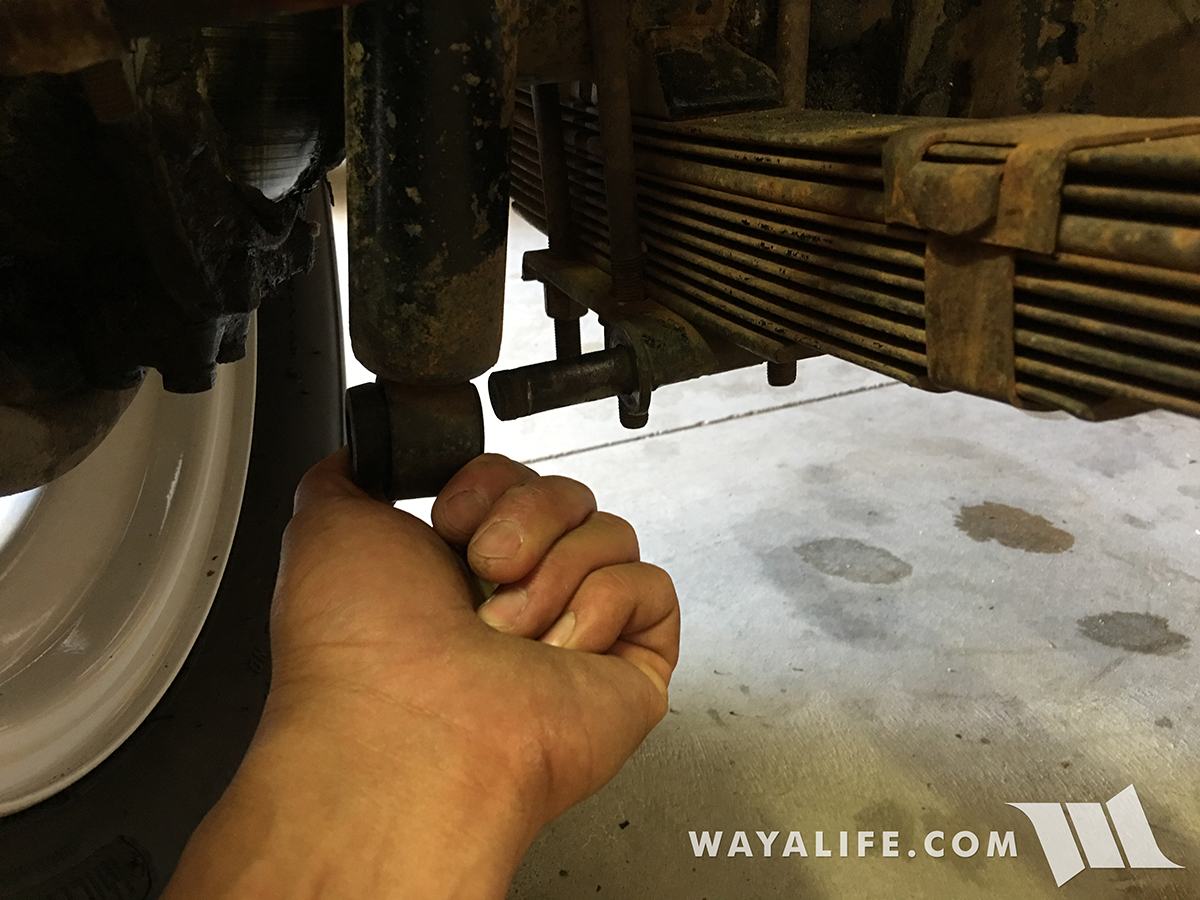
With the cotter pins pulled, the bushing washers can be removed as well.
And now the old shock can be pulled from it's mounts.
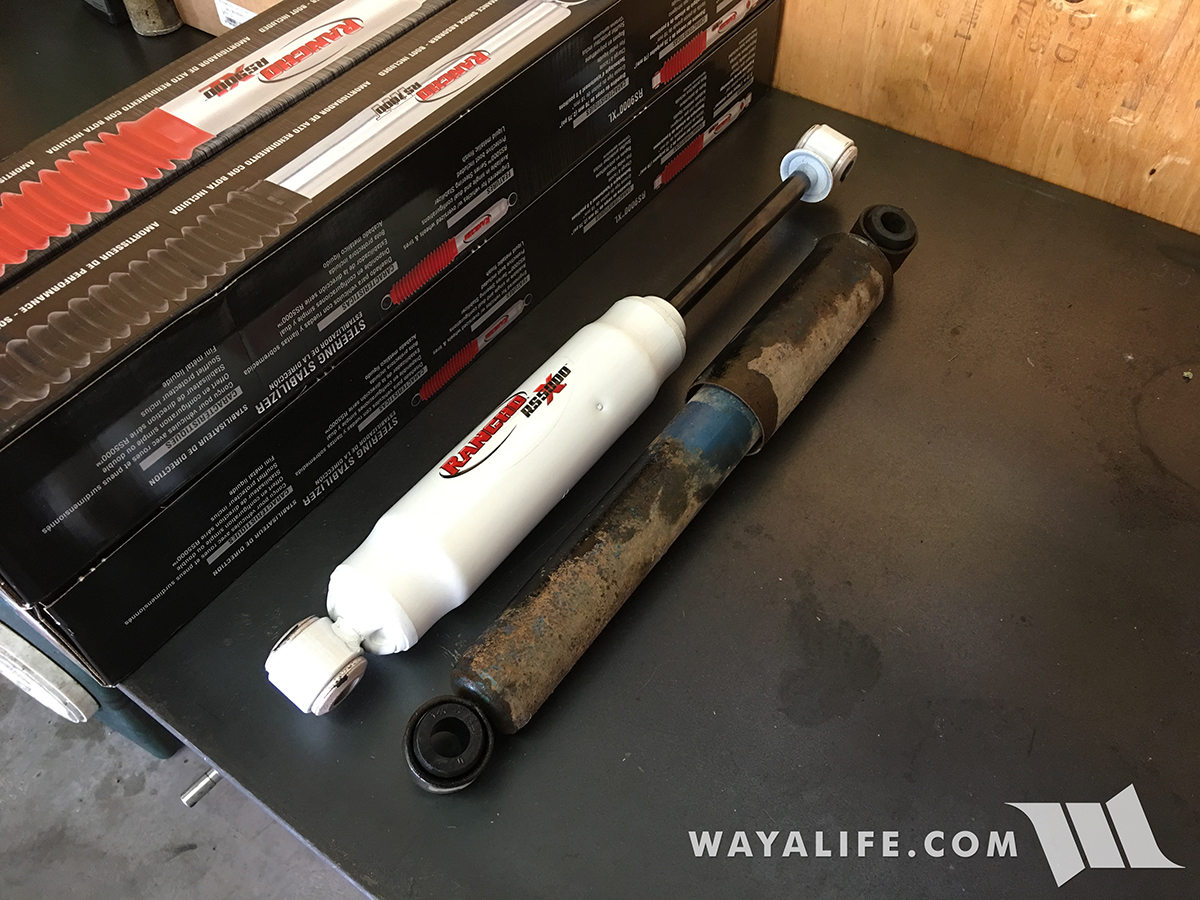
Here's a shot of what a new Rancho RS5000 shock looks like next to the old factory style shock.
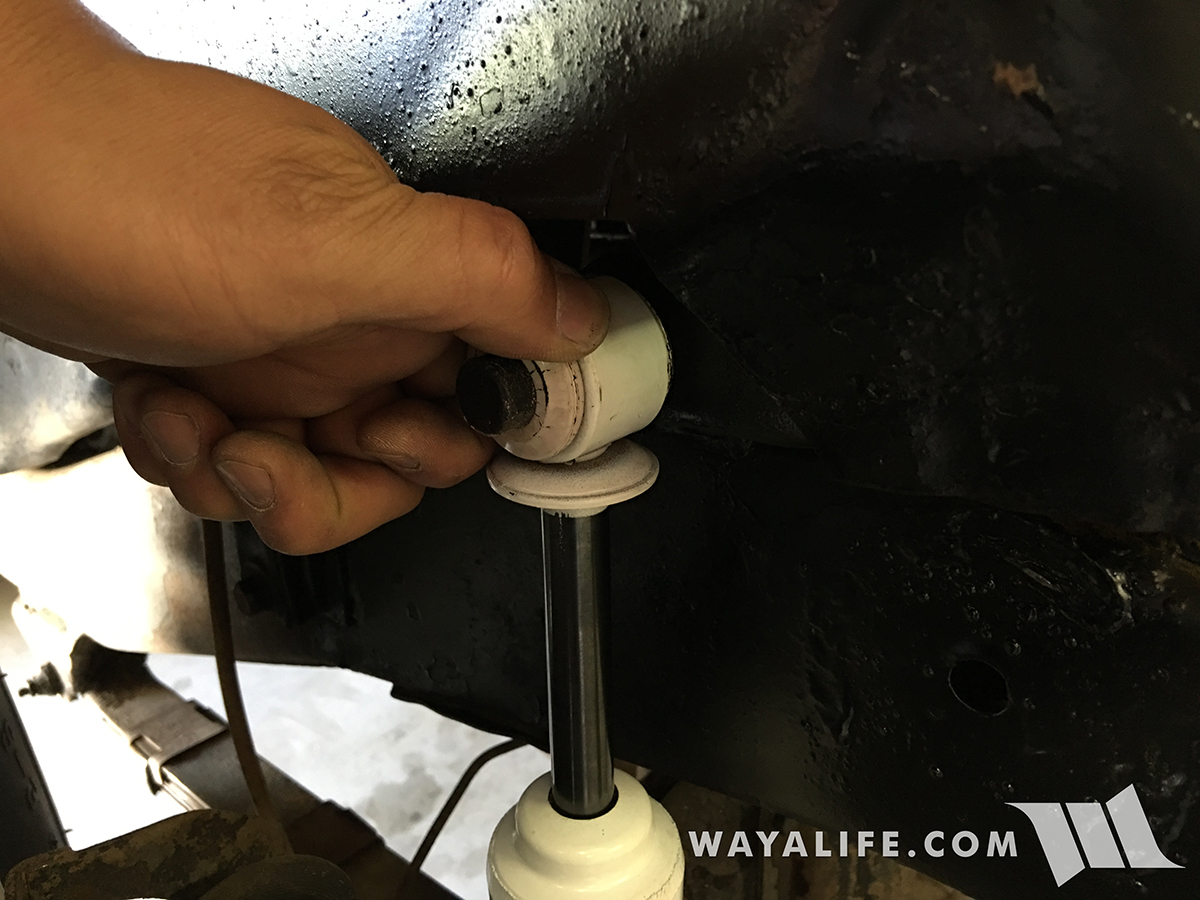
Time to install the new Rancho RS5000 shock onto the upper frame mount.
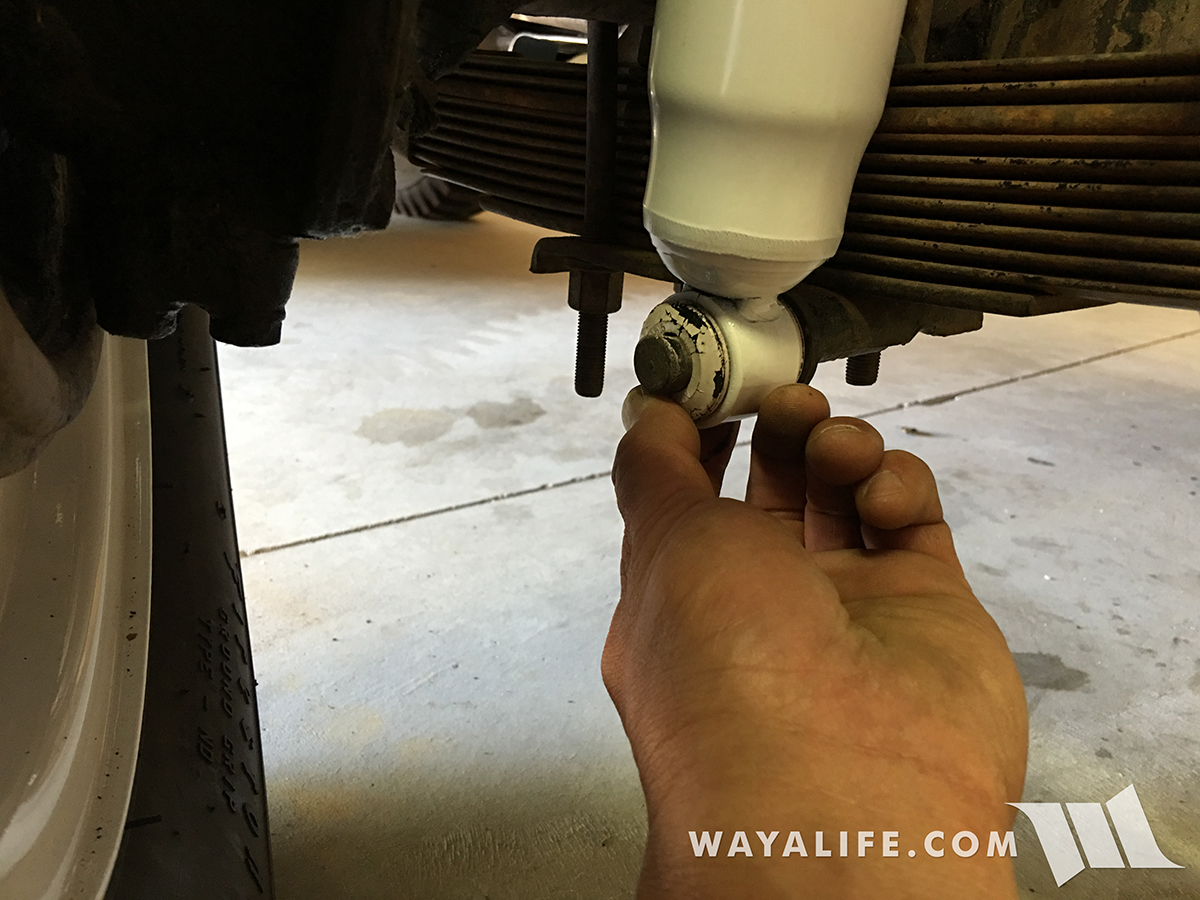
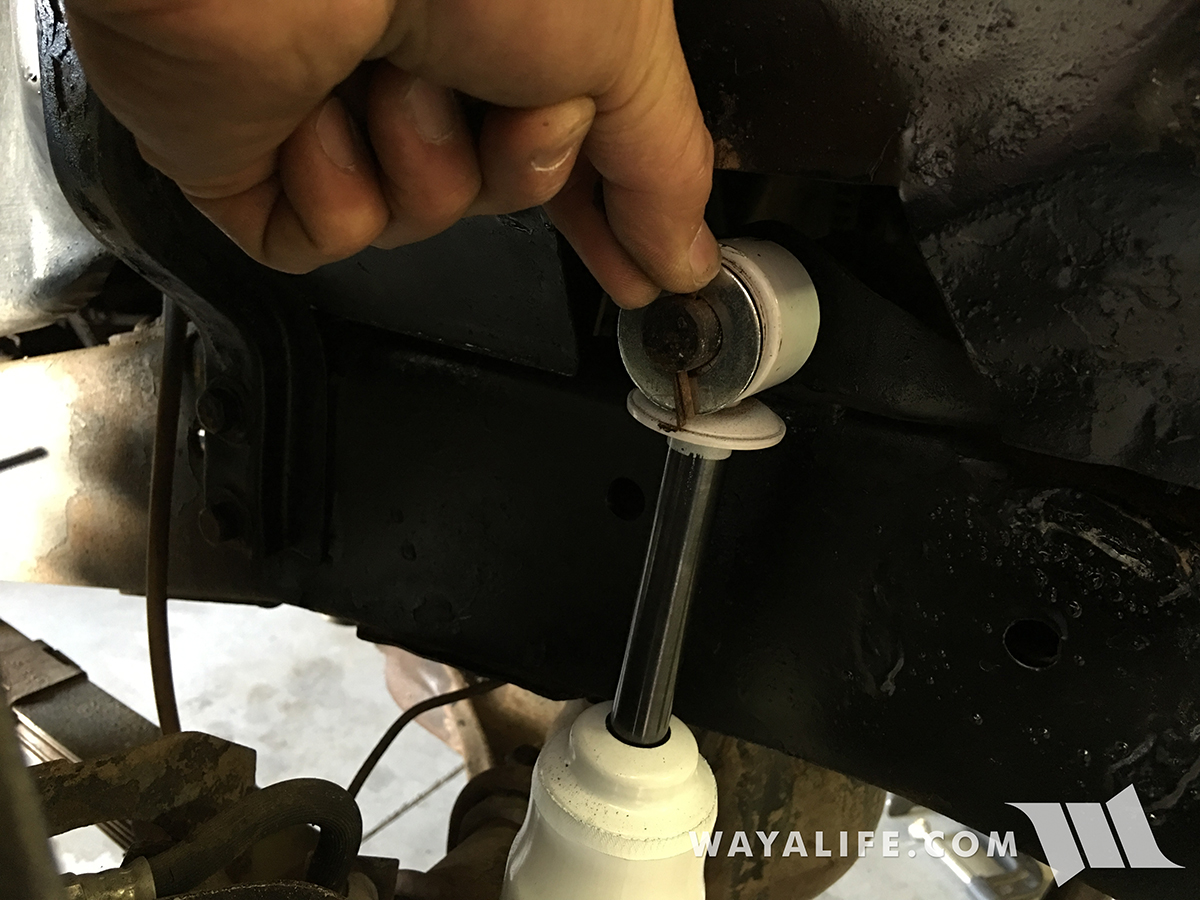
Because the new Rancho RS5000's are gas charged, some effort is needed to compress the shock in order to get installed on the axle mount.
With the new Rancho RS5000 shock installed onto both mounts, bushing washers can now be placed onto the studs and everything can be secured in place with a cotter pin.
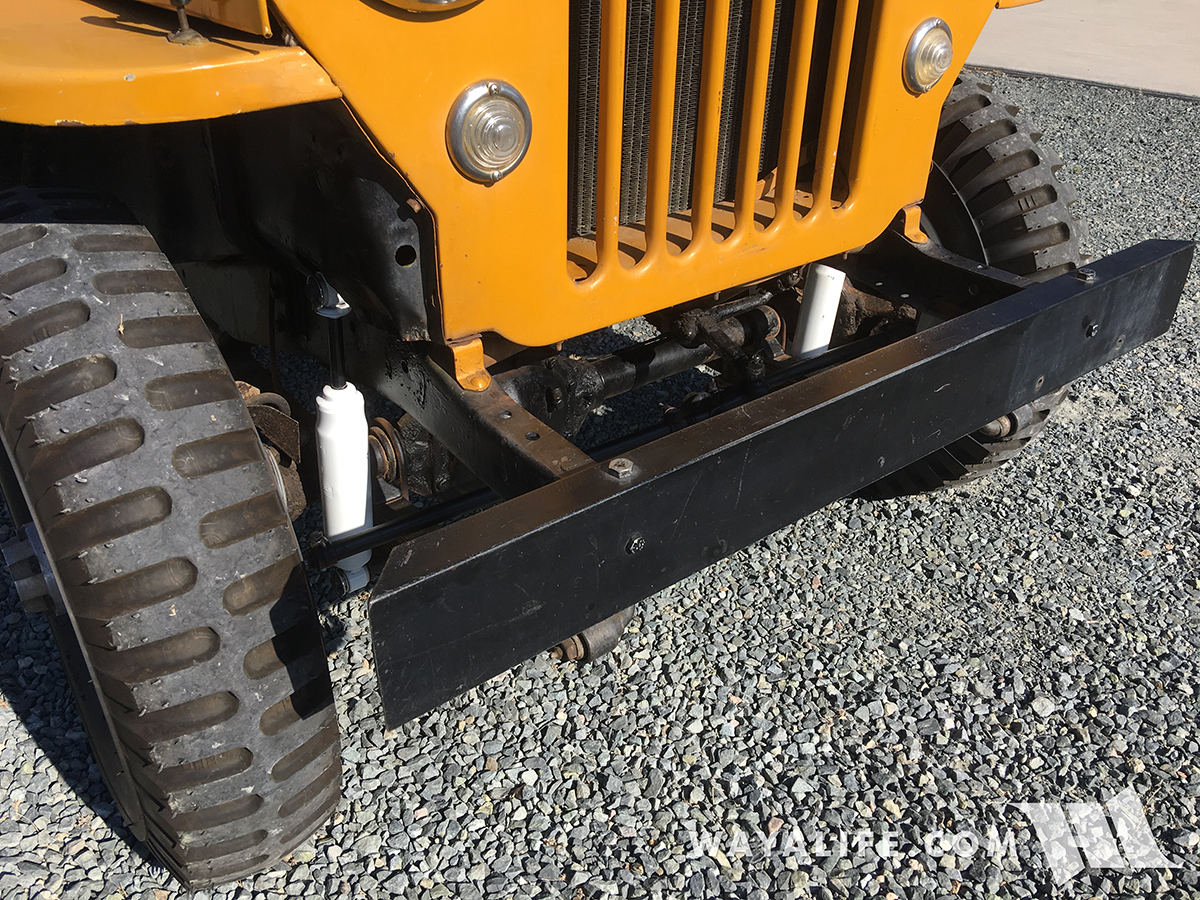
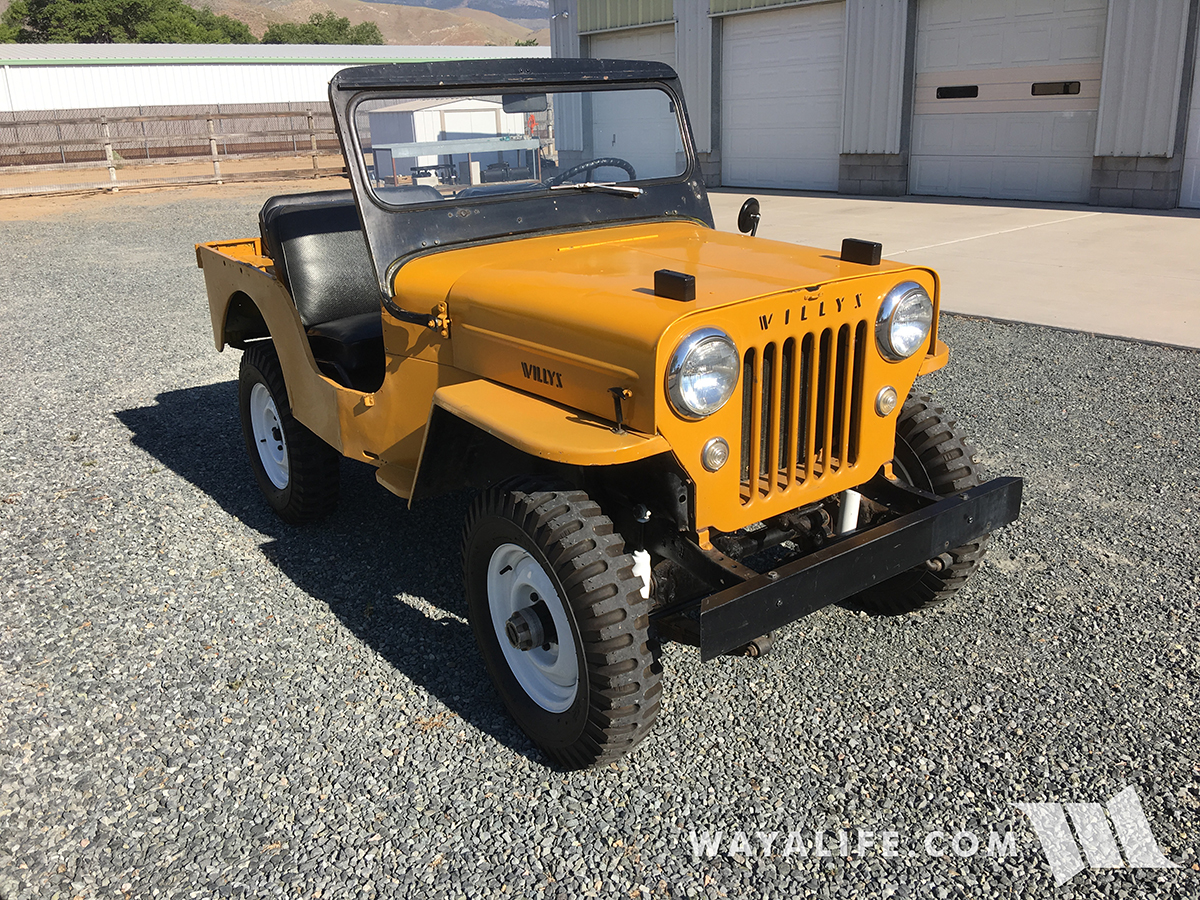
Here's a couple of shots that show what the front shocks look like installed.
Here's a shot of the new Rancho RS5000 shocks that I got for Pappy. I also got a generic steering stabilizer kit and hope to get it installed sometime too.
If you can believe it, back in the day, shocks were just mounted and held in place with washers and cotter pins. Here you can see me using a pair of pliers to remove the cotter pin from the upper frame mount.
And here I am removing the cotter pin from the axle mount.
With the cotter pins pulled, the bushing washers can be removed as well.
And now the old shock can be pulled from it's mounts.
Here's a shot of what a new Rancho RS5000 shock looks like next to the old factory style shock.
Time to install the new Rancho RS5000 shock onto the upper frame mount.
Because the new Rancho RS5000's are gas charged, some effort is needed to compress the shock in order to get installed on the axle mount.
With the new Rancho RS5000 shock installed onto both mounts, bushing washers can now be placed onto the studs and everything can be secured in place with a cotter pin.
Here's a couple of shots that show what the front shocks look like installed.
