Tree Frog
Member
Well welcome to WAL. Great way to start out by posting up some useful information!
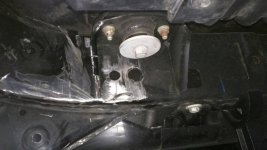
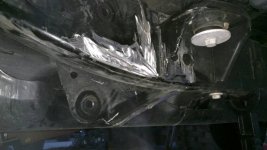
There is a lot of very helpful folks on here. I really believe I could not have done this with out them and without Eddies article from Project JK. Even though it shows an older kit and a lot of things have changed it really showed it installed.
Ask away if you have any questions.
There is a lot of very helpful folks on here. I really believe I could not have done this with out them and without Eddies article from Project JK. Even though it shows an older kit and a lot of things have changed it really showed it installed.
Ask away if you have any questions.