Breathin' Clean and Easy
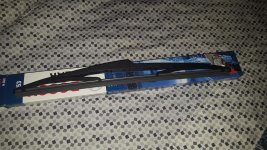
Was able to work from home yesterday and on my lunch break got the Air Filter changed out and the Cabin Filters installed as well! Only took about 15 minutes! And most of that was wrestling with the clip closest to the radiator on the air box, and getting the cabin filters to sit properly in their slots! Both though we very simple processes though, but, I like doing write-ups! So i am going to put a few steps of how to do both here!
First off, the Engine Air Filter!
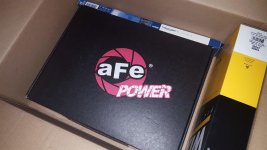
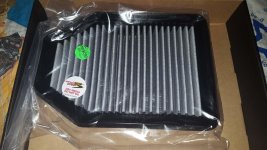
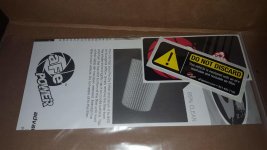
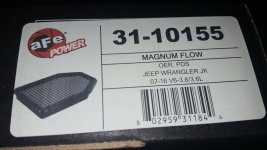
As you have seen in the previous post, I went with the AFE Pro Dry S replacement filter, as I wanted to test out a new filter for me there, and figured it was a plus to just be able to clean it and not have to keep buying new ones! And the AFE seemed to get pretty good reviews! And from handling it, seems like a pretty well built air filter and the weather seal around the outside fit very snuggly into the airbox, leaving no gap at all! So i feel confident this filter will do good! And on the seal on the outside, I did have to run my fingers all the way around the outside edge pushing down to get the full seal all the way in the box where it should sit, as it basically exact size!
Step 1: Release the 4 Clips holding the lid of the airbox to the base. There are two on the passenger side either side of the intake and two on the drivers side. The further rearward clip on the driver side of the airbox is located on the side in the opening, so fairly easy to find. The other driver side one is located nearly up against the radiator on the side facing the front of the Jeep, basically below the radiator cap, and is extremely hard to get your hand in to that one.
Step 2: With the Clips released, carefully lift the lid of the airbox with the Intake attached up and off the base of the airbox so that you cane see the air filter.
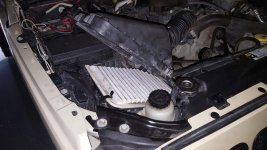
Step 3: Remove the existing Air Filter (and if disposable) discard the air filter.
Step 4: Place the New Air filter into the airbox.
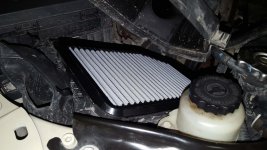
Step 5: Make sure to gently press around the edge of the filter to make sure that it is in the housing fully and sealed off so that nothing can get around the filter.
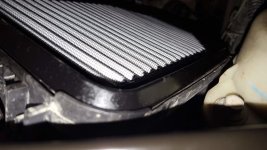
Step 6: Refit the airbox cover over the top, making sure that it fits and nothing is hung or in the way.
Step 7: Lock the Cover back down by closing all 4 clips. For the Clip next to the radiator, I had to support the box, and carefully fish a Flathead screwdriver in there and use that to push it to lock.
And you are down with that! Easy!
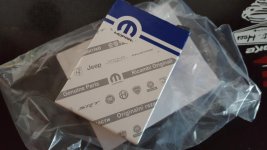
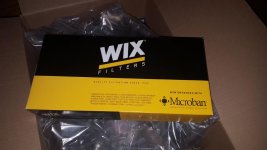
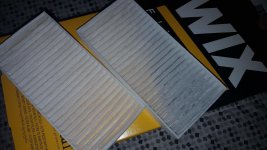
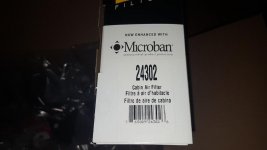
Next, on to the Cabin Air Filter! These are simple filter from Wix, nothing fancy to them. If you got either a Rubicon or Sahara Model, or had ATC (not sure exactly which of those or which combo does provide this, seen a few different things) then you recieved the Cabin Filter stock from the factory, however, if you do not fit any of those options, chances are, you do not have cabin filters at all...and I fall into the latter. So I purchased em from Amazon, nice and cheap!
Step 1: Remove the Glove Box. First pull the handle to open the glove box, and then squeeze the side together to release the side fro the retainers.
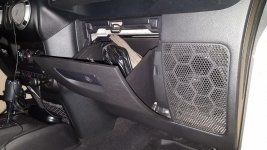
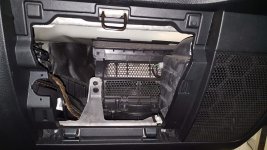
Step 2: With the glove box removed, look through the opening and find the 2 doors with honeycomb screening slightly to the right side in the opening and at the bottom end of the honeycomb screening. When you have located these doors, lift the latch on each up to open them.
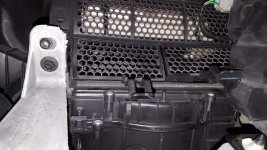
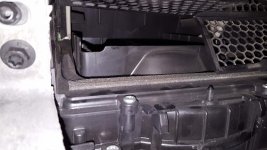
Step 3: With these doors open, check to make sure you do not have any filters already in there that need to be removed. I clearly do not, so I was clear to proceed. While this is open, you can feel free to clean in there if you want to, as if may be a little dirty having not had any filters in there. This is also a good chance to look and see where the filters go if you do not have any in there as a guide!
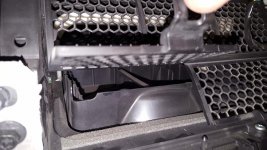
Step 4: Slide the Filters (there will be 2) starting with the furthest to the passenger side first as it is hard to get to, and then the other filter. They set on top of that opening and there is a small protrution above each filter location which you slide the filter under to hold it down and a lip at the back end to hold it too.
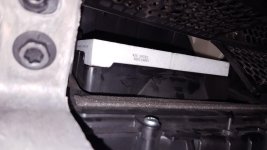
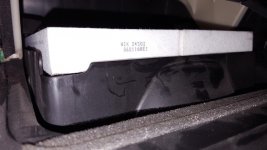
Step 5: Close the Cabin Filters doors and match sure they latch.
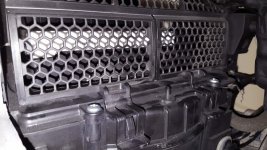
Step 6: Make sure all is closed up and out of the area.
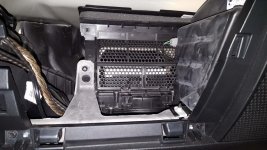
Step 7: Reverse Step 1 to reinstall the glove box.
And now you have Fresh cabin Filters Installed too! Very simple and inexpensive! Highly recommend doing these!
