cozdude
Guy with a Red 2-Door
Thanks, it seems like it took forever to get this carrier. I really wanted the strongest American made carrier in the market.
why didnt you go with the teraflex then?
Thanks, it seems like it took forever to get this carrier. I really wanted the strongest American made carrier in the market.
Once I get it on I'll decide how I'm going to do it. I would like it inside the tubes hidden. But easier zip tied on the outside.Post up how you did the rewire for the license plate light and third brake light.
R/
Will
I'm curious also. It's just me alone installing it. The instructions are similar to how I was going to do it.Let me know how it goes, I want to do this in the future myself. Good luck. :thumbup:
Sent from my VS980 4G using WAYALIFE mobile app
why didnt you go with the teraflex then?
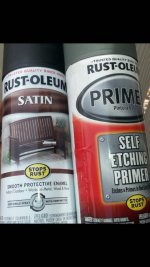
I really like the finish of satin. I think from now on everything I'd going to get painted satin. Not too dull and not too shiny.:thumbup:
I'm with you on the satin, have used that finish on the wheel wells and to touch up the powder coating on my sliders and bumpers and always looks the best.
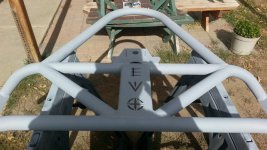
Your rig is looking great Marlo, can't wait to see that EVO carrier mounted up with those new 37's and slabs, forget how good the slabs look with the raw finished rings, :thumb:
^ Jeep is looking great!
Sent from my SM-N900V using WAYALIFE mobile app
How are the 37s with the 4.10s? Is it doable for a short time? I'm headed in that direction. I bet the ride got even "plusher" with the tire hanging back there.
Sent from my VS980 4G using WAYALIFE mobile app