DIY vented inner fenders. I'll write this as a how-to, but it's hardly novel, so I'm not planning on making a separate thread for it. I trimmed my fenders a few weeks back, leaving off the inner fenders. I'd love to eventually get some aluminum, vented ones in there from Ace, Artec, or Crawler Conceptz but this is a low cost (free) alternative that covers up the innards of the Jeep and gives some venting.
Tools
Drill and drill bit of choice
4 zip ties or 2 long ones
Jigsaw
Socket wrench and 10mm socket
Step 1: cut them
Depending on how you cut your fenders, you'll trim yours to fit. Here is a pic of mine with the blue tape showing approximate location of my cuts.
View attachment 252141
The jigsaw is the perfect tool for the job
View attachment 252142
The pieces I cut off
View attachment 252145
Step 2: drill them
I chose a 7//32 drill bit and in retrospect I wish I had gone larger. I think something more like 3/8" would do well. Each side takes about 20 minutes to do. Pro tip: use a high speed on your drill and just rapid fire poke holes in it. The plastic cuts smoother the faster you go, just be careful you don't drill a hole in your hand.
View attachment 252143
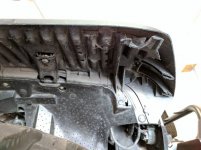
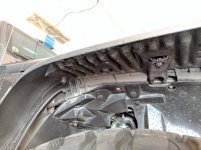
Make a nice pattern over this portion of the inner fender
View attachment 252144
Step 3: reattach it
Use your socket wrench and 10mm socket to put this female threaded bolt back on (hope you kept it from when you took these off!)
View attachment 252150
Put some plastic push pins back in wherever you can. I was able to do 4 on each side based on my cuts: one at the front of the Jeep and 3 across the top
View attachment 252149
I added one more attachment point at the bottom of the fender liner. Drill a hole big enough for a zip tie and zip tie it to the body mount. At this point, it's on there solid.
View attachment 252147
Finished product
View attachment 252148
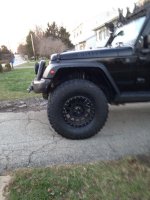
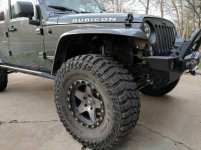
and here are some before and afters:
View attachment 252151
View attachment 252152
Retrospective notes:
I don't think the drilling the holes is going to make much of a difference for venting. Here you can see a large open area where heat can escape anyway.
View attachment 252146
If I did it again, I'd probably use a larger drill bit, as previously mentioned to do bigger holes. Maybe even up to 1/2".

