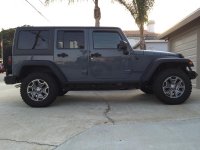
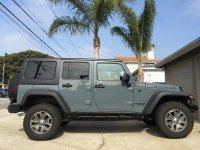
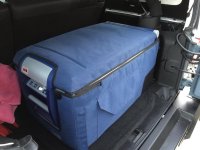
Geoffro's driveway Jeep build

JeepJeep75

New member
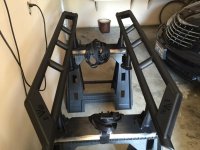
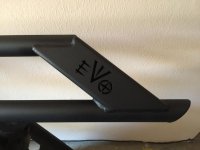
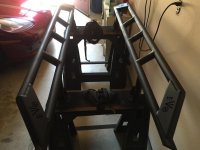
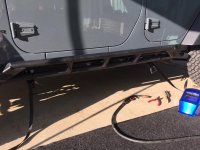
The next part of my build brings us to May of this year. Due to an ongoing hernia that I had, it was time to take some time off of work and get myself fixed up. During my down time I started collecting the next round of jeep parts. After much personal debate, and watching all the tube videos I could find of EVO sliders being installed and used on the rocks, I decided I would get a set. This was a big decision for me. There really isn't any going back once these babies are burned on. I ordered them up from Off Road Evolution and had them about 10 days later. I think they make these in batches because I did have to wait awhile. I didn't mind the wait because I could barely get off the couch during my recovery. ImageUploadedByWAYALIFE1467611979.654288.jpg
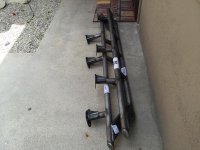
My sweet and very understanding wife had to drag them into the house for me. ImageUploadedByWAYALIFE1467612059.636680.jpg They lived on the floor in our living room for a few days until I could find help for her to get them into my toy room. Yes, I have a whole room filled with all of my junk, toys, and various precious items that someday I may or may not use. ImageUploadedByWAYALIFE1467612309.419318.jpg
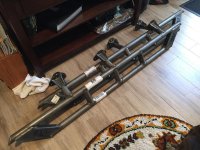
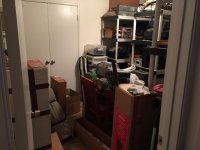
Also during my down-time I finally decided that the EVO Enforcer 3 inch lift was the lift for me. So a bunch of boxes with that exciting EVO tape started to pile up in my toy room as well. After a few weeks I was feeling good enough to start prepping the sliders for paint, and prepping the jeep for said sliders. I used an etching primer and fine textured black to paint them with. ImageUploadedByWAYALIFE1467612638.050992.jpg ImageUploadedByWAYALIFE1467612665.813134.jpg
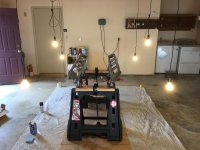
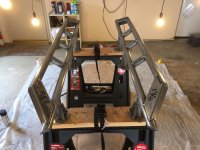
Here they are all smoothed and primed. I used a flappy sanding disc on my grinder because I didn't want to completely smooth out the welds as they are flawless, but I wanted to get rid of the splatter that mig welding inevitably always leaves behind. ImageUploadedByWAYALIFE1467612926.624671.jpg ImageUploadedByWAYALIFE1467612946.658714.jpg next was the black texture paint. ImageUploadedByWAYALIFE1467613018.404130.jpg ImageUploadedByWAYALIFE1467613054.382545.jpg ImageUploadedByWAYALIFE1467613084.512589.jpg
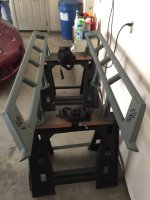
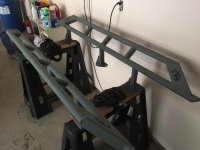
I decided to not put the EVO rocker skins on. I did however paint the pinch seams on the bottom of the jeep.
Before painting pinch seams:[emoji116] ImageUploadedByWAYALIFE1467613252.952867.jpg
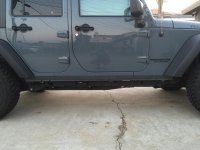
After painting pinch seams:[emoji116] ImageUploadedByWAYALIFE1467613302.182573.jpg ImageUploadedByWAYALIFE1467613332.080329.jpg doing this made those ugly seams with the holes almost completely disappear! Me likes!! [emoji16]
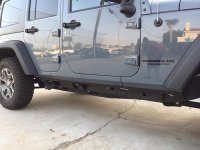
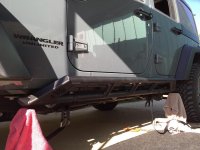
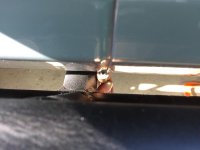
So now the moment of truth. Time to burn these works of mechanical engineering art onto the jeep, forever! ImageUploadedByWAYALIFE1467613552.125310.jpg as I said at the beginning of this build, I'm not a welder. I know how to, and I do own my own machine, but I need a LOT more practice. Well, she ain't perty, but shill dance! [emoji6] ImageUploadedByWAYALIFE1467613764.370183.jpg
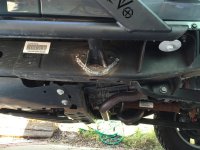
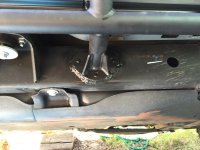
This job took me most of the day. Fitting, measuring, marking, removing paint, marking and measuring again... ImageUploadedByWAYALIFE1467613894.897713.jpg ImageUploadedByWAYALIFE1467613946.483654.jpg ImageUploadedByWAYALIFE1467614001.320066.jpg
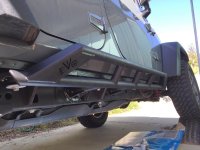
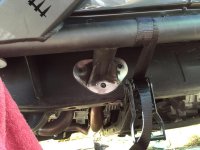
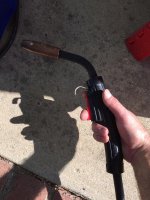
Wiggling this big-ass mig gun around in those tight spaces, while laying on my side was not easy or very pleasurable but I managed to git er done. [emoji16] ImageUploadedByWAYALIFE1467614153.093417.jpg
 

JeepJeep75

New member
I found a great measuring device to help me line up the sliders under the doors. ImageUploadedByWAYALIFE1467614511.992426.jpg ImageUploadedByWAYALIFE1467614536.420030.jpg ImageUploadedByWAYALIFE1467614613.980270.jpg it's a Kirkland AA battery. Sorry, I don't have a part number for it but I believe they are available at any retail store. [emoji6] ImageUploadedByWAYALIFE1467614766.052047.jpg I think I got them pretty straight. It's not like I could fix it if they weren't so that's why I made the extra effort to get them as straight as possible.
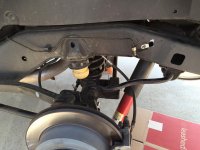
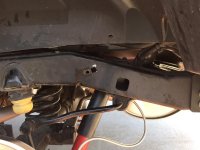
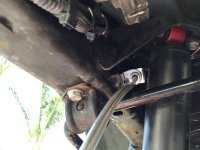
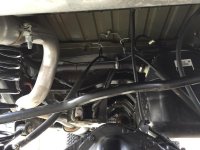
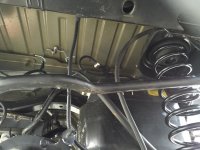
Now it's time to start in on this lift installation so I can finally get into that Enforcer club I've been ogling over. I decided to do the hard part first and get the longer stainless braided brake lines installed. I found a great tip from one of my YouTube channels that I watch. ImageUploadedByWAYALIFE1467615158.484751.jpg Turns out that if you leave the brake pedal pushed down, it completely closes off the brake system from the reservoir. Doing this allowed me to not have to worry at all about having all of my fluid leak out and introduce air into the system and into the ABS pump. If the ABS pump gets air in it your basically hosed. To get the air completely out of the ABS pump and manifold you need a trip to the dealer so they can hook up their StarScan computer to the jeep to get the ABS to open various valves and bleed the air out. When I disconnected the factory rubber brake hoses from the hard lines not more than one drop of fluid dripped out of the hard lines. ImageUploadedByWAYALIFE1467615564.141980.jpg I decided that since I had the rear lines opened up and disconnected I would re-route the hard lines to the inside of the frame, coming out right above the rear shocks. ImageUploadedByWAYALIFE1467615693.226297.jpg ImageUploadedByWAYALIFE1467615729.915959.jpg I have since doing this part re-routed the lines in front of the rear sway bar instead of behind it. Also since the rear sway bar constantly moves, I put a ziptie around the brake line right where it makes contact with the sway bar. ImageUploadedByWAYALIFE1467615911.903870.jpg I also got some rubber vacuum tubing, split it open and wrapped it around the hard line that I re-routed. ImageUploadedByWAYALIFE1467616037.635123.jpg ImageUploadedByWAYALIFE1467616069.304178.jpg ImageUploadedByWAYALIFE1467616100.927434.jpg
Okay. Rear lines done, time for the front. The front is pretty straight forward. Of course, if it's worth doing, it's worth over-doing! So.... I armored up the front lines with the same rubber vacuum tubing. ImageUploadedByWAYALIFE1467616296.253873.jpg I realize that picture [emoji115]was mid way through my lift install. We will get to the install in a bit.
 

JeepJeep75

New member
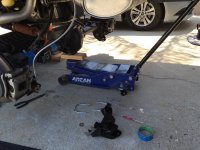
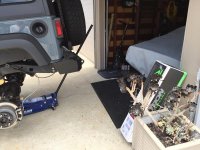
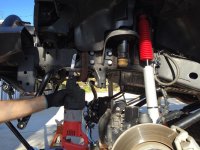
Next, after getting the brake lines installed and bled and road tested it was time to start installing the lift. I started the back end first. I new this would take me two full days, possibly three. I wanted to be able to take my time and thoroughly go through each part of the lift. ImageUploadedByWAYALIFE1467647961.845180.jpg ImageUploadedByWAYALIFE1467647995.846924.jpg
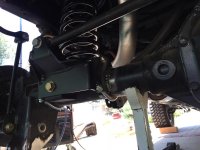
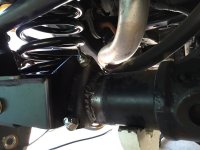
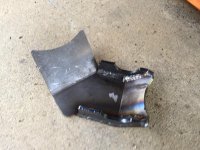
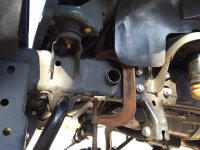
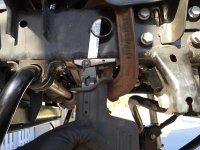
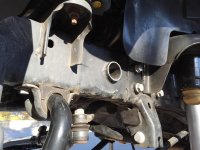
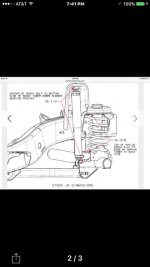
Here, I came to another part of my build where I had to cut another part off the jeep. The rear track bar bracket gets trimmed. This is another no-going-back-moment for me. At this point though I was totally committed with installing the lift so it wasn't to hard to get the nerve up to cut into the jeep. ImageUploadedByWAYALIFE1467648307.757633.jpg ImageUploadedByWAYALIFE1467648355.002362.jpg I did take to time to squirt a bit of paint on the freshly cut metal as well as the other parts of the rear track bar bracket that would soon be forever covered up by the EVO bracket. ImageUploadedByWAYALIFE1467648541.805011.jpg ImageUploadedByWAYALIFE1467648583.444274.jpg After fitting up the bracket I marked the contact points of the axle and bracket so I could remove the paint and power coating in perpetration to weld the bracket on. It's not required to weld it on, but the instructions say that it is highly recommended that the rear bracket gets welded. I don't want any issues to arise so I opted to burn it on. I don't have anywhere at my house to plug in my welder. It needs a 40 amp 220 volt circuit. Our whole house runs on a double 40 amp breaker. [emoji53] So, after I finished the lift install I would have to drive from Redondo to Simi Valley to be able to use my welder at my dads. Good thing the rear bracket bolts on instead of weld-on only.
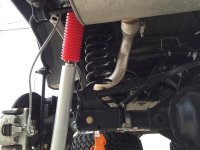
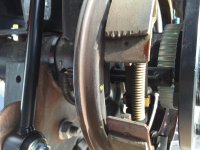
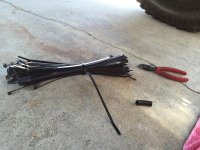
Next I took the springs back out but left the new 9k shocks installed to cycle the suspension up to full bump and down to full droop. I found a few issues that needed to be addressed. The diff vent tube needed to be adjusted. It's held to the body in a few places with little metal clips. These clips easily come off the rubber tube so I simply moved each clip a few inches and reattached it down. Then the rear E-brake cables needed some lovin too. At full droop they were clearly to short to go back in their little wire bracket so I employed a bit of Red-Neck Tech and used some monster zip ties to extend the brackets reach. ImageUploadedByWAYALIFE1467649605.724822.jpg I also extended the diff wiring by slightly re-routing the loom and reattaching it with a few zip ties. In case all of you haven't noticed yet, I LOVE zip ties. I have access to piles of them from the various jobs I do for work. My favorites are the half inch wide by 4 footers. [emoji7] ImageUploadedByWAYALIFE1467649880.986842.jpg
Here's a shot of the back end finished up. Talk about the stink-bug-butt look! Sheesh!! [emoji13] ImageUploadedByWAYALIFE1467650062.503874.jpg ImageUploadedByWAYALIFE1467650095.965012.jpg
 

JeepJeep75

New member
Here is where I get started on the front end. The front end I feel is way more technically challenging that the back end. Mainly because of the steering system. All of the parts must perfectly work together. There are a lot of little issues that can arise if left unchecked and ignored.
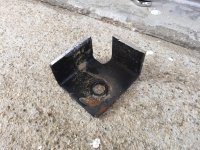
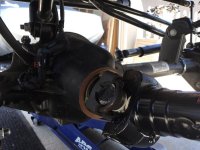
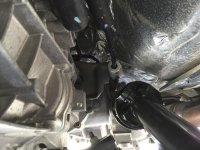
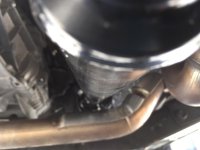
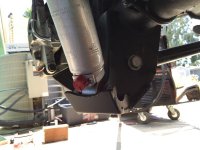
The tear-down was simple enough. I will also be installing an Adams 1350 extreme (non-greasable) duty front drive shaft. This requires a new flange to be installed on the transfer case as well as the front diff pinion. First thing I needed to do was remove the transfer case skid plate. I found a surprise waiting for me. View attachment 211061 If you need a good hiding place/stash spot under your jeep, this is it!
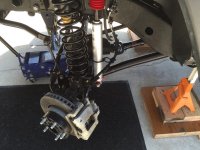
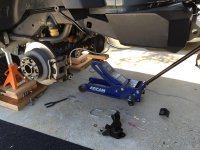
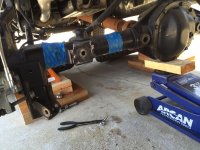
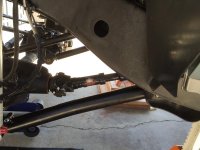
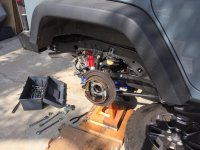
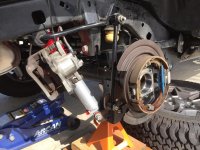
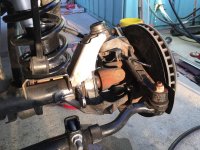
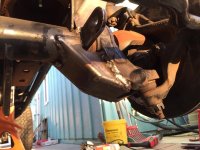
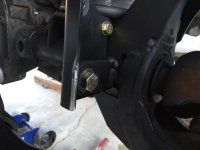
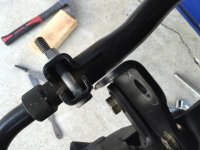
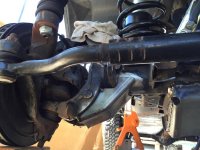
Next I pulled the front stock driveshaft out, shocks out, and the springs out. Unbolted the track bar and steering stabilizer and also the stock steering drag link. I will be installing a drag-link flip along with the lift. Then I carefully supported the front axle and installed one of the new control arms. These EVO arms are BEEFY!! View attachment 211064 View attachment 211065 after meticulously setting the length to the recommended measurement (I forget what it is) I installed these bad boys. I did get a handful of EVO stickers but none were pre-installed on the arms. I trust they are genuine though! [emoji6]
The rest of the front end went in without much fuss. Drilling the 13/16 inch hole in the steering knuckle was a chore. I new there was no way my battery drills would be able to handle this so I had the perfect excuse to get a big 2 speed, plug-in hammer drill. Before taking the steering apart I made sure the wheel was straight and put the seat belt through the wheel to keep it from turning. (Thanks again youtubes!) my stock steering stabilizer was in pretty good shape, so no worries there.
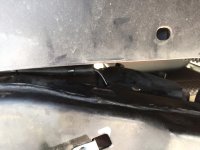
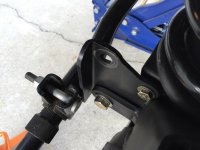
After getting the control arms, bump stops, shocks, and track bar bracket installed it was time to tackle the front driveshaft. I watched several front driveshaft install videos on the tubes. All of them make it look so damn easy. You just buzz the flange nut loose and give the flange a tap with a hammer and it comes right off. BULLSHIT!!!!!!! First off, I don't have a lift to put the jeep on. I don't have a rattle gun either. And tapping the flange off? Wasn't happening for me. [emoji52] Getting the nut loose on the transfer case wasn't to bad. I have a two-foot breaker bar. I just put the case in 4low, trans in first. The flange wouldn't budge. Luckily I have a harmonic balancer puller that worked perfectly for this. Sorry, no pics of this part. Next was cracking the pinion nut on the axle loose. Since I was working solo that day, I couldn't use the brakes to lock the front axle. So what I did was stick a screw driver into the brake rotor through the caliper on each side. Now to get that silly nut loose. This is where I ran into a big problem. My Harbor Fright breaker bar was a bit to flexible and I didn't have enough arm strength to push it up. My solution was to put my floor jack under the end of the breaker bar. I figured either the bar would break, or the nut would. Luckily the nut gave up first. Phew! [emoji28] Now I could install the monster driveshaft. I was really, really nervous about torquing the pinion nut back down. I called Adams DS and spoke to their tech about how to proceed. There really isn't a torque spec to tighten it to. I was told to get it "tight" then give it just a light extra little umph. ImageUploadedByWAYALIFE1467653296.883003.jpg ImageUploadedByWAYALIFE1467653331.278361.jpg Oh, also before final installation of the DS I trimmed the transfer case shifter cable tab. ImageUploadedByWAYALIFE1467653457.462346.jpg ImageUploadedByWAYALIFE1467653496.662055.jpg ImageUploadedByWAYALIFE1467653532.655809.jpg ImageUploadedByWAYALIFE1467653564.953173.jpg
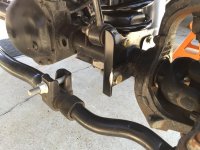
I did find one issue right away. The tie rod adjuster clamp would catch on the left side sway bar bracket. Out came the grinder for some clearancing. ImageUploadedByWAYALIFE1467653832.956677.jpg if I didn't notice this it would've really sucked. Upon full left turn the tie rod would get stuck on that bracket. No matter how hard I pulled on the steering wheel it would just wedge in harder. If I were to say do a left handed U-turn, I wouldn't have been able to straighten out. That'd be embarrassing to say the least! I also noticed that at full lock to the right my tie rid would run into the new raised track bar bracket. So I put a washer under the steering stop bolts on both sides. This gave just enough clearance to all the moving parts.
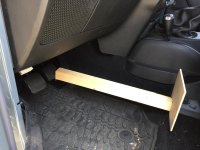
After the suspension was all sorted and holding the weight of the jeep on it it was time to re-torque all of the control arms that I loosened. Next was installing the new drag-link and getting the steering wheel centered. Here is where I used a method that I've been using on my RC cars since I was a kid. I took a piece of aluminum bar stock to use as a straightedge. I made sure the wheel was perfectly straight, then put the straightedge on the wheel flange and pointed the other end towards to back of the jeep. It was just long enough to reach the sliders leaving a small gap between the straightedge and the slider. Making sure the steering wheel was still straight, I made the gap between the straightedge and the slider the same on both sides by adjusting the drag-link. Sorry, I don't have any pics of this. Next I buttoned everything up and went for a test drive. How centered was the wheel? I NAILED it!!! [emoji16] After the test drive I did notice an odd suspension squeak.
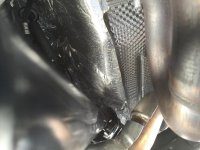
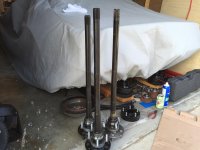
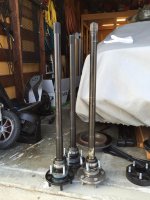
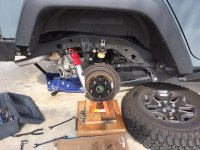
Since I still had a few hours of daylight left I figured I'd replace my rear axle shafts. A few weeks back I clipped a curb upon taking a fast right turn. The streets by my house are tight. I was going about 15mph but the hit to the curb was enough to throw the jeep sideways and upset the ESP. After it happened I didn't give it anymore thought. I've done this before in my old pick-up a few times. It happens. A few days later I noticed a brake squeak as I was driving going around slight right bends. Also it was making a kind of grinding noise when slowing to a stop. I put the back end up on jacks, took the tires off and put the jeep in gear at idle to look at the rear flanges. Just as I suspected, bent flange. I bent a fucking flange just by mall crawling! I've wheeled it about a dozen times before this without issue. Clip one curb and now I'm left with a bent flange. I looked into getting it fixed with my warranty but jeep doesn't warranty impacts. So, I contacted Brandon at Revolution Gear and Axle. He immediately responded to my email on a Saturday morning. I asked him about the lifetime warranty covering BENT FLANGES. He said I would be the first, but yes, full replacement for a bent flange! I ordered it two minutes later. Tuesday morning I found this waiting for me. ImageUploadedByWAYALIFE1467655858.582093.jpg I was inside getting a drink when the FedEx guy left this for me. He didn't bring it to the door, and my garage isn't marked with my unit number. He must have put 2 and 2 together and figured it out.
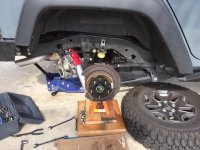
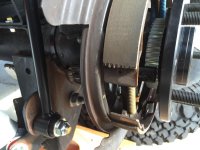
Swapping these axles out was one of the easier things I've done on my jeep. I've seen the wright-up that Eddie did but I didn't want to use it to step-by-step through this. If this happens on the trail, cel service might not be available therefore no wright-up to reference. Removing the axles really couldn't be any simpler. ImageUploadedByWAYALIFE1467656211.475551.jpg ImageUploadedByWAYALIFE1467656242.187556.jpg the whole process of swapping the axles took me about two hours. If I had to do it again, 20 minutes each side. I had to install the new supplied studs into the flanges. I used some red locktight and torqued them in. ImageUploadedByWAYALIFE1467656411.814743.jpg ImageUploadedByWAYALIFE1467656443.157144.jpg Reassembly was just as easy as disassembly. ImageUploadedByWAYALIFE1467656499.727205.jpg Tone rings lined up perfectly with the sensors! ImageUploadedByWAYALIFE1467656542.530444.jpg ImageUploadedByWAYALIFE1467656573.670387.jpg
 

JeepJeep75

New member
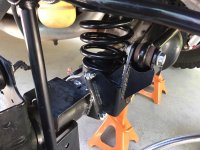
Upon doing my axle swap I discovered the source of my new mysterious suspension squeak. I installed the rear bump stop blocks facing the wrong direction. They have an angle to them. They should be angled forward. Mine were angled back and the right side was catching on the track bar bolt. I don't have a good pic of this problem but if you look at the track bar bolt in the pic below, you can see how close it is to the bump stop block. ImageUploadedByWAYALIFE1467656959.056812.jpg

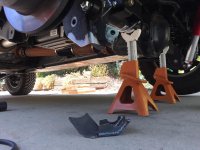
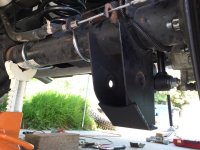
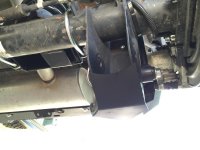
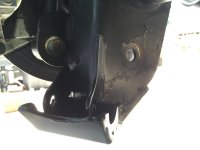
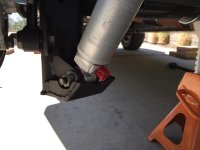
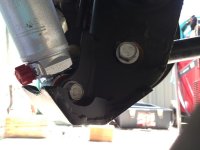
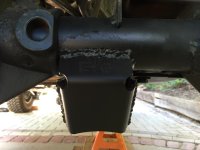
My next order of business was to go to Simi and spen another day crawling around under the jeep burning bits of metal. I ordered up some EVO rear control arm skids. I figured I'd burn these on while I was back there weld up the rear track bar bracket. ImageUploadedByWAYALIFE1467657175.754883.jpg ImageUploadedByWAYALIFE1467657230.127279.jpg ImageUploadedByWAYALIFE1467657264.799033.jpg the rear control arm skids come in three pieces that have to be fabbed up before attaching to the jeep. ImageUploadedByWAYALIFE1467657353.677860.jpg ImageUploadedByWAYALIFE1467657383.249051.jpg these things are beefy to say the least. I was a bit worried about the adjuster knob on the bottom of the shock. These skids will help me rest better now. [emoji3] ImageUploadedByWAYALIFE1467657496.127836.jpg ImageUploadedByWAYALIFE1467657521.431683.jpg ImageUploadedByWAYALIFE1467657566.561399.jpg ImageUploadedByWAYALIFE1467657597.177060.jpg ImageUploadedByWAYALIFE1467657634.920119.jpg ImageUploadedByWAYALIFE1467657664.584150.jpg
These skids took WAY longer than I though it would to get them fabbed, welded on, and painted but they are done and they look like they will take a good beating with a smile. [emoji106]
I also ordered some C-gussets for the front. Seeing as it was now about 3pm I knew I wasn't gonna finish that whole job so I only did the drivers side. I had to disassemble the sway bar bracket, the shock relocation bracket, and unload the spring so I could wedge it up a bit to get it out of the way. ImageUploadedByWAYALIFE1467658083.357995.jpg ImageUploadedByWAYALIFE1467658118.846998.jpg The sun was starting to get low and it was messing with my auto-darkening welding helmet. Also the sun was shining into my helmet from behind me so I was having a really hard time seeing where my weld bead was going on the work. [emoji52]
 

JeepJeep75

New member
I didn't really get a good pic of the finished drivers side C-gusset since the sun was already set and it was getting dark. Also my dad was BBQing so I was in a hurry to finish up. I had to work the next day but it turned out to be a half-day so I came home to give the give the front end a thorough going over. I took the front springs out to cycle the suspension up to full bump, then full droop. I found a few more gremlins hiding in various places. First was the clearance issue with the tie rod and sway bar bracket on the left side. More grinding and filing took care of this. ImageUploadedByWAYALIFE1467658729.547733.jpg ImageUploadedByWAYALIFE1467658768.019340.jpg Ahh, that's better! ImageUploadedByWAYALIFE1467658815.732637.jpg
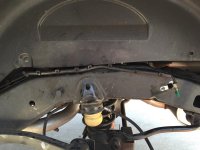
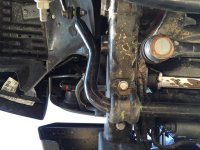
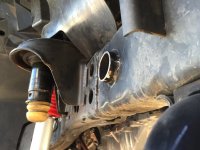
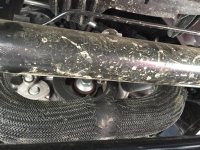
I also didn't like the way the front sway bar was skimming the frame cross-tube. So out came Mr. Sawzall for some trimming. ImageUploadedByWAYALIFE1467658920.757387.jpg ImageUploadedByWAYALIFE1467658961.095918.jpg Using the Sawzall was the only way to go. I could have used the grinder but I didn't want to annoy the neighbors. The sawzall' foot didn't have any purchase on the rounded edge of the frame so I employed some more of the Red-Neck Tech. ImageUploadedByWAYALIFE1467659168.007696.jpg ImageUploadedByWAYALIFE1467659190.445538.jpg ImageUploadedByWAYALIFE1467659218.848018.jpg rinse and repeat on passenger side... Ahh! Much, much better! ImageUploadedByWAYALIFE1467659286.859376.jpg ImageUploadedByWAYALIFE1467659305.309991.jpg a quick squirt of paint and that gremlin is put to bed.

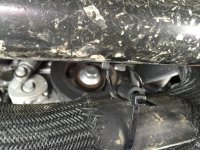
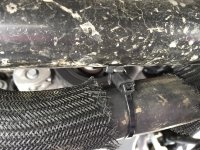
So that brings us to today. I noticed while spending copious amounts of time under the front end that my lower radiator hose was a bit floppy. Time for a bit more of that R.N.T. ImageUploadedByWAYALIFE1467659499.820385.jpg ImageUploadedByWAYALIFE1467659520.097575.jpg ImageUploadedByWAYALIFE1467659533.003493.jpg ImageUploadedByWAYALIFE1467659548.686127.jpg

I've put about 150 miles on the new lift and I'm REALLY liking it. I started with the shocks set at 3 all around. I know there is a break in period as they do seem a bit choppy. They are smoothing out though. I made a few trips up and down the 405 fwy at speed. It's really rough around LAX but the suspension soaked it up pretty well. Yesterday I dialed all the shocks back a notch to setting 2. Seems a lot smoother around town. I'll have to see how it handles that 405 again though. I think if the shocks are too soft the tires can really bounce around making it seem like a choppier ride. As far as handling goes it's freaking fantastic!!! Winding roads are no problem. The suspension totally kills it at the In n Out drive through. No problems whatsoever!! [emoji6] I can't wait to take it off road to see what's really going on!! But that'll have to wait as this annoying thing called work is gonna be cramping my style for the next week or two. At least I'll be rolling tall and proud through the parking lot!

So, there it is! All of these mods were done on an $8,000 budget from the sale of my Silverado pickup. I think the axles might have pushed it over about $150 but that okay. I'm very, very pleased with all of it. Thanks entirely to this forum I feel I have made some pretty sound decisions on parts selection and execution of installation. If it wasn't for all of you sharing your problems, thoughts, and opinions I would probably have a Tera-something or other low-grade expensive lift that'd I'd be unhappy with. Again, thank you all, and especially Eddie for all of the free info that is readily available for those willing to see through the haze and misinformation that runs rampant in the interwebs.
HAPPY 4th to all my friends on WAYALIFE!!!! [emoji95][emoji322]
 

JeepJeep75

New member
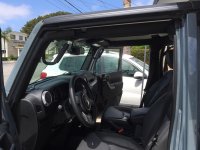
I forgot to mention the installation of my Grabars which happened right after my Trucklite upgrade. ImageUploadedByWAYALIFE1467820726.121708.jpg
The fronts were a real fight to get the screws started in the threads. ImageUploadedByWAYALIFE1467820853.877613.jpg
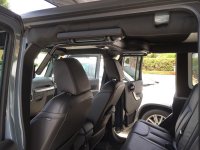
The backs went in no trouble at all. It doesn't seem like they would be that sturdy but they are solid. Like don't budge at all solid! The backs do intrude into the door opening a bit. I'm only 5 foot 11 and I've hit my head on them just leaning to grab something. Our parents like using them so I'll leave them in and try finding some padding for them. Also around the time right after adding the front bumper and winch I added Terra Flex leveling pucks to the springs.
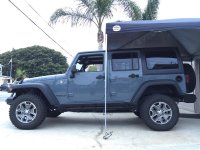
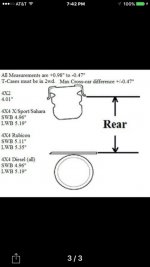
Right before I installed the Enforcer lift I measured my ride height using this method ImageUploadedByWAYALIFE1467821590.421064.jpg ImageUploadedByWAYALIFE1467821608.540763.jpg With my bumpers, winch with synth line, and sliders (full tank of gas too) I was right at stock height, front and back. I will get another measurement this weekend to compare before and after.
 

JeepJeep75

New member
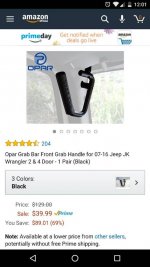
Did you buy the brand name grabars? They seem way over priced compared to ones on Amazon. Thoughts?

I bought these over a year ago. It was the second mod right after my Trucklites. I'm not sure if I got them on Amazon or directly from Grabar. I forgot what I paid too. They weren't cheap. 260ish I think...🤔
 

JeepJeep75

New member
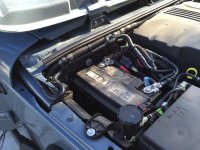
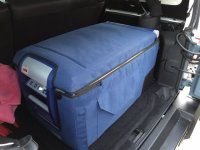
I did some wiring work today. I ordered a wiring kit from ARB when I ordered my fridge. The kit includes 20 feet of nicely loomed and insulated 12 gauge wire with fuse holder and ring terminals. ImageUploadedByWAYALIFE1468124602.526188.jpg
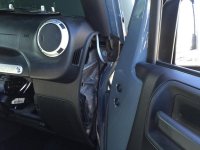
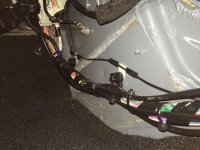
The wiring pokes through the firewall right next to the passenger side vent behind the side access cover ImageUploadedByWAYALIFE1468124778.081384.jpg
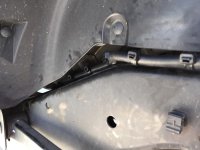
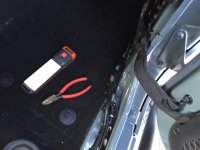
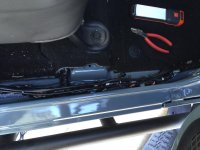
Then it goes to the back following the factory loom, the CB antenna wire, and the backup camera wiring. ImageUploadedByWAYALIFE1468124880.911610.jpg ImageUploadedByWAYALIFE1468124902.195871.jpg ImageUploadedByWAYALIFE1468124922.009188.jpg
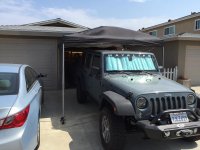
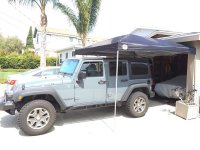
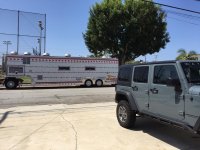
Working in my driveway was a bit difficult due to this: ImageUploadedByWAYALIFE1468124996.986154.jpg such a tease!!! I couldn't even go indulge because it was for a private party. [emoji53]
 

JeepJeep75

New member
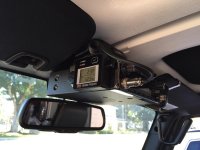
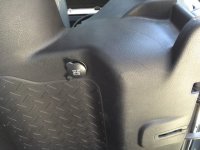
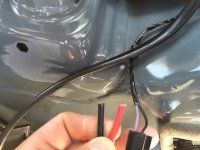
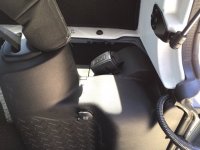
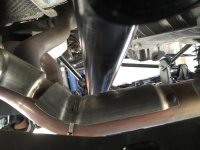
ImageUploadedByWAYALIFE1468727506.745239.jpg got my ARB monitor mounted in its permanent location today. ImageUploadedByWAYALIFE1468727585.122312.jpg the factory 12 volt outlet in the back of the jeep is not sufficient enough to keep the ARB fridge happy. After only 20 minutes the wire was very hot and limp. ImageUploadedByWAYALIFE1468727689.592263.jpg upgrading to 10ga. should keep the fridge happy. ImageUploadedByWAYALIFE1468727744.656438.jpg ImageUploadedByWAYALIFE1468727770.279174.jpg success!!! Calling the fridge project done! [emoji16] My wife and I will be having ice cream and popsicles in Moab, and we will be bringing delicious milk back from Ouray this August. Oh yeah!! [emoji106][emoji16][emoji16]
 

JeepJeep75

New member
I was able to get back out to Simi Valley this week to do the last bits of welding to my jeep. Finished doing the passenger side axle gusset. ImageUploadedByWAYALIFE1469034514.407900.jpg ImageUploadedByWAYALIFE1469034547.858402.jpg
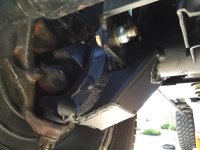
Also installed a pair of front lower control arm skids. ImageUploadedByWAYALIFE1469034626.245303.jpg sometimes I can lay a perfect bead on my welds, sometimes not... Oh well, they are on there and I'm happy with all the work I did and the way it came out. ImageUploadedByWAYALIFE1469034757.089614.jpg
I also had a chance to throughly test out my ARB fridge in some heat without the jeep running. Fridge cycled on and off all day set to 25 degrees. Jeep started right up at the end of the day. I'm really digging the fridge.
 

dillard09

New member
Much props for doing everything yourself. Good job.
BTW I see where you said Ouray in August? When will you be there?
 

JeepJeep75

New member
Much props for doing everything yourself. Good job.
BTW I see where you said Ouray in August? When will you be there?

Thanks man! I love doing all of the work on the jeep myself. It's such a great feeling of accomplishment. I just wish I could practice my welding skills more often.

My schedule keeps shifting around. My wife and I are hoping to be in Ouray the last week in September, then go to Moab for another week or so. Ouray will be beautiful and if the snows do come early, we will just go to Moab sooner.
 
Top Bottom