You are using an out of date browser. It may not display this or other websites correctly.
You should upgrade or use an alternative browser.
You should upgrade or use an alternative browser.
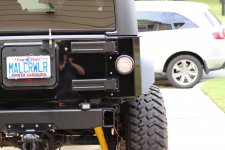
My Mall Crawler Build
- Thread starter JK_Dave
- Start date
Great let oiling rig!!!!! Nice work, one to be proud of.
SnailTrail
Member
Sweet looking rig. I bet it was hard trading in the evo. Total opposite vehicles. I traded a '12 WRX for mine and still miss that car.
JK_Dave
Caught the Bug
Wowwww! Dave is this the same rig I saw at Rausch a year ago?looking good!
Thanks George, it sure is! Some new shoes makes a helluva difference. :shock:
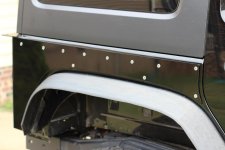
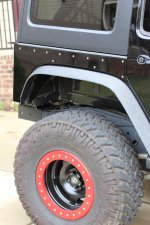
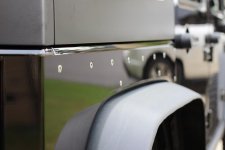
Fender chop looks great man! Love what you've done so far.
Thanks Trevor! I'm still looking forward to seeing what your next build will be.
Great looking rig!!!
Great job, your rig looks badass!
Jeep looks awesome Dave
Rig is looking great!
Sweet jeep. I can't wait until I get mine to that level.
First, I'm a sucker for build threads, so...Subscribed! Looks great! :thumb:
Great let oiling rig!!!!! Nice work, one to be proud of.
Thanks so much guys!
I love the license plate lol
Just so no one gets this confused for a Jeep that actually goes offroad
Ha! Lookin good dave. I knew those fenders wouldnt last after the uwharrie trip lol.
Sure didn't!
JK_Dave
Caught the Bug
Great build! Your Jeep looks awesome. I really enjoyed your background story and think it would make a good thread too. Can't wait to see more!
Great looking build! [emoji106] hope to see more!
Thanks guys! I've got something at the powdercoater's now that I'm going to be working on this weekend
JK_Dave
Caught the Bug
Sweet looking rig. I bet it was hard trading in the evo. Total opposite vehicles. I traded a '12 WRX for mine and still miss that car.
It wasn't easy, that's for sure. But it went to a good home. The guy who bought it was actually older, but his son had an Evo and he wanted one so they could take them to the track.
SnailTrail
Member
It wasn't easy, that's for sure. But it went to a good home. The guy who bought it was actually older, but his son had an Evo and he wanted one so they could take them to the track.
Thats good that it went to a good home. The finance manager used mine for his demo car. I went in a week later to get my tags and the passenger fender had a huge dent in it and he was apparently beating the piss out of the car with a boost leak. I feel bad for the guy who bought it after that.
DWiggles
Caught the Bug
It wasn't easy, that's for sure. But it went to a good home. The guy who bought it was actually older, but his son had an Evo and he wanted one so they could take them to the track.
Sweet looking rig. I bet it was hard trading in the evo. Total opposite vehicles. I traded a '12 WRX for mine and still miss that car.
Thats good that it went to a good home. The finance manager used mine for his demo car. I went in a week later to get my tags and the passenger fender had a huge dent in it and he was apparently beating the piss out of the car with a boost leak. I feel bad for the guy who bought it after that.
I'm right there with you guys, Sold my pretty built up '06 STi for my jeep... but the jeep is the first vehicle I ever bought new. So I love the jeep, but I miss the STi from time to time... Nice to see members in the same boat as me from time to time. :thumb:
JK_Dave
Caught the Bug
JK_Dave
Caught the Bug
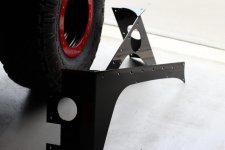
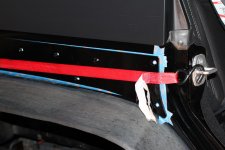
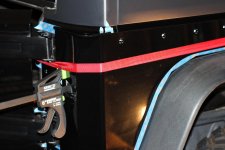
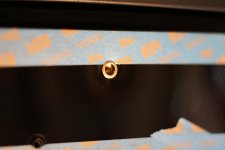
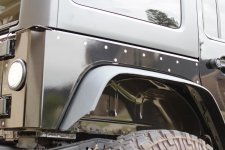
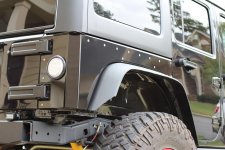
After wrestling with those three nutserts in the back, I came up with a strategy. But let me backup. The nutserts in the back are a bit more difficult than the side because of how thin the sheetmetal is on the side and how thick/reinforced it is in the back.
Using the Astro tool to do the side, I got into a rythm of it. Thread on nutsert to tool, line up nutsert into hole, give the Astro tool some chest bumps and the nutsert will pop right in nice and tight. This didn't work on the back so well.
I was also paranoid of enlarging the holes too much so the nutserts wouldn't grab very well. I found a method that worked though. I did the same thing as before, but held the Astro tool nice and level with the nutsert up against the hole and tapped in the nutsert from the rear striking the Astro tool with a hammer where the mandrel came through the body. It was pretty easy and was just enough force to get it seated.
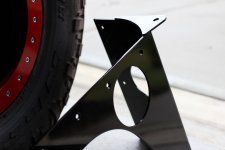
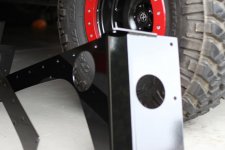
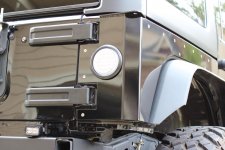
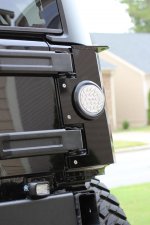
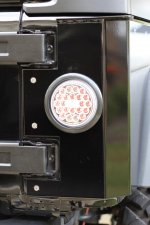
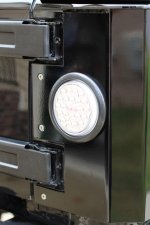
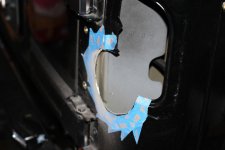
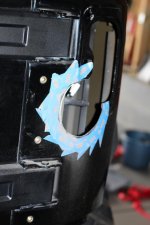
Now, for the tail light cut out. This is a lot easier with the right tools. I ended up using my jigsaw for most of the cut. Did great, nice smooth circle. But you can see through the hole that there's a support brace behind part of the cutout and the jigsaw blade was too long to keep from bumping against that. I thought about going to get an air saw from Harbor Freight, but decided to try using my Dremel. Thankfully it wasn't too long, or the sheet metal was too thick and I had safety glasses!


Last edited:
JK_Dave
Caught the Bug
Now, call me lazy here, but Poison Spyder came up with some wire harnesses for the tail lights that are plug and play. Are they f'n expensive? Absolutely! :shock:
But, it saved me a few hours dicking around with splicing wires and in the end, that was worth it to me. The one thing I did have to redo was to tap my Rigid SR-M lights into the reverse signal so I can keep those as my new reverse lights.
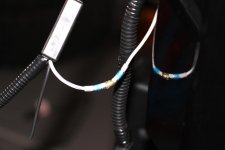
I just simply cut off one of the extra reverse light leads they built into the harness and soldered into the white wire and heat shrinked it.
But, it saved me a few hours dicking around with splicing wires and in the end, that was worth it to me. The one thing I did have to redo was to tap my Rigid SR-M lights into the reverse signal so I can keep those as my new reverse lights.

I just simply cut off one of the extra reverse light leads they built into the harness and soldered into the white wire and heat shrinked it.
JK_Dave
Caught the Bug
Great job on the corners!
Thanks! It's not always easy working by yourself and learning as you go.
CarolinaJK
New member
Those corners look amazing! Great work!

