JKRicky
Member
Thanks for the links Dave! That's exactly what I was referring too!
Great name for the rig! im excited to see the pictures showing your progression!
Those are pretty nice. I hadn't seen the CMM yet. My C75 is mounted under the glove box and the wire just runs beside the passenger side of the console. I keep it tucked between the console and passenger seat and console (buttons facing the passenger seat so the screen doesn't get scratched) when not in use and just set it in my lap or in a cup holder while wheeling. Not having a permanent mount hasn't been an issue yet and it's never in the line of sight.
Love the Jeep name and the emblem! Looking forward to see those coilovers and tires on!
Thanks and I'm also anxious to get the coilovers on.
I also usually throw the mic in my lap or cup holder too. Works out fine for now. Did you mount an external speaker or do you plug an aux cord to your sound system? I've just used the hand held speaker which does put out decent sound. Just curious.
I've got a 75 as well and ran an external speaker under the passenger seat and mounted it to the seat mount. It's a fairly large 10W speaker, but I've seen others use the smaller 5W one and actually hide it under the roll bar padding up next to the driver's ear. I'm sure that's a pain to run the wiring for, but pretty stealthy! I wish I could remember the name of the member on here that had picture of that. :doh:
Sweet wheels! Heavy duty stuff right there.
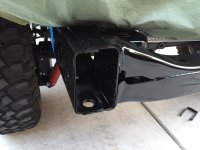
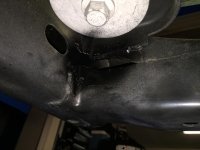
 Cut and painted.
 To get the wing-nut into the frame rail, I shaved off the upper portion of the opening using a Dremel on the backside. The nut slipped right in making it possible for me to hold onto the "wing" to line it up with the bolt. Worked out perfect. And of course, I shot it with some paint.
  Overall, this install went super smooth and I couldn't be happier with the way it turned out.
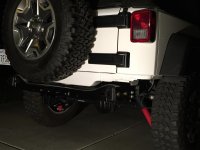
Just got the slabs installed and they look amazing. A huge thanks to Eddie and Mel for making the install video which made installing these a breeze. View attachment 137340
Awesome. Those are some of the nicest looking wheels out there. I cannot wait for a set....
Thanks Andrew. I'm very happy with them and can't wait to mount them up!
