greenMarine
Member
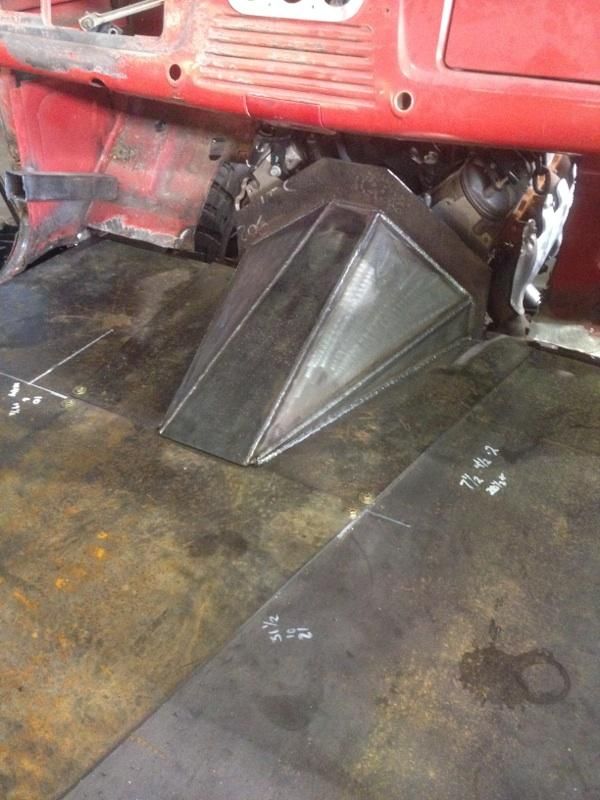
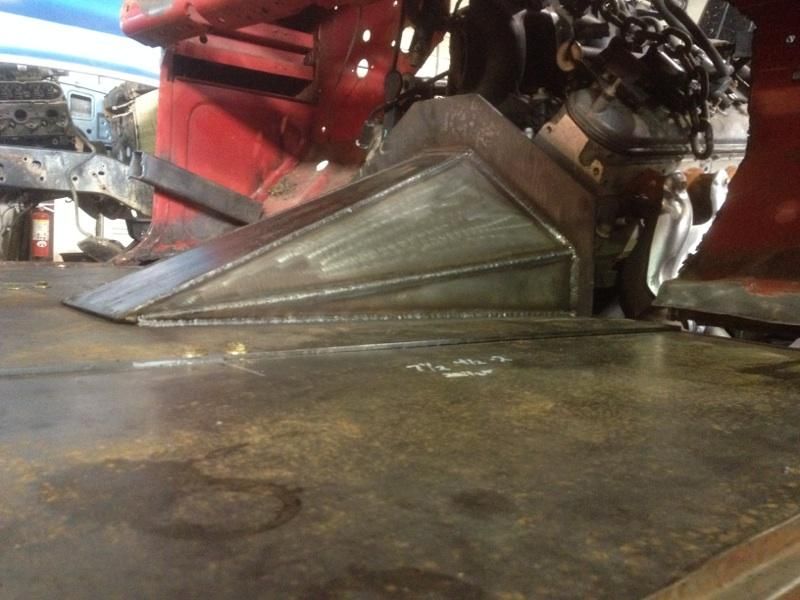
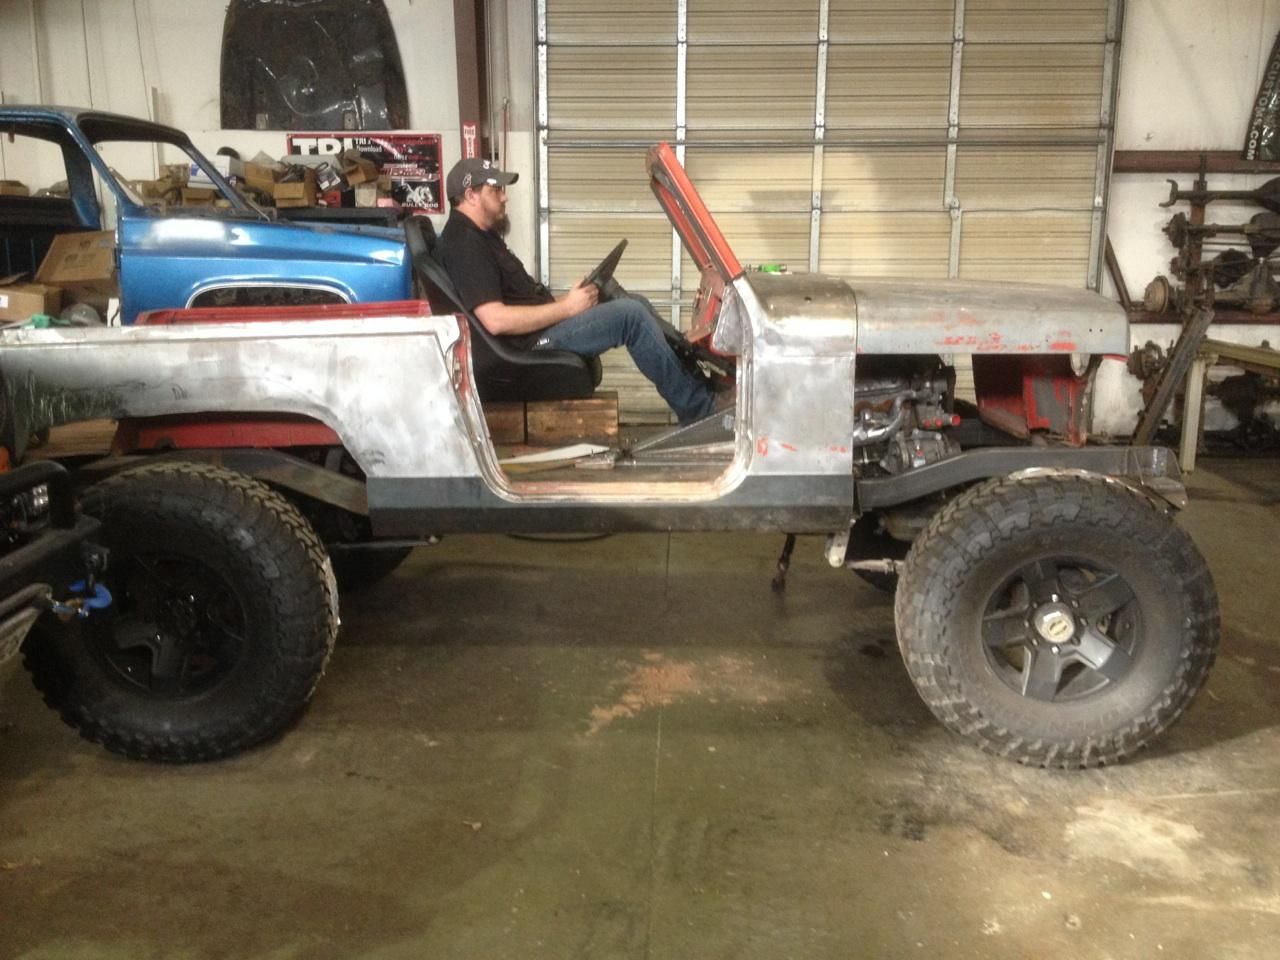
The transmission tunnel is in.
Tunnel alone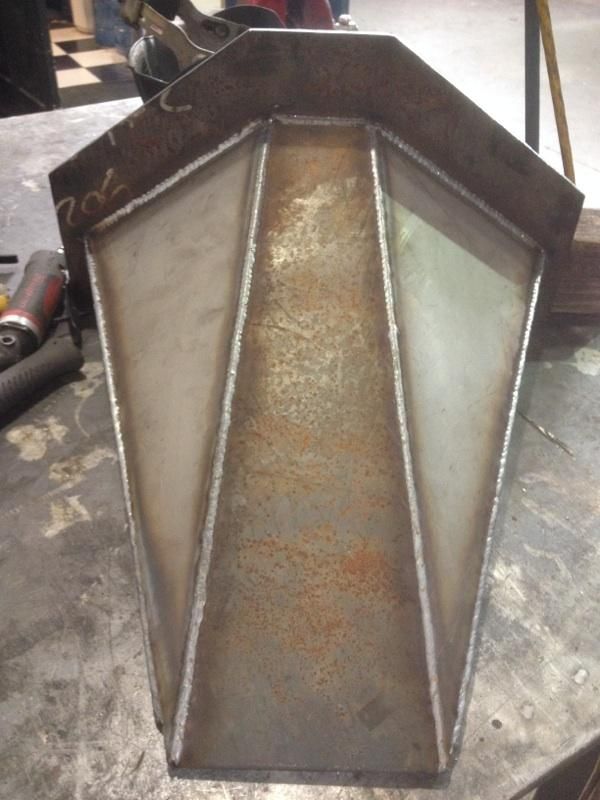
The seats will be about 2" lower than what these pictures show.
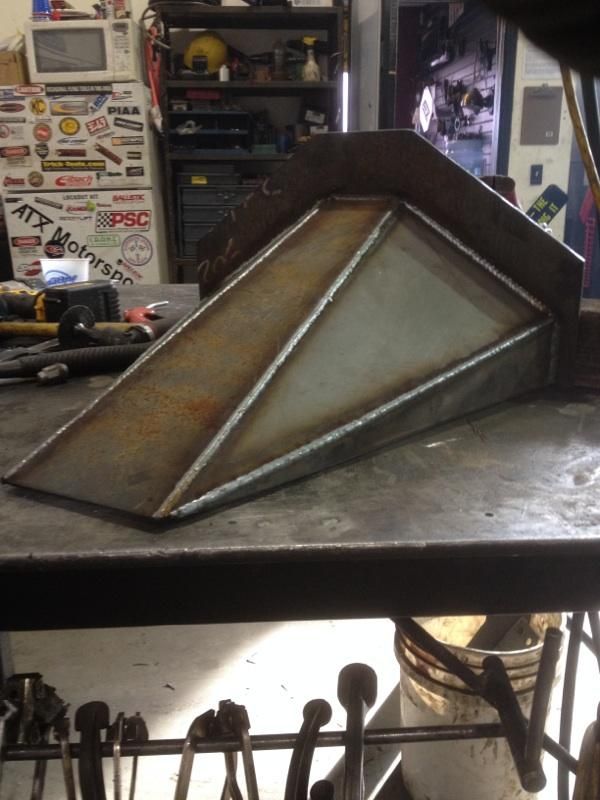
Tunnel alone


The seats will be about 2" lower than what these pictures show.


