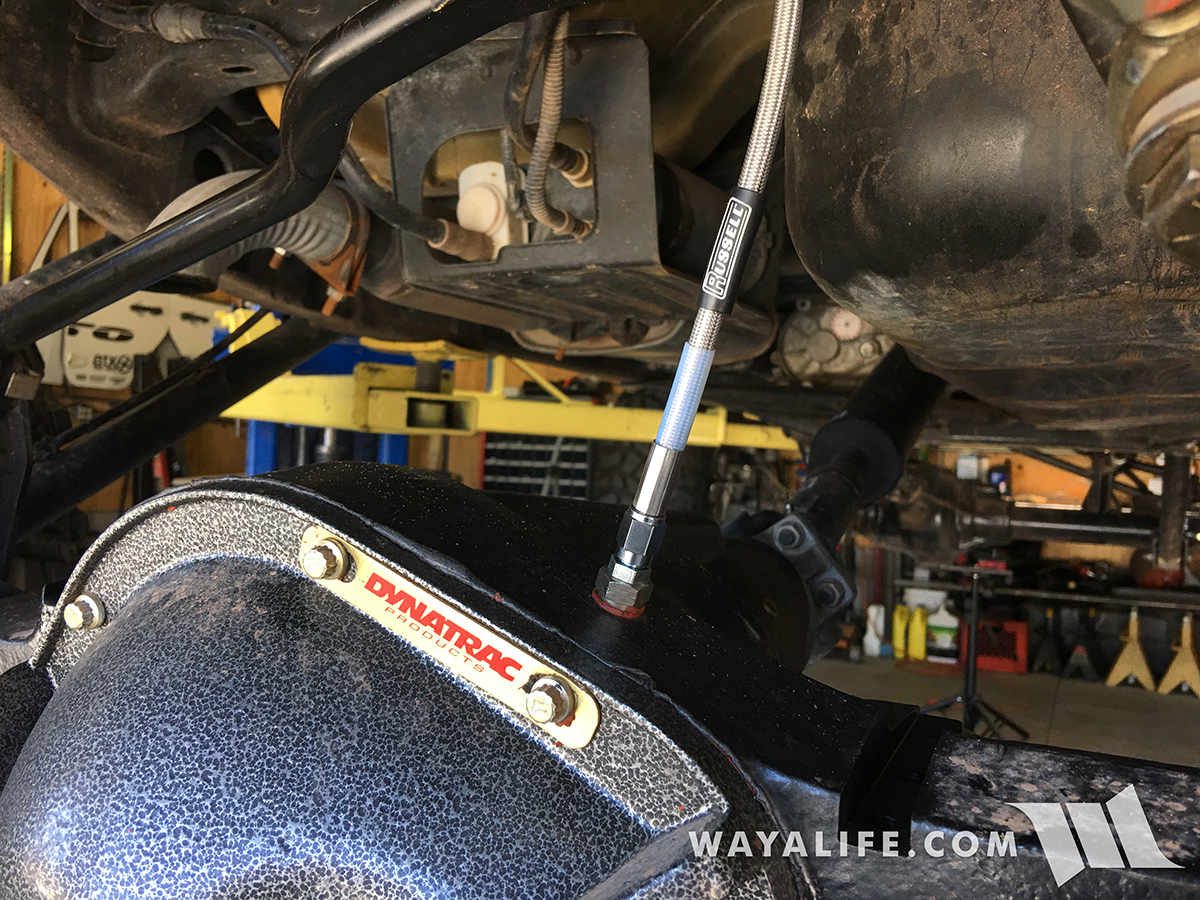
ARB Locker Stainless Steel Air Line Installation Write-Up

wayoflife

Administrator
Staff member
20170603185222-45cd8e8e.jpg


So you pull up to a big obstacle all ready to take it on, you turn on your ARB compressor, turn on your front and rear lockers, attempt to start climbing it... struggle... and then your spotter yells out, "YOU'RE LOCKERS AREN'T ON!" Or, you turn on your lockers and all you hear is your compressor buzzing away while pumping a whole lot of air into thin air. A common scenario that every ARB locker owner has experienced at least once and it's a reason why some steer clear of them and that's a shame being that when they work, ARB's work well and are really strong.

The biggest problem with the blue plastic ARB air line that comes standard with their lockers is that most people route them too close to the exhaust or other engine component that gets really hot and that causes it to melt. Or, they run it next to something sharp and movement allows it to chafe and get cut. Then, there are some who run the line through the frame rail thinking that would protect it but of course, the exhaust runs right along side it and it can get hot enough to melt the line as well. With a severed line, your compressor will just keep on running and that makes it easy to figure out what's going on. Of course, more times than not, the line will just melt causing the line to pinch off and when this happens, your compressor will still come on, charge up the length of line leading out of it and give you the false impression that your lockers are engaged. This is always the worst being that it can be difficult to track down a melted line especially if it's run though the frame rail.

The solution, or at least what I have found, is to install a set of stainless steel air lines. They aren't cheap but ever since I started running them, I always have lockers and I have yet to have a problem with them. They are durable, resist chaffing, difficult to cut and can handle a greater amount of heat. Naysayers will tell you that the standard blue plastic ARB air line is easy to repair but to that, all I can say is that I have yet to have a stainless steel line fail on me.

For the purposes of this write-up I am using a set of Russell stainless steel lines although, I have used Rubicon Express in the past and of course, ARB makes a set too.

What you will need
Russell 634520 Rear Air Line Kit
Russell 634510 Front Air Line Kit
Russell Universal Braided Stainless Steel Brake Line - 32" (as needed)
• 3/8" x 24 UNF Stainless Steel Adapter (only if extension is needed)
• (2) 11mm wrenches
• 13mm Wrench
• 5/16" Wrench
• 9/16" Wrench
• Zip Ties

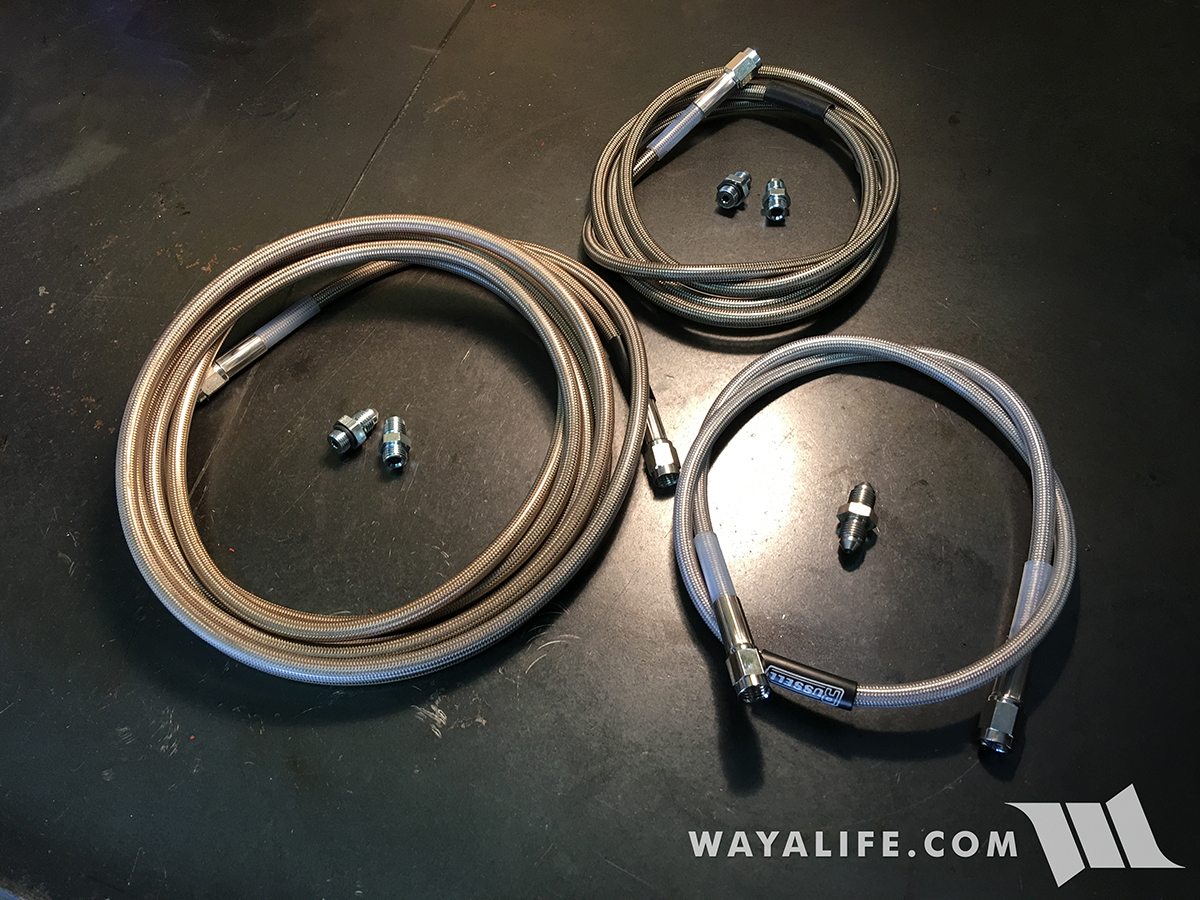
Here's a shot of the front and rear air lines as well as an additional 32" extension that I needed for Rubicat and her rear ProRock 60.
20170603185115-8a2fa402.jpg


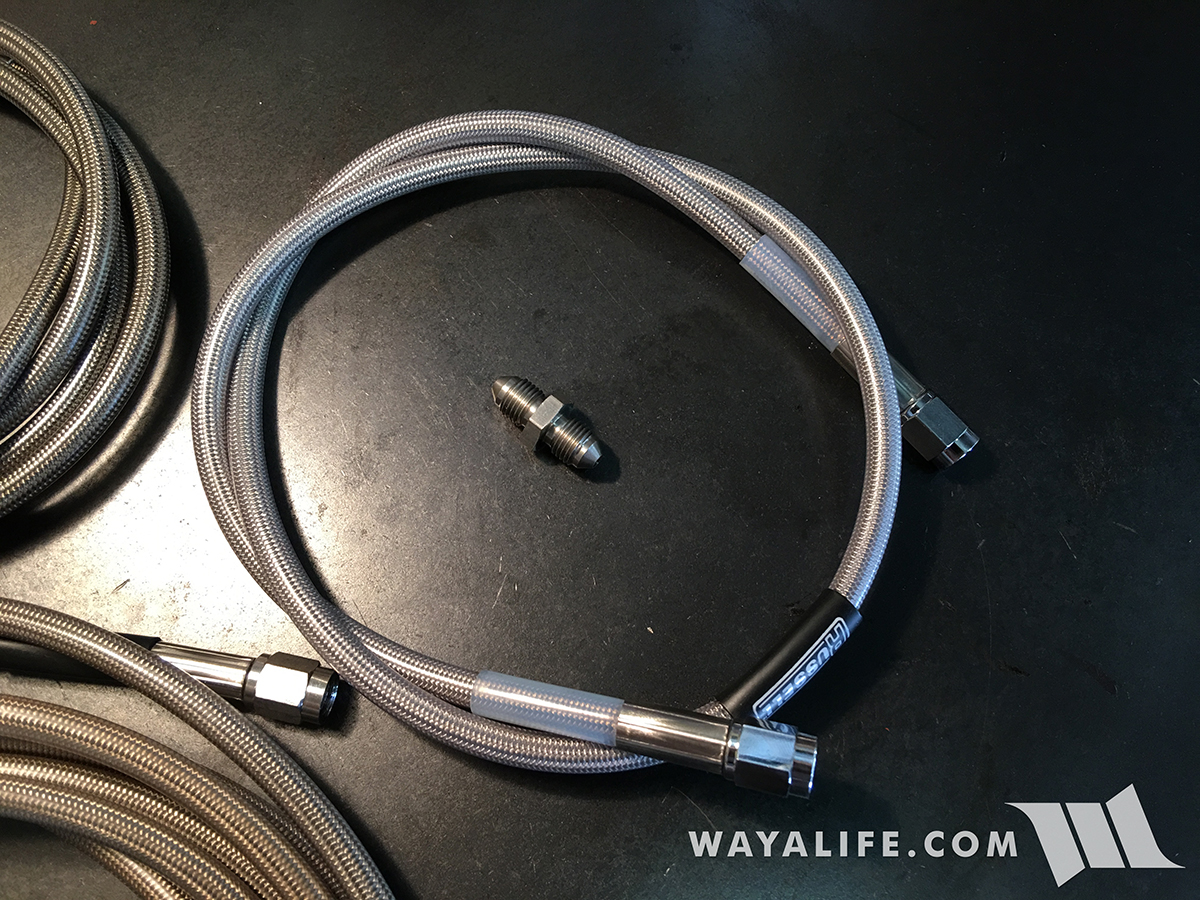
This is the 32" extension as well as the 3/8" x 24 UNF Stainless Steel Adapter that is needed to make it work.
20170603185119-a8a1e24d.jpg


Instructions
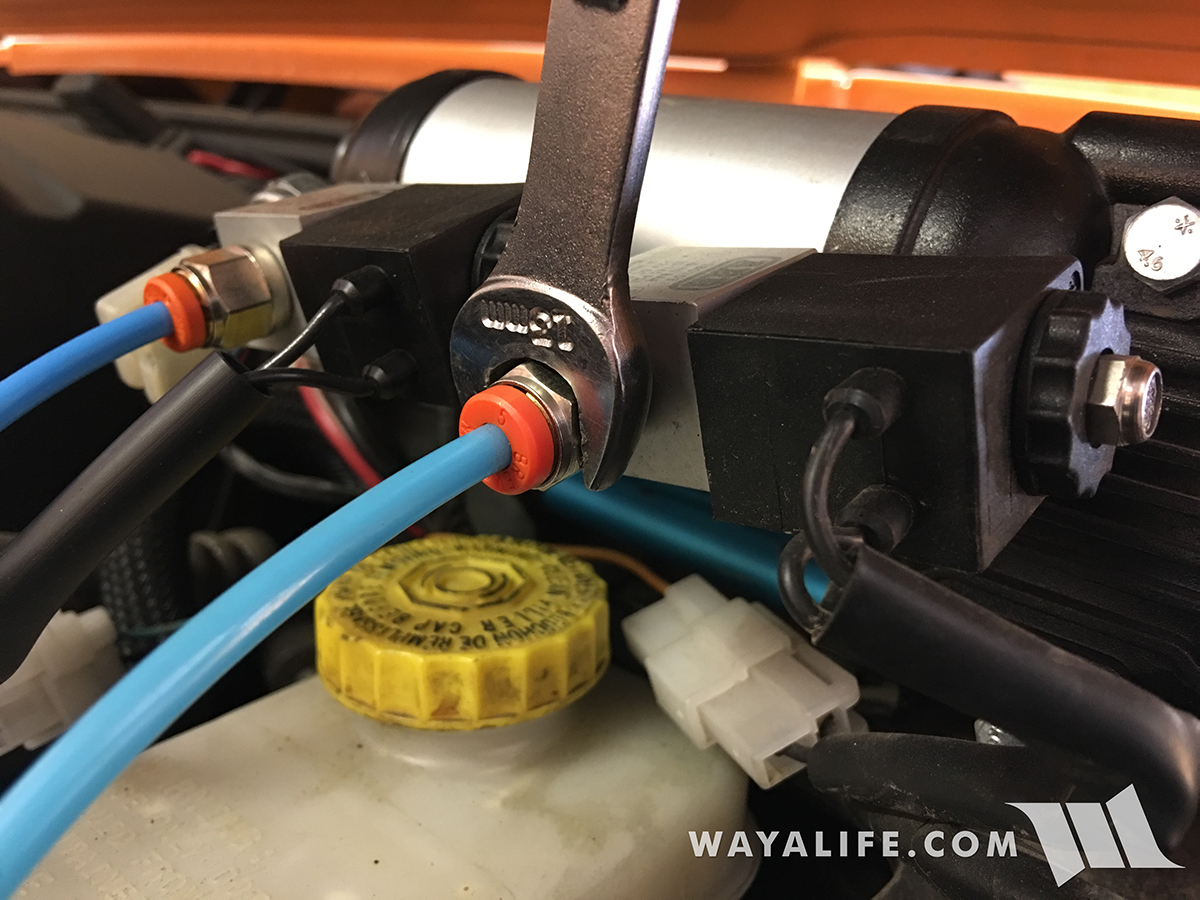
1. Begin the installation of your new stainless steel air lines by removing the blue plastic ARB ones attached to your compressor. You will need a 13mm wrench to separate the fitting from the solenoid.
20170603185108-f173a476.jpg


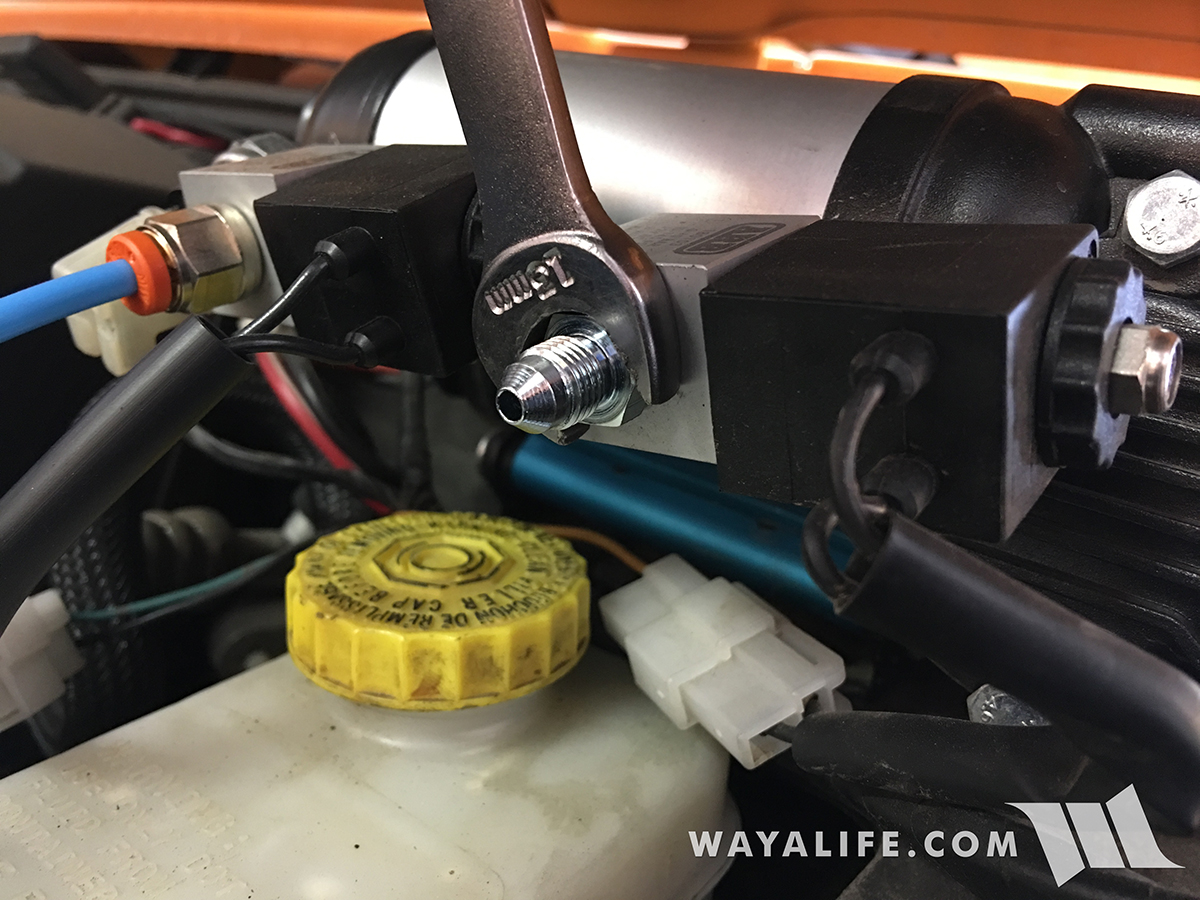
2. Using a 13mm wrench, secure the new solenoid fitting that comes with your your stainless steel air line kit.
20170603185105-e8f2545e.jpg


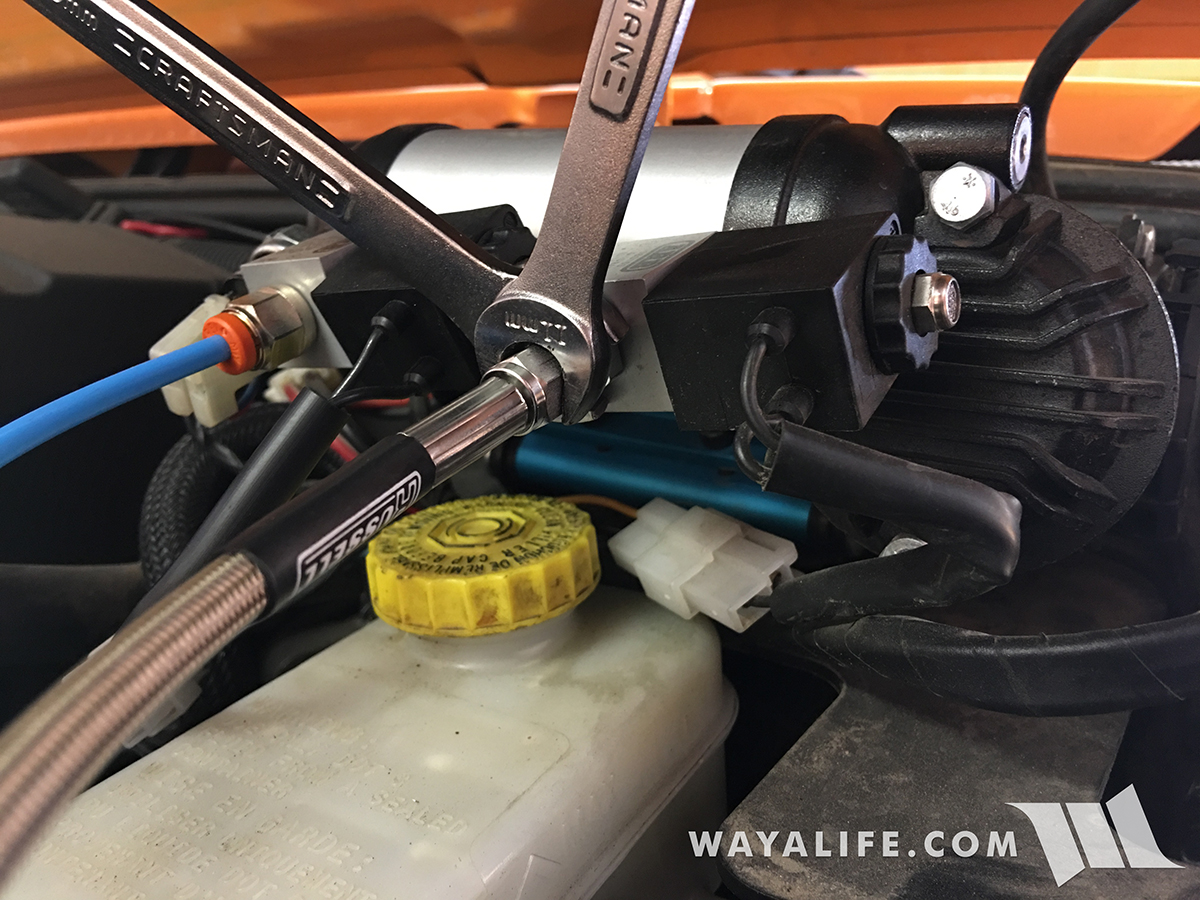
3. Using a 13mm wrench to hold the solenoid fitting in place, secure the rear stainless steel air line to the fitting using an 11mm wrench.
20170603185111-92ba6e08.jpg


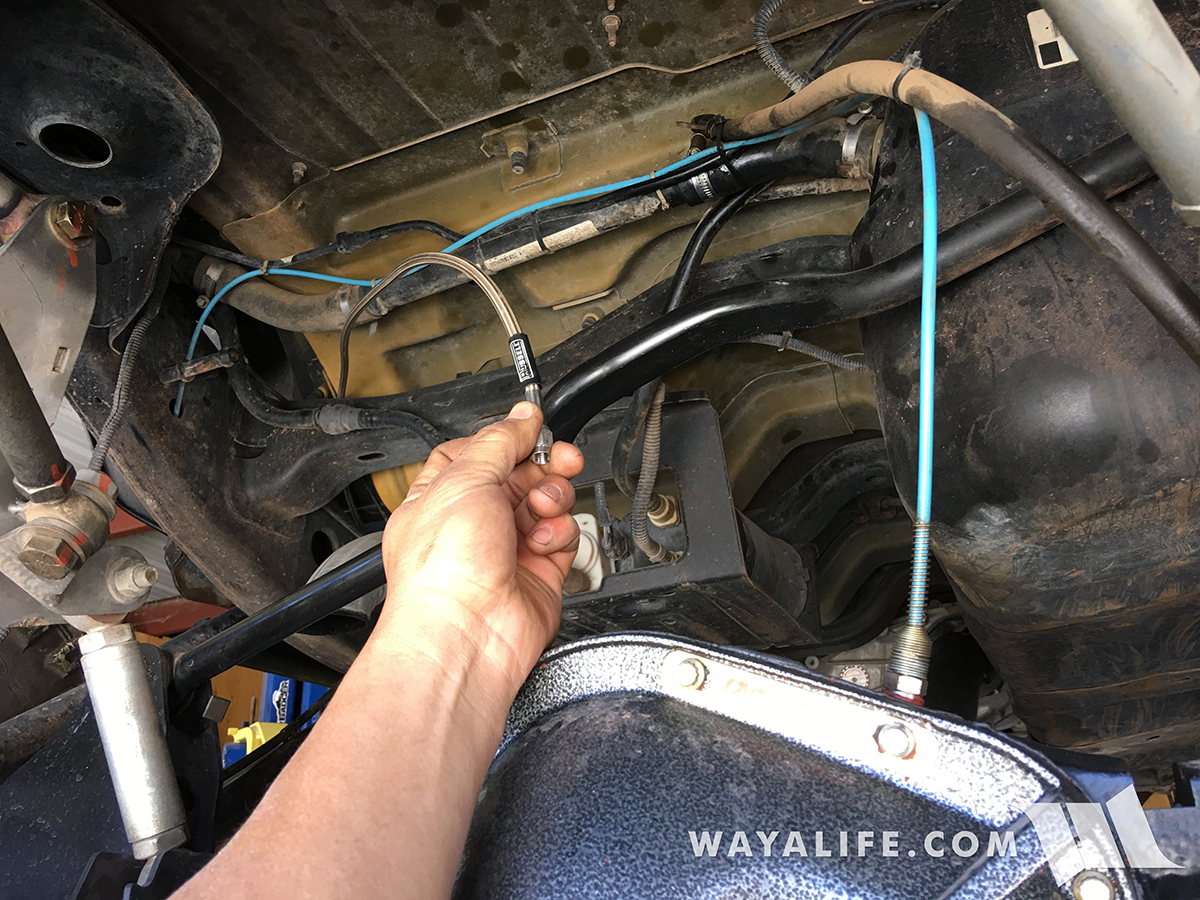
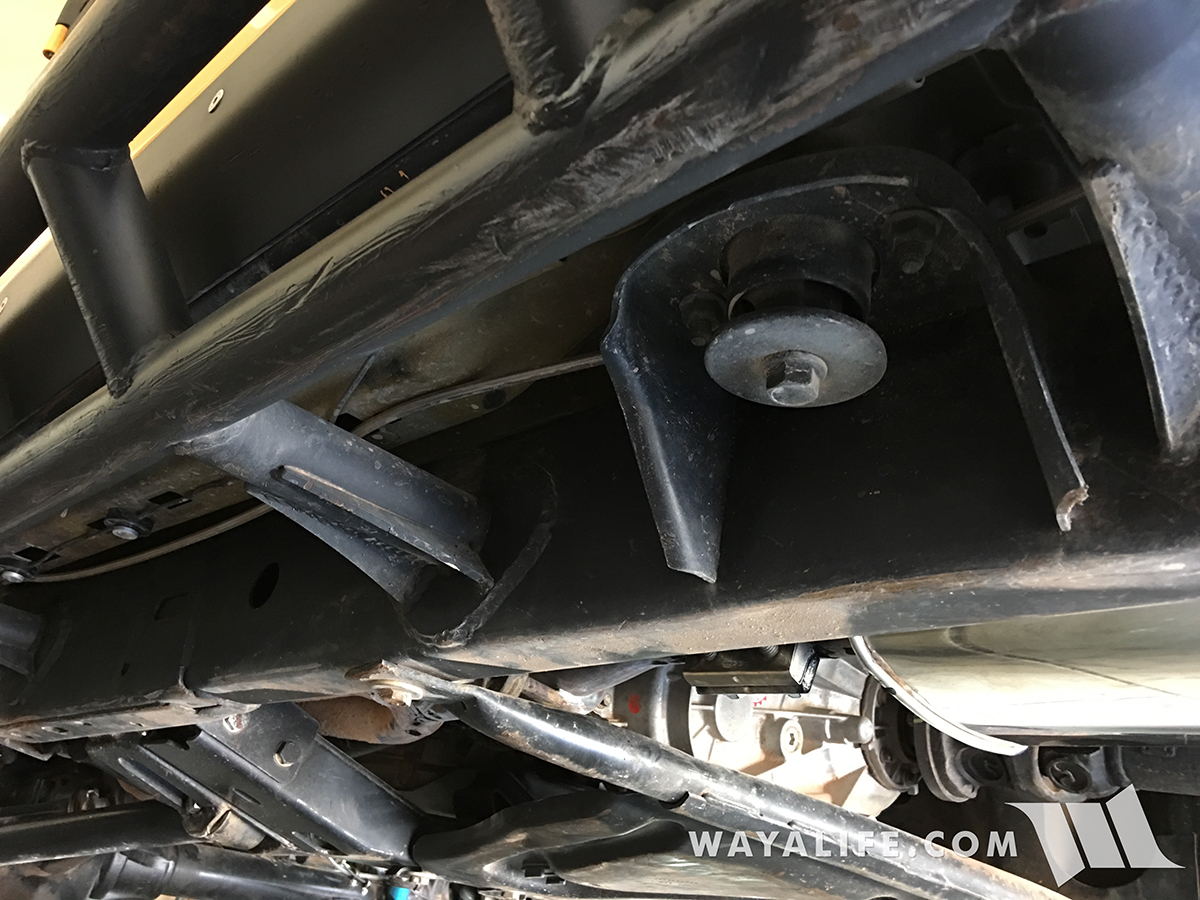
4. Route your stainless steel air line to the back of your Jeep. I prefer to do this on the outside of the frame rail and along side the body mounts.
20170606140540-16d23bbc.jpg


20170603185134-817bf10f.jpg


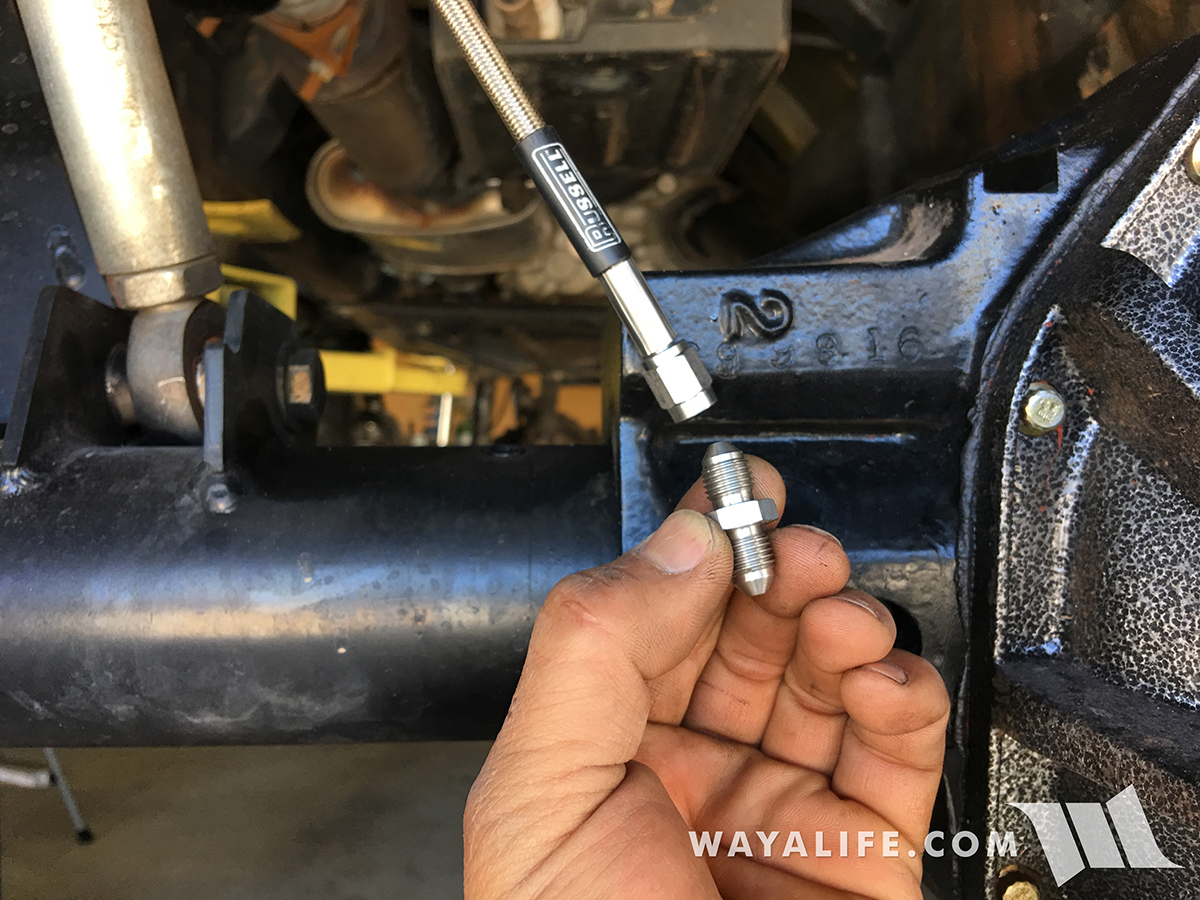
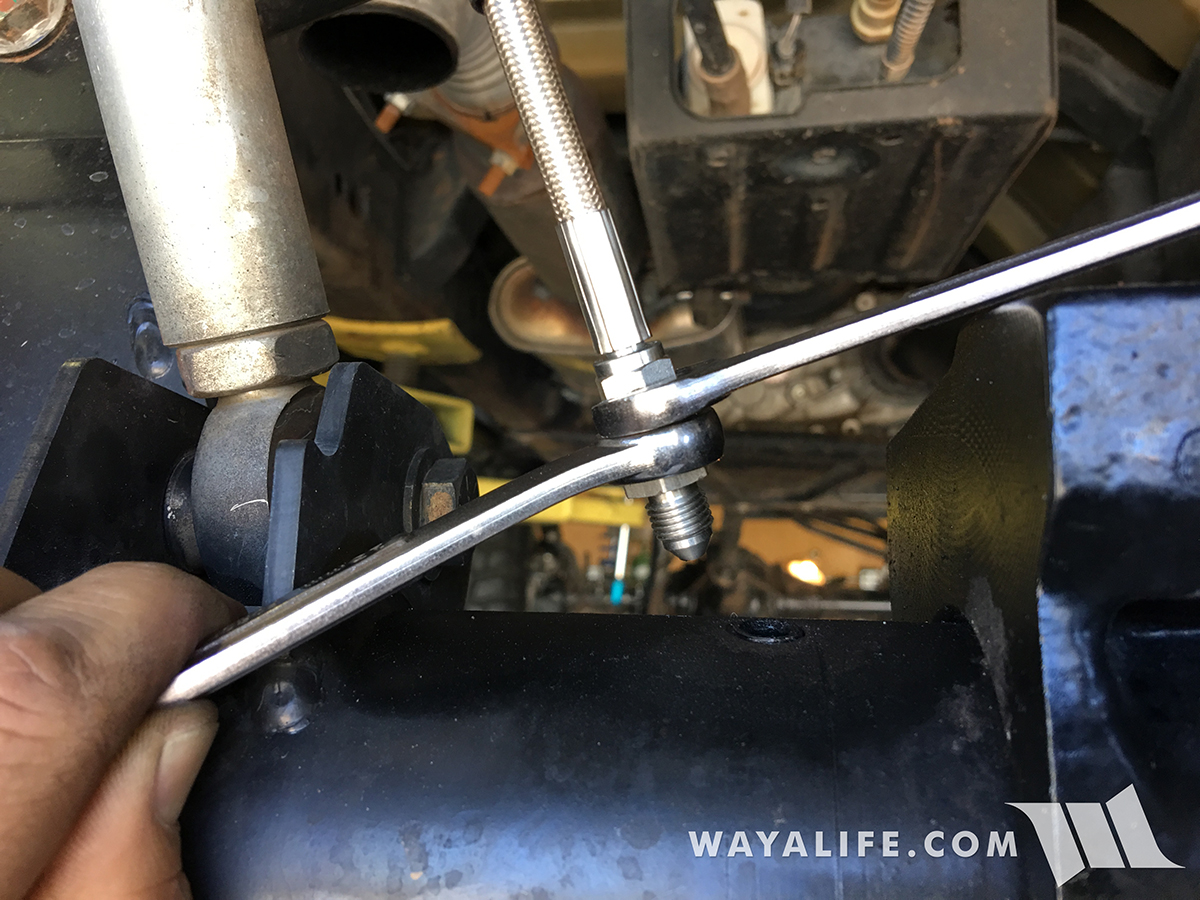
5. Because of the location of the ARB bulkhead fitting on our Dynatrac rear ProRock 60 axle and the amount of droop we get with our EVO Lever, an additional amount of air line was needed. To make this work, I had to install a 3/8" x 24 UNF Stainless Steel Adapter. If you are not in need of an extension, proceed to step #7.
20170603185137-8da7c9ca.jpg


You will need an 11mm and a 13mm wrench to secure the adapter to the stainless steel air line.
20170603185140-b8827208.jpg


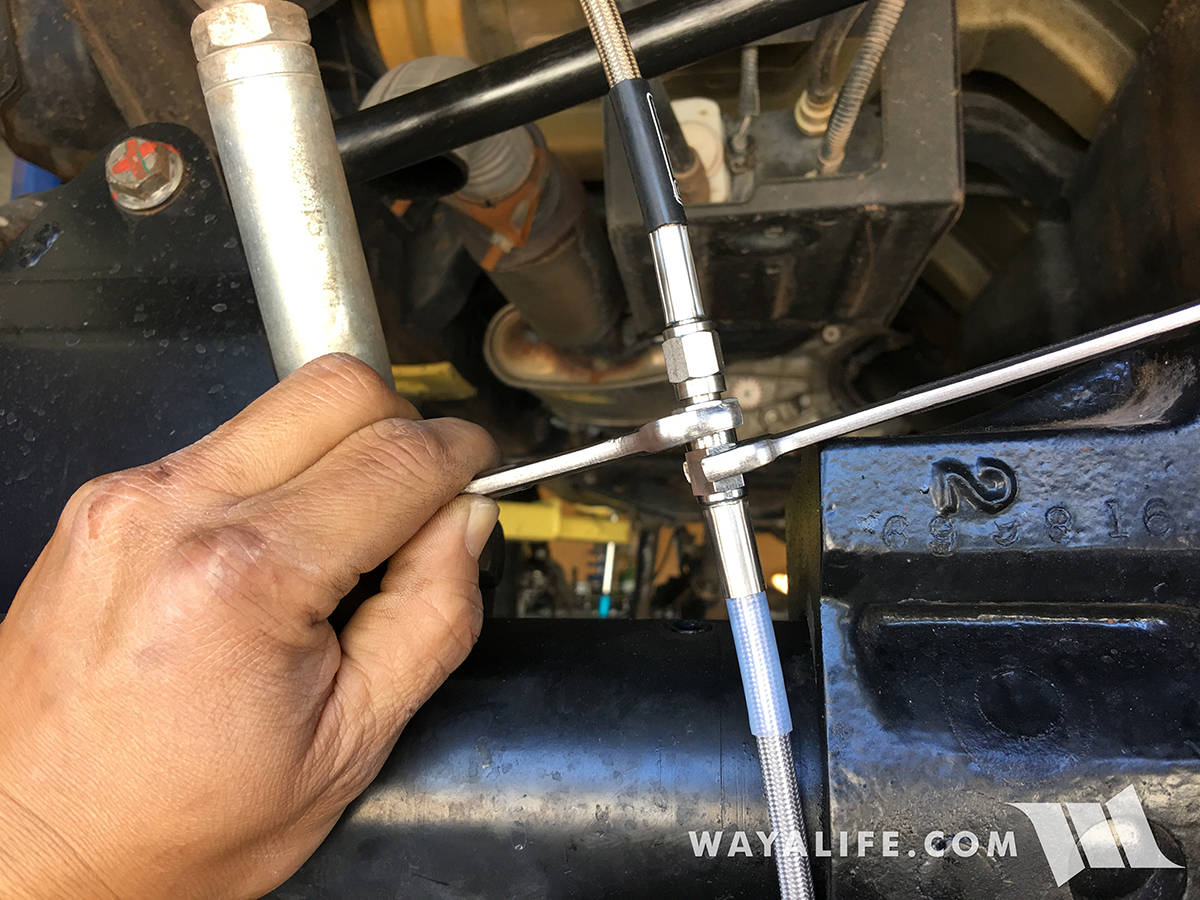
6. Attach the 32" stainless steel extension to the adapter and secure it in place using a 13mm and 11mm wrench.
20170603185144-f3bc3c2c.jpg


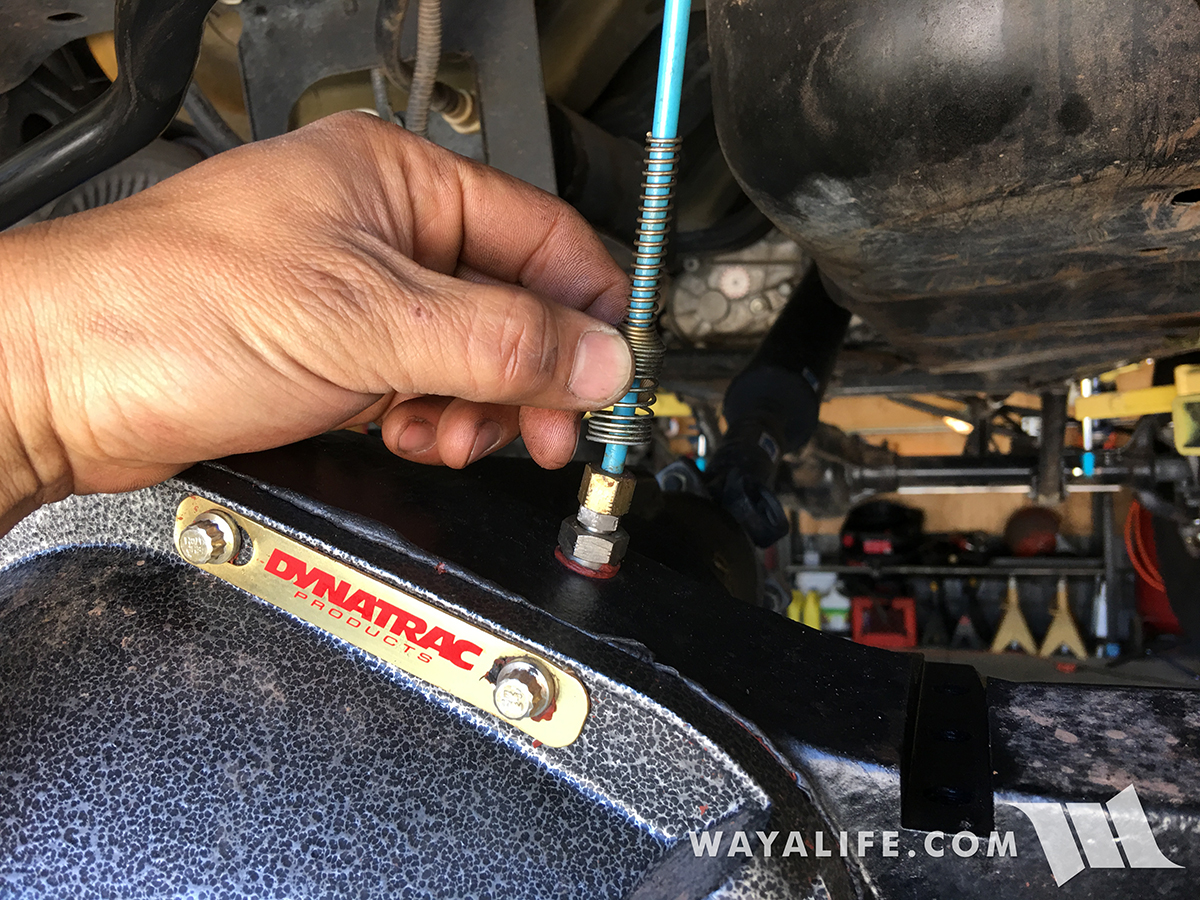
7. Pull the spring up and off the brass bulk head fitting attached to your axle.
20170603185150-88317e5a.jpg


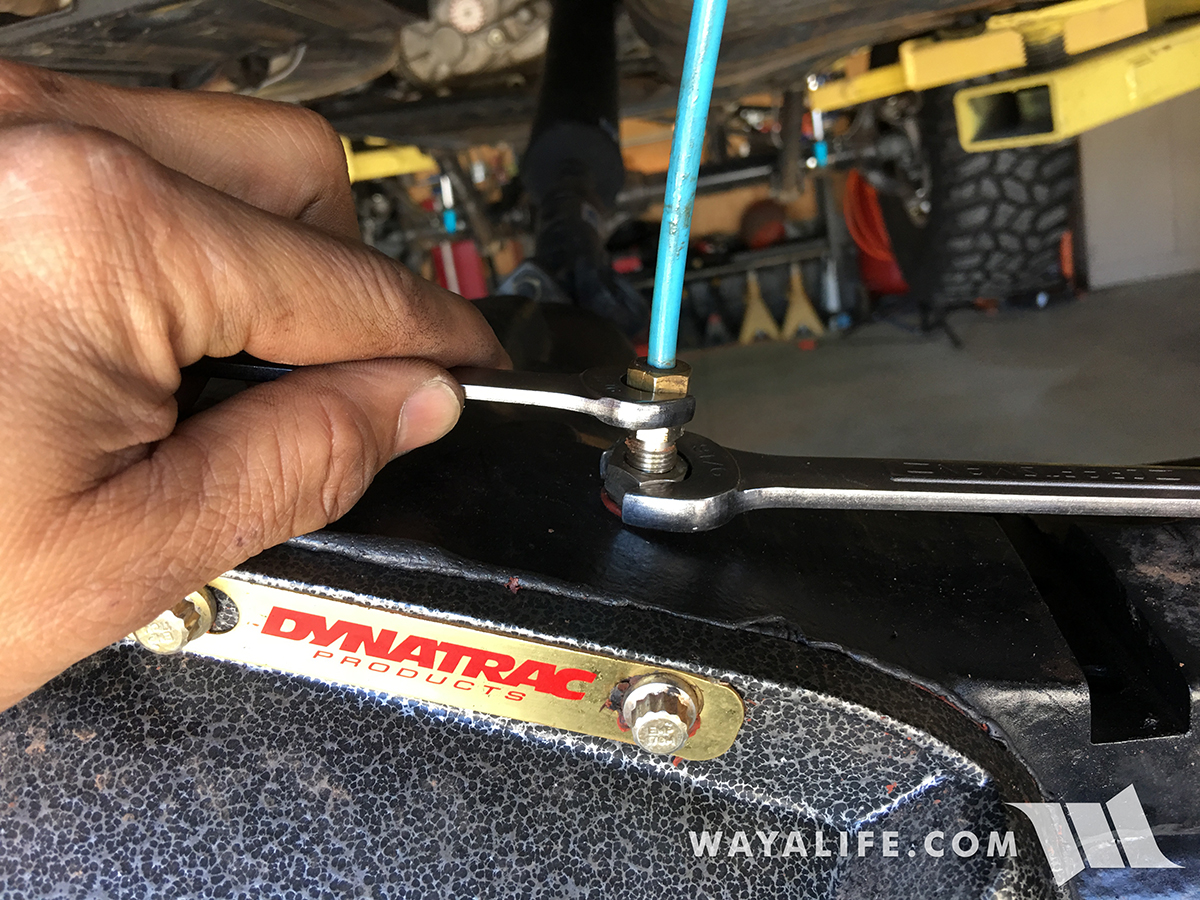
8. Hold the bulkhead fitting with a 9/16" wrench and then remove the blue plastic air line fitting using a 5/16" wrench.
20170603185154-08741e03.jpg


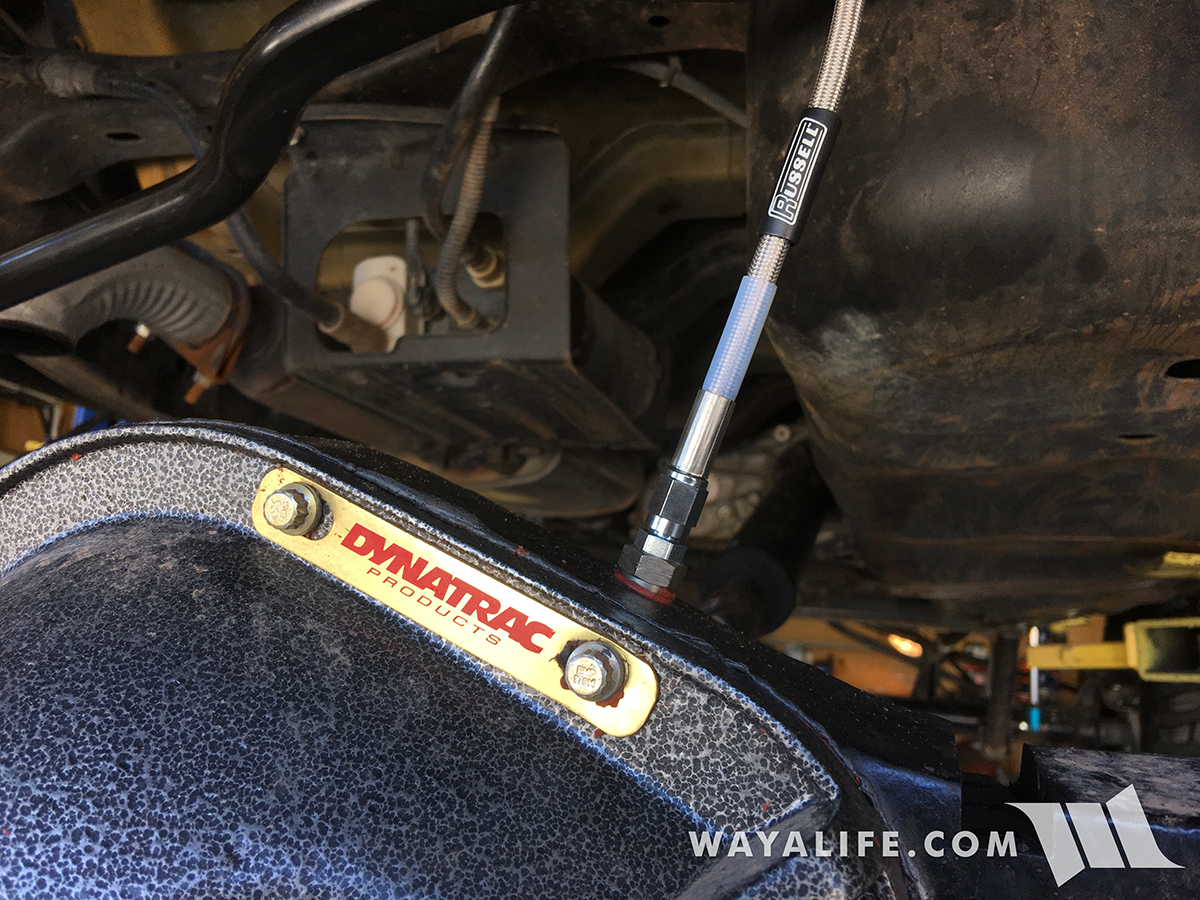
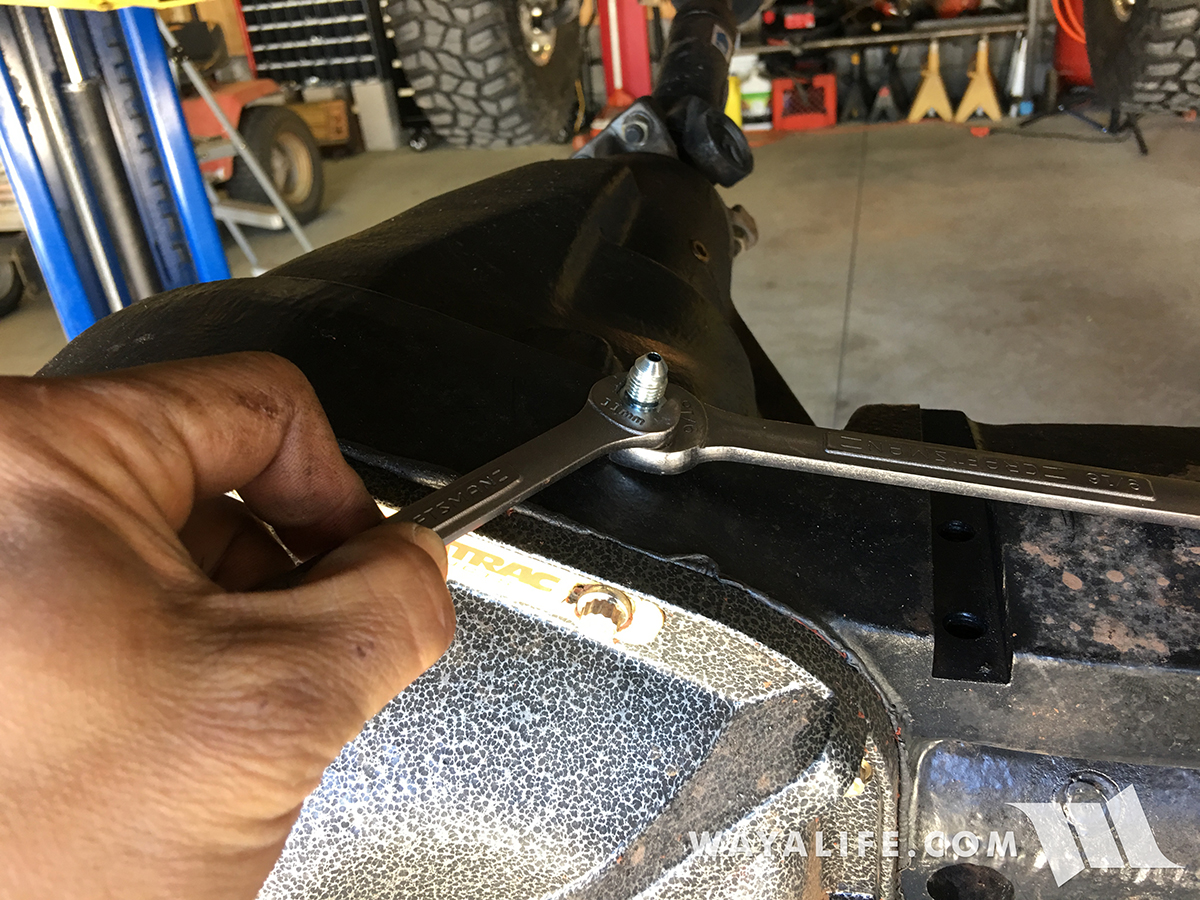
9. Continue holding the bulkhead fitting with a 9/16" wrench and then secure the new stainless steel air line fitting on to it using an 11mm wrench.
20170603185158-0d5ec462.jpg


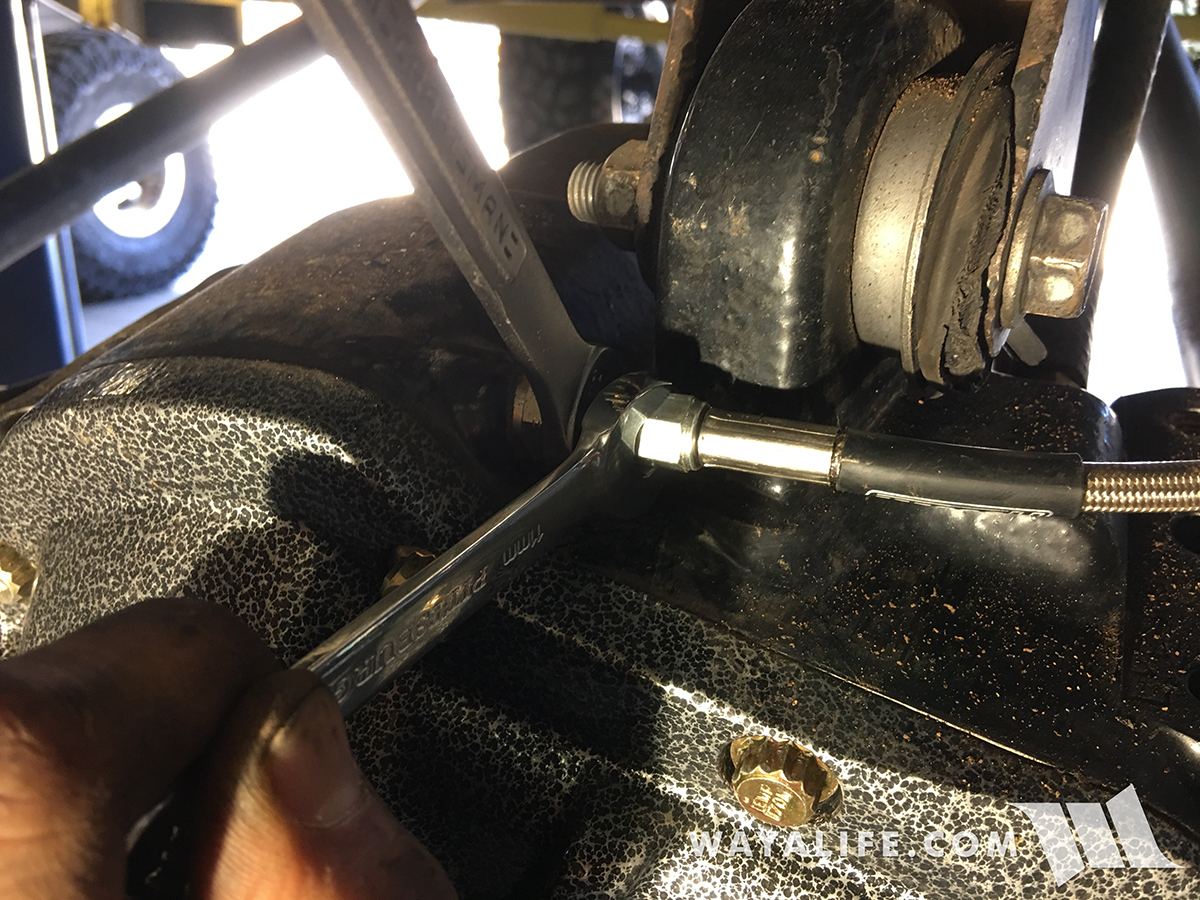
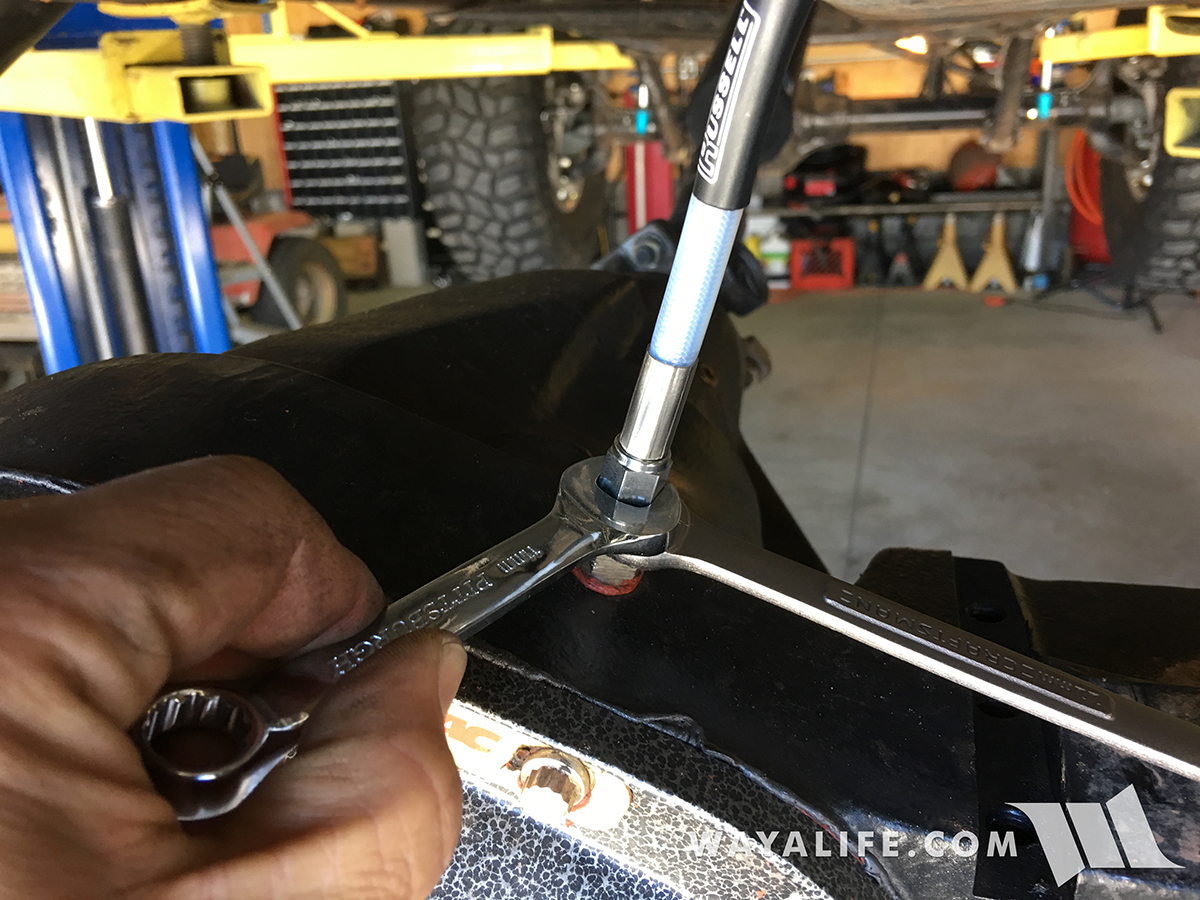
10. Use one 11mm wrench to hold the fitting attached to the bulkhead and use another 11mm wrench to secure the stainless steel air line to it.
20170603185201-45fdd831.jpg


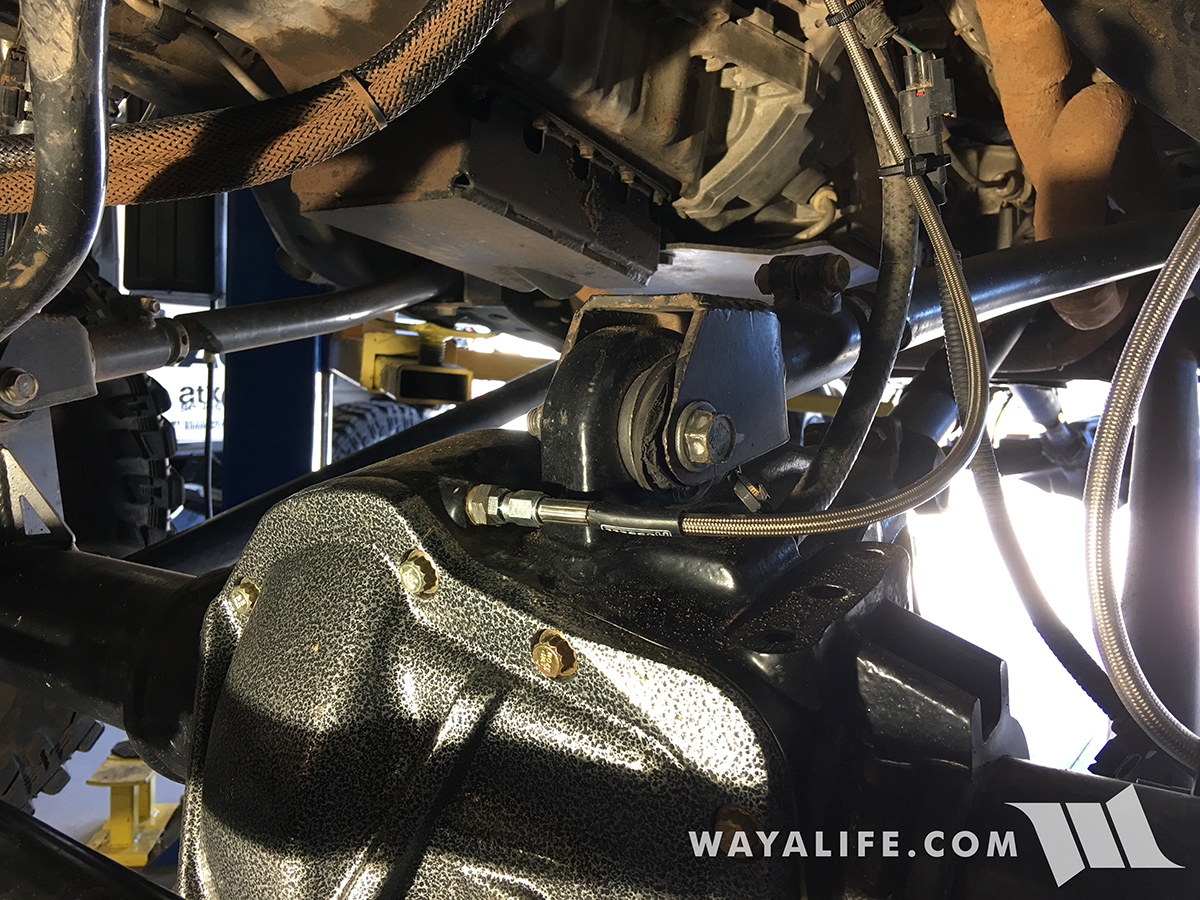
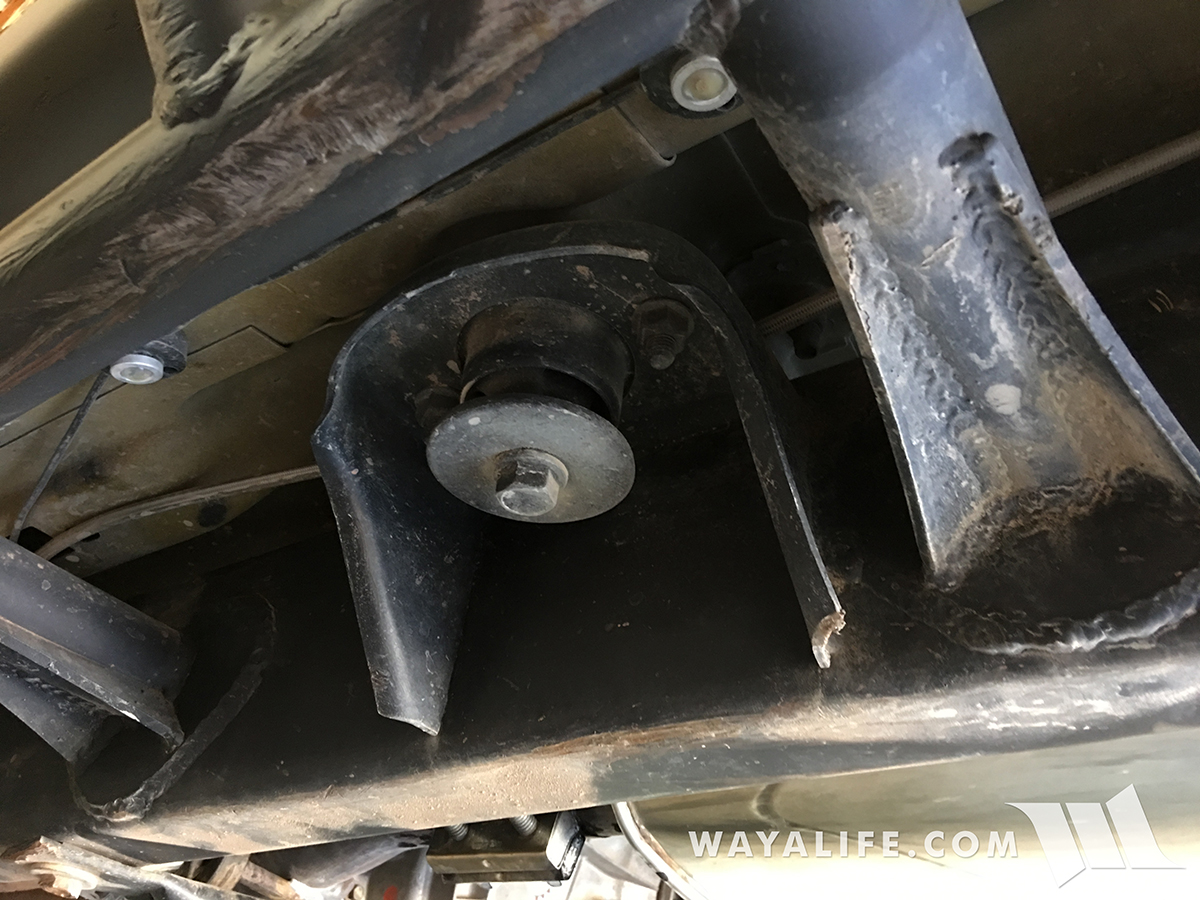
11. Zip tie your stainless steel air line to your body mounts or other fixtures and you're done.
20170606140542-06ce1d19.jpg


20170603185220-67cf5a29.jpg


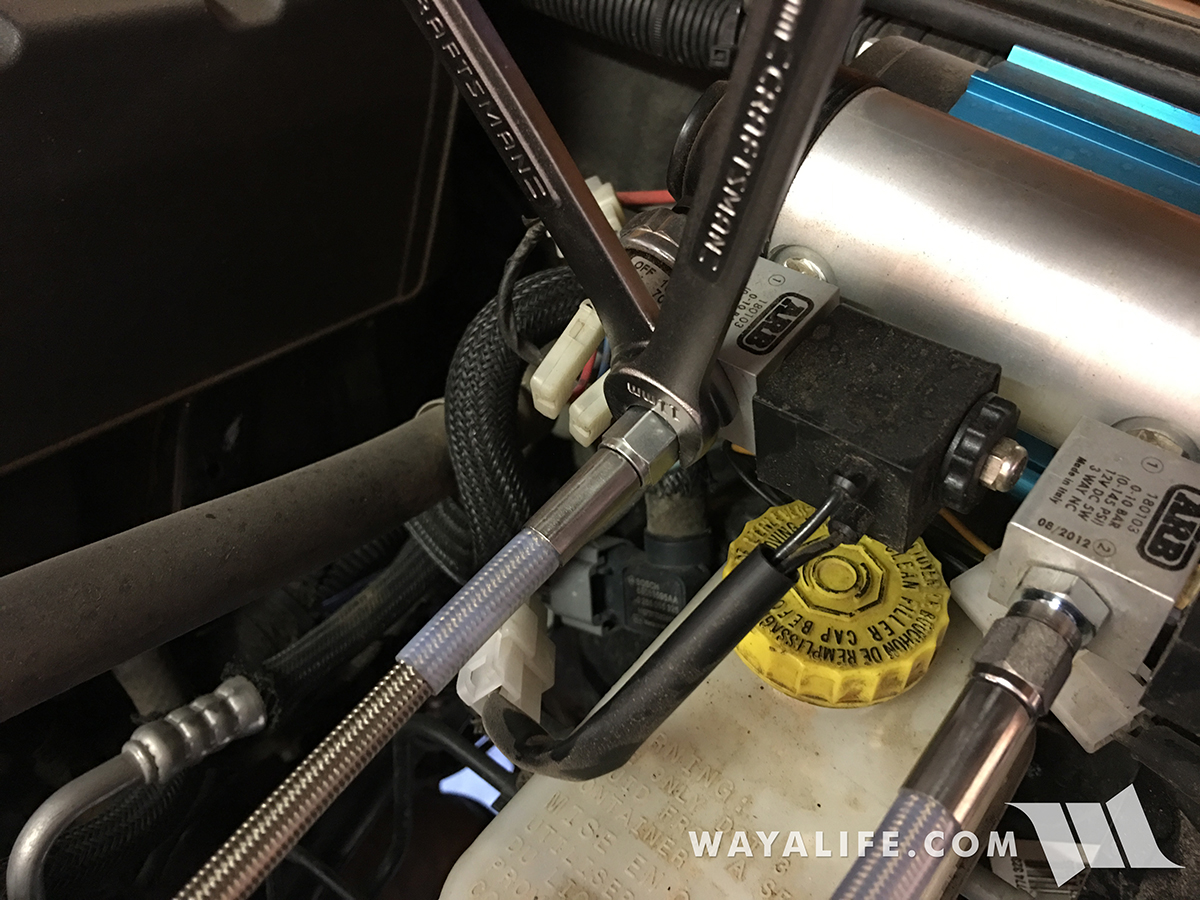
12. Repeat the same process for your front axle.
20170603185204-e75215e6.jpg


20170603185213-b0167e0f.jpg


20170603185217-e914f738.jpg


That's all there is to it. Check for leaks and you're done. Please let me know if you have any questions. :cool:
 
Thanks for the write up Eddie, I will have to come back to this someday when I need to redo my lines.
 
Nice. :thumb: I had never heard of this until recently, but I have a stainless rear line on the new jeep. I'll look to add one for the front.
 
So you pull up to a big obstacle all ready to take it on, you turn on your ARB compressor, turn on your front and rear lockers, attempt to start climbing it...
That's all there is to it. Check for leaks and you're done. Please let me know if you have any questions. :cool:

Thanks for the write up. I'll definitely keep this in mind if I ever need it. Seems easy enough.


Nice. :thumb: I had never heard of this until recently, but I have a stainless rear line on the new jeep. I'll look to add one for the front.

There's a reason that new line is there ...... https://wayalife.com/showthread.php...nlimited-build&p=906301&viewfull=1#post906301
 
Looks good! Currently no problems with mine but will keep an eye on it. We do a lot of pneumatics at work, and I have had my eye on a high temp chemical resistant tubing which I came across while doing some work related research. Obviously still would not have the abrasion resistance of the SS.

Sent from my SM-G955U using WAYALIFE mobile app

Great wright up. I did this a couple months ago and nock on wood, no problems yet.
 
I need to do this. Been wanting to for a long time but haven't gotten around to it. Now I know what I need :thumb: thanks eddie!
 
Eddie, great write up as usual. Question - are the air lines -3AN or -4AN and would you recommend buying bulk stainless brake line hose and making you own lines cut to length?
 
Eddie, great write up as usual. Question - are the air lines -3AN or -4AN and would you recommend buying bulk stainless brake line hose and making you own lines cut to length?

I believe they are -3 AN and if you have the means, I suppose buying it in bulk and cutting it to length would save you money.
 
Just received the front XD60 and looking at routing the locker line to the dual ARB under the passenger seat. Before installing everything, I think I'd like to make this upgrade a part of the install. I notice the front line is only 5 ft long and do not believe that it'll be long enough to reach under the passenger seat.

I have a few questions as I try to visualize the install.
Would the front kit (Russell 634510 Front Air Line Kit) start at the axle and track toward the ARB? or does it start at the ARB? (maybe it doesn't matter)
Was the 32" extension used on both the front and rear setup?

Thanks!

As you can see in the write-up, I installed my ARB compressor under the hood over by the master cylinder. For this, the 5 ft. long hose was enough to get the job done. If you are taking it inside and under the passenger seat, you'll need to determine ahead of time how much line you'll need. The extension I got was for the rear only and only because of where the bulkhead port is located on a PR.
 
As you can see in the write-up, I installed my ARB compressor under the hood over by the master cylinder. For this, the 5 ft. long hose was enough to get the job done. If you are taking it inside and under the passenger seat, you'll need to determine ahead of time how much line you'll need. The extension I got was for the rear only and only because of where the bulkhead port is located on a PR.

Great, thanks. It looks as if I can get an approximate measure of how much i'd need and then order that size so its one continuous line. Gives me a small project to do this weekend.
 
Hey Eddie,

Got 12’ which should be long enough...hopefully. I’m installing tomorrow and was wondering if I should put Teflon tape on the on each end of the fittings. Mostly wondering about the fitting that attaches to the axle. Don’t think it matters really but just wondering. Thanks!
 
Hey Eddie,

Got 12’ which should be long enough...hopefully. I’m installing tomorrow and was wondering if I should put Teflon tape on the on each end of the fittings. Mostly wondering about the fitting that attaches to the axle. Don’t think it matters really but just wondering. Thanks!

The lines are essentially brake lines. No Teflon is needed


Sent from my iPhone using WAYALIFE mobile app
 
Hey Eddie,

Got 12’ which should be long enough...hopefully. I’m installing tomorrow and was wondering if I should put Teflon tape on the on each end of the fittings. Mostly wondering about the fitting that attaches to the axle. Don’t think it matters really but just wondering. Thanks!

Hi, I was wondering if your 12ft sections worked out for you. I’m getting ready to do the same install and my compressor is also mounted under the passenger seat. thanks. I love how every time I think of something to try on the Jeep, Eddie has already done it and written it up.


Sent from my iPad using WAYALIFE mobile app
 
Top Bottom