You are using an out of date browser. It may not display this or other websites correctly.
You should upgrade or use an alternative browser.
You should upgrade or use an alternative browser.
WAYALIFE on the GO : Miscellaneous Photos from Cindy & Eddie!
- Thread starter wayoflife
- Start date
mcw*402
New member
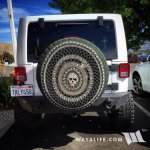
RubiCAT is whole again! New spare installed, general maintenance performed and even washed
View attachment 159348
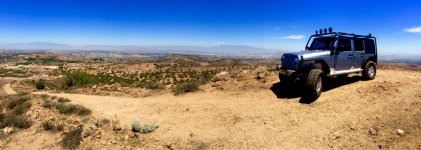
Time to rack up Moby and get to work on him!
I've scene a lot of rigs running that style of spare tire carrier. It looks like it mounts directly to the body. Will it swing open to access the back of the jeep through the tailgate?
SaddleTramp
Member
I've scene a lot of rigs running that style of spare tire carrier. It looks like it mounts directly to the body. Will it swing open to access the back of the jeep through the tailgate?
Yes, pins on the left side Johnny Joints, carrier opens the same way but separate of the gate.
mcw*402
New member
Yes, pins on the left side Johnny Joints, carrier opens the same way but separate of the gate.
Very cool....thanks
Very nice, did you get them a tad bit longer for some slack or same specs?
Actually, I got them shorter. The original hoses were too long and because of it, they were chaffing on brackets. The new shorter length makes for a clean install.
Actually, I got them shorter. The original hoses were too long and because of it, they were chaffing on brackets. The new shorter length makes for a clean install.
Interesting... I am having the same issue. I wrapped the hoses with some wire loom stuff to help for now, but I will be replacing mine soon.
ITLL GO
New member
Oh, the joys of taking apart a bead lock wheel and breaking the tire off the wheel :crazyeyes:
View attachment 158435
View attachment 158436
Now, all I need is my new tire to come in :bored01:
I need to learn how to do this! When my spare comes in Im planning on doing this myself
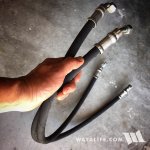
Man, do I love living in Carson City! Just got a pair of new hydraulic hoses made, while I waited, in about 10 min and for a reasonable price
View attachment 159499
With crimped on ends even!!
WAYALIFE on the GO Photos!!
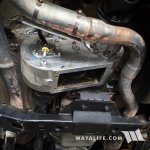
After a quick trip to autozone, I had what I needed to finish up the job I started.
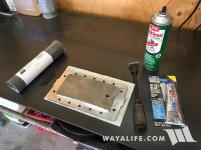
Rather than wait to order a new replacement gasket from Advance Adapters, I decide to make my own.
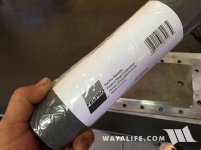
Using the cover plate to size up the gasket material I would need to cut and use.
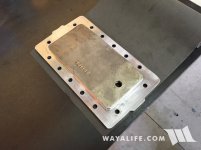
Using the cover plate as a template to draw up the gasket and location of the holes.
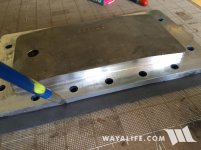
After taking some measurement, I drew in the inner edge of the gasket.
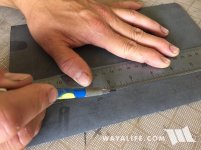
Cutting out the holes and then the inner section to create the final gasket.
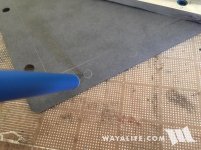
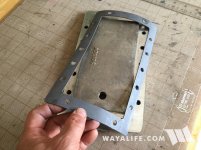
Using 2 of the cover bolts to hold the inspection cover plate and new gasket to the bottom of the Atlas.
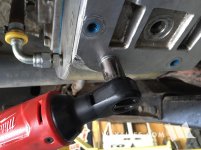
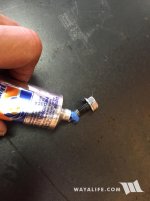
Applying some Ultra Blue RTV to the threads of the remaining bolts.
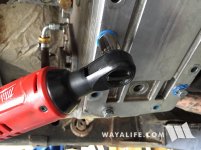
Installing the remaining bolts.
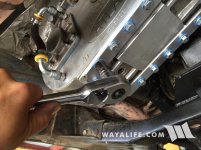
After removing the 2 starter bolts, I applied RTV to them and reinstalled them.
Just gotta wait for everything to dry and then torque the bolts, reinstall the drain plug and refill. Hopefully, this will do the trick
After a quick trip to autozone, I had what I needed to finish up the job I started.

Rather than wait to order a new replacement gasket from Advance Adapters, I decide to make my own.

Using the cover plate to size up the gasket material I would need to cut and use.

Using the cover plate as a template to draw up the gasket and location of the holes.

After taking some measurement, I drew in the inner edge of the gasket.

Cutting out the holes and then the inner section to create the final gasket.


Using 2 of the cover bolts to hold the inspection cover plate and new gasket to the bottom of the Atlas.

Applying some Ultra Blue RTV to the threads of the remaining bolts.

Installing the remaining bolts.

After removing the 2 starter bolts, I applied RTV to them and reinstalled them.

Just gotta wait for everything to dry and then torque the bolts, reinstall the drain plug and refill. Hopefully, this will do the trick
Looks like a fun project!!! Turned out great!!!! Hope it seals me up!

