Jsouder53
Hooked
Worse than building Ikea furnitureView attachment 333420
Sent from my SM-G950U using WAYALIFE mobile app
Are there not any pictures on the directions?
Worse than building Ikea furnitureView attachment 333420
Sent from my SM-G950U using WAYALIFE mobile app
The directions are actually really good, not once did I not know how it was supposed to go together. It's just a ton of pieces to put together with a crap ton of bolts and nuts and washers.Are there not any pictures on the directions?
Yeah probably 4-5 hours to assemble it all and get it all installed solo. Not terrible, it would definitely go faster with a buddy though and it's not exactly lightLooks good, quite a little project
2015 JKUR AEV JK350
1985 CJ8 Scrambler
Nice job! The rack mounting plates and internal backbone system distribute the loads really good and act like a clamp, so those holes you drilled really aren't supporting the weight. Just make sure all the hardware is torqued good, and check them occaisionally- especially those 6mm screws that attach the rack legs to the mounting plates.Got it all put together and mounted on the top. Part of me was wanting to also use the rack to hoist the hard top off to my rafters but I'm not so sure I want to hang it from only those 1/4" holes drilled though the top
Sent from my SM-G950U using WAYALIFE mobile app
The directions are actually really good, not once did I not know how it was supposed to go together. It's just a ton of pieces to put together with a crap ton of bolts and nuts and washers.
Technically I could have ordered it assembled but I didn't want to wait the extra 2 weeks for that haha
Sent from my SM-G950U using WAYALIFE mobile app
That makes sense to just lift it off then support it from the bottom, I have a dolly cart for it too but my wife doesn't like helping me lift it off, and now it's even heavier hahaNice job! The rack mounting plates and internal backbone system distribute the loads really good and act like a clamp, so those holes you drilled really aren't supporting the weight. Just make sure all the hardware is torqued good, and check them occaisionally- especially those 6mm screws that attach the rack legs to the mounting plates.
I've been using my rack to hoist the top off for a while now. But I don't leave it suspended by the rack, I use ratchet straps to suspend it from underneath.
Sent from my SM-G965U1 using WAYALIFE mobile app
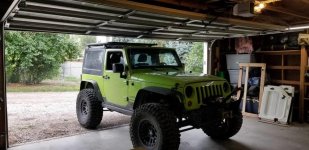
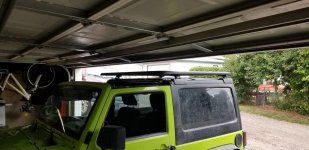
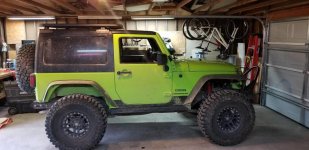
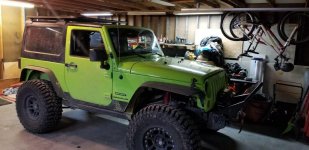
Looks good. Having a rack is what gets me through the longer trips for sure. [emoji106]Everything all put back together, maybe this will help me hold off on another 4dr for a few more years View attachment 333455View attachment 333456
Sent from my SM-G950U using WAYALIFE mobile app
So I didn't use any sealer yet, all of the screw holes get a pad stuck to the underside of the backbone mounts and they are supposed to be water tight. Time will tell if that's true though. If I find them start to leak I was going to use some clear silicone around the bolt hols inside of the padding on the mount. I'll update ya if I notice it leaking, other write ups I have read say it doesn't leak though.How did you seal the brackets on the top? I’m seriously considering one of these for a tent.
Sent from my iPhone using WAYALIFE
The 2dr version is 220 the 4dr is 260. That's the dynamic loading max though I saw somewhere like 500 for static loading so as far as like a rooftop tent goes in theory it should work but not sure I would put 2 people up there.Looks good [emoji106] what’s the weight capacity? Looks solid with that internal bracket
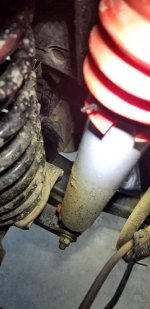
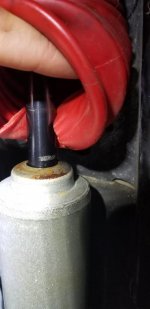
Yeah a little bit. Not a ton but yesthat’s odd, was the inside of the boot oily?
I broke the adjuster less than a week after I installed them measuring for bump stops haha so I figured it wasn't coming from there. The shaft being oily is the only odd thing I noticed along with that mark on the shaft.I'm pretty sure the same thing happened to my rear passenger shock, but haven't had the time to take it off to confirm. It shouldn't have anything to do with the adjuster breaking in yours, though.
--
Build Thread - Adventures of Fiona - https://wayalife.com/showthread.php?t=47407
